
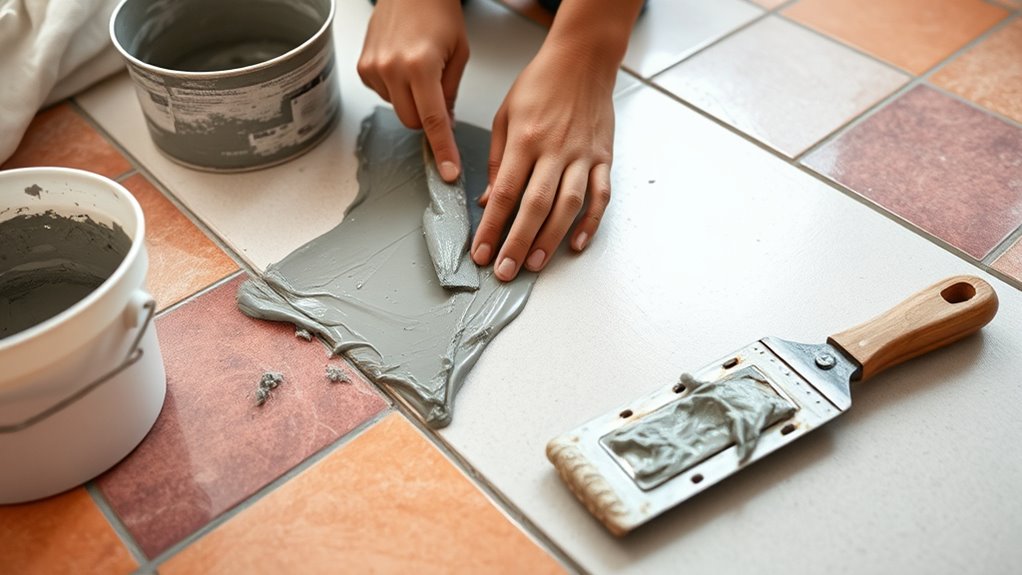

To grout a floor in three simple steps, start by thoroughly cleaning and drying the tile surface, removing all dust and debris for proper adhesion. Next, mix grout to a thick but spreadable consistency, then use a rubber float held at a 45-degree angle to press grout into joints evenly. Finally, wipe away grout haze with a damp sponge and apply a quality sealant to protect grout lines. Understanding these basics sets the foundation for achieving a professional finish.




Preparing the Tile Surface
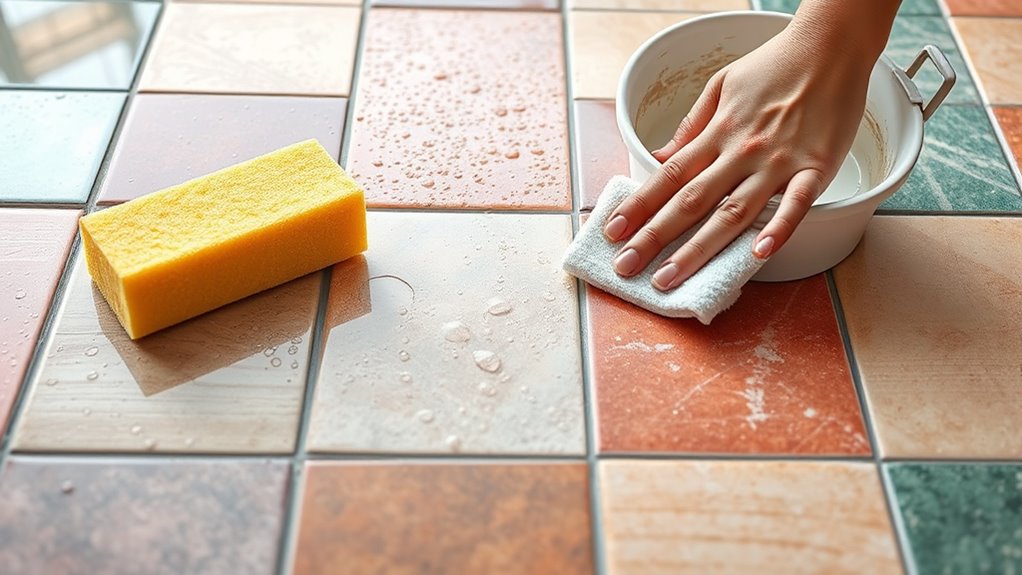
Before you begin grouting, make sure the tile surface is completely clean and dry. Successful tile preparation demands thorough surface cleaning to remove dust, debris, and any residual adhesive. Use a vacuum or broom followed by a damp cloth to eliminate particles. Avoid excess moisture; drying time is critical. Inspect grout joints for gaps or loose tiles, repairing them as needed to guarantee a stable base. Proper tile preparation prevents grout adhesion issues and uneven finishes. Pay close attention to corners and edges where dirt tends to accumulate. By maintaining this disciplined approach to surface cleaning, you secure a flawless foundation for grouting, granting you the freedom to achieve professional results without setbacks or rework. Your meticulous preparation directly influences the durability and appearance of your finished floor.
Applying the Grout
Once the tile surface is fully prepared, you’ll mix the grout to the manufacturer’s recommended consistency—thick but spreadable. Applying grout requires precision and adherence to proven grout application techniques to guarantee durability and aesthetics. Begin by choosing grout colors that complement your tile and room design, enhancing freedom in style expression. Use a rubber float to:
- Press grout firmly into joints at a 45-degree angle
- Remove excess grout by holding the float almost vertical
- Work in small sections for consistent coverage
- Allow initial setting before smoothing
- Avoid washing grout prematurely to prevent weakening
This method guarantees even grout distribution and strong bonding, giving you a professional finish while embracing your creative freedom.
Cleaning and Sealing the Grout Lines
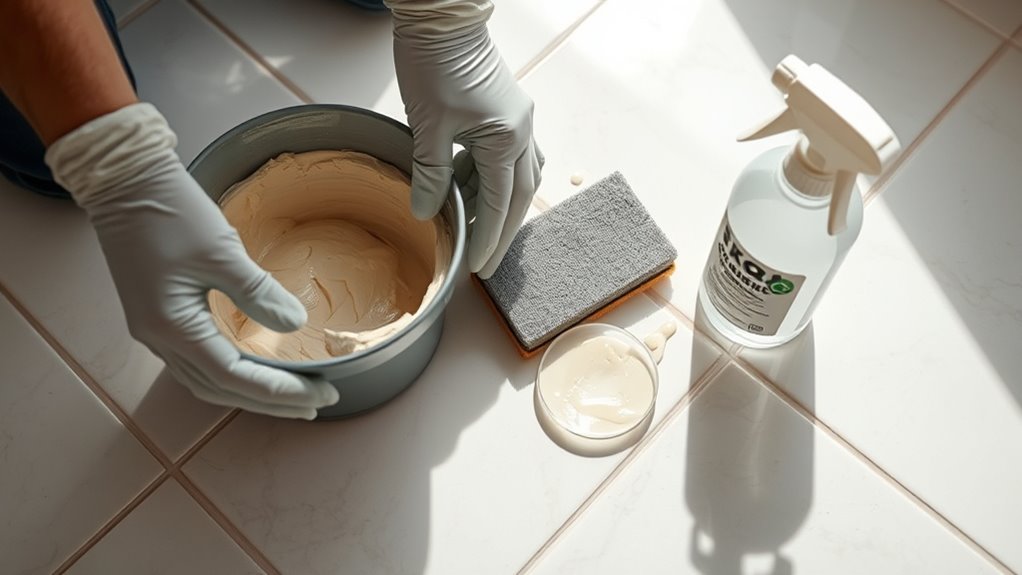
Although applying grout is essential, thorough cleaning and sealing of the grout lines are equally important to guarantee durability and prevent staining. Start by using effective cleaning techniques, such as a damp sponge and a non-abrasive cleaner, to remove grout haze and residue within 10–15 minutes of application. Avoid excessive water, which can weaken the grout. Once dry, choose a high-quality sealing product designed for your grout type. Apply the sealant evenly with a small brush or applicator, ensuring full penetration into the grout lines. Let it cure as per the manufacturer’s instructions to create a protective barrier against moisture and dirt. Proper cleaning and sealing not only preserve your floor’s appearance but also extend its lifespan, giving you freedom from frequent maintenance and costly repairs.



[…] you want the safest, most durable result, you should level and bond the wood correctly to the tile surface before installation. This guide tells you exactly when that’s a smart choice, what prep steps […]
[…] out fast. Use a wet/dry vacuum to remove pooled water from grout lines and low areas. Wipe down the tile surface afterward to reduce grime that can hold moisture and complicate […]
[…] tile format and the trowel size/angle used for setting. Grout coverage is driven by joint width and tile surface area, so widening joints increases total grout demand per square foot. Trim and transitions […]
[…] bead where the bottom edge meets the floor, and tool it so it fills the gap without smearing the tile surface. Wipe excess immediately using the cleanup method specified for your caulk (some products smear […]
[…] by thoroughly cleaning the ceramic tile surface—remove wax, grease, and loose grout with a degreaser and scrub brush. Check for any cracked, […]
[…] grouting; rushing cure stages is a common cause of discoloration, weak grout, and cracked joints. Grout haze should be cleaned promptly according to the grout manufacturer’s directions to avoid permanent […]