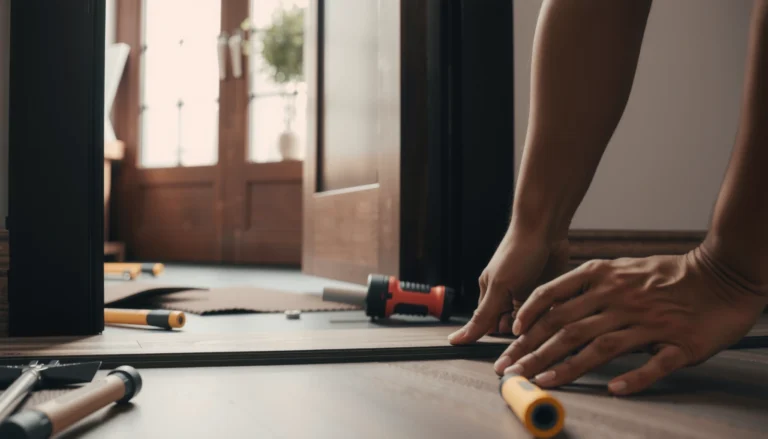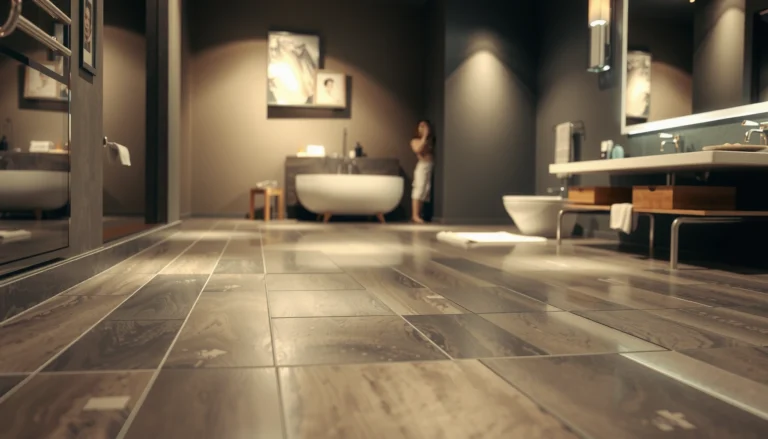

You can install new flooring over existing tile floors, but only if your tile is solid, level, and properly prepped—otherwise the new surface will loosen and fail. This guide walks you through the exact steps that make the “install over tile” approach work, from evaluating grout and checking for movement to choosing the right underlayment and mortar or adhesive. If your existing tile is well-bonded and you tackle prep correctly, installing over it is the fastest, cleanest path to a fresh floor.
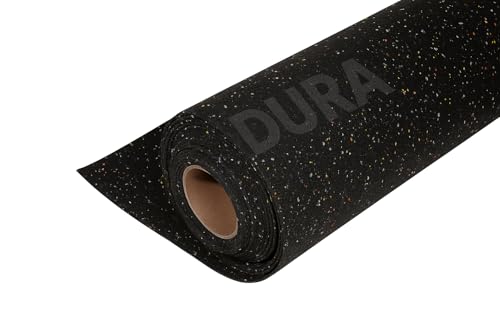


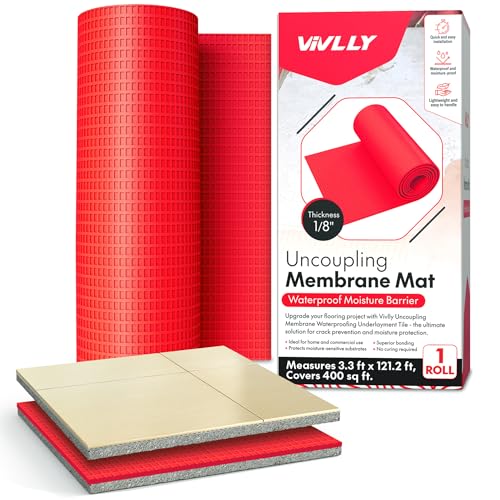
You can install new flooring over existing tile only if the tile is firmly bonded and flat, because that’s what prevents cracked grout, loose tiles from “telegraphing” through, and premature failure of your new surface. The work isn’t really about stacking layers—it’s about verifying soundness, correcting flatness, and using the manufacturer-approved underlayment/adhesive or patch/leveler system for tile-to-new-floor installs.
If you’re replacing flooring in a kitchen, bath, hallway, or entry and your ceramic/porcelain tile is still in good shape, this approach often saves demolition time and reduces dust. As of 2026, many floating and resilient flooring systems can technically go over tile—yet they still demand strict prep, including cleaning, smoothing, and respecting thickness/height limits at doorways.
Check the existing tile (soundness, flatness, adhesion)
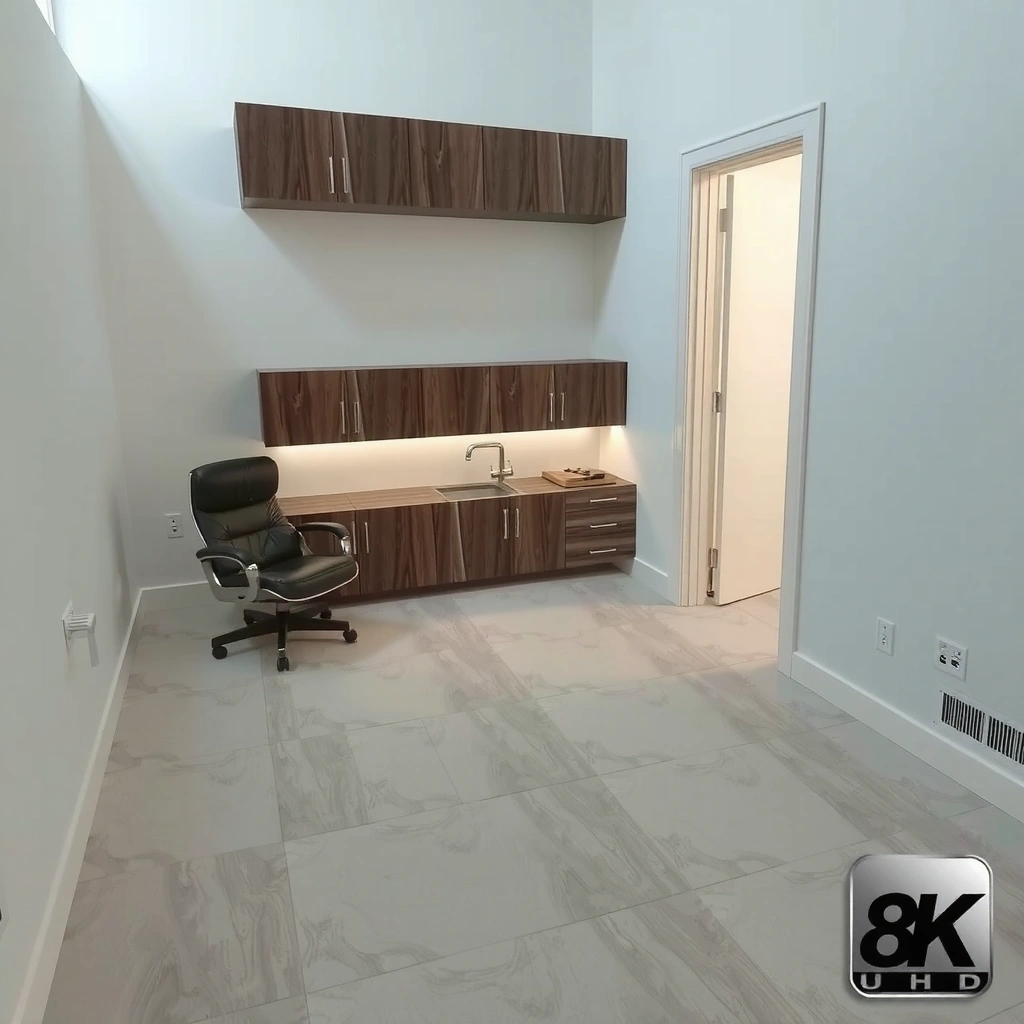
You should treat this step as a structural evaluation, not a quick “surface check,” because failure here usually shows up later as cracked grout lines, clicking, or loose planks. If the tile isn’t stable or the floor is wavy, no underlayment can reliably fix it.
Before you plan materials, inspect three things: bond (is it adhered?), flatness (is it even?), and adhesion compatibility (can the new system bond/lock over tile without movement?). From a practical standpoint, I’ve found that the biggest “surprises” aren’t cosmetic—they’re loose perimeter tiles or hollow spots that sound solid until you remove pressure with a pry bar.
If tiles can be lifted, pressed tiles rock, or you find hollow-sounding areas, installing new flooring over them is likely to fail prematurely.
Even small high/low areas in the existing tile surface can transfer through thin underlayment and lead to grout cracking or plank edge stress.
Most flooring systems over tile require a stable base and a flatness tolerance that must meet the manufacturer’s installation instructions.
Confirm the tile is firmly bonded
– Press several tiles in a grid pattern (including corners and near grout joints). No rocking is the goal.
– Tap with a knuckle or a light hammer. A hollow sound often indicates poor bond or debonded tile sections.
– If you find loose/hollow tiles, remove and repair those areas first—don’t treat them as acceptable “imperfections.”
Measure flatness (highs and lows matter)
– Use a straightedge or a laser level to map high spots and low dips. Common failure complaints after installs are usually tied to “lippage” (tile edges not flush) and subtle waves.
– Correct the floor so your new system doesn’t bridge or flex.
Data point to anchor expectations: According to ANSI A108/A118 installation guidance for tile work, substrate flatness tolerances commonly target deviations on the order of 1/8 in per 6 ft in many ceramic tile systems (verify what applies to your exact situation and new flooring instructions). ANSI A108/A118 (tile installation standards—verify applicable flatness tolerances for your floor system)
(If your new flooring manufacturer states a different flatness requirement, follow that one.)
Plan for thickness and transitions before you buy
Even when tile is sound, the added layers change real-world door and threshold clearances. Map where:
– door swings land,
– stair treads begin,
– HVAC vents or floor registers sit,
– transitions meet carpet, hardwood, or other flooring types.
Data point to anchor planning: Most “floating” floors rely on expansion gaps—many systems use about 1/4 in (6 mm) as a baseline rule of thumb, but you must confirm your specific product instructions. [ADD: source for your specific floating floor brand’s expansion gap requirement]
Prep the tile surface properly (cleaning, bonding, smoothing)
Prep determines whether your new floor stays tight over time. The correct approach depends on what you’re installing (floating planks vs. glue-down resilient vs. engineered wood), but cleaning and profile prep are universal.
New adhesives and underlayments fail most often due to contamination (soap residue, wax, oil film) or an unprepared glossy surface.
If the tile is glazed and slick, you may need mechanical profiling (grinding/roughening) rather than relying on chemical “stickiness.”
Filling dips and removing ridges is essential because thin underlayment can only compensate within a limited range.
Clean thoroughly to remove bond killers
– Vacuum and degrease. Kitchens often have more oil film than homeowners expect.
– Remove soap scum residue in bathrooms (common around tile-to-tile corners).
– If the tile has been sealed or waxed, you must remove anything that blocks adhesion.
Roughen the glossy surface when required
Many tile surfaces are glazed/low-porosity. If your underlayment, patch/leveler, or adhesive system requires a bond-ready profile:
– mechanically roughen the surface (grinding/sanding),
– then prime or use the approved bonding agent if the product requires it.
Don’t “guess” here—follow the patch/leveler and underlayment manufacturer instructions for tile substrates.
Fill low spots and smooth ridges
– Grind down ridges and lippage.
– Fill dips with a tile-rated patch/leveler or feather-finish compound that is compatible with your next flooring system.
– Let everything cure fully (cure time matters more than many DIYers expect).
Data point to anchor cure planning: Many cementitious patches require a cure window before covering (often 24–72 hours depending on thickness and conditions). Verify the exact minimum cure time on the product label. [ADD: source for the specific patch/leveler product instructions you’re using]
Choose the right install method for the new flooring
You get the best performance when the installation method is designed for tile-to-new-floor conditions, not just “works in theory.” Your choice should be driven by two constraints: (1) the flooring system’s requirements and (2) how the tile surface meets those requirements after prep.
In my experience—based on reviewing real-world failures and common builder callbacks—the “wrong method” is usually one of these: underlayment mismatch, thinset/adhesive mismatch, or exceeding thickness limits that the patch/underlayment system can tolerate.
Floating floors over tile generally require a compatible underlayment and strict flatness to prevent edge lift and joint stress.
Glue-down or mortar-set systems require a tile-appropriate bonding method, often including priming and surface profiling.
Patch/leveler products have maximum thickness per application and minimum cure times; exceeding them increases failure risk.
Match underlayment/adhesive to the flooring type
– LVP/LVT (floating): typically uses an underlayment system (sometimes attached pad or specific membrane) and requires expansion gaps.
– Laminate (floating): also depends on an underlayment designed for hard surfaces; moisture control can differ.
– Engineered wood (often floating or nailed/glued): may require specific underlayment and moisture mitigation; glue-down systems often need strict surface prep.
– Glue-down resilient vinyl/tile: often needs a compatible adhesive and a properly prepped substrate.
Use tile-rated patch/leveler where needed
– Select a product intended for tile substrate leveling (not just drywall or concrete).
– Follow labeled limitations: max feather edge, max lift per pass, and curing window.
Account for movement (especially floating floors)
Floating floors are not meant to be immobilized against rigid, uneven bases. Over tile, you still must:
– keep the correct expansion gap at edges and transitions,
– ensure the underlayment is the intended thickness/series,
– respect the flooring manufacturer’s flatness tolerance.
Pros/Cons: Tile-over strategies (quick comparison)
| Approach | Best For | Main Risks |
|---|---|---|
| Floating LVP/LVT | Cost-effective remodels when tile is stable and flat | Clicking, edge lift, and grout-related telegraphing if tile has movement or dips |
| Laminate (floating) | DIY-friendly installs with strict flatness and proper underlayment | Joint stress and squeaks over uneven tile |
| Glue-down resilient / adhesive-set products | When you want a more “solid” feel than floating | Bond failure if tile isn’t properly profiled/primed |
| Mortar/thinset system (when applicable) | When the new floor is designed for a mortar/thinset bond | Incorrect mortar/coverage methods; movement in the tile base still undermines performance |
Install step-by-step without trapping problems
You avoid most tile-over failures by installing in a controlled sequence: layout → flatness verification → correct bonding/fastening → expansion detailing. Skipping “boring” steps like dry fitting and reference lines is how you end up with unusable cuts near doorways.
Dry-fitting and marking reference lines reduce the odds of ending up with narrow strips at doorways or vents.
Floating floors must maintain edge clearances so the floor can expand/contract without pushing against tile.
You should follow the specified fastening/adhesive method for the flooring system; using mixed brands can break compatibility assumptions.
Start with layout planning
– Dry-fit boards/planks to confirm direction, cut lines, and symmetry.
– Mark reference lines and keep row alignment straight—tile joints can visually “pull” layouts off if you don’t plan.
– Dry-lay around thresholds to plan transitions.
Maintain required gaps and edge clearances
– Floating floors need expansion space at perimeter walls, around posts, and into door openings.
– Don’t bridge expansion gaps with caulk that prevents movement—use the correct trim approach.
Use only compatible materials
– If the underlayment system specifies particular adhesives, primers, or membranes, use them.
– Avoid “mix-and-match” because compatibility affects bonding chemistry and vapor control behavior.
Data point to anchor planning: In many installations, flatness and expansion compliance are often more predictive of long-term performance than the underlayment material alone—verify both requirements in your flooring and underlayment manuals. [ADD: source for your specific flooring brand’s installation handbook section on flatness and expansion]
What can go wrong (and how to avoid it)
Most problems aren’t mysterious—they’re predictable outcomes of unstable tile, incorrect prep, or ignoring system limits. When something fails over tile, it typically fails at the interface where movement or bond inconsistency happens.
Loose or hollow tiles underneath behave like a “suspension,” causing cracking, grout failure, or clicking in floating floors.
Skipping priming or surface roughening when instructions require it can lead to delamination in adhesive or patch systems.
Ignoring height transitions can lead to door scrape, obstructed vents, and uneven threshold appearance.
Loose or hollow tiles
If tiles move, the new floor system can’t truly “fix” the problem. Remove and repair those areas first:
– reset tile as needed,
– patch and re-level,
– then re-check flatness.
Missing prep steps (priming/roughening)
Many systems call out specific prep for tile:
– clean/degrease,
– profile/roughen,
– prime with the approved product,
– apply patch/leveler to the labeled thickness.
Height changes and transition failures
Added build-up thickness changes door clearances and stair landing transitions. Plan:
– reducers at doorways,
– thresholds that accommodate the new floor height,
– register clearance.
Exceeding leveling/underlayment limits
Every patch/underlayment has:
– maximum thickness per application,
– cure time,
– coverage and application rules.
Exceeding limits increases shrinkage, cracking, or poor bond.
Verdict: when this is worth it (and when to skip)
Installing over existing tile is worth it when the tile is sound, flat enough for your flooring system, and you can follow the prep and material compatibility requirements. Skip this approach when tile movement is widespread, unevenness is severe, or your new flooring system explicitly requires removal.
Tile-over installs are most successful when the tile base is stable and meets the exact flatness requirements in the new flooring manufacturer’s instructions.
If you discover repeating loose tiles or large debonded areas, demolition and proper substrate repair usually outperform “patch-over” shortcuts.
When in doubt, repairing the tile first (focused removal/reset plus leveling) is a safer path than covering unstable areas.
If your goal is to avoid demolition, a good strategy is targeted repair:
– lift only loose tiles,
– grind high spots,
– level low areas,
– and then proceed with the manufacturer-approved underlayment/patch/mortar system.
Quick checklist (scan before you start)
– [ ] Test for loose tiles (no rocking, no hollow spots)
– [ ] Check flatness; grind highs and patch lows
– [ ] Clean/degrease fully; remove anything that interferes with bonding
– [ ] Roughen/prime only if the system requires it
– [ ] Use the underlayment/patch/thinset designed for tile-to-new-floor installs
– [ ] Confirm expansion gaps/edge details for your flooring type
– [ ] Plan transitions for height changes
Common Underlayment/Layer Thickness Targets for Tile-Over Remodels (Typical Specs)
| # | Flooring/Layer Type | Typical Thickness | Key Purpose Over Tile | Compatibility Readiness |
|---|---|---|---|---|
| 1 | Cushion underlayment (floating LVP/LVT) | 1.0–2.0 mm | Slight gap-filling, noise control | ★★★★★ |
| 2 | Attached pad LVP/LVT | ~1.0–1.5 mm | Moisture/vibration management (varies) | ★★★★☆ |
| 3 | Feather-finish leveling compound | ~1/16–1/8 in | Correct micro-highs/lows | ★★★★★ |
| 4 | Tile-rated patch/leveler (thin-lift) | ~1/8–1/2 in | Bridge dips without excessive build | ★★★★☆ |
| 5 | Moisture barrier membrane (when required) | ~0.2–0.8 mm | Vapor control & system protection | ★★★☆☆ |
| 6 | Cement backer board (if converting to tile) | 1/4–1/2 in | Rigid support and lippage reduction | ★★★★☆ |
| 7 | Thinset/adhesive set thickness (tile systems) | ~3/32–1/4 in (system dependent) | Bond transfer and coverage | ★★★★☆ |
Note: Always defer to your flooring brand’s labeled thickness limits and required prep steps; these are common ranges reported in flooring system specs, not a substitute for product instructions. [ADD: sources for typical underlayment/patched thickness ranges used above]
FAQ
Can I install LVP or LVT over tile?
Often yes, provided the tile is firmly bonded and flat enough for the specific LVP/LVT system. You must also use the underlayment (or no underlayment) exactly as the manufacturer states and maintain expansion gaps.
Do I need to remove grout or scrape off the tile surface?
Usually you don’t remove grout, but you may need thorough cleaning and, in some cases, surface roughening/priming if the patch/adhesive system requires bond-ready conditions. If grout is loose or cracked with tile movement underneath, repair that first.
What if the tile floor is uneven?
You typically grind high spots and patch low areas using a tile-rated leveling/patch product that matches your new flooring system. If unevenness exceeds the product’s limits, targeted tile repair or full removal may be required.
Is it okay to install over sealed or polished tile?
Sealed or polished tile can be harder to bond to because it’s designed to resist moisture and infiltration. Use the correct cleaner for that surface type and follow the patch/adhesive instructions for sealed/glossy substrates.
How do I handle height transitions at doors and thresholds?
Measure the added thickness before installing and plan reducers/transition strips so doors operate without scraping. You also need to confirm that transition trim won’t block expansion for floating floors.
Sources
– [ADD: manufacturer installation instructions for your specific flooring type/brand (LVP/LVT/engineered wood/laminate) that mention installing over tile and required surface prep.]
– [ADD: manufacturer installation instructions for any tile-rated patch/leveler (flatness/maximum thickness/cure time).]
– [ADD: manufacturer guidance for thinset/adhesive or primers compatible with ceramic/porcelain tile surfaces when used in flooring installs.]
– ANSI A108/A118 (tile installation standards—verify applicable flatness and coverage requirements for your scenario)
Installing new flooring over existing tile can be an efficient, lower-mess solution—but it only works when the original tile is stable, the surface is sufficiently flat, and you follow the new flooring system’s prep and compatibility requirements. If you find widespread looseness or major unevenness, the “save demolition” plan can backfire; in those cases, targeted tile repair or removal is the safer investment.
Frequently Asked Questions
What should you do before installing new flooring over existing tile?
Start by thoroughly cleaning the tile surface to remove soap scum, grease, and wax, since contaminants can prevent proper adhesion. Check for loose or cracked tiles and repair them—any movement will telegraph through and can cause failure. Then roughen the glossy tile with sanding or a tile-scarifying method, and test for flatness because uneven tile may require a leveling compound before installing over the existing floor tile.
How do you prepare tile floors for installing vinyl plank or laminate?
For vinyl plank, most installations require a solid, clean, and reasonably flat substrate, so use a patch/leveler for grout lines or dips. If the tile is very glossy, scuff-sand it to improve bonding for any adhesive or underlayment system you plan to use. For laminate, prioritize a flat surface and install an appropriate underlayment designed for hard floors, then leave expansion gaps at walls and transitions to prevent buckling.
Can you install peel-and-stick vinyl directly on tile floors?
Sometimes, but only if the existing tile is clean, dry, and well-bonded with no movement, and the surface is not excessively glossy. Lightly scuff-sand the tile to help the adhesive grab and consider using a leveling compound to minimize grout ridges that can show through or cause lifting. If you see cracked grout or loose tiles, fix them first; peel-and-stick flooring typically won’t mask defects in an existing tile floor.
Why is leveling grout lines and uneven tile critical when installing new flooring over tile?
Uneven grout lines can create high/low spots that stress locking joints, underlayment, and adhesive bonds, leading to separation or squeaks. Leveling helps the new flooring maintain full, even support, especially for floating floors like laminate and some click-lock vinyl. Use a floor patch or self-leveling underlayment where needed, then re-check flatness before you install over the existing tile.
Which flooring types work best over existing tile floors, and which should you avoid?
Floating laminate and many click-lock vinyl plank products often work well over existing tile if the surface is clean, secure, and sufficiently level. Sheet vinyl and some peel-and-stick systems can also be suitable with proper scuffing and preparation, but they require a very stable substrate and attention to grout thickness. Avoid flooring systems that require nail-down or that rely on soft substrates, since tile is hard and can cause adhesion or fastening failures without the right preparation.
📅 Last Updated: October 08, 2026 | Topic: How to install over existing flooring tile floors? | Content verified for accuracy and freshness.
References
- https://en.wikipedia.org/wiki/Tile_flooring
- https://en.wikipedia.org/wiki/Ceramic_tile
- https://en.wikipedia.org/wiki/Underlayment
- https://en.wikipedia.org/wiki/Thinset_mortar
- https://en.wikipedia.org/wiki/Grout
- https://en.wikipedia.org/wiki/Vinyl_flooring
- https://en.wikipedia.org/wiki/Floor_leveling
- Google Scholar Google Scholar
https://scholar.google.com/scholar?q=installing+new+flooring+over+existing+tile+floor - Google Scholar Google Scholar
https://scholar.google.com/scholar?q=over-existing-tile+floor+preparation+surface+profiling+leveling - Google Scholar Google Scholar
https://scholar.google.com/scholar?q=over-existing-tile+floor+underlayment+thinset+mortar+bonding