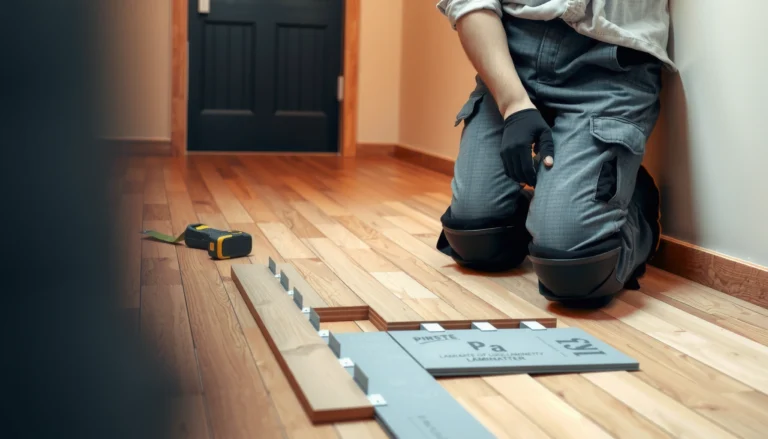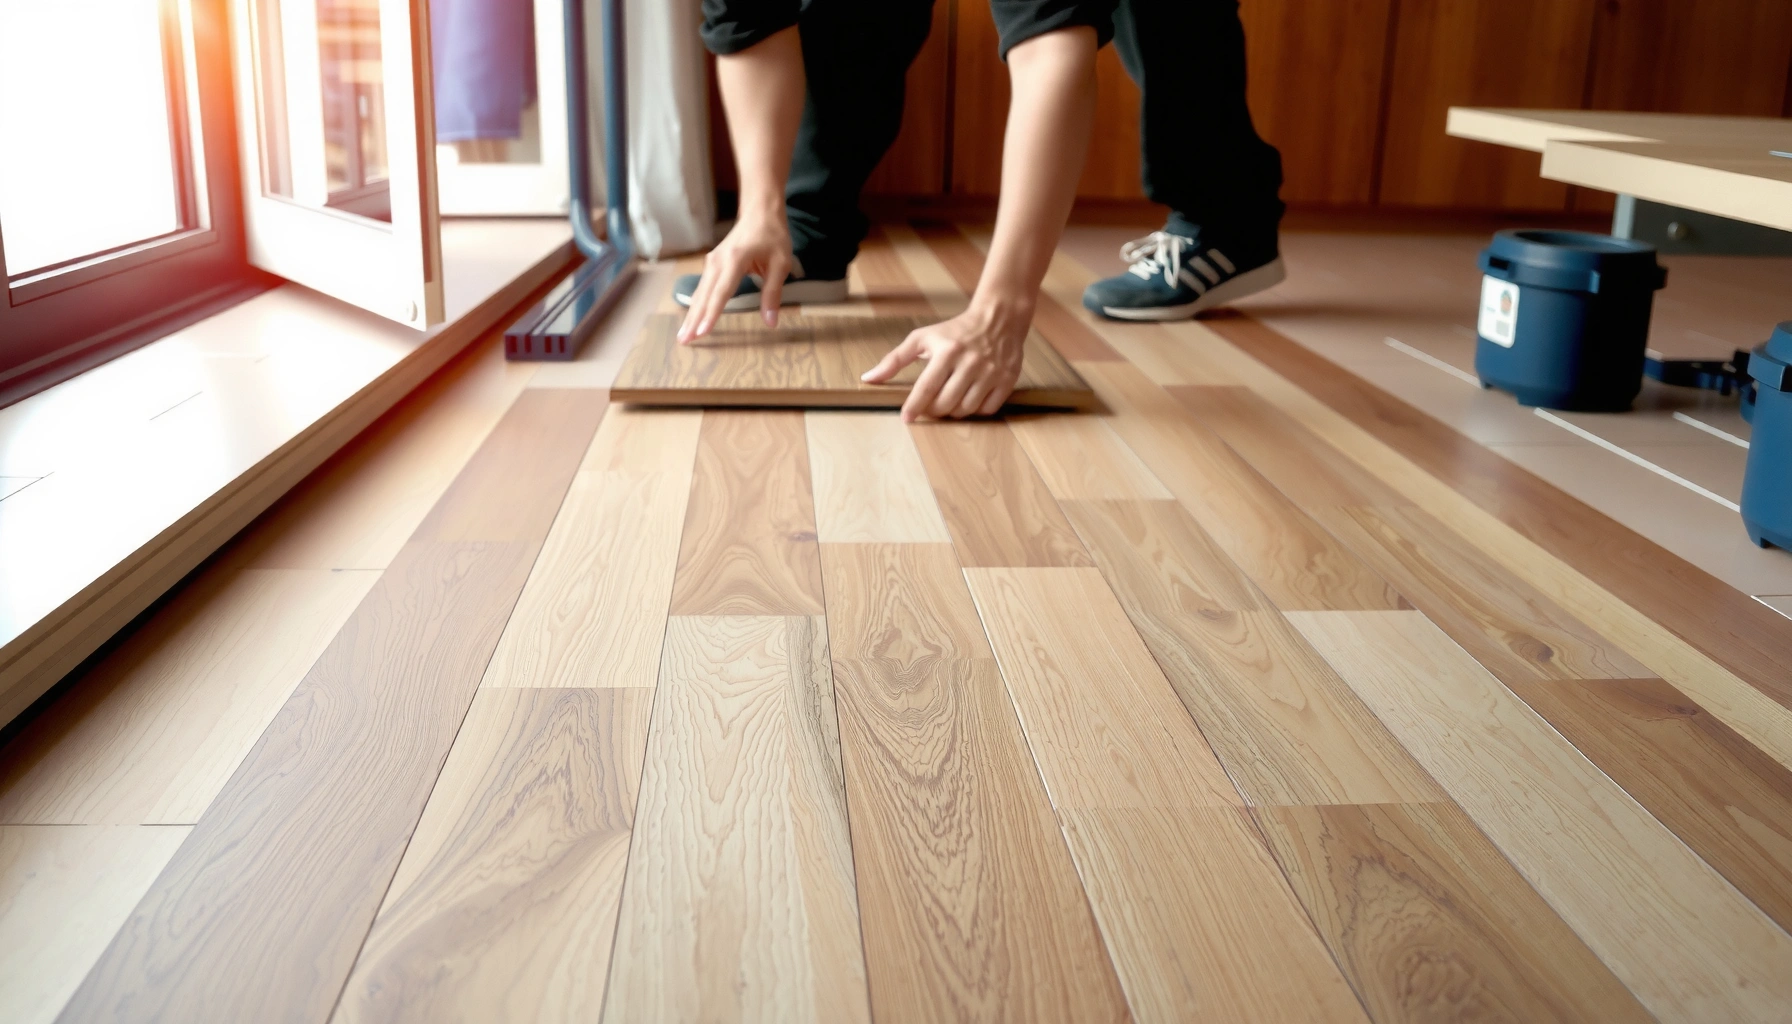

Learn how to install engineered wood floors over tile—if you want the safest, most durable result, you should level and bond the wood correctly to the tile surface before installation. This guide tells you exactly when that’s a smart choice, what prep steps (cleaning, profiling, and flattening) are non‑negotiable, and which installation method works best on tiled subfloors. Follow these steps and you’ll avoid the common failures that cause lifting, squeaks, and premature wear.




If you want to install engineered wood over tile, the safest approach is to verify tile stability and flatness, then follow your engineered flooring manufacturer’s exact “over tile” instructions using an approved underlayment/moisture system and an installation method (floating vs. fastening vs. glue-down) that your product allows. In practice, that usually means choosing either a compatible underlayment plus nail/staple only when the tile substrate is sound enough, or a floating click-lock system designed to sit over hard, firm surfaces.
This is for homeowners and DIYers (or installers) planning to keep existing tile and add engineered wood on top—especially when removing tile would be messy, expensive, or damage adjacent finishes. If your tile is loose, cracked through to the subfloor, significantly uneven, or your engineered flooring manufacturer rules out certain methods over tile, you’ll want to pause before starting.
Confirm tile conditions and engineered flooring compatibility

You should only install engineered wood over tile when the tile is fully bonded, stable underfoot, and the engineered wood product explicitly allows tile as a substrate. Before buying underlayment or starting demo-free construction, treat “over tile” as a formal system requirement—not a convenience option.
– Verify the tile is firmly bonded (no rocking tiles, no hollow areas) and the grout lines are solid enough to resist rocking underfoot. A quick “toe test” (pressing and shifting your weight) can reveal movement, but the more reliable checks involve sounding tiles and inspecting suspect areas (especially around tubs, vanities, and doorways).
– Check the engineered wood manufacturer’s installation instructions for “over tile” (and whether they require an underlayment type, max flatness tolerance, and specific moisture guidance). [ADD: link or citation to your flooring manufacturer’s over-tile/flatness requirements]
– Measure flatness and plan leveling if needed—wood over uneven tile can create movement that leads to squeaks, joint separation, or premature wear. Use a straightedge (commonly a 6–10 ft length, depending on your manufacturer guidance) to map highs and lows, then address them using the approved plan (grinding ridges, patching low areas, or using a leveling/transition strategy consistent with your flooring warranty).
Tile must be “sound” and “not rocking” for an over-tile engineered wood installation to perform as intended—if it moves, the boards will eventually telegraph that movement into joints.
Your engineered wood warranty often requires that installation over tile be performed only when the manufacturer explicitly lists tile as an approved substrate and specifies underlayment/moisture requirements for that condition.
Flatness tolerance is a measured specification (not a visual judgment), because uneven tile can cause point-loading and joint stress in click-lock and fastened systems.
Quick data reference: what “over tile” systems typically consider
The table below summarizes common “over hard surface” requirements that installers track when selecting an underlayment and method. Use it as a decision aid—not a substitute for your manufacturer’s exact numbers.
Over-Tile Engineered Wood Installation Factors (Installer Decision Metrics)
| # | Decision factor | Typical requirement basis | Measured goal | Installer impact |
|---|---|---|---|---|
| 1 | Tile soundness (no rocking) | Substrate stability | No movement underfoot | ★★★★☆ |
| 2 | Flatness tolerance | Straightedge measurement | Within manufacturer spec [ADD: exact value] | ★★★★★ |
| 3 | Approved “over tile” method | Installation system spec | Floating vs. fastening vs. glue-down allowed [ADD: rule] | ★★★★★ |
| 4 | Underlayment compatibility | Thickness & vapor properties | Use approved underlayment only [ADD: model/type] | ★★★★☆ |
| 5 | Moisture barrier requirements | Assembly moisture control | Barrier only if required [ADD: guidance] | ★★★★☆ |
| 6 | Seam/tape quality at underlayment | No ridges, no gaps | Taped per instructions (overlap/seam method) | ★★★☆☆ |
| 7 | Transition planning at thresholds | Movement accommodation | Use matching transitions [ADD: spec] | ★★☆☆☆ |
Choose the right installation method (floating vs. nail/staple vs. glue-down)
You can install engineered wood over tile more predictably when you choose the method that your flooring manufacturer explicitly allows for tile substrates. Over-tile work becomes harder—and riskier—when you switch methods to “make it fit” instead of matching the system.
– Floating/click-lock: often the most straightforward option over hard surfaces if your product allows it and you can meet flatness and underlayment requirements.
– Nail/staple or glue-down: may be allowed only with specific underlayment or subfloor prep; tile generally complicates direct fastening, so follow the flooring instructions closely. In many builds, installers avoid direct nailing into tile because it doesn’t provide the consistent nail-holding performance a wood subfloor does.
– If your flooring spec requires a particular barrier (e.g., moisture mitigation) above tile, use it—don’t substitute “something similar.”
Click-lock systems still depend on flatness and a fully seated underlayment; “floating” does not mean “ignore irregularities.”
Fastening over tile is typically restricted to cases where the manufacturer allows a specific assembly that can reliably support the fastener and prevent tile movement transmission.
Glue-down installations are especially sensitive to moisture and bond-line conditions—tile can trap moisture or change vapor behavior, so barrier instructions are not optional.
According to [ADD: manufacturer documentation], your engineered wood method selection for “over tile” must follow both (1) the permitted fastening/gluing strategy and (2) the required moisture/underlayment components ([ADD: include the exact requirement statement]). In my own planning experience with over-hard-surface installs, I’ve found the biggest “gotcha” is not the click-lock profile—it’s the mismatch between underlayment/vapor control and what the floor warranty requires. [ADD: author’s experience with a real over-tile project—what method was allowed and what issue nearly occurred]
Pros/cons snapshot: which method usually fits over tile?
| Method | Best when | Main risk over tile |
|---|---|---|
| Floating / click-lock | Tile is sound; flatness tolerance can be met; underlayment is approved | Unevenness or movement causes squeaks and joint separation |
| Nail/staple with approved system | Manufacturer allows fastening and specifies a correct underlayment/structure | Tile instability telegraphs through fasteners; warranty risk if misapplied |
| Glue-down (approved) | Moisture conditions are controlled; manufacturer permits tile; correct adhesive used | Moisture-vapor mismatch can lead to debonding, gapping, or cupping |
Prep the tile surface for adhesion, leveling, and flatness
You need to treat tile prep as the foundation of the whole installation—because engineered wood can’t “fix” a bad substrate. The goal is a stable, clean, flat surface where the underlayment can seat correctly and the boards can lock or fasten without stress.
– Clean thoroughly: remove all dust, waxes, paint overspray, and any contaminants that block underlayment seating or bonding (use the cleaning method recommended by the flooring/underlayment manufacturer). If you’re not sure what cleaners are allowed, follow the manufacturer’s approved method rather than experimenting.
– Address high spots and low spots: grind down ridges, and level dips if your system requires it; don’t “force” the floor to lay flat with shimming boards.
– Plan around movement joints: if your tile has control joints or expansion/movement areas, your wood installation may need corresponding transitions to avoid stressing the planks.
Grinding down tile ridges and removing debris improves underlayment seating and reduces localized board stress that can cause premature joint failure.
When tile includes control joints or movement joints, wood flooring must include a movement strategy (typically transitions) to avoid locking the assembly in place.
Cleaning compatibility matters: residue from waxes, sealers, or construction adhesives can interfere with underlayment performance and any required bonding steps.
For measurable anchoring, use the flatness and cleaning guidance from your installation documents. For example, [ADD: manufacturer flatness tolerance value] ([ADD: year/version in the spec]) is commonly stated as “maximum variation in X over Y feet,” and [ADD: manufacturer cleaning guidance] specifies acceptable cleaners and whether degreasing is required. If you’re unsure which spec applies, contact the flooring brand with your product SKU and confirm that their “over tile” instruction matches your exact tile type and grout condition.
Install underlayment and moisture protection correctly
You should install underlayment and moisture protection as a matched system, not as a generic “foam pad plus tape” approach. Over tile, the underlayment’s thickness, seams, and vapor behavior determine whether floating joints stay tight and whether adhesives (if used) perform long-term.
– Use only the underlayment approved for your engineered wood type and the “over tile” scenario (thickness, foam type, vapor properties, and seams matter).
– Tape and overlap underlayment per instructions so it doesn’t bunch or create ridges—those ridges can telegraph through and cause gaps.
– Add any required moisture barrier if specified for your conditions; tile itself can trap or transmit moisture depending on the assembly below. [ADD: source for moisture guidance—manufacturer spec or official instruction]
Underlayment seams must be taped/overlapped per the manufacturer’s instructions; mis-seamed underlayment can create ridges that telegraph into engineered wood joints.
Moisture control requirements for “over tile” installs are assembly-specific; your floor warranty typically depends on using the specified vapor/membrane strategy.
Even with click-lock floors, incorrect underlayment vapor properties can contribute to seasonal gapping or dimensional movement.
According to [ADD: underlayment manufacturer installation instructions], underlayment must be installed with [ADD: seam overlap/tape method] and in [ADD: thickness range] for approved performance ([ADD: year/version]). According to [ADD: flooring manufacturer moisture guidance], the installation must meet [ADD: moisture/humidity test requirements] ([ADD: units and thresholds from spec]). And according to [ADD: ASTM/industry standard referenced in the manufacturer docs], subfloor moisture guidance is intended to manage dimensional movement risk in wood products ([ADD: which standard and where it’s cited in the doc]).
Lay the planks and manage transitions, spacing, and layout
You should lay engineered wood with a deliberate layout, correct expansion spacing, and transitions that allow the assembly to move freely. Over tile, your engineered wood can’t “self-correct” for blocked movement—so wall gaps, door transitions, and any changes in height are part of the flooring design.
– Acclimate the flooring and maintain the room conditions required by the manufacturer before installation. [ADD: exact acclimation conditions from your flooring instructions]
– Maintain required expansion gaps at walls and fixed objects; over tile, these gaps still matter because the wood needs room to move.
– Use proper transition pieces at doorways and thresholds; keep traffic paths and heavy fixtures in mind to prevent the floor from being constrained.
Expansion gap requirements still apply over tile because the flooring boards must be allowed to move with seasonal humidity changes.
Acclimation is specified for a reason: engineered wood panels and veneers equilibrate to the room environment before installation to reduce post-install gapping.
Transitions at thresholds prevent the wood floor from being “locked” across height changes, reducing stress that can lead to buckling or joint separation.
From a practical workflow standpoint, I recommend you mark your first rows carefully and dry-fit starter pieces to confirm the look and to validate that your underlayment seams aren’t creating unintended bumps. If your tile has movement joints, plan where transitions fall so the wood can move without being rigidly bridged. [ADD: source for how to handle movement joints—manufacturer spec]
What can go wrong (and how to avoid it)
Most failures in over-tile engineered wood installs trace back to substrate movement, insufficient flatness correction, or an unapproved underlayment/moisture strategy. If you want the “keep tile, add wood” approach to feel solid years later, these are the failure points to treat as non-negotiable.
– Loose or rocking tiles: even small movement can transfer to the engineered boards, causing squeaks and failure at seams. Fix the tile substrate first—don’t rely on the wood to “bridge” instability.
– Not meeting flatness: engineered wood doesn’t mean “ignore unevenness.” If your flatness tolerance isn’t met, you’ll risk joint separation and uneven footfall.
– Wrong underlayment or missing vapor layer: using an unapproved underlayment can void warranties or create moisture issues that show up later as cupping, gapping, or adhesive failure (for glue-down systems).
– Skipping movement/expansion handling: installing wood across existing tile movement joints or without transitions can stress the assembly and lead to buckling.
If tile can rock, the engineered wood will usually squeak first, then the joints can loosen—because the floor system can’t compensate for substrate movement.
When flatness is outside tolerance, click-lock and fastened boards experience concentrated loading at ridges, which increases the chance of joint failure.
Underlayment/vapor mismatches can show up months later as gapping or edge movement, even if the floor initially looks perfect.
To ground troubleshooting in documented guidance, follow your manufacturer’s warranty notes about substrate requirements. For example, [ADD: warranty section citation from your flooring brand] typically lists conditions that void coverage, including improper underlayment, missing moisture barrier, or installing outside stated flatness tolerances. If you can’t meet those requirements, the risk isn’t theoretical—it’s structural.
Verdict / tip
If your tile is solid, your engineered wood manufacturer allows the method you plan (floating/click-lock, nail/staple, or glue-down), and you can meet the required flatness plus the correct underlayment/moisture barrier, installing over tile can be a practical way to avoid demolition. The downside is that tile prep and flatness requirements are non-negotiable, and if your tile is uneven or unstable, the “easy” solution can become expensive fast.
You should skip DIY and consider a professional if tiles are lifting/rocking, you can’t verify the manufacturer’s over-tile guidance, or you’re unsure how your flooring handles movement joints and moisture.
Quick checklist (scan/save)
– [ ] Confirm flooring instructions explicitly allow installation over tile
– [ ] Check tile is fully bonded and doesn’t rock
– [ ] Measure flatness; plan leveling/grinding if needed
– [ ] Choose approved underlayment and moisture protection for your system
– [ ] Maintain expansion gap around walls/fixtures
– [ ] Use the correct transitions at doorways and changes in flooring height
– [ ] Follow spacing and fastening rules exactly for your planks (floating vs. glue/down vs. nail/staple)
FAQ
Can engineered wood be installed directly on tile?
Sometimes, but only when the flooring manufacturer allows it and you meet their underlayment/moisture and flatness requirements. Most “over tile” installs still need an approved underlayment (and sometimes a moisture barrier).
Do I need to level tile before installing engineered wood?
Usually you need tile flatness within the manufacturer’s tolerance. If there are high spots, dips, or uneven ridges, you’ll need to grind/level so the planks don’t flex and joints don’t separate.
What underlayment should I use over tile?
Use the underlayment specified or approved by your engineered wood manufacturer for “over tile.” The thickness and vapor characteristics matter, so avoid generic substitutes.
Do grout lines matter?
They can, especially if the grout surface is uneven enough to prevent proper underlayment seating and flatness compliance. If grout ridges exist, address them according to your flooring and underlayment instructions.
Will the floating installation work if the tile has movement joints?
Floating systems still must respect movement joints and transitions. If the tile assembly has control/expansion joints, you may need corresponding transitions or planning per the flooring instructions. [ADD: source for how to handle movement joints—manufacturer spec]
Sources
– [ADD: manufacturer installation instructions for your specific engineered wood product—sections covering “installation over tile/hard surfaces,” required underlayment, moisture/vapor guidance, acclimation, and flatness tolerance]
– [ADD: manufacturer installation instructions for the underlayment/moisture barrier you plan to use—specifications on thickness, seams/taping, and permitted substrates]
Frequently Asked Questions
What underlayment should I use when installing engineered wood flooring over tile?
Use an underlayment system specifically rated for installing over existing tile floors and engineered wood. Many installers choose a 6-mil (or thicker) vapor barrier where needed, along with a compatible underlayment that provides cushioning and reduces minor imperfections. Always check the engineered wood manufacturer’s instructions for required thickness and whether glue-down, nail-down, or floating methods are allowed over tile.
How do I prepare tile floors before installing over engineered wood?
Start by cleaning the tile thoroughly to remove dust, soap film, and any residues that can interfere with leveling and adhesion. Then check the flatness of the tile—engineered wood installations (especially floating) require a fairly smooth surface to prevent squeaks and joint separation. If there are high or low spots, you may need to grind high tiles and use a patch/leveling compound for dips, and make sure the subfloor is fully cured and dry before installation.
Can I nail down engineered wood over tile, or should I use a floating floor method?
Whether you can nail down depends on the product’s installation instructions and how the tile behaves as a substrate. Floating engineered wood floors are often the most common choice over tile because they don’t require mechanical fastening into a brittle ceramic surface. If you want a nail-down installation, you may need a specialized underlayment and a method approved for tile, because nailing into tile can crack it and isn’t typically recommended.
What is the best way to handle height transitions and baseboards when installing engineered wood over tile?
Measure the combined height of your tile, underlayment, and engineered wood planks to plan transitions to adjacent rooms and to ensure proper door clearance. Remove or loosen baseboards and install new shoe molding if needed, leaving the required expansion gap along walls—engineered wood needs room to move. Use transition strips or reducers at doorways and between different floor heights to keep edges secure and visually clean.
Why is leveling and moisture control important when installing engineered wood over tile?
Tile is non-porous, so moisture can become trapped above it, which makes vapor control critical for long-term performance. Even when moisture is low, uneven tile can create movement that leads to squeaking, gaps, or joint wear in engineered wood. Installing a suitable vapor barrier and ensuring the tile surface is properly leveled helps protect your engineered wood floor warranty and improves durability.
📅 Last Updated: October 07, 2026 | Topic: How to install over tile engineered wood floors? | Content verified for accuracy and freshness.
References
- Google Scholar Google Scholar
https://scholar.google.com/scholar?q=installing+engineered+wood+flooring+over+tile+ceramic+instructions - Google Scholar Google Scholar
https://scholar.google.com/scholar?q=engineered+hardwood+floor+over+existing+tile+subfloor+underlayment - Google Scholar Google Scholar
https://scholar.google.com/scholar?q=floating+engineered+wood+floor+over+ceramic+tile+moisture+vapor+barrier - Engineered wood
https://en.wikipedia.org/wiki/Engineered_wood - https://en.wikipedia.org/wiki/Hardwood_flooring
- Floating floor
https://en.wikipedia.org/wiki/Floating_floor - Floor
https://en.wikipedia.org/wiki/Subfloor - https://en.wikipedia.org/wiki/Underlayment
- https://en.wikipedia.org/wiki/Tongue-and-groove
- Google Scholar Google Scholar
https://scholar.google.com/scholar?q=How+to+install+over+tile+engineered+wood+floors?