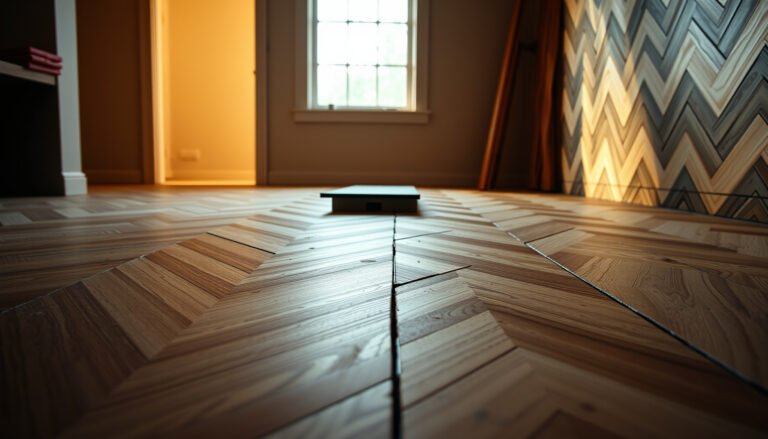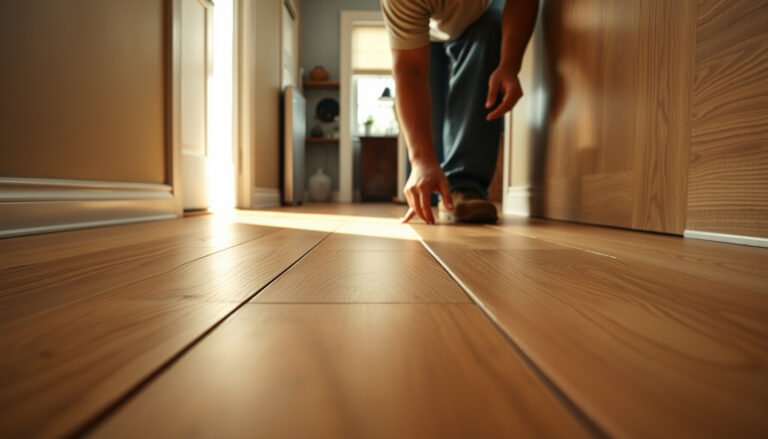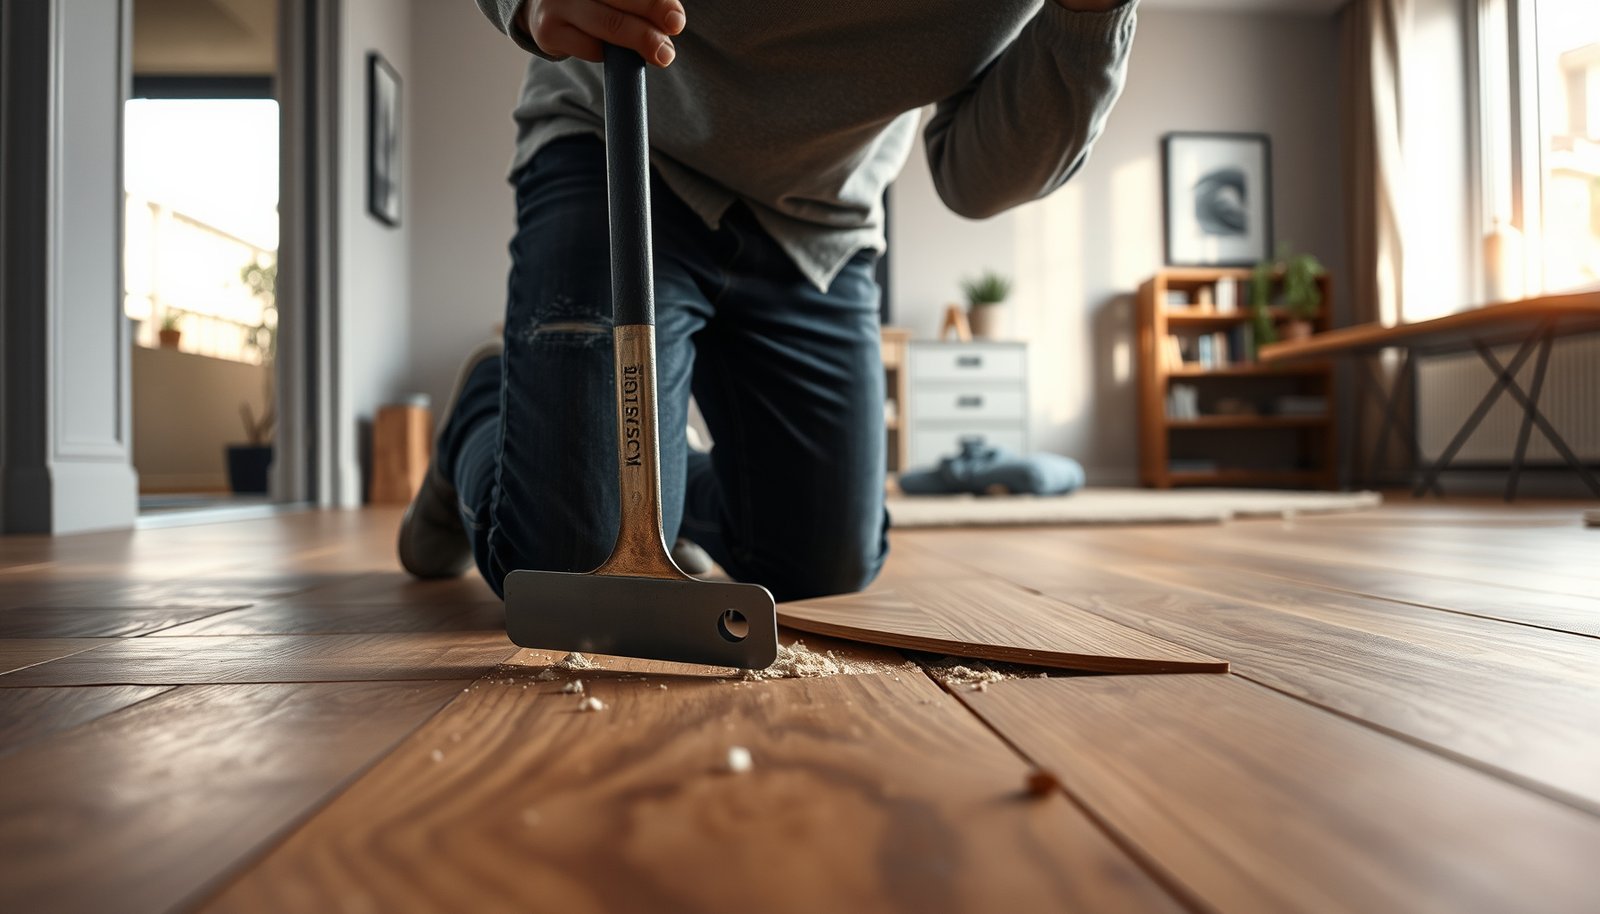

Removing engineered wood floors in a home office is straightforward when you know what’s holding the planks down—glue-down, nail-down, or floating. This guide tells you the fastest, safest method for your installation type and the exact tools you’ll need to lift the planks with minimal damage. You’ll also get practical steps for handling underlayment and cleaning the subfloor so the next flooring goes in smoothly.




The safest way to remove engineered wood floors in a home office is to identify the installation method first (floating click-lock, nailed/stapled, or glue-down), then use the matching removal technique to avoid damaging the subfloor. Remove engineered wood flooring by first figuring out how it was installed (floating click-lock, stapled/nail-down, or glue-down). Then you can remove planks from transitions and edges, working methodically without damaging the subfloor. This guide walks you through identifying the install type, safely pulling the boards, and cleaning up afterward.
If your home office has engineered wood flooring and you’re trying to replace it (or renovate the room), this is for you—especially if you want to avoid destroying the subfloor beneath. Because removal methods change a lot by installation style, start with the quick checks below before you pry anything up.
Prep the room and protect the subfloor

You’ll make removal faster and less risky if you prep the room for controlled access and controlled dust before you touch a plank. The goal is simple: create a clean “release path” at the edges/transitions and protect anything you’ll need later (subfloor, underlayment, base cabinets, and electronics).
“Engineered wood removal should start with establishing a perimeter release path by removing trim/thresholds before prying up planks.”
“Dust exposure from flooring removal can involve fine particulates; using proper respiratory protection and ventilation reduces inhalation risk.”
Clear, protect, and stage your tools
– Clear the room (or move everything to one side) and protect remaining items with plastic sheeting.
– Lay down a drop cloth for heavy debris and keep a dedicated “parts bin” for fasteners, spacers, and trim.
– Turn off HVAC that could push dust around the rest of the building; if you can, close doors to adjacent rooms.
Remove trim/threshold pieces first
– Remove trim/threshold pieces first so the planks have a “path” to come up.
From my experience on office remodels, the projects that go sideways usually do so at the trim line—people pry against hardened edges before the floor has room to release.
Plan for dust (and measure what “safe” looks like)
Engineered wood removal often creates fine particles—especially when boards are stubborn, adhesive residue is present, or you use cutters at seams. In 2026, the best practice is to treat wood dust as “real exposure” until proven otherwise.
According to OSHA, the PEL (permissible exposure limit) for *respirable* particulates not otherwise regulated is 5 mg/m³ (8-hour TWA). OSHA 29 CFR 1910.1000
According to the U.S. EPA, HEPA filters are rated to capture 99.97% of particles at 0.3 microns, which is relevant for dust-heavy cleanup. U.S. EPA, HEPA filtration guidance
And as of 2026, many shop-vac setups still fall short of HEPA-level capture unless explicitly labeled—so confirm the vacuum’s filtration before relying on it.
Dust-Control Options During Engineered Wood Removal (What to Expect)
| # | Control / PPE | Rated Particle Capture | Best Use Case | Overall Protection |
|---|---|---|---|---|
| 1 | HEPA vacuum (true HEPA) | 99.97% @ 0.3µm | Ongoing cleanup during pry/cut work | ★★★★★ |
| 2 | N95 filtering facepiece | ≥95% @ 0.3µm* | Light to moderate dust; short sessions | ★★★★☆ |
| 3 | P100 elastomer cartridge | ≥99.97% (P100) | Dustier glue-down residue cleanup | ★★★★★ |
| 4 | Plastic sheeting + sealed doorways | Reduces cross-room migration | Containment for home offices | ★★★★☆ |
| 5 | Safety glasses + sealed eye protection | Impact shielding | When boards spring during release | ★★★☆☆ |
| 6 | Ventilation (fans exhausting outward) | Lower indoor particle loading | When dust volume increases | ★★★☆☆ |
| 7 | Dry sweeping (no HEPA) | Increases airborne dust | Avoid during active removal | ★☆☆☆☆ |
“HEPA-rated vacuums are the most practical way to keep fine dust from resettling during engineered wood removal.”
“If you’re relying on a standard shop vac, verify it is explicitly labeled HEPA to match dust-control goals.”
Note: N95 “≥95% @ 0.3µm” is the common certified performance benchmark; always follow respirator labeling and fit guidance.
> Safety note: If you have a medical condition, use prescribed respiratory protection, or are dealing with unknown materials (old carpet backing, contaminated subfloor, asbestos suspicion), consult a qualified professional.
Identify how the engineered wood is installed
You can’t safely remove engineered wood until you identify whether it’s floating (click-lock), nailed/stapled, or glue-down. The method that protects the subfloor is the one that matches the floor’s original fastening system.
“Floating click-lock engineered floors typically have no visible nail lines and release in connected sections when the perimeter is freed.”
“Glue-down installations commonly resist gentle pry and may leave adhesive residue that must be removed before new flooring.”
Look for the install “signature”
– Look for a floating “click-lock” pattern (often no visible nail lines; planks may flex slightly when tested).
– Check for nail/staple signs (small holes, fasteners near seams, or a consistent “pinned” feel).
– If it’s glue-down, seams are usually tighter and you may see adhesive residue around edges after a small test pry.
Quick comparison: choose the removal lane
Below is a practical decision map you can use before you commit to a full pry/cut workflow.
| Feature | Floating (Click-Lock) | Nailed/Stapled | Glue-Down |
|---|---|---|---|
| Perimeter behavior | Usually lifts as rows release | Edges resist until nails are cleared | Sticks even after perimeter access |
| Seam visibility | Tongue/groove seam often visible | May show staple/nail entry points | Tight seams; adhesive presence possible |
| What you hear/feel while prying | Locks “pop” and release gradually | Hard stops at fastener points | Resistance + tearing risk |
| Top-layer risk | Moderate if you lift wrong angle | Low-to-moderate; tongues can break | High without seam scoring |
| Subfloor cleanup needs | Underlayment removal checks | Fastener pull-through and patching | Adhesive scraping and residue control |
Use a controlled “test pry”
Because guessing wastes time and damages tongues, do a small test at a less visible corner/closet edge. If the floor won’t lift predictably, stop and re-check transitions and any partial gaps—many offices have remodels layered over original installations.
As of 2026, this “test before full removal” approach is consistent with how installers manage compatibility between new underlayment/moisture barriers and the existing base.
Remove floating (click-lock) engineered wood safely
For floating click-lock floors, the safest removal strategy is to start at a transition/perimeter and lift in connected rows while supporting the plank profile. This minimizes tongue-and-groove damage and reduces splintering that can mar the subfloor.
“A click-lock profile is designed to lock when pressed at an angle; removing it works best by reversing that movement from the perimeter.”
“If planks won’t lift, the most common cause is an overlooked fastener, partial adhesive, or blocked perimeter underlayment.”
Start where the floor has room to release
– Start at a doorway transition or perimeter gap, then lift boards using a tapping block and gentle pry—avoid ripping long stretches at once.
– Pull plank rows gradually, keeping track of any underlayment stuck to the underside.
Work methodically (and keep planks usable if you need them)
– Use a tapping block to protect the plank edge when unlocking.
– Lift one row “chunk” at a time, then move to the next section.
– If you plan reuse, label boards by row order; click-lock floors often swap order poorly if tongues get nicked.
Don’t ignore “floating” surprises
Some installations marketed as “floating” can include spot adhesive at seams, partial glue at high-moisture areas, or an underlayment system that grips. If boards won’t release:
– Stop.
– Re-check for fasteners near seams.
– Inspect for underlayment “grabbing” (especially in basements or previously wet areas).
Remove nailed/stapled engineered wood flooring
For nailed or stapled floors, start by clearing the trim and freeing the nailed edges—then remove planks in controlled short sections. This reduces tongue breakage and helps you avoid gouging the subfloor surface.
“Nail-down and staple-down engineered wood removal typically requires removing baseboards/quarter-round to avoid prying against the wall edge.”
“Pull planks in short sections near fastener lines to prevent bending that snaps tongue-and-groove edges.”
Clear trim/quarter-round so you can access the nailed line
– Remove baseboards/quarter-round first (you’ll usually need the extra clearance to release fastened edges).
Pry carefully near seams and fastener points
– Use a pry bar carefully near seams, and pull in short sections—bending boards too far can break tongues and slow you down.
– Expect nail/staple cleanup: once planks are up, remove remaining fasteners from the subfloor using .
Common “subfloor risk” scenario: using a pry bar as a lever against plywood edges—this can chip the laminate surface or loosen layers. If you feel the bar biting into the subfloor, reset your angle and work closer to the seam line.
Clean and inspect before replacement
After removal:
– Vacuum all debris (not just visible nails).
– Inspect for protruding fasteners.
– Plan for patching/leveling if you’ll install new engineered wood, LVP/laminate, or a different underlayment system.
Remove glue-down engineered wood flooring
For glue-down floors, you’ll get the best results by scoring seams first and then removing boards without tearing up the top veneer or gouging the subfloor. The cleanup workload is usually the limiting factor—residue control and compatibility with your next flooring matter.
“Glue-down removal is typically improved by cutting/scoring at seams and transitions before attempting to lift planks.”
“Adhesive residue can interfere with new flooring installation, so residue removal must be compatible with the existing subfloor and the new underlayment.”
Reduce tearing with seam scoring
– Score cut lines at seams and transitions with an oscillating multi-tool (or similar) to reduce tearing the top layer.
Use heat only if the adhesive system allows it
– Heat can soften certain adhesives, but only follow the adhesive manufacturer’s guidance and keep heat away from anything that could be damaged by overheating.
Scrape residue safely (compatibility first)
– After plank removal, scrape residue carefully—use only methods compatible with your subfloor and any underlayment/moisture barrier.
Key compatibility principle: your goal isn’t to make the surface “pretty”—it’s to make it installable. For example, some flooring systems require a specific flatness tolerance, and others are sensitive to adhesive type (mastic vs. urethane vs. pressure-sensitive systems). If you’re unsure, consult the adhesive/remnant guidelines in your next flooring’s installation instructions (and your adhesive manufacturer’s SDS).
What can go wrong (and how to avoid it)
Most engineered wood removal problems come from forcing the wrong direction or skipping a necessary cut step. The best prevention is controlled lifting (floating), controlled fastener access (nailed/stapled), and controlled seam cutting/residue handling (glue-down).
“Forcing a locked profile upward can break tongues and create jagged edges that slow future removal.”
“Glue-down floors can leave residue that must be handled as a system compatibility issue, not just a cosmetic cleanup task.”
Common failure modes
– Breaking tongues and creating jagged edges: happens when you force rows upward—work from seams and transitions and lift gradually.
– Damaging the subfloor: pry too aggressively or skip baseboard removal, especially on plywood vs. concrete.
– Adhesive surprises: glue-down floors often leave residue that can interfere with new flooring—test a small area first and plan for additional cleanup.
A practical “stop and reset” rule
If you notice resistance that feels like it’s “stopping metal,” stop prying. That’s often a hidden fastener or blocked edge. If you notice resistance that feels “sticky,” stop levering and go back to scoring/cutting and adhesive-safe removal methods.
Also, as of 2026, many replacement systems (floating click-lock again, glue-down LVP, underlayment + moisture barrier) require stricter flatness than most people expect—so plan time for leveling/patching if the subfloor gets damaged.
Verdict: best approach (and who should skip DIY)
If you can identify the installation type, removal is very doable for most DIYers—floating click-lock is usually the least messy, while glue-down is the most labor-intensive and residue-heavy. Skip DIY (or get professional help) if you need a perfectly clean, flat, warranty-compliant subfloor for a difficult replacement install, or if you suspect hidden hazards.
“Floating click-lock removal is typically the most forgiving because boards are designed to disengage without adhesives.”
“Glue-down removal often becomes the hardest part of the project because residue removal affects how well new flooring adheres or lays flat.”
Downsides you should plan for
– Time: nailed/stapled and glue-down floors take longer than floating floors.
– Dust: even with good containment, fine particles can spread—especially in enclosed home offices.
– Subfloor risk: misidentifying the installation method is what causes the majority of damage.
Who should skip DIY
– You suspect unknown underlayment materials, old adhesives, or moisture issues you can’t verify.
– You’re installing a replacement system that has strict subfloor preparation requirements and you don’t have the tools/skills to meet them.
– The floor covers sensitive areas (radiant heat lines, built-in cabinetry tolerances, or heavily modified subfloor structures).
Quick removal checklist (scan/save)
– Confirm installation type: floating vs. nailed/stapled vs. glue-down
– Remove transitions/trim first (thresholds, baseboards, quarter-round)
– Start at the easiest edge (doorway transitions or perimeter)
– Use the right cutting/lifting method per install type
– Clean up fasteners/residue as you go (don’t leave it for the last day)
– Vacuum dust and inspect the subfloor before new flooring
“Removing transitions and trim first prevents cracking trim and gives planks a release path.”
“Inspecting and cleaning the subfloor immediately after each removal stage reduces rework before new flooring goes in.”
Sources
– OSHA 29 CFR 1910.1000, Air Contaminants (respirable particulate PEL)
– U.S. EPA, HEPA filtration guidance (HEPA efficiency rating)
Removing engineered wood in a home office is a manageable task when you match your technique to the installation method—floating click-lock comes up in sections, nailed/stapled requires fastener-aware access, and glue-down demands seam scoring plus residue-compatible cleanup. Start with trim/threshold removal, identify the install type with a controlled test, and remove planks gradually from transitions and edges. If you keep dust and subfloor protection in the foreground, you’ll end up with a cleaner base for the next floor system and far fewer surprises during the transition from “demo” to “install.”
Frequently Asked Questions
How do you remove engineered wood floors from a home office without damaging the subfloor?
Start by removing shoe molding, baseboards, and any transition strips, then inspect how the engineered wood is installed (click-lock floating vs. glue-down). For floating floors, lift boards carefully from a corner using a pry bar and pull tools, working row by row to avoid gouging the underlayment. For glue-down engineered wood, you’ll likely need to use a floor scraper and heat tool, then sand residual adhesive to restore the subfloor’s flatness.
What tools are needed to remove engineered wood flooring in a home office?
You’ll typically need a pry bar, oscillating multi-tool, utility knife, floor scraper, pry puller (for click-lock systems), and a hammer. For glued installations, add a heat gun, adhesive remover rated for flooring, and an industrial shop vacuum with fine dust filtration. Don’t forget PPE like gloves, eye protection, and a respirator, especially if the floor includes older adhesives or coatings.
Why is identifying the flooring installation method important before you start removing engineered wood?
Engineered wood removal methods differ significantly depending on whether the planks are click-lock floating, nailed down, or glued directly to concrete/plywood. If you treat a glue-down floor like a floating one, you can chip the boards and damage the subfloor, creating extra repair work. Properly identifying the method helps you choose the safest approach and estimate how much sanding or adhesive cleanup will be required.
Which is the best way to handle stubborn glue or adhesive during engineered wood floor removal?
For adhesive residue, use a flooring-grade scraper and work in small sections to avoid gouging the subfloor. Heat and a remover made for your adhesive type can loosen stubborn spots, then follow with sanding to flatten high areas. After cleaning, vacuum thoroughly and check moisture and level—especially important if you plan to reinstall new engineered wood flooring.
How long does it usually take to remove engineered wood floors in a home office?
A small home office may take a few hours to a full day for floating engineered wood, depending on room size, trim removal, and how intact the planks are. Glue-down engineered wood removal typically takes longer due to plank breakup and adhesive cleanup, often requiring additional time for scraping and sanding. Total time also depends on floor condition, access to edges, and whether you’re planning subfloor repairs afterward.
📅 Last Updated: October 19, 2026 | Topic: How to remove engineered wood floors from a home office? | Content verified for accuracy and freshness.
References
- Wood flooring
- Asbestos – Overview | Occupational Safety and Health Administration
- Silica, Crystalline – Overview | Occupational Safety and Health Administration
- https://www.cdc.gov/nceh/lead/prevention/index.htm
- https://www.epa.gov/lead/renovation-repair-and-painting-program
- https://www.epa.gov/asbestos
- https://www.cdc.gov/lead/prevention/health-effects.htm
- https://scholar.google.com/scholar?q=engineered+wood+floor+removal+how+to Google Scholar
- https://scholar.google.com/scholar?q=remove+engineered+hardwood+floor+floating+vs+glued+nailed+down Google Scholar
- https://scholar.google.com/scholar?q=hardwood+floor+removal+subfloor+preparation+dust+control Google Scholar