
Want to know what hardwood floors in a home gym will really cost? This guide gives you a fast, accurate way to estimate total price—materials, labor, underlayment, and finishing—so you can price your project with confidence. You’ll leave with a practical range based on gym size and wood grade, plus the key cost drivers that most estimates miss.




If you want an accurate estimate, total your hardwood material cost per square foot plus prep/underlayment and installation (or DIY supplies), then add allowances for transitions and waste. The fastest way is to break the project into line items, multiply by your gym’s square footage, and request quotes that match those exact line items.
This is for homeowners planning a home gym remodel where you’re deciding between hardwood types, underlayments/moisture control, and hiring a pro vs. DIY—especially if the room will see heavy equipment and frequent impacts.
Break the project into cost categories

The quickest way to estimate hardwood floor cost is to price the project as three buckets: hardwood material, subfloor prep/moisture control, and install/finishing. For a gym, that breakdown matters because moisture control and flatness prep can outweigh “cheap planks” in the final total.
Hardwood flooring bids are easiest to compare when they quote plank material, prep/moisture protection, and labor as separate line items.
In home gyms, subfloor flatness and moisture mitigation are recurring cost drivers because training rooms concentrate loads and demand manufacturer-compliant installation.
– Hardwood plank cost (material only), typically quoted per square foot.
This is your baseline. Price varies based on species, grade, width/thickness, and whether the product is solid or engineered (engineered often wins on stability over slabs, but not always on cost).
– Subfloor prep + underlayment/moisture protection (often the surprise cost).
“Prep” usually includes leveling/patching, fastening or repair of squeaky subfloor areas, and installing the correct underlayment or moisture barrier system required by the hardwood manufacturer’s instructions. In 2026, more installers are also including explicit moisture-testing line items for concrete slabs and basement gyms.
– Installation labor (if hiring), plus finishing items like stain/sealer if needed.
Labor depends on installation method (nail-down, glue-down, floating/locking/“engineered click”) and whether the planks are prefinished or unfinished (unfinished products add sanding, staining, sealing, and cure time coordination).
Measure your gym and plan waste and add-ons
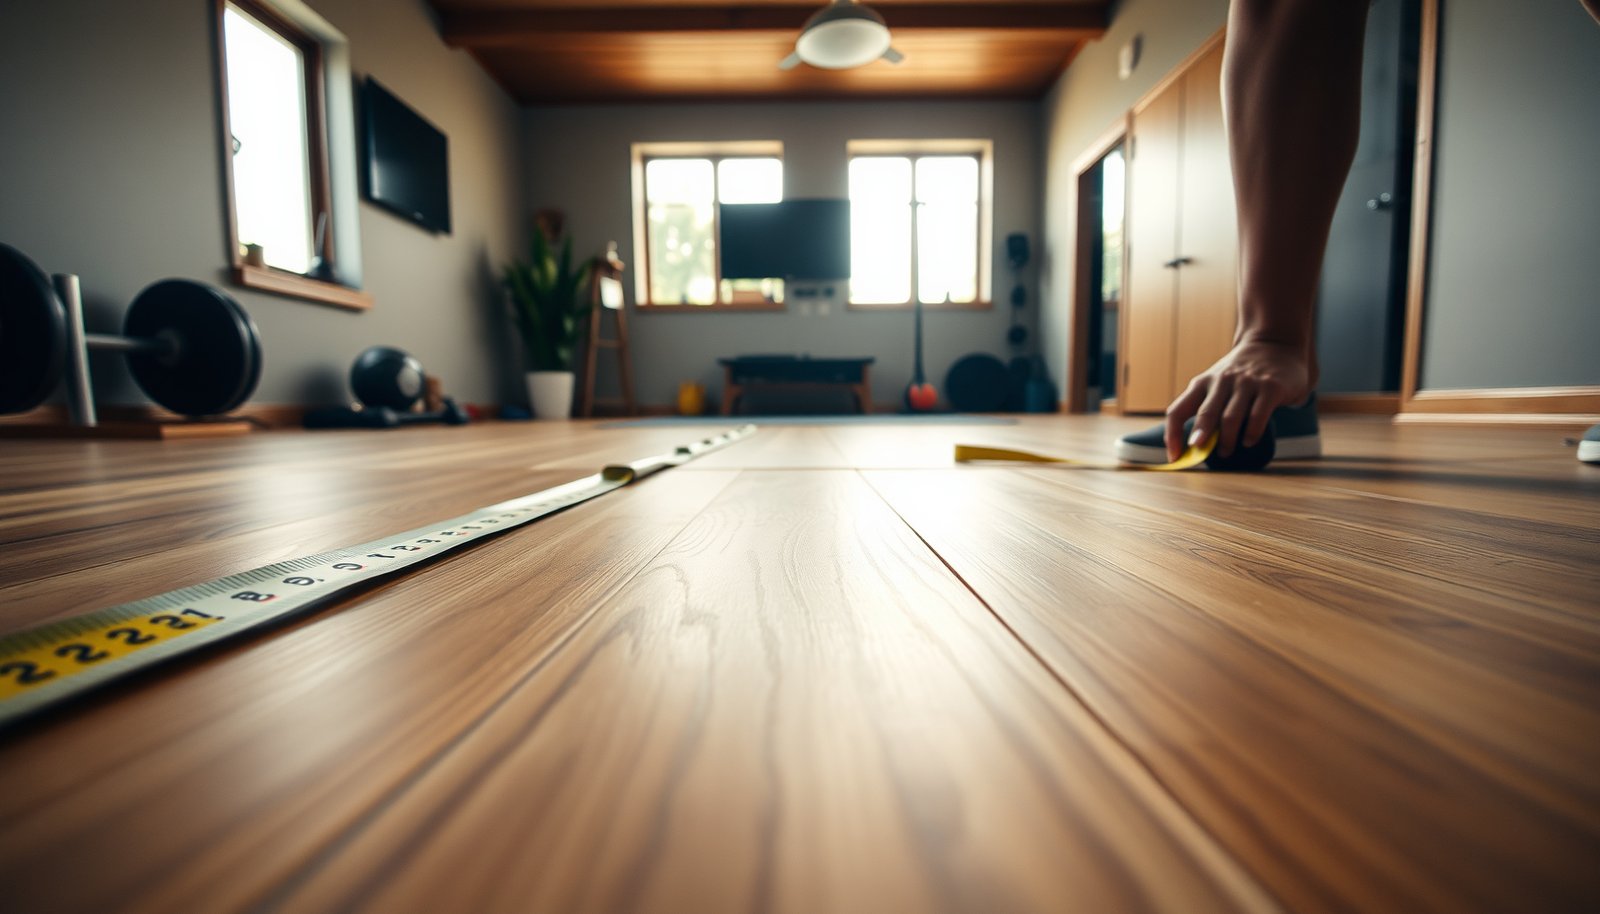
Measure first, then price—because waste and transitions are what turn a “per-square-foot” quote into a real project number. For gym layouts, plan extra allowance around obstacles like posts, doorways, and lifting equipment corners.
Accurate square footage math is the foundation for hardwood floor cost estimates; small measurement errors quickly compound with waste and transitions.
Most flooring suppliers expect extra material for cuts around doorways, posts, and equipment zones, so your quote should include a documented waste allowance for your layout.
– Calculate square footage: length × width, then add any closets, alcoves, or partial sections.
Use inside dimensions for framed openings and measure any “bump-outs” or niches where hardwood will run. If your gym includes built-in shelving, consider whether it’s truly “full coverage” or if you’ll stop and transition.
– Add a waste factor for cuts around obstacles (doorways, posts, equipment corners). If you don’t know what to use, ask your flooring supplier what their recommended allowance is for your layout and plank width: .
In my own estimating workflow on remodels, I’ve found the most reliable quotes come from using the supplier’s stated waste number for your plank format (narrow plank layouts often increase cut waste).
– Budget for transitions/edges (thresholds, stair nosing if applicable, trims around vents or built-ins).
Gyms frequently connect to hallways, bathrooms, or adjacent flooring types—each junction typically needs a reducer, transition strip, or edge trim. Don’t let bids lump these into “misc.”; insist they list them.
Estimate material cost for the hardwood you want
To price hardwood flooring correctly, match the cost to the exact product specification and the exact installation system. The same “species and finish” label can hide meaningful price differences when thickness, click-lock design, or finish level changes.
Two hardwood products can share a similar look but have different installation requirements, so quotes must reference the full spec (thickness, width, construction, and method).
For hardwood flooring in 2026, the most comparable bids separate plank price, grade/color upcharges, and accessory SKUs instead of using one lump-sum number.
– Pick the construction type (solid vs. engineered) and finish level (prefinished vs. unfinished), because these choices change both price and installation/finishing labor.
Solid hardwood can perform well, but in basement gyms or slab-on-grade areas it often requires stricter moisture conditions. Engineered hardwood is frequently chosen for stability—but confirm with the manufacturer’s installation instructions for your specific environment.
– Use the exact spec sheet for thickness/width and installation method (nail-down, glue-down, floating/engaged systems) to ensure you price the right system.
Thickness can affect fastening strategy, transition height, and underlayment selection. Width can impact waste and layout complexity.
– Get quotes that separate: plank price, any color/grade upcharges, and extras (matching reducers/t-molds, baseboards/trim replacements) rather than one lump sum.
This is especially important if you expect high visual scrutiny near equipment benches or home-bar sightlines.
Budget for prep work (where most estimates go off track)
Prep work is where hardwood floor cost estimates often diverge, because “ready to install” is not the same thing as “manufacturer-approved.” For gyms, you’re also more likely to demand tight workmanship since dents, movement, and squeaks become more noticeable under concentrated training loads.
Subfloor flatness and moisture condition are not optional for hardwood flooring performance; they directly affect gapping, squeaks, and long-term wear.
Underlayment and moisture barriers must follow the chosen manufacturer’s requirements, especially over slabs or basements.
– Subfloor checks: flatness/leveling and moisture condition can require repairs before any flooring goes down.
Even “mostly flat” subfloors can exceed the manufacturer’s tolerance. Common prep tasks include grinding ridges, patching low spots, and ensuring proper fastening where the subfloor is wood-framed.
– Underlayment + moisture barrier: gym basements or slabs especially may need additional layers depending on manufacturer requirements: .
In concrete installations, don’t assume that one barrier is universal—most hardwood warranties tie acceptance to the specific system (barrier product, underlayment type, seam tape, and installation details).
– Surface upgrades: smoothing compounds, patching, removal of existing flooring, and haul-away—get line items for these so you can compare bids.
If you’re removing carpet or old vinyl, ask whether subfloor remediation is included (fastener pulls, leveling, and debris removal). Those details affect both cost and quality.
Estimate installation and finishing (DIY vs. pro)
For most home gyms, you’ll get the best cost predictability by pricing the installation as a scope package: prep included, transitions included, and finishing scope explicitly stated. Then compare that total to your DIY supply list and your schedule risk.
A pro quote is only comparable if it includes the same prep scope and the same moisture/underlayment plan required for your hardwood flooring warranty.
If your hardwood is unfinished, finishing changes both cost and timeline; verify whether labor for sanding/staining/sealing is included.
– DIY route: price tools and supplies you may not already own (saws/blades, spacers, leveling compound, adhesives if required, floor protection during curing).
DIY can be cost-effective on small areas, but gyms are rarely “small,” and accuracy is harder around obstacles. Also, training rooms often stay in use—cure times and protection rules can become a schedule bottleneck.
– Pro route: request an install quote that includes prep scope and transitions, not just “install hardwood.”
If the installer doesn’t inspect or document your subfloor condition up front, you risk paying for rework when they discover leveling needs mid-project.
– If your system is unfinished, finishing cost can add labor and materials (sand time, stain, sealer, cleanup). Confirm whether the quote includes finishing or only installation: .
Finishing in a gym environment requires careful debris control and predictable temperature/humidity.
DIY vs. Pro: what to compare in your bid
- DIY install — Pros
- Lower labor line item if you already own tools; more control over cut sequencing around equipment zones.
- DIY install — Cons
- Higher risk of missed prep tolerances; often longer project time, which can prolong downtime and dust exposure.
- Pro install — Pros
- Consistent execution around transitions; better alignment with manufacturer tolerances and warranty requirements.
- Pro install — Cons
- Higher upfront cost; scheduling coordination and potentially additional charges if moisture/flatness issues appear.
What can go wrong (and how to avoid it)
Most hardwood flooring cost surprises come from ignoring prep tolerances, moisture requirements, or the reality of gym impacts. In 2026, the best prevention is to force clarity: written scopes, documented moisture/flatness checks, and an installation method compatible with your training style.
Even strong hardwood can fail or look uneven if the subfloor isn’t brought within the manufacturer’s required flatness tolerance.
Basement or slab gyms are high-risk areas for hardwood flooring without the specified moisture barrier system and documented moisture testing.
– Underestimating prep/flatness: even good hardwood can fail or look wrong if the subfloor isn’t ready per manufacturer tolerances. .
If you’re budgeting only “installation,” you’re budgeting blind. Ask bidders to include an explicit plan for measuring flatness and what happens if targets aren’t met.
– Skipping moisture requirements: especially with basements/slabs, ignoring the required moisture testing and barrier approach can lead to cupping/gapping.
This is where warranties commonly get narrow. If you want warranty protection, make sure moisture testing and barrier installation match the manufacturer’s stated approach.
– Not planning for gym impact: heavy dumbbells, dropped weights, and concentrated loads can dent or shift certain flooring setups. Consider floor protection (rubber mats under equipment, lifting platforms where appropriate) and confirm the installation method is compatible with your use case.
In practice, you don’t just need “durable wood”—you need an installation method that resists movement and a protection plan that prevents repeated point impacts.
– Buying “close enough” planks: mismatched lot/color can be noticeable—ask suppliers how they recommend handling additional boxes if you run short.
If you’re close to the edge of an order quantity, request guidance on lot matching and how overage material is handled.
Verdict / tip
For most home gyms, the most reliable approach is a line-item estimate (material + prep + underlayment/moisture protection + installation/finishing), then get at least two quotes using the same scope. If your subfloor needs major leveling, moisture remediation, or you’re uncertain about the installation method, hiring a pro is usually worth it; the downside is higher upfront cost and more scheduling coordination.
Also, don’t skip risk controls: protecting the “impact zone” (lifting platform area, dumbbell staging area) is often cheaper than replacing a section later. Skip this DIY-style estimating method (and/or get professional assessment) if you’re dealing with an unknown slab/basement moisture condition, major subfloor damage, or complicated transitions.
7 Common Hardwood Species for High-Impact Training Zones (Janka Hardness)
| # | Species | Janka Hardness (lbf) | Typical Density (lb/ft³) | Gym Durability |
|---|---|---|---|---|
| 1 | Jatoba (Brazilian Cherry) | 2350 | 67 | ★★★★★ |
| 2 | Hickory | 1820 | 56 | ★★★★☆ |
| 3 | Hard Maple | 1450 | 50 | ★★★☆☆ |
| 4 | White Oak | 1360 | 50 | ★★★☆☆ |
| 5 | Red Oak | 1290 | 47 | ★★☆☆☆ |
| 6 | Walnut | 1010 | 42 | ★☆☆☆☆ |
| 7 | Cherry | 950 | 38 | ★☆☆☆☆ |
Quick hardwood floor cost checklist (copy/paste)
– Gym square footage (L×W + add-ons):
– Waste allowance % (supplier/layout-based):
– Hardwood material cost per sq ft (your exact product):
– Underlayment/moisture barrier + accessories:
– Subfloor prep/repairs/leveling + disposal:
– Transitions/trim/thresholds:
– Installation labor: (or $___/sq ft, if quoted)
– Finishing (if unfinished):
– Total estimate:
Sources
– National Wood Flooring Association (NWFA) installation guidelines:
Hardwood floor cost estimation for a home gym is most accurate when you treat it like a scope-and-warranty project, not just a materials quote: hardwood planks are only one component. In 2026, the smartest path is line-item pricing (material + prep/moisture + installation/finishing) plus allowances for waste and transitions, then comparison-shopping with identical scopes—so you avoid the common “cheap floor, expensive surprise prep” scenario.
Frequently Asked Questions
What’s the typical cost to install hardwood floors in a home gym?
The total cost usually includes hardwood flooring materials, subfloor preparation, installation labor, and finishing (e.g., sanding and sealing). Many homeowners budget by square foot, with prices varying widely based on wood species, plank width, thickness, and whether you need underlayment or leveling. If your gym needs added moisture protection or a vibration-reducing underlayment, those upgrades can add to the hardwood floor cost. To estimate accurately, price both materials and labor per square foot and multiply by your gym’s square footage, then add 10–20% for unexpected subfloor or acclimation needs.
How do I estimate hardwood flooring cost per square foot for my gym?
Start by measuring your gym’s floor area and calculating total square footage, then get the installed price per square foot from your preferred options. Break it into components: hardwood plank price, underlayment, vapor barrier (if needed), fasteners or adhesive, labor, and finishing costs if you’re not using prefinished hardwood. Account for waste by adding 5–15% depending on room layout, cuts, and plank orientation. Finally, add any gym-specific requirements—like a rubber mat zone for heavy equipment or a thicker underlayment for impact reduction—to avoid underestimating the final total.
Which wood species and thickness options are most cost-effective for a home gym?
Species and thickness affect both the material price and how you can refinish the floor over time. Typically, more affordable species and engineered hardwood can lower upfront cost while still offering durability, especially for gyms where the floor may see rolling weights and occasional dropped equipment. Solid hardwood is often more expensive, and its suitability depends on humidity control and subfloor conditions; engineered hardwood is often easier to install and manage in varied climates. Compare the expected lifespan and refinishability against your budget to determine the best cost-to-durability fit for your home gym.
How should I factor subfloor prep, underlayment, and moisture control into my hardwood gym flooring estimate?
Subfloor prep is one of the biggest variables in total hardwood flooring cost, including leveling, repairs, moisture testing, and removal of existing flooring. For a home gym, adding the right underlayment can improve comfort and reduce sound from foot traffic and dropped weights, and a vapor barrier can protect against moisture issues that may warp or damage wood. If your slab or subfloor has moisture readings outside manufacturer specs, you may need mitigation, which will add cost. Always include these steps in your estimate so your “per-square-foot” number reflects real installed conditions.
Why can home gym hardwood floors cost more than typical living areas, and how can I budget for that?
Home gyms often require additional durability considerations like better wear layers, impact-reducing underlayment, and sometimes extra protection around heavy equipment zones. You may also need more detailed installation planning (more cuts around baseboards, columns, or machines), which increases labor time. To budget effectively, estimate flooring plus installation, then add line items for waste, moisture protection, underlayment, and any transitions to other rooms (like thresholds or stair nose pieces). Request a detailed quote from installers that specifically mentions your gym use-case so you can compare bids on the same scope and avoid surprise add-ons.
📅 Last Updated: October 17, 2026 | Topic: How to estimate the cost of hardwood floors in a home gym? | Content verified for accuracy and freshness.
References
- Wood flooring
- Flooring
- https://www.thespruce.com/hardwood-flooring-cost-5072964
- My Link
- https://www.gsa.gov/real-estate/design-construction/cost-estimating
- https://scholar.google.com/scholar?q=how+to+estimate+hardwood+flooring+cost+installation+waste+labor+materials Google Scholar
- https://scholar.google.com/scholar?q=hardwood+floor+installation+cost+factors+nail-down+glue-down+floating Google Scholar
- https://scholar.google.com/scholar?q=construction+cost+estimating+method+unit+cost+flooring+materials Google Scholar