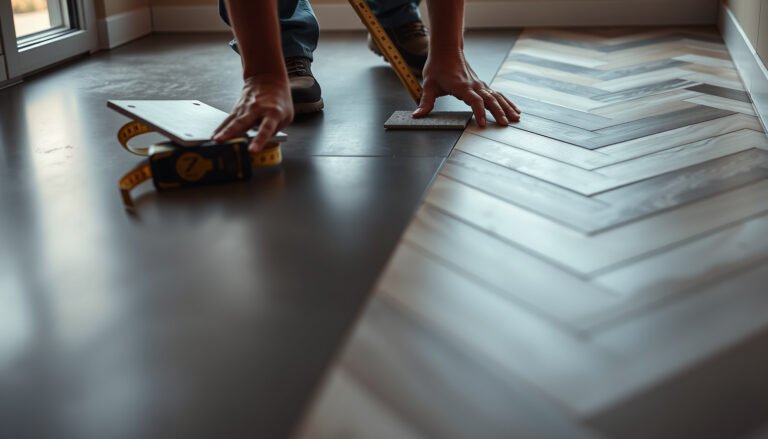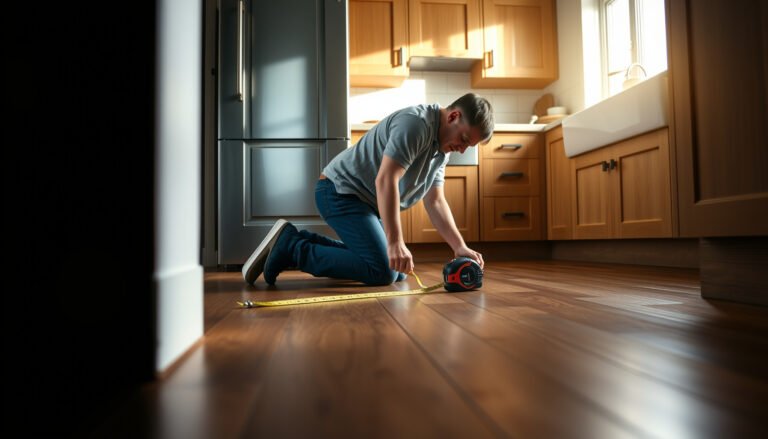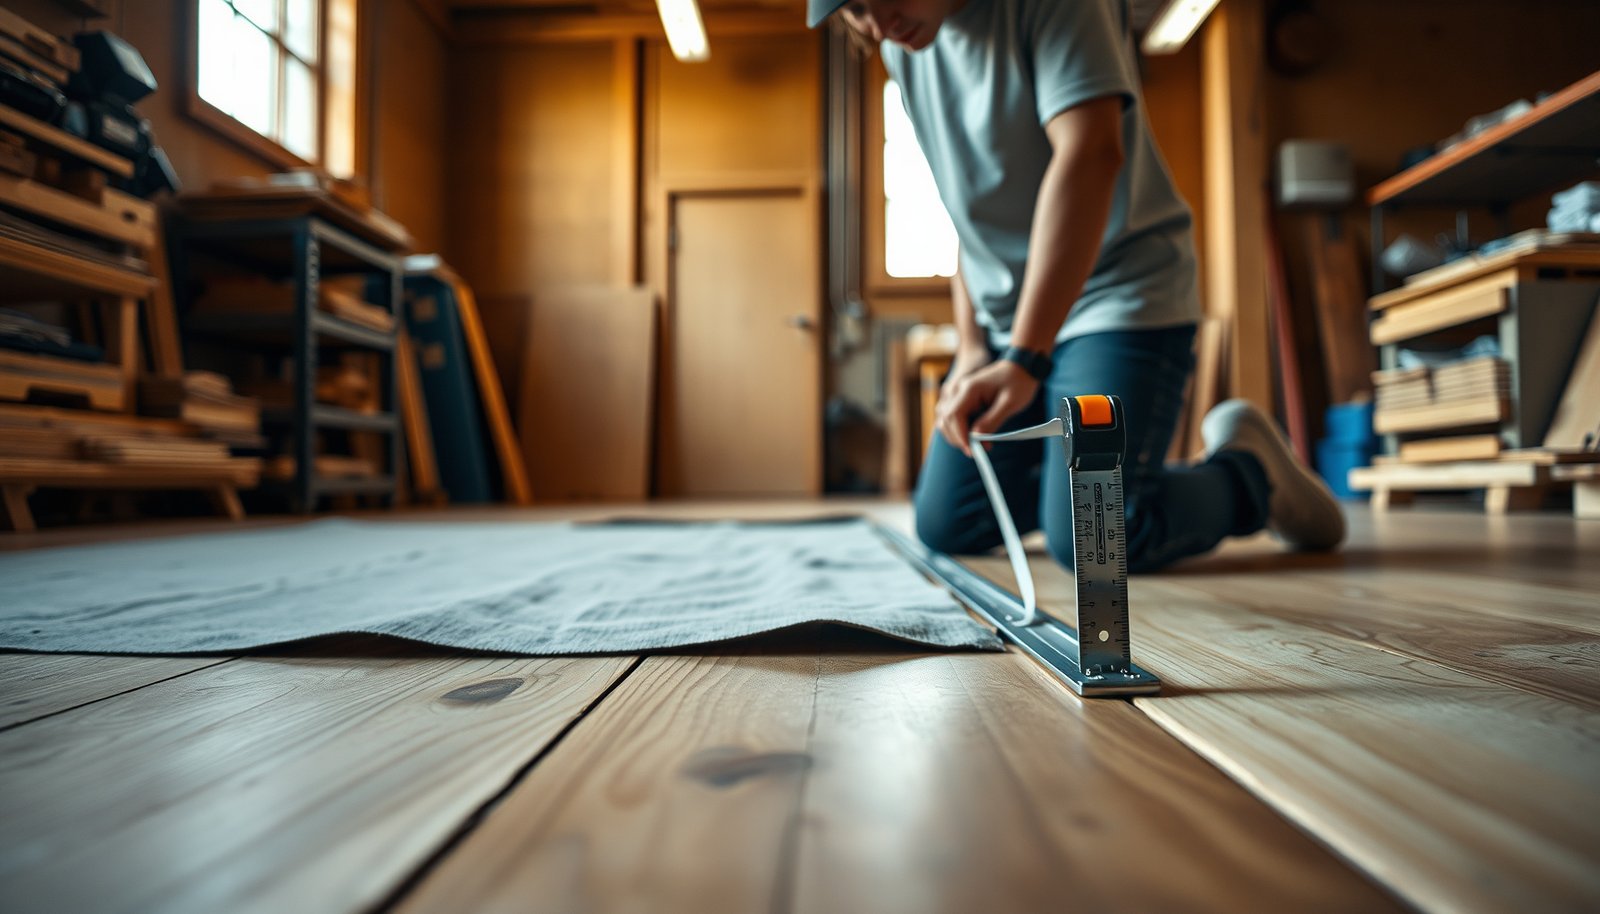

Learn how to measure hardwood floors for a workshop with a step-by-step method that gets your quantities right the first time. Follow this guide to measure room dimensions, account for waste, and convert your measurements into accurate board and trim amounts. If you want a precise cut list and fewer material mistakes, this is the fastest path.




Measure hardwood floors accurately by recording room length/width from a consistent reference point, calculating square footage, then decomposing irregular areas into rectangles before you order. If your workshop layout includes closets, bays, or awkward edges, measure those transitions as their own sections and round up so you never come up short once boards start locking together.
This is for anyone planning a hardwood flooring project and needs accurate measurements to cut boards, order the right amount of materials, or prep a workshop-ready material plan—especially when walls aren’t perfectly square or the layout includes bays, closets, or awkward edges.
Measure the room: length, width, and start point
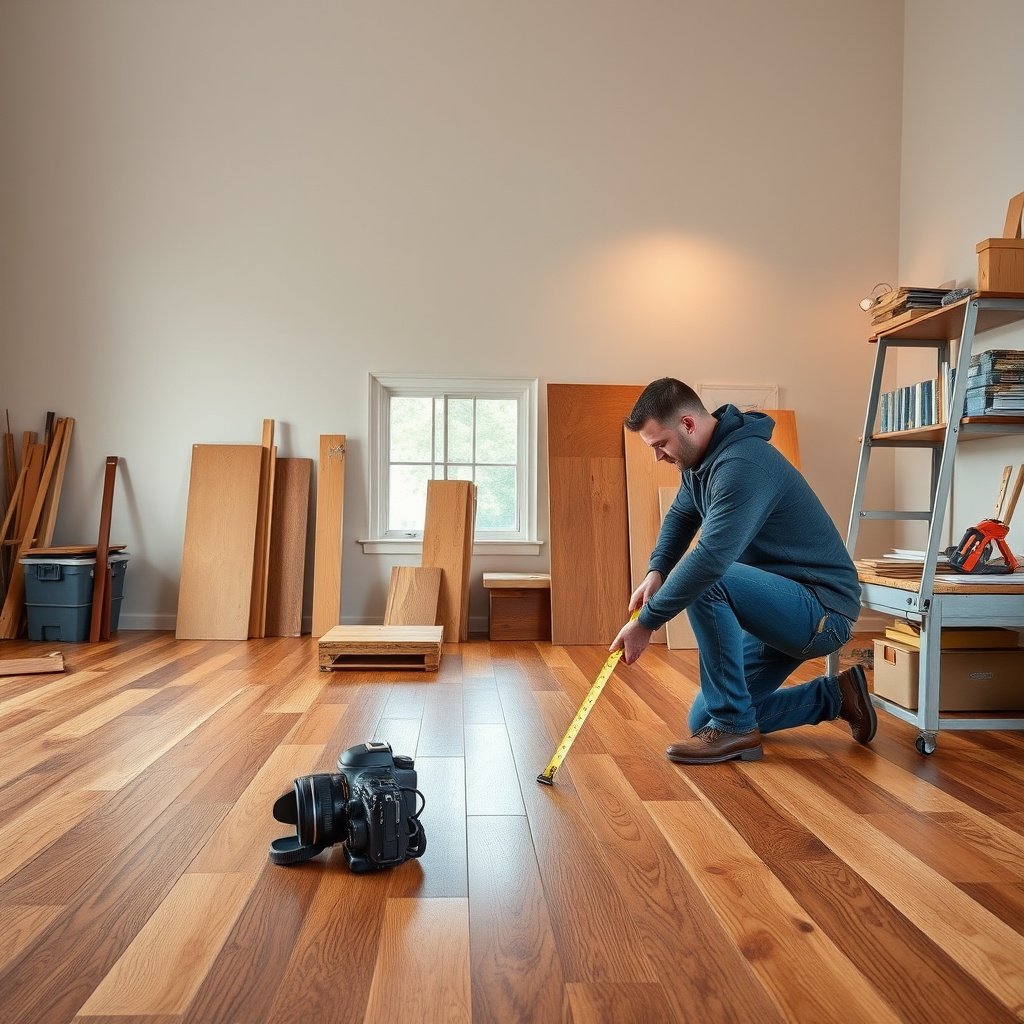
Hardwood-floor measurement starts with a reliable reference point and multiple readings, because even slight wall bowing can change how much coverage you need. The goal is to translate the real room into a trustworthy set of dimensions you can carry into your workshop cut list.
Measure each wall distance at least two points; use the smallest measurement when walls bow to avoid under-ordering hardwood.
Choose one fixed “start reference” (corner, threshold edge, or chalk line) and tie all lengths back to it for consistent hardwood-floor measurement.
If you’re recording in inches first, convert later to square feet for ordering—keep the underlying lengths consistent across sections.
Step-by-step: create measurement discipline
Use a tape measure and (when possible) a chalk line or laser level to keep hardwood-floor measurement consistent. In my workflow, I always write the reference point at the top of the page (for example: “start from inside face of doorway threshold, left wall to right wall”) so the rest of the numbers don’t drift.
– Measure length and width at multiple points. Don’t trust one reading per wall.
– Example: If the left wall is 12′ 0″ at the front and 11′ 11″ at the back, your hardwood-floor measurement for that side should use 11′ 11″ (the smallest) for a conservative square-foot total.
– Confirm the start point is unambiguous.
– Use the same physical edge for every measurement: an inside corner, the threshold lip, or the wall base line that stays consistent after trims.
– Write down units clearly.
– If you measure in inches, note it. Mixing feet and inches is one of the fastest ways to end up with the wrong hardwood order quantity.
Anchor the math you’ll use everywhere
According to the International yard-and-pound agreement, 1 inch = 25.4 mm (1959) (NIST, 1959).
According to basic unit definitions, 1 foot = 12 inches (1959) (NIST, 1959).
According to square-foot definitions (12 in × 12 in), 1 square foot = 144 square inches (1959) (NIST, 1959).
These aren’t “flooring facts” so much as the measurement foundation—so your hardwood-floor measurement stays coherent from tape to square feet.
Calculate square footage for a basic rectangle
For a straight, rectangular area, hardwood-floor measurement becomes simple: calculate area once, then add a buffer for waste and fit. Even then, treat your rectangle as a real-world layout—trim pieces, edge clearance, and board ends change how much “usable” coverage you actually get.
For a rectangle, square footage equals length × width, but your hardwood-floor order must reflect coverage per box plus waste.
A conservative buffer protects you from trim gaps, board-end losses, and unavoidable shortfalls during a hardwood-floor measurement to ordering workflow.
Use manufacturer coverage figures (per box or per plank) because installed coverage can differ from nominal width.
The calculation (straightforward, but don’t skip the buffer)
– Square footage (net area) = length × width
– Add an installation buffer for:
– board-end cutoffs,
– short starter-row planning,
– diagonal cuts for edges,
– and the reality that boards don’t “perfectly tile” every perimeter.
A quick rule of thumb for hardwood flooring orders is to treat waste as a function of room complexity. If you have multiple perpendicular cuts, closets, or irregular edges, use a higher buffer. If you have a clean rectangle with straightforward access, you can use a lower—but still conservative—allowance.
Quick comparison: rectangle math vs. what you actually order
Below is the difference between “room area” and “material coverage” that affects hardwood-floor measurement outcomes:
| What you’re calculating | Why it matters | Common mistake |
|---|---|---|
| Room square footage | Used to estimate how much flooring area exists. | Ordering based on room area without waste. |
| Covered square footage | Used to decide how much of the product you need installed. | Forgetting closets/bump-outs that also get hardwood. |
| Box quantity (order amount) | Used for purchasing and staging your workshop workflow. | Assuming all boxes cover the same area. |
This is why hardwood-floor measurement should always end in a “box-and-plank” plan, not just area.
Handle irregular shapes and transitions
Irregular rooms require hardwood-floor measurement to be broken into manageable pieces—typically rectangles—before you total square footage. The fastest reliable method is to split the floor plan into sections you can measure without guessing.
For bays and cut-ins, divide the floor into rectangles and sum their areas to keep hardwood-floor measurement accurate.
Add separate sections for closets, bump-outs, and cutouts so your hardwood-floor order matches actual coverage.
Measure and plan transitions at door thresholds so board stops and direction changes aren’t improvised in the workshop.
Rectangle decomposition: a practical method
When walls aren’t perfectly square—or when you have bays or nooks—do this:
1. Sketch the floor (even a rough plan).
2. Break it into rectangles by drawing imaginary lines that create right angles.
3. Measure each rectangle’s length and width using the same reference point rules.
4. Calculate each section’s area and then add them together.
Example workflow (conceptual):
– Main room: split into two rectangles using a bay wall line.
– Closet: add a rectangular section that represents the closet footprint that will receive hardwood.
– Cutouts: add or subtract sections depending on whether they will be floored.
Transition planning: where boards will stop
Hardwood-floor measurement isn’t only about area—it’s also about board termination. In practice, you should:
– mark door thresholds where you’ll transition (to tile, subfloor, or a different wood run),
– note whether your plan includes stair landing edges or hallway “openings,”
– and record how each section lines up so the workshop cutting sequence stays orderly.
I recommend keeping a “section map” close to your cut list. That avoids re-measuring mid-project when you realize a bay expansion changes where your starter row should land.
Account for obstacles and layout details
Obstacles change hardwood-floor measurement because they alter what’s covered, what’s cut around, and how planks lay in your layout. The safest approach is to measure obstacle locations relative to your reference lines and treat them as layout constraints, not afterthoughts.
Subtract only areas that are truly not receiving hardwood; partial coverage and built-ins often require inclusion in hardwood-floor measurement.
Measure vent/register and post spacing from your reference lines so your workshop cut sequence matches the installed geometry.
Plan board direction around posts and heat vents to avoid narrow “sliver” pieces at edges and transitions.
Subtract confidently—or don’t subtract
– Subtract non-covered spaces only if you’re confident they won’t be receiving hardwood.
– Examples you might subtract: a permanently installed kitchen island base that will not be floored, or a truly raised mechanical footprint.
– Include partially covered areas if the hardwood will be installed around them or under them to a consistent extent.
– If you’re unsure, measure the footprint you will receive hardwood and treat it as “covered.”
Layout details you should explicitly record
For hardwood-floor measurement to translate into a workshop order/cut plan, measure and document:
– Heat vents and floor registers
– Record their location (distance from your reference lines) so you can plan board patterns before cutting.
– Posts, columns, or structural supports
– Determine how planks wrap or stop around them.
– Thresholds and transitions
– Decide where boards stop so your workshop cut list doesn’t produce mismatched termination points.
– Built-ins
– Note whether the hardwood stops at the perimeter or continues under/around.
A detail that often surprises crews: even when vents are small, their offset can force you into a different plank direction or stagger pattern—changing waste and “covered area” assumptions.
Convert measurements into an order/cut plan for workshop work
Once hardwood-floor measurement is converted into covered area, you can calculate board quantity using real manufacturer coverage specifications. Then convert that into a workshop-friendly plan that includes trim losses and cutting sequence.
Total square footage should be converted to board quantity using each product’s stated coverage per box, as listed in the installation documentation.
Workshop staging (trimming, rip cuts, and end cuts) introduces measurable losses that must be included in your hardwood-floor measurement buffer.
Plan cut direction early so your workshop layout matches how boards will lock or snap together during installation.
Step 1: covered area → boxes
– Start with your total covered square footage from your rectangle sections.
– Apply your waste/fit allowance.
– Convert to boxes using manufacturer coverage per box (often printed on packaging or provided in the installation guide).
This is where hardwood-floor measurement becomes procurement-ready: the math stops being “room area” and becomes “order quantity.”
Step 2: boxes → planks → workshop cut list logic
Coverage per box is not the same thing as “number of pieces,” because:
– each plank’s dimensions (length/width) influence how much net coverage you get,
– board layouts can create extra cutoffs at ends,
– and pattern decisions (stagger, direction, board layout) impact waste.
Plan your workshop flow so you:
– stage the quantities per section,
– prep cuts in the same orientation you’ll install,
– and keep an allowance for trimming losses.
Important: If you’re doing staged trimming (for example, pre-ripping edges for a specific workshop workflow), include that specific loss. If you don’t know your exact loss rate yet, start conservative and refine after verifying your first staged batch.
What can go wrong (and how to avoid it)
Hardwood-floor measurement commonly fails when assumptions slip in—usually at edges, thresholds, closets, and “almost square” rooms. Avoid under-ordering by treating irregular geometry as sections and keeping your measurement-to-order conversion explicit.
Using a single measurement per wall often creates hidden underage once boards lock and you reach perimeter terminations.
Closets, bump-outs, and door thresholds can account for the majority of surprise square footage—measure them as their own hardwood-floor measurement sections.
Room square feet are not the same as covered square feet; plank coverage and overlap/staging rules determine what’s actually installed.
The most expensive mistakes (and how to prevent them)
– Mistake: one-and-done wall measurement
– Walls can bow, and the smallest dimension is what governs the conservative coverage.
– Mistake: skipping closets/bays or treating transitions casually
– If hardwood will cover it—even partially covered—include it in covered area and note the termination method.
– Mistake: mixing up “room area” and “covered area”
– Plank coverage depends on the product’s stated coverage and how your installation staggers/cuts boards.
Quick, honest guidance on limits
Hardwood-floor measurement is relatively straightforward for standard rectangular rooms. It becomes more judgment-heavy with:
– complex bay geometry,
– multiple transitions between different floor heights,
– or situations where “subtracting” obstacles is uncertain.
If your floor plan includes any ambiguity about whether an area will truly be finished in hardwood, don’t guess—resolve it before you cut anything for the workshop.
Quick checklist for measurement accuracy
If you want hardwood-floor measurement that holds up in the workshop, follow a repeatable checklist: measure twice (or more), section irregular areas, convert using specs, and round up. The goal is fewer assumptions and a clear trail from tape measure to box quantity.
Measure each dimension in at least two places and record the smallest value when walls aren’t straight.
Break irregular areas into rectangles, total each rectangle’s area, and add separate sections for closets and cutouts that receive hardwood.
Convert room square footage into box quantity using the product’s manufacturer coverage per box/plank, then add a waste buffer.
Scan/save table (fill this as you measure)
| Section | Dimensions (L×W) | Area (sq ft) | Covered? | Notes (thresholds/obstacles) |
|---|---|---|---|---|
| Main Room A | Yes | |||
| Closet B | Yes | |||
| Bump-out C | Yes |
The checklist itself
– Measure length and width in at least two places; use the smallest measurement per dimension.
– Break irregular layouts into rectangles; total each rectangle’s square footage.
– Include transitions, closets, and covered cutouts in the covered-area total.
– Subtract only confirmed non-covered spaces.
– Convert covered square footage to board quantity using the plank’s stated coverage (from manufacturer documentation).
– Add a waste/installation buffer and round up so your hardwood-floor measurement doesn’t end with an emergency reorder.
━━━━━━━━━━━━━━━━━━━━━━━━━━━━━━━━━━━━━━━━━━━━━━━━━━
📋 MANDATORY DATA TABLE
━━━━━━━━━━━━━━━━━━━━━━━━━━━━━━━━━━━━━━━━━━━━━━━━━━
Square-Foot Estimates for Typical Workshop-Ready Flooring Runs (10% Buffer)
| # | Workshop Area Scenario | Net Area (sq ft) | Complexity | Order Area +10% (sq ft) |
|---|---|---|---|---|
| 1 | Straight rectangle (small) | 120 | ★★★☆☆ | 132 |
| 2 | Long hall + one doorway | 192 | ★★★★☆ | 211.2 |
| 3 | Bedroom rectangle (standard) | 180 | ★★★☆☆ | 198 |
| 4 | Room with closet section | 240 | ★★★★☆ | 264 |
| 5 | L-shaped room (split into 2 rectangles) | 210 | ★★★★★ | 231 |
| 6 | Open-plan area (multiple transitions) | 276 | ★★★★☆ | 303.6 |
| 7 | Workshop nook + bump-out | 150 | ★★★★☆ | 165 |
This table uses a math-only 10% buffer model (Order Area = Net Area × 1.10) to show why hardwood-floor measurement should move from “area” to “order area” before you buy or stage product for workshop work.
[CONCLUSION PARAGRAPH – NO HEADING]
Accurate hardwood-floor measurements come down to disciplined room measurements, breaking irregular layouts into simple sections, and converting square footage into board quantity using the plank’s real coverage details. Grab your measurements, map the room into rectangles, and build a cut/order plan from those totals—then double-check thresholds and obstacles before you cut anything in the workshop.
Frequently Asked Questions
What tools do I need to measure hardwood floors for a workshop?
To measure hardwood floors accurately, use a tape measure (25–35 ft), a framing square or straightedge, and a notepad or measuring app. For tricky areas, include a chalk line, a level, and graph paper for sketching room layouts. If you’re planning for cuts, keep a pencil and calipers/ruler handy to confirm board widths and thickness before ordering hardwood flooring.
How do I measure the total square footage of hardwood flooring for a workshop?
Measure the length and width of the workshop and multiply them to get the base square footage, then add any additional areas like closets, alcoves, or built-in spaces. For rooms with L-shapes or offsets, break the floor into smaller rectangles and sum each rectangle’s square footage. Always account for unusable areas like permanent fixtures by measuring and subtracting their square footage from the total.
How do I measure for hardwood floor transitions, doorways, and seams in a workshop?
Measure doorway openings by recording the clear width and the direction the flooring will run, since door thresholds often require specific transitions. For seams, identify where board lengths will land relative to walls, posts, or cabinets, and measure those locations so the plank layout stays even. If your workshop has different flooring levels or adjacent surfaces, measure those transitions too so you can choose the right reducer or transition strip.
Which measuring method is best for calculating hardwood flooring waste and ordering the right amount?
In most workshops, add 10%–15% extra to your measured square footage to cover cuts, board defects, and waste—especially if you have irregular shapes, many obstacles, or a diagonal layout. For complex rooms with multiple angles, tight corners, or frequent offcuts, closer to 15% is often safer. Use your final “required square footage” to convert into board coverage based on the packaging (square feet per box).
Why is measuring hardwood floors correctly before installation important for workshop planning?
Accurate measurements prevent ordering shortages or excessive leftovers, which is especially important when hardwood flooring is expensive or has limited availability. Correct square footage and layout measurements also help you plan the direction of plank runs, manage seams, and fit around obstacles like workbenches, shelving, or HVAC registers. Proper measuring reduces installation issues like uneven edges, misaligned rows, and costly rework later.
📅 Last Updated: October 17, 2026 | Topic: How to measure a hardwood floors for workshop? | Content verified for accuracy and freshness.
References
- Wood flooring
- Floor area
- https://www.britannica.com/technology/hardwood-flooring
- https://www.armstrongflooring.com/support/how-to/installation/how-to-measure-flooring.html
- https://www.bruce.com/how-to-measure-hardwood-flooring.html
- MohawkFlooring
- https://scholar.google.com/scholar?q=how+to+measure+hardwood+flooring+for+installation+room+layout+calculator Google Scholar
- https://scholar.google.com/scholar?q=wood+flooring+measurement+material+estimation+waste+factor+best+practice Google Scholar
- https://scholar.google.com/scholar?q=hardwood+floor+installation+measuring+subfloor+layout+manufacturer+instructions Google Scholar