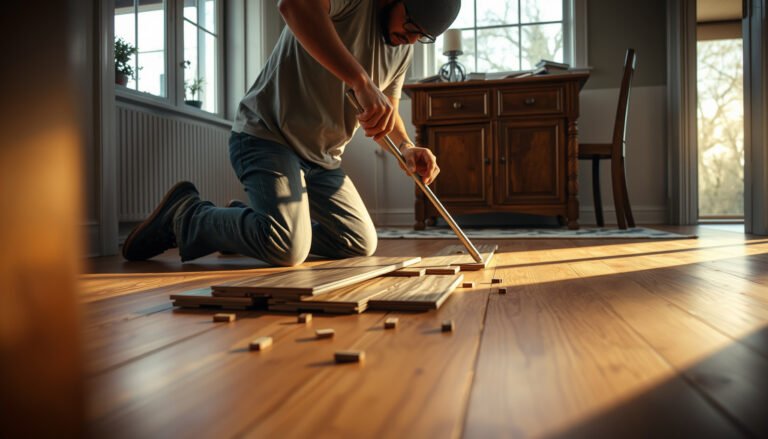

If you’re measuring hardwood floors for a kitchen, the fastest, most accurate approach is to measure by room layout and subtract obstacles rather than trying to “estimate by square footage.” You’ll learn the exact step-by-step measurements to take for length, width, and irregular cutouts around cabinets, islands, and thresholds. Follow these rules and you’ll get a takeoff that matches what installers need—so you avoid costly ordering mistakes.



Measure hardwood floors in your kitchen by calculating usable square footage (length × width), then subtracting cut-outs and permanently covered areas (like island bases and toe-kicks) before adding a waste/extra allowance based on your plank layout and manufacturer guidance. If you’re buying prefinished or engineered hardwood, this is the fastest way to get an accurate order size before any cutting starts—especially in kitchens where doorways, transitions, and built-ins change the math.
This is for homeowners planning a kitchen hardwood install—especially if you’re buying prefinished or engineered planks and need an accurate order size before cutting anything.
Gather what you need before measuring
Before you measure hardwood floors, confirm you have the right tools and that your “usable area” is defined the same way your installation plan is. In my experience, the biggest avoidable mistake with hardwood floor measurement is not the math—it’s measuring with the wrong stopping/covering rules around cabinets, thresholds, and heating registers; .
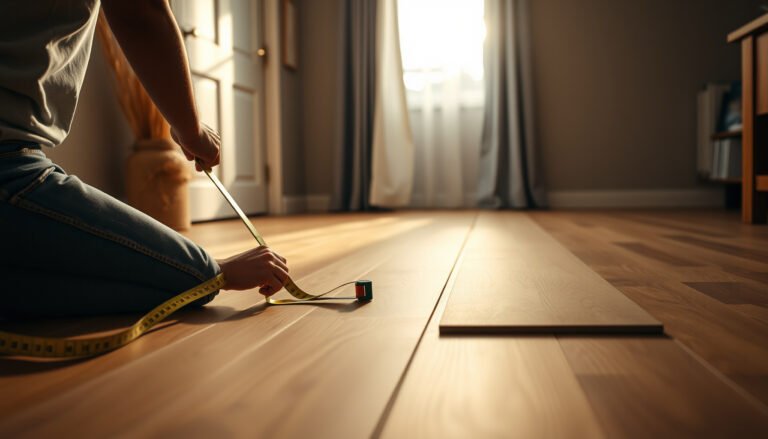
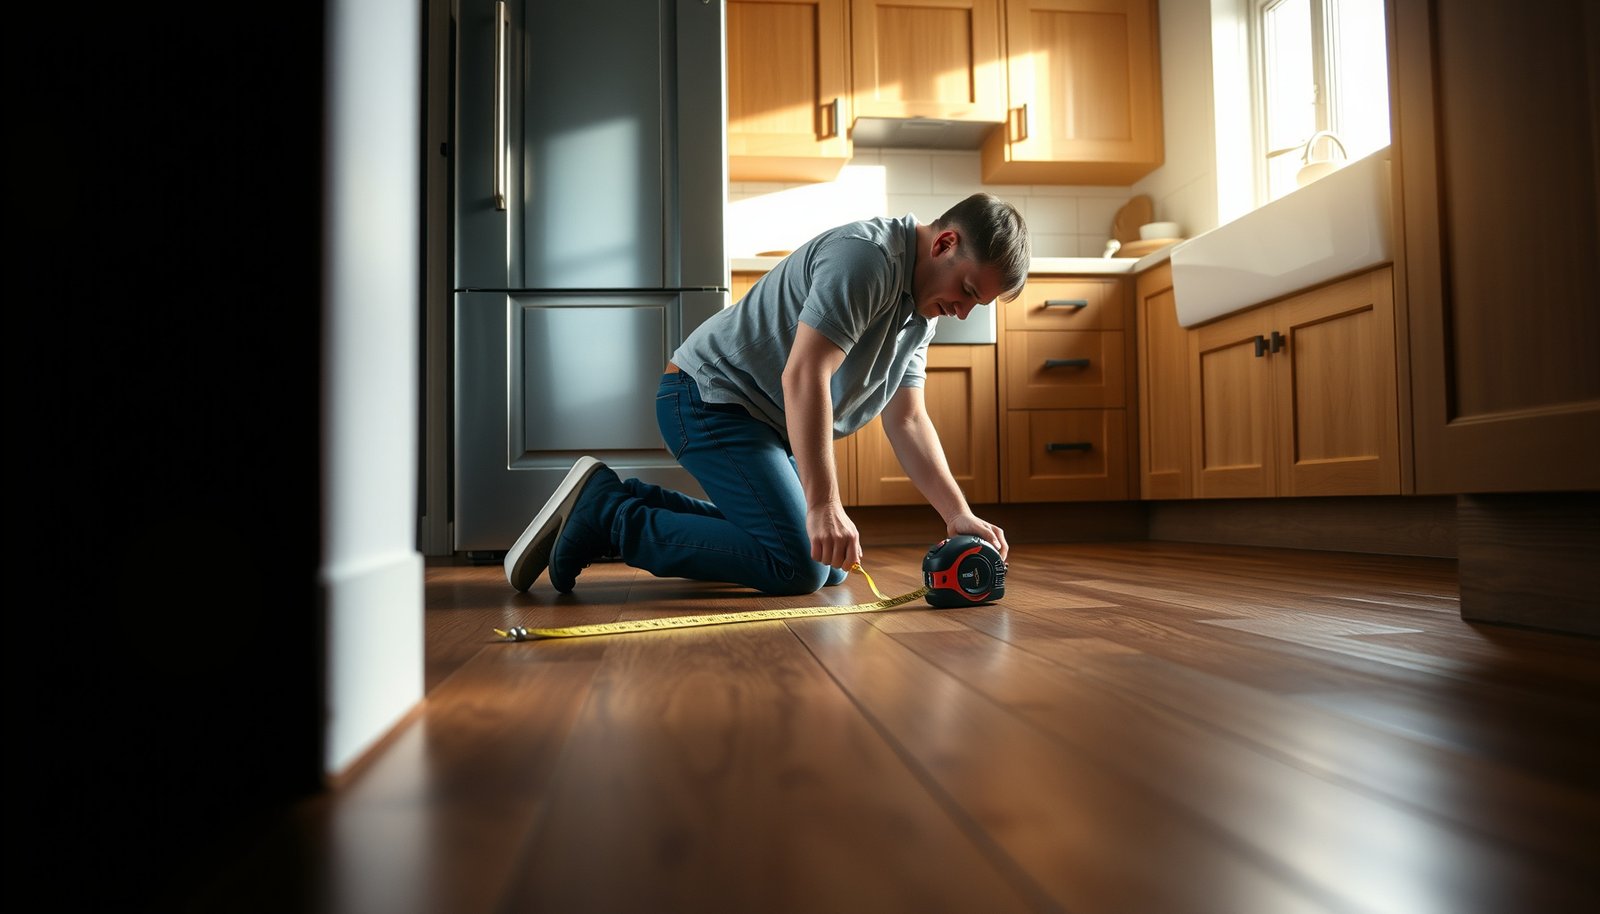
– Use a tape measure (and a notepad or sketch) so you can record every room edge and opening.
– Confirm whether your kitchen area is one continuous floor space or split by thresholds/transitions.
– If you’re removing old flooring, measure the subfloor area you’ll actually cover (not just the old flooring’s “overall look”).
A tape measure plus a simple sketch lets you document every inside-to-inside edge and opening so hardwood floor measurement stays consistent between sessions.
If a kitchen is split by thresholds or transitions, you should measure each hardwood install area separately so box coverage matches where you’ll actually lay planks.
When replacing flooring, measure the subfloor you’ll cover—not the worn perimeter of existing material—to avoid ordering too much or too little hardwood.
Measure the kitchen floor area (start with square footage)
Measure hardwood floor area by breaking the kitchen into rectangles and totaling each usable section’s square footage (inside-to-inside length × width). For most hardwood floor measurement, you’ll start with the longest inside run and widest inside run to create a baseline—then refine if the shape isn’t a clean rectangle.
– Measure the longest inside run and the widest inside run to get the basic area: length × width.
– If the kitchen shape isn’t a simple rectangle, break it into smaller rectangles/sections and add them up.
– Convert to square feet for ordering (e.g., each section’s length × width).
To keep hardwood floor measurement accurate, use consistent units from the start. For example, unit conversion isn’t optional: According to NIST (International yard and pound agreement definition), 1 foot equals exactly 0.3048 meters (1959) —NIST (International yard and pound agreement). According to NIST, 1 square foot equals 144 square inches (1959) —NIST (International yard and pound agreement). According to NIST, 1 square foot equals 0.09290304 m² (1959) —NIST (International yard and pound agreement).
Example Kitchen Rectangles: Hardwood Floor Measurement Results
| # | Inside length × width | Usable area (sq ft) | Perimeter (ft) | Measurement simplicity |
|---|---|---|---|---|
| 1 | 10 ft × 12 ft | 120 | 44 | ★★★★★ |
| 2 | 12 ft × 14 ft | 168 | 52 | ★★★★☆ |
| 3 | 9 ft × 15 ft | 135 | 48 | ★★★★☆ |
| 4 | 13 ft × 10 ft | 130 | 46 | ★★★☆☆ |
| 5 | 16 ft × 8 ft | 128 | 48 | ★★★☆☆ |
| 6 | 11 ft × 11 ft | 121 | 44 | ★★☆☆☆ |
| 7 | 14 ft × 12 ft | 168 | 52 | ★★★★☆ |
Hardwood floor measurement typically starts with inside-to-inside dimensions, because ordering is based on the actual area you’ll cover—not exterior wall measurements.
If the kitchen is not rectangular, splitting into smaller rectangles keeps length × width math accurate for hardwood floor measurement.
Converting to square feet is necessary because most hardwood flooring cartons list coverage by square footage (sq ft per box).
Quick comparison: square feet vs counting planks (use square feet). In most real installations, hardwood floor measurement is more reliable in square feet because box coverage is square-foot based. If you count planks first, you still need to translate to cartons, and that’s where waste handling gets murky.
- Measuring in square feet
- Best for ordering because cartons list coverage by sq ft; you then apply waste based on layout complexity and manufacturer guidance.
- Counting planks
- Useful only after you’ve finalized plank direction and stagger; it can work for small, simple kitchens, but it’s easier to miscount around cut-outs.
Account for obstacles, cut-outs, and transitions
Account for obstacles by subtracting areas you won’t cover and by treating transitions (doorways, thresholds, and height changes) as their own measurement problems. For hardwood floor measurement, the “usable area” isn’t the same as the “room area,” especially in kitchens with permanent islands, built-ins, and HVAC penetrations.
– Subtract non-floor areas like built-in cabinets, permanent islands, fireplaces, or other areas you won’t lay over (follow your flooring rules for what is or isn’t covered).
– Note openings and penetrations: doorways, HVAC vents, and floor registers—decide whether you’ll transition or stop and start.
– If you’ll run planks into adjacent rooms, measure those transition areas separately so your totals match your actual layout.
Hardwood floor measurement also depends on your installation decisions: floating (engineered click) versus nail-down/wet-mix adhesives (common with some engineered or solid hardwood). In 2026, homeowners frequently pair engineered hardwood with kitchens that have more transitions and moisture exposure, so the “stop/start” rule becomes part of the hardwood floor measurement plan.
Hardwood floor measurement should subtract areas under fixed structures if your installation guidance requires clearances or a floor-free footprint.
Doorways and transitions often determine the practical stopping point for hardwood floor measurement, because you can’t assume a continuous run across a threshold.
HVAC vents and floor registers require layout decisions upfront; otherwise, you may end up with non-usable short cuts that increase waste.
Plan plank direction and add the right extra for waste
Plan plank direction early, because it changes how many end cuts and awkward corner cuts hardwood floor measurement creates. Then add extra (waste/overage) using your exact flooring manufacturer’s ordering guidance—because waste varies dramatically between straight runs and diagonal or complex patterns.
– Decide on plank direction early (parallel to the longest wall is common), because it affects how many cuts you’ll make.
– Use your layout to estimate cuts near walls, corners, and along obstacles—more angles usually means more waste.
– Add an allowance for waste/extra planks using the flooring manufacturer’s recommended ordering guidance: .
From a hardwood floor measurement standpoint, the “extra” isn’t just for broken boards. It also covers: (1) trimming to square the first rows, (2) staggering requirements, and (3) additional short pieces that you typically can’t reuse when you hit toe-kicks, cabinet faces, or door casing lines.
Plank direction affects hardwood floor measurement accuracy because it changes how often you’ll cut against corners, islands, and doorways.
Waste allowances for hardwood floors are highly product- and pattern-dependent; manufacturers provide a specific ordering guidance for a reason.
Add extra after calculating usable sq ft, not before—otherwise your hardwood floor measurement can compound errors and inflate ordering.
What can go wrong (and how to avoid it)
Hardwood floor measurement errors usually come from inconsistent “what counts” rules and rounding too aggressively. If you’re installing in a kitchen, the most expensive miscalculation is often forgetting to subtract the exact footprint that your installation guidelines say must remain floor-free.
– Forgetting to subtract cabinet islands or other areas you won’t cover can lead to over-ordering and a bigger mismatch than you expect.
– Measuring only the “main rectangle” and ignoring bump-outs or angled walls can under-order by a surprising amount.
– Mixing units (inches vs. feet) or rounding too aggressively at each step often causes cumulative errors.
– Not planning for transitions (thresholds, thresholds at doorways, or flooring height changes) can force last-minute changes when the new material doesn’t match.
Honest recommendation: If your kitchen has multiple doorways, a permanent island, and a likely need for transitions into adjacent areas, plan on doing a section-by-section hardwood floor measurement on paper or in a spreadsheet before you open cartons. If you’re uncomfortable with subtracting cut-outs, or you haven’t identified your transition plan (threshold type, direction, and stopping points), it’s often better to pause and confirm your plan with your flooring installer or follow the manufacturer’s installation guidance precisely. This isn’t a “skip the math” project in 2026 kitchens.
Rounding during hardwood floor measurement can compound when you’re summing multiple sections, so keep intermediate numbers in feet and square feet until the final step.
Cabinet and island footprints should be handled according to your specific hardwood installation guidance, because “looks covered” does not always equal “should be covered.”
Transitions control the usable area—hardwood floor measurement totals are only meaningful when they match where planks will actually stop or change to another surface.
Quick measurement checklist + FAQ + sources
Use this scan-ready checklist before you buy:
| Step | What to do | Done? |
|---|---|---|
| 1 | Sketch the kitchen layout with walls, openings, and obstacles | ☐ |
| 2 | Measure each section’s length and width (inside-to-inside) | ☐ |
| 3 | Add all section square footages | ☐ |
| 4 | Subtract areas you won’t cover (per your flooring plan) | ☐ |
| 5 | Confirm how you’ll handle doorways/thresholds/transitions | ☐ |
| 6 | Add manufacturer-recommended waste/extra for ordering | ☐ |
| 7 | Compare your total to how boxes list coverage (sq ft per box) | ☐ |
Frequently Asked Questions
What is the best way to measure hardwood floors for a kitchen?
Start by measuring the length and width of the kitchen floor area, then multiply for total square footage. If your kitchen has a step-down, island, or irregular shape, break the area into smaller rectangles and add the square footage together. Add a waste factor of 10–15% for cuts, scribing, and hardwood floor expansion gaps.
How do you measure for hardwood floor planks when the kitchen has cabinets and islands?
Decide whether you’ll install hardwood flooring under cabinets and toe-kicks or stop at cabinet bases—this choice changes what you measure. If you’re installing under cabinets, measure the full open floor area including the cabinet footprint, subtracting only permanent non-install zones like certain plumbing clearances. If you’re stopping at toe-kicks, measure only the exposed subfloor area and plan for a clean transition where the flooring ends.
Which measurements should you take for kitchen floor transitions and thresholds?
Measure the width of doorways, hallways, and any transitions to tile, laminate, or vinyl so you can calculate trim, reducer strips, or T-molding requirements. Include the full length from transition edge to transition edge, not just the main room dimensions, because hardwood floors often require expansion space at each doorway. Note the height difference between flooring types to ensure the transition piece matches the finished floor thickness.
How do you calculate square footage for hardwood flooring in a kitchen with an L-shape or multiple rooms?
Draw the kitchen layout and divide it into sections with straight lines, then measure each section’s length and width separately. Calculate square footage per section (length × width), then sum them for total coverage. For openings like closets or built-in appliances that won’t receive hardwood flooring, subtract their square footage from the total before adding your 10–15% waste factor.
Why do you need extra material when measuring hardwood floors for a kitchen, and how much should you add?
Hardwood installation requires extra planks for cutting around walls, vents, and cabinets, plus board end-joints that don’t align across the room. Most kitchens call for adding 10% waste for simple layouts and up to 15% for complex kitchen floor plans with many obstacles, diagonals, or irregular edges. Always keep in mind that flooring often ships in set box quantities, so buying based on rounded box totals helps avoid delays.
📅 Last Updated: October 16, 2026 | Topic: How to measure a hardwood floors for kitchen? | Content verified for accuracy and freshness.