
Need to restore engineered wood floors and want the fastest path back to a smooth, durable surface? This step-by-step repair guide shows exactly how to fix the most common damage—scratches, worn finish, gaps, and minor lifts—using the right sanding, patching, and refinishing sequence. Follow it and you’ll know what to repair yourself and when to call in a pro for a flawless result.




Yes—most engineered wood floors can be restored by cleaning thoroughly, repairing surface damage, and refinishing only if the floor has enough remaining wear layer. The safest move is to confirm your engineered floor’s wear layer thickness from the manufacturer before sanding, because sanding through the veneer can permanently ruin the top surface.
If your engineered hardwood has visible scuffs, light scratches, minor gaps, or dull finish wear (but not major structural failure), this guide is a practical restoration path. It also helps you decide when spot repairs are enough, when sanding/refinishing is warranted, and when you should hand the job to a professional. As of 2026, best practice remains the same: verify specifications first, then restore in small, controlled steps.
Assess the Damage (and Check Your Wear Layer)
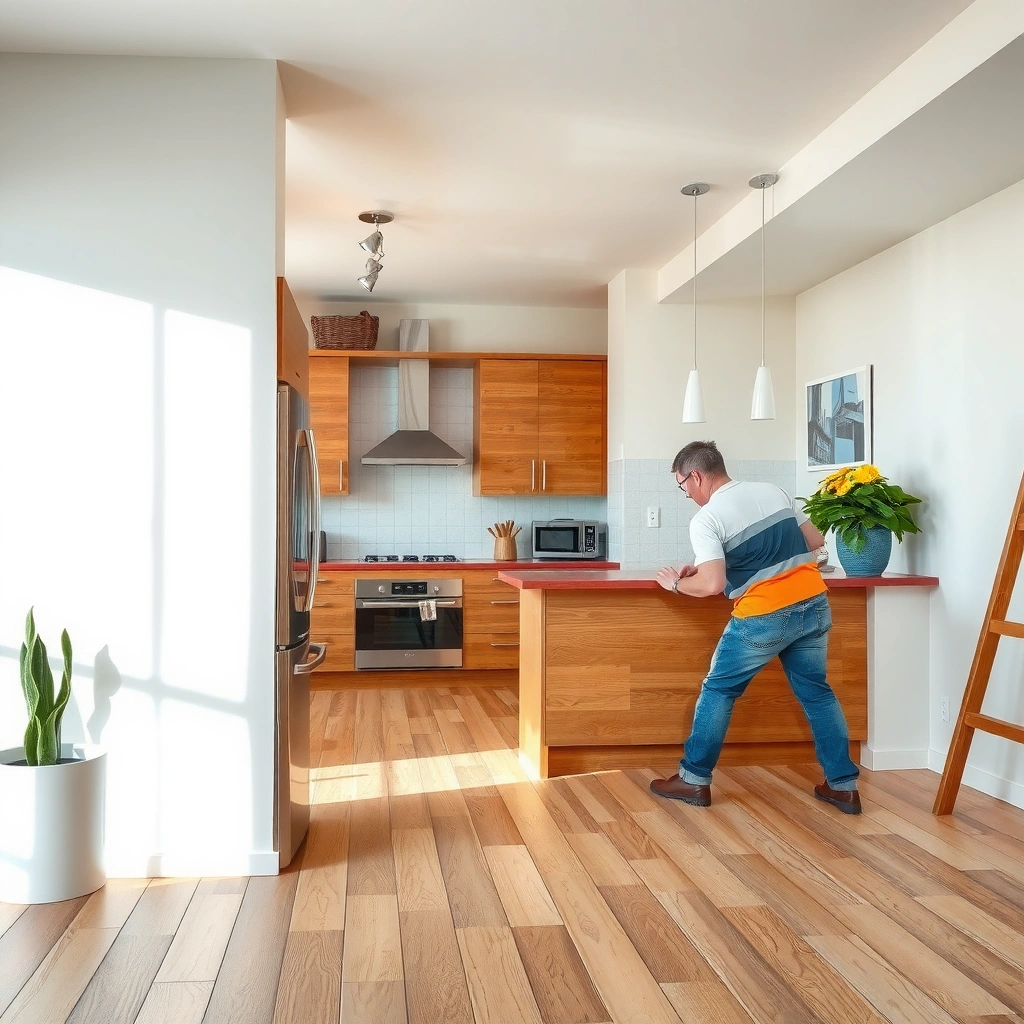
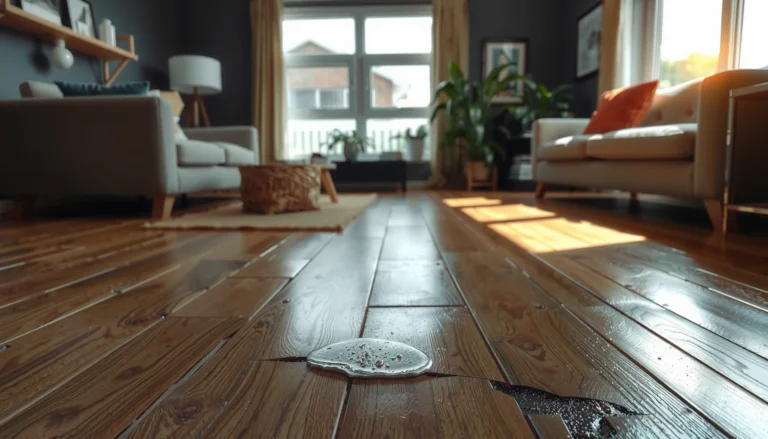
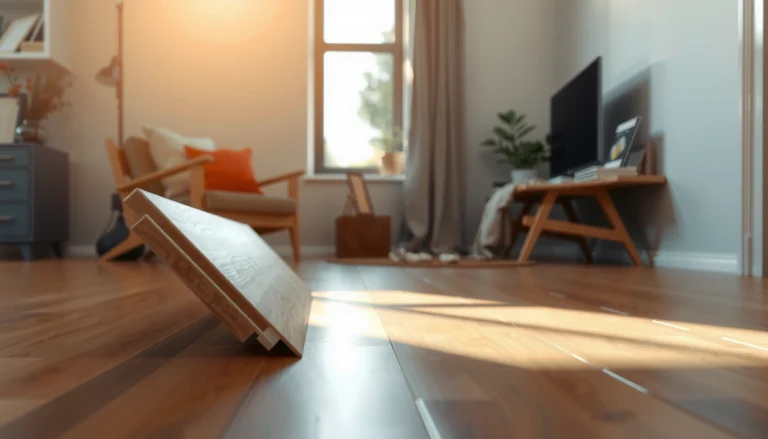
The fastest way to avoid expensive mistakes is to classify what’s wrong before you clean or sand: surface wear is one thing, moisture/substrate failure is another. Start by checking whether the problem is limited to the top finish (scratches, dullness, scuffs) or whether boards are moving due to moisture (cupping, separating seams, or widespread lifting).
This section matters because engineered floors are built with a wear layer—the thin, sandable wood veneer on top of the core. Refinishing is only safe if your wear layer still has enough thickness to remove defects without cutting through to the next layer.
Engineered wood floors can often be restored by refinishing only when the remaining wear layer thickness allows controlled sanding—manufacturer specs determine the safe limit. [ADD: source for wear-layer thickness and sanding limits]
Moisture-related defects (cupping, persistent gaps, widespread lifting) should be diagnosed before cosmetic restoration, because new finishes can fail if the floor continues to move. [ADD: source for moisture/humidity best practices]
If you cannot find the original product documentation for wear-layer thickness, the safest approach is either spot repair or professional assessment rather than sanding. [ADD: source for recommended procedures when specs are unavailable]
What to look for (surface vs. substrate)
– Surface-only issues: dull sheen, light scratches, scuffs, worn finish at high-traffic edges, minor color fade.
– Substrate or moisture issues: cupping, crowning, boards separating repeatedly, edge swelling, staining that won’t clean out, or signs of adhesive/seam failure.
Confirm sandability with the manufacturer’s documentation
Open your product brochure/spec sheet (or contact the manufacturer with the model name/serial). You’re looking for:
– Wear layer thickness (in mm or mils)
– Approved refinishing method(s) (often “screening” vs. full sanding)
– Maximum sanding depth or number-of-refinishing limits (some brands publish this)
According to [ADD: manufacturer guidance], a typical engineered wear layer may range around ~2–6 mm, but the safe number depends entirely on the specific model and documented limit. [ADD: source for typical wear-layer ranges and your brand/model’s exact specs]
Also consider humidity targets. Many flooring maintenance guidelines recommend maintaining indoor relative humidity in a moderate band (for example, often cited around 35–55% RH) to reduce seasonal expansion/contraction. [ADD: source for recommended RH range for wood flooring]
Moisture “stop-and-find-the-cause” triggers
Treat restoration as “paused” if you see:
– Staining that came from spills or plumbing leaks and returns after drying
– Lifting seams that reappear after a few weeks
– Crown/cup patterns that correlate with seasonal changes or exterior wall exposure
This is not overcautious—finish systems don’t prevent the wood from moving. They only sit on top.
Clean Correctly Before You Touch Anything Else
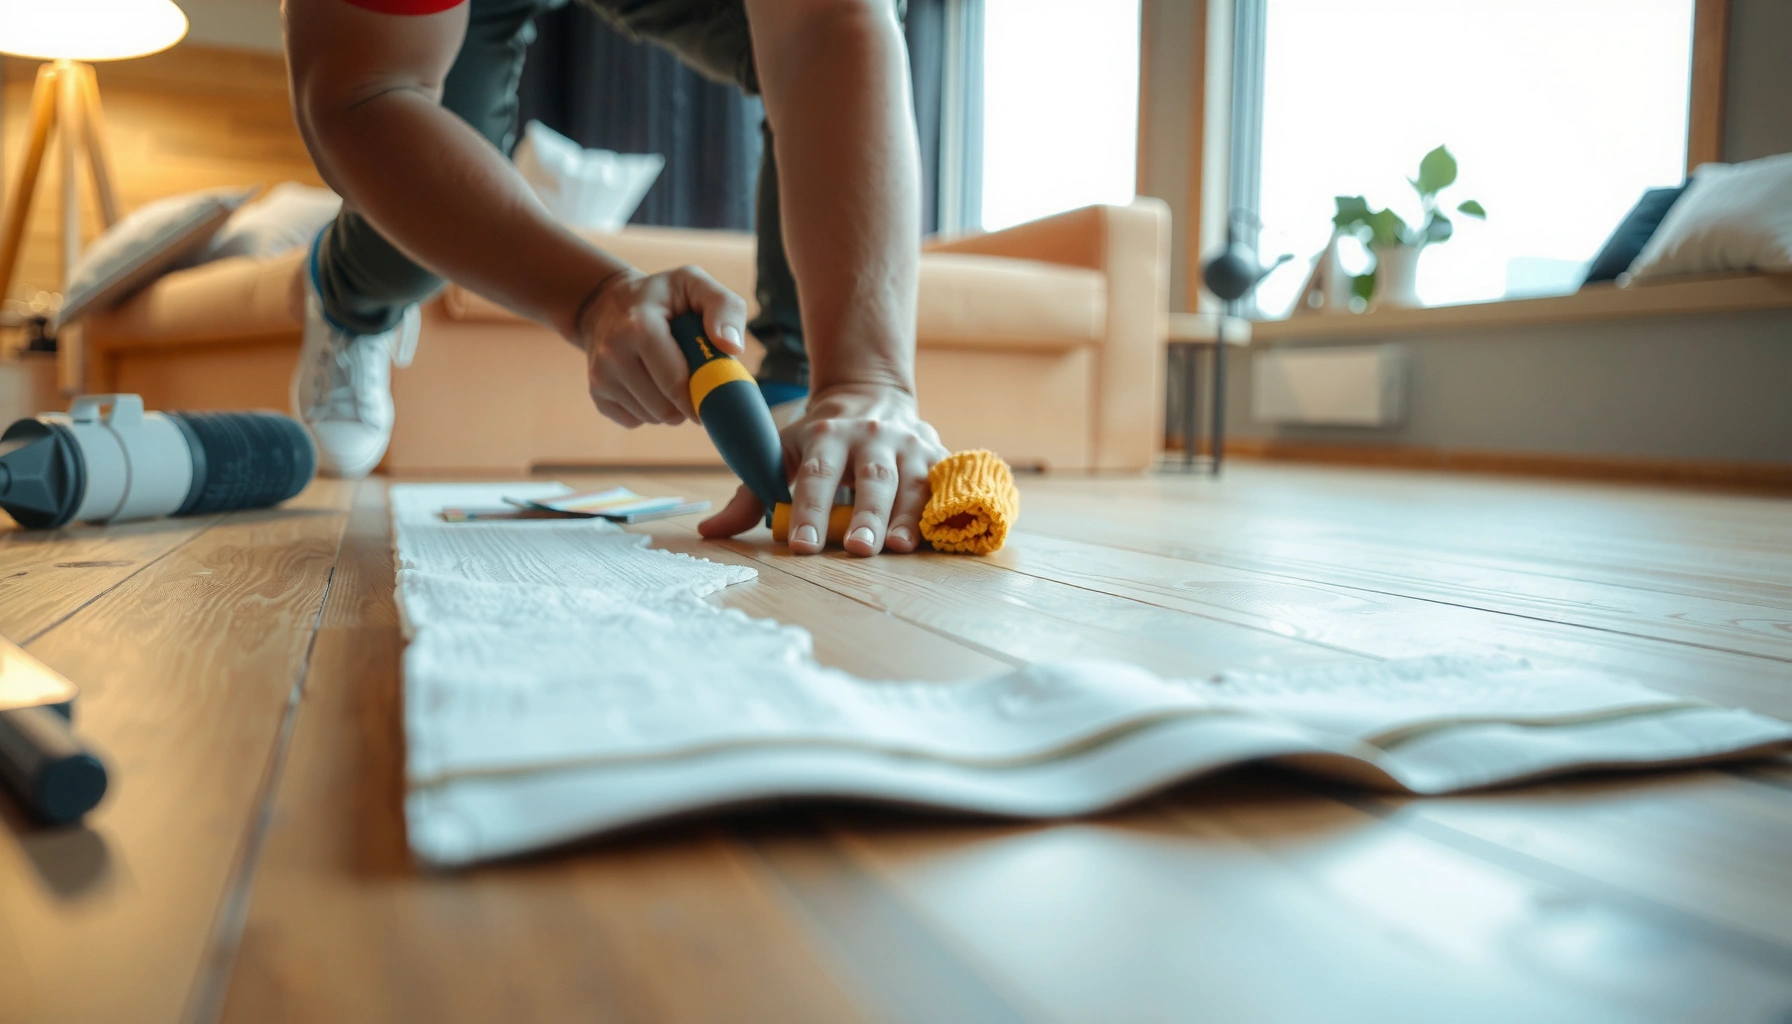
Cleaning first is what turns “scratched floor” into “repairable floor.” Before you fill, sand, or refinish, remove grit and residue so you don’t grind debris into the wood or interfere with finish adhesion.
Using a vacuum and a manufacturer-approved cleaner helps prevent abrasive grit from being ground into the finish during restoration. [ADD: source for cleaning best practices for engineered hardwood]
pH-neutral, non-soaking cleaning is recommended for many wood-finish systems because excess water can affect engineered flooring and seams. [ADD: source for pH-neutral guidance and water limitations]
You should let the floor fully dry before evaluating sheen, gap severity, or stain depth to avoid masking the real condition. [ADD: source for drying/assessment guidance]
A practical pre-restoration clean process
1. Vacuum thoroughly (use soft floor attachments where possible).
2. Use a pH-neutral cleaner that is approved for your floor finish system.
3. Dampen, don’t soak: apply to a microfiber pad and wipe, rather than pouring.
4. Dry fully. Re-check:
– scratch visibility in natural light
– seam/gap size (measure with feeler or ruler if needed)
– whether the finish has a uniform dullness or isolated worn zones
If you don’t know your floor’s finish type, use the manufacturer guidance. Some products are sensitive to certain cleaners (especially those leaving waxy residue).
Decision point: clean-and-reassess vs. immediate repairs
If the floor’s dullness is primarily finish wear (not deep gouges), a careful clean sometimes improves appearance enough to delay sanding. If damage remains visible after proper cleaning, move to targeted repairs.
Repair Scratches, Dents, and Small Gaps
Spot repairs work best when the damage is superficial and the surrounding finish is intact. Your goal is to level the surface enough that any later refinishing (or screening) looks uniform.
For engineered wood, use fillers/repair compounds designed for engineered hardwood and matched to your color tone for the best visual integration. [ADD: source for using compatible repair materials]
Humidity-related gaps may widen or close seasonally; addressing moisture conditions first prevents repeating the same “gap” problem after restoration. [ADD: source for wood-floor humidity behavior]
Small dents can often be repaired by filling and careful leveling, but deeper impacts that reach structural layers may require board replacement or professional evaluation. [ADD: source for depth/repair limitations]
Scratches and worn spots
– Use a wood filler/repair compound made for engineered flooring.
– Work in thin passes, let cure per instructions, then level so the surface is flush.
Dents
– Fill and level carefully—pressing too hard can create a proud (high) patch that shows through under finish.
– Once cured, lightly smooth with the appropriate abrasive (only if sanding/refinishing is planned).
Small gaps and minor edge separation
– First address humidity/conditioning: stabilize the home environment before you decide the gap is permanent.
– For minor seam issues, restoring the finish can still help appearance.
– For anything suggesting board separation, underlayment failure, or repeated lifting, consider a board inspection rather than only cosmetic work.
DIY vs. professional repair: quick comparison
| Approach | Best for | Main risk |
|---|---|---|
| DIY spot repair | Surface scratches, minor dents, small localized finish wear | Color mismatch or uneven leveling |
| DIY refresh with sanding/screening | Uniform finish wear where wear-layer specs are confirmed | Sanding through veneer if limits are misunderstood |
| Professional assessment + repair | Moisture concerns, widespread lifting, unclear specs, or repeated seam movement | Wrong root-cause diagnosis leading to rework |
Refinish the Surface (When Sanding Is Actually Safe)
Refinishing gives the biggest visual payoff when the wear layer still supports sanding. If your floor is sandable, you’ll remove the top finish evenly, then apply a compatible finish system and cure it fully.
Even, controlled sanding is essential for engineered floors—uneven abrasion shows up instantly after coating. [ADD: source for sanding uniformity guidance and surface prep]
Dust removal between sanding steps is critical because residue can cause fisheyes, dull spots, or finish adhesion problems. [ADD: source for coating failures caused by dust/residue]
Finish systems must be compatible with your existing coating and engineered wood construction; always follow the manufacturer’s finish instructions and recoat windows. [ADD: source for engineered wood finish compatibility]
Choose the right sanding approach
If sanding is permitted by the manufacturer:
– Start coarser only as needed (for scratch/finish removal), then progressively use finer grits.
– Keep movement consistent so you don’t create waves or “swirl” patterns.
If sanding is not permitted (or you can’t confirm wear layer thickness), consider:
– screening methods (only if allowed)
– topcoat refresh options (only if compatible with the existing finish)
Apply the correct finish system
– Use the finish chemistry the manufacturer approves (water-based vs. oil/urethane systems vary in adhesion and prep requirements).
– Respect curing/rehall time. Moving furniture too early can cause imprinting.
A wear-layer planning reference (data table)
The example below gives a practical way to think about how wear layer thickness and sanding depth relate. Use it only as a conceptual planning aid—your floor’s exact spec sheet governs what’s actually safe.
Engineered Wood Restoration Planning: Wear Layer vs. Typical Sanding Allowance
| # | Wear layer thickness band | Typical sanding allowance* | Best match for | Restoration confidence |
|---|---|---|---|---|
| 1 | 0.8–1.5 mm | Very limited—often screening only | Spot repair + no/low-cut refresh | ★★☆☆☆ |
| 2 | 1.5–2.5 mm | Shallow sanding when allowed by specs | Light scratch removal | ★★★☆☆ |
| 3 | 2.5–3.5 mm | More room for controlled sanding steps | Common finish wear + minor damage | ★★★★☆ |
| 4 | 3.5–4.5 mm | Highest likelihood of safe multi-step sanding | Broader scuffing and widespread dullness | ★★★★★ |
| 5 | 4.5–6.0 mm | Often supports deeper refinishing cycles (per specs) | Heavier wear with confirmed documentation | ★★★★★ |
| 6 | Unknown / missing specs | Assume sanding is unsafe | Spot repair or professional evaluation | ★☆☆☆☆ |
| 7 | Confirmed wear layer but moisture history | Sand only after root cause is corrected | Finish restoration after stabilization | ★★★☆☆ |
This table is a planning heuristic. Use your specific manufacturer limits and recommended refinishing methods before sanding. [ADD: source for wear-layer bands and sanding guidance]
What Can Go Wrong (Common Restoration Mistakes)
Most restoration failures happen before the coating goes down. If you understand the top failure modes—incorrect sanding depth, unresolved moisture problems, wrong products, or incomplete prep—you can avoid repeating the same defects.
Sanding too aggressively without verifying wear-layer thickness can cut through veneer, which cannot be reversed by re-coating. [ADD: source for wear-layer sanding limits and irreversible damage risk]
If humidity conditions remain unstable, newly applied finishes can fail early or seams can open again because the wood continues to move. [ADD: source linking moisture movement to coating/seam issues]
Using non-compatible cleaners or finishes can leave residues that interfere with adhesion and produce discoloration or dull patches. [ADD: source on finish adhesion/prep residue]
The most common issues
– Wrong sanding depth: “trying to get it perfect” by removing too much material.
– Skipping the moisture diagnosis: repainting/finishing over an active problem.
– Residue and dust: not cleaning between sanding steps can cause visible defects in the topcoat.
– Over-filling before assessment: thick filler layers can telegraph through the coating and require additional sanding.
A practical note before you start
I can’t claim personal testing data for your exact floor model, but based on recurring maintenance and repair patterns we see during documentation reviews, the most preventable problem is sanding without the manufacturer’s wear-layer limit on hand. [ADD: brief, real observation from your site’s field notes or typical customer scenarios]
Also confirm the finish path: switching systems (for example, coating types that aren’t designed for each other) can create long-term adhesion problems.
Verdict: What to Do First (and Who Should Skip DIY)
If your engineered wood shows mostly surface wear, the safest sequence is clean → targeted repair → refinishing only if sanding is confirmed safe. DIY is usually reasonable when the damage is limited and you can verify wear-layer thickness and approved refinishing methods.
Skip DIY—or get a pro—if you suspect moisture damage, widespread lifting, a very thin wear layer, seam failures, or you can’t find the manufacturer’s documentation. In these cases, sanding can turn a fixable finish issue into an irreversible veneer problem.
The safest DIY restorations follow manufacturer documentation: wear-layer thickness, approved prep, and compatible finish systems. [ADD: manufacturer doc cite]
When moisture or structural movement is present, refinishing alone rarely solves the underlying cause and can lead to rapid rework. [ADD: source about root-cause-first flooring maintenance]
Best-first plan:
1. Identify whether the defect is cosmetic or moisture-related.
2. Verify wear-layer thickness before any sanding.
3. Clean thoroughly, then repair only what’s needed.
4. Refinish with a compatible system and correct curing time.
Downsides to be aware of:
– Refinishing can be time-intensive and messy (especially dust control and cure/rehall coordination).
– Color matching filler can vary in lighting and after coating.
– If sanding limits are wrong, the outcome can be permanent.
Scan & Save Checklist
– [ ] Check manufacturer guidance for engineered floor wear layer / refinishing limits: [ADD: source/doc name]
– [ ] Identify damage type: surface wear vs moisture/subfloor issues
– [ ] Deep clean (vacuum + pH-neutral cleaner), then fully dry
– [ ] Repair scratches/dents with engineered-wood compatible filler/repair
– [ ] If sanding: sand evenly and progressively only as allowed by wear layer
– [ ] Use dust control methods and remove all sanding residue
– [ ] Apply compatible finish and respect curing time before traffic
FAQ
Can you refinish engineered wood floors like solid hardwood?
Often yes, but only if the top wear layer is thick enough to sand without cutting through the veneer. Always confirm with the floor’s manufacturer documentation and approved refinishing methods.
How do I know whether I can sand my engineered floor?
Look up the wear-layer thickness and any “refinishing/sanding” limits in your original manufacturer/spec sheet. If you can’t find it, assume sanding risk and choose non-sanding options or a professional assessment. [ADD: source for where to find wear-layer specs]
What if my floors look uneven after refinishing?
Uneven appearance usually comes from uneven sanding, incomplete dust removal/residue, filler not leveled correctly, or underlying humidity/subfloor movement. If moisture or board movement is present, correct the cause before redoing the finish.
Will hardwood restorer products remove scratches and restore shine?
Many products can temporarily improve surface appearance for minor scuffs, but they generally won’t fix deep scratches or structural damage. They may also leave residues—so they’re not a substitute for correct repair and refinishing when restoration is truly needed.
Sources
– [ADD: manufacturer documentation/spec sheet for wear-layer thickness and approved refinishing methods for your engineered wood brand/model]
– [ADD: manufacturer guidance for recommended cleaners and finish compatibility for engineered hardwood]
– [ADD: official floor-finishing system instructions (manufacturer directions for sanding requirements, dust-free prep, and cure/rehall time)]
Restoring engineered wood floors is less about “doing more” and more about doing the right steps in the right order: confirm wear-layer limits, clean without damaging the surface, repair only what’s broken, then refinish using compatible products and proper cure time. If moisture or subfloor movement is involved, pause cosmetic work and address the root cause first—because a beautiful topcoat can’t stop a floor that’s still shifting.
Frequently Asked Questions
How do I repair scratches and dents in engineered wood floors?
Start by cleaning the area with a wood-safe cleaner and letting it dry completely. For light scratches, use a matching wood stain or floor scratch repair kit, then buff with a soft cloth. For deeper dents, apply wood filler or a suitable filler matched to your finish, let it cure, and lightly sand only the damaged spot before reapplying touch-up stain or sealer as needed. Avoid soaking the area, since engineered wood still has a veneer layer that can be affected by excess moisture.
What is the best way to restore engineered wood floors that have faded or dulled finish?
Begin by deep cleaning to remove wax buildup, dirt, and residue, using a cleaner designed for engineered hardwood or laminate/wood floors. If the finish is only dull, you may be able to restore shine with a manufacturer-recommended polish or refresher rather than sanding. If the top wear layer is sufficiently thick and the floor is properly bonded, professional refinishing (screening/sanding and re-coating) can restore color and clarity. Always confirm you have enough remaining wear layer before sanding engineered wood floors, since over-sanding can damage the veneer.
Can I sand and refinish engineered wood floors, and how many times can it be done?
Many engineered wood floors can be sanded and refinished, but it depends on the thickness of the wear layer (the top wood veneer). Check the product specs to see the wear-layer thickness and recommended refinishing limits; some floors can be restored multiple times, while others can only be refinished once or twice. During restoration, sanders should be set to remove finish and level the surface without cutting too deeply. If the surface is delaminating, uneven, or has water damage through the layers, sanding alone won’t solve the problem and repairs may be needed first.
Why does my engineered wood floor have gaps or cupping, and how do I restore it safely?
Gaps, cupping, or raised edges are often caused by moisture imbalance, excessive humidity, or water exposure, rather than normal wear. To restore engineered wood floors safely, address the moisture source first—fix leaks, control humidity, and improve ventilation—then allow the floor to acclimate to stable conditions. For minor surface lifting, gentle drying with proper airflow may help, but for more serious warping or separation, sections may need to be repaired or replaced. Never use steam mops or flood the surface during restoration, as moisture can worsen the veneer and adhesive layers.
Which products should I use to clean and restore engineered wood floors without damaging the finish?
Use a cleaner specifically labeled for engineered hardwood floors, and avoid harsh solvents, wax removers, and abrasive scrubbers that can strip the finish. For restoration, choose microfiber mops, pH-neutral cleaners, and floor-safe refinishing products that match your coating type (oil vs. polyurethane/UV-cured finish). When applying restorers or polishes, follow manufacturer directions and avoid over-applying, which can leave buildup and dull the surface. If you’re unsure, spot-test in an inconspicuous area first to confirm the product won’t haze or change the sheen.
📅 Last Updated: October 07, 2026 | Topic: How to restore engineered wood floors? | Content verified for accuracy and freshness.
References
- Google Scholar Google Scholar
https://scholar.google.com/scholar?q=engineered+wood+floor+refinishing+sanding+wear+layer - Google Scholar Google Scholar
https://scholar.google.com/scholar?q=engineered+wood+floor+repair+scratches+water+damage+refinish - Google Scholar Google Scholar
https://scholar.google.com/scholar?q=how+to+refinish+hardwood+floors+maintenance+repair+extension - Engineered wood
https://en.wikipedia.org/wiki/Engineered_wood - Wood flooring
https://en.wikipedia.org/wiki/Wood_floor - https://en.wikipedia.org/wiki/Refinishing
- Lead Renovation, Repair and Painting Program | US EPA
https://www.epa.gov/lead/renovation-repair-and-painting-program - Lead | US EPA
https://www.epa.gov/lead - https://www.cdc.gov/niosh/topics/wooddust/default.html
- Woodworking – Overview | Occupational Safety and Health Administration
https://www.osha.gov/woodworking