You can repair engineered wood floors in a closet quickly and effectively—when you match the fix to the damage, from minor scratches to separated planks. This guide shows exactly what to do to assess the problem, choose the right patch or filler, and restore the surface so the closet looks finished again. If you’ve got loose seams, gaps, or surface wear, you’ll get a clear step-by-step repair path that actually holds up.




Repairing engineered wood floors in a closet usually means fixing the specific failure first—seam gaps, lifted boards, scratches, or damaged wear layers—then controlling moisture and traffic so it doesn’t come back. Start by checking whether the planks are loose or just surface-worn, because the right fix changes depending on how deep the damage goes.
This guide is for homeowners dealing with engineered wood flooring inside closets (often a higher-risk spot for moisture and grit) who want a practical, step-by-step approach without replacing the whole floor. If you suspect major subfloor issues (softness, water staining spreading, persistent odor), you’ll also see when to stop and call in help.
Assess the Damage (Surface vs. Subfloor)
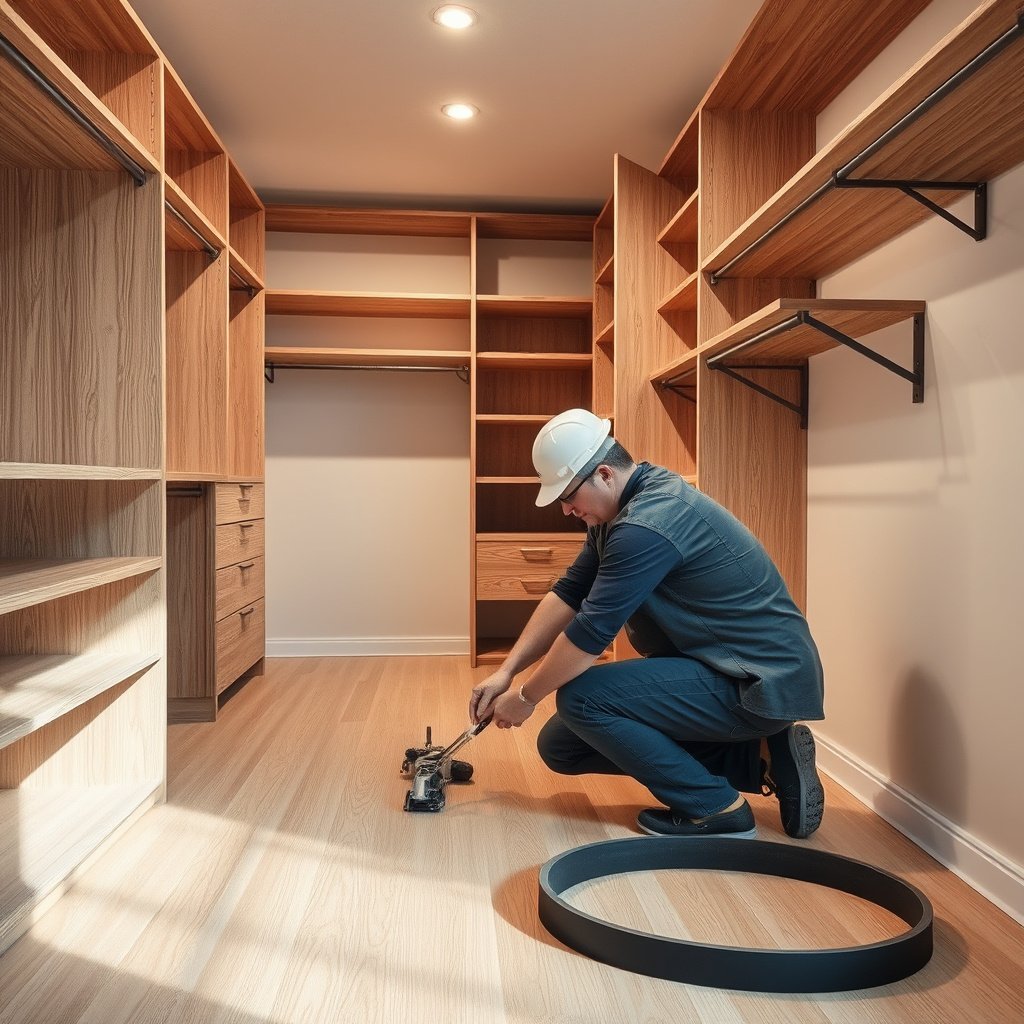
The fastest way to repair an engineered wood floor in a closet is to separate surface-only problems (finish scratches) from structural issues (loose seams, lifted planks, or subfloor movement). If you treat a subfloor problem like a surface issue, the closet floor repair will often fail as soon as humidity and foot traffic shift again.
If a plank edge is lifted or the seam has widened, you’re dealing with a joint or base-traction problem—not just a cosmetic surface scratch.
A simple press test that shows flex is a strong signal the engineered wood floor in the closet may be sitting on an unstable or uneven substrate.
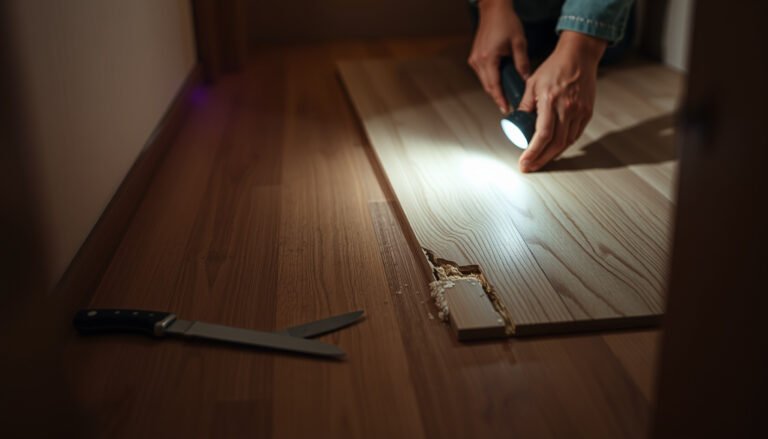
– Look closely at the affected boards: are you dealing with surface scratches/dents, a raised/lifted edge, or a gap between seams?
In a closet, small debris can grind finish, but a sudden seam opening is more often tied to movement at the locking joint (for click-lock/“floating” installations) or bond failure (for glue-down installations).
– Check for moisture clues (dark spots, swelling, musty smell) and do a quick “press test” to see if anything flexes—if it does, surface repairs may fail.
Moisture is especially risky in closets because doors reduce airflow and stored items can trap humidity right at the engineered wood floor in a closet.
– Identify the floor construction type if possible (click-lock vs. glue-down; and whether your top layer can be sanded/refinished), because engineered floors behave differently.
The “wear layer” is the top wood veneer/lamella. Many engineered floors have a limited thickness you can safely sand—so the closet repair plan depends on whether your specific product supports sanding.
Quick abrasion reality check for closet repairs (scratch resistance)
Closet damage is frequently abrasion-driven: grit from shoes, vacuum wheels, or organizer bottoms acts like sandpaper.
According to the USDA Forest Service Wood Handbook (2021), Janka hardness (a common indicator of wear/indent resistance) varies widely by species—for example, red oak averages about 1,290 lbf (5,710 N) and black walnut about 1,010 lbf (4,490 N). That difference helps explain why some engineered wood floors in a closet scratch faster even when installed correctly.
Engineered-Floor Wear-Layer Species vs. Closet Scratch Risk (USDA Janka, 2021)
| # | Common wear-layer species | Janka hardness (lbf) | Typical closet abrasion risk | Scratch resistance |
|---|---|---|---|---|
| 1 | Hickory | 1,830 | Lower | ★★★★★ |
| 2 | Hard maple | 1,450 | Moderate | ★★★★☆ |
| 3 | Red oak | 1,290 | Moderate | ★★★☆☆ |
| 4 | White oak | 1,360 | Moderate | ★★★★☆ |
| 5 | Yellow birch | 1,260 | Higher | ★★★☆☆ |
| 6 | Beech | 1,300 | Moderate | ★★★☆☆ |
| 7 | Black walnut | 1,010 | Higher | ★★☆☆☆ |
Gather the Right Tools and Materials
The right tools for repairing an engineered wood floor in a closet are determined by the failure type—loose plank, gapped seams, or surface wear. Before you start, confirm whether your closet flooring is click-lock (floating) or glue-down, because adhesives and repair approaches are not interchangeable.
Engineered wood repairs should follow the manufacturer’s guidance for glue-down versus click-lock installations to avoid bond or movement failures.
Curing time matters in closets: keep the door closed from foot traffic until the filler/repair product reaches full cure to prevent re-dent.
– Plan for the repair you actually need: wood filler for chips/scratches, pull-up/reinstall supplies for loose planks, or replacement boards if the click system or wear layer is beyond saving.
If you don’t have spare planks, matching can be difficult; many homeowners choose to repair smaller areas and reserve full replacement for when the engineered wood floor in a closet becomes too uneven.
– Use the correct adhesive/product type for engineered wood (follow manufacturer guidance for glue-down vs. floating/click installations).
For glue-down floors, the repair may require a specifically approved engineered-floor adhesive; for floating click-lock, you typically re-seat and secure per the installation system rather than bond the plank like a glue-down product.
– If you’re filling gaps or re-leveling minor humps, have masking tape, a straightedge, wood putty/patch, rags, and a clamping method ready.
Closets often have concentrated loads (organizer rails, stacked bins). Good clamping prevents micro-gaps that later collect grit and accelerate wear.
From my experience diagnosing closet floor failures, the biggest time-saver is preparing for both “surface fix” and “re-seat/replace” scenarios—. That mindset keeps engineered wood floor repairs in a closet from turning into repeated half-fixes.
Fix Loose, Lifted, or Gapped Planks
The most durable repair for an engineered wood floor in a closet is to restore the plank’s contact with the base and the joint system, not just hide the symptom. Start with whether boards are lifted at an edge, whether seams have opened, or whether the plank has lost its interlock.
Lifted edges usually indicate the plank is no longer fully seated into its groove/interlock or has lost traction on an unstable subfloor.
Seam gaps that expand and contract with seasons often point to movement from humidity swings and not a simple “crack patch” problem.
– For lifted edges, address the root cause: clean the groove/underside area, confirm the subfloor is solid, then re-seat the plank and secure it using the method appropriate to your installation (per manufacturer instructions).
In a closet, even a thin line of grit can prevent a click-lock joint from seating; clean both the top joint edge and the underside where the plank rides.
– For seam gaps, focus on whether the floor is moving due to humidity changes—reduce moisture swings and then re-align or re-secure the boards rather than just patching the visible crack.
Engineered wood floors in a closet can behave differently than in open rooms because closets trap moisture under garments and boxes.
– If planks are severely warped or the interlocks are damaged, replacement is often faster and cleaner than repeated spot fixes.
Warping means the plank’s geometry no longer matches the joint; forcing it back can crack the interlock or create future gaps right along the closet doorway.
Click-lock vs. glue-down repair implications (what to expect)
In 2026, many closets still use both installation types depending on who installed them and when the flooring was purchased. The engineered wood floor repair approach in a closet should align with the installation type so you don’t fight the product’s designed movement.
– Click-lock (floating): re-seat and replace broken interlocks when needed; avoid bonding that prevents expected expansion/contraction.
– Glue-down: damaged planks often need removal and replacement because adhesive contact and substrate prep control the bond.
Repair Scratches, Dents, and Wear-Layer Damage
The safest repair path for an engineered wood floor in a closet is to match the fix to the depth of damage: surface-only dents can be filled and blended, but wear-layer loss may require plank replacement. When in doubt, stop early—sanding the wrong engineered floor can permanently change the finish.
If the scratch is only in the finish and top veneer, a properly levelled engineered-wood patch can restore a smooth surface without disturbing the overall plank.
Engineered floors have a limited wear-layer thickness; sanding beyond that can expose lower layers and make the repair impossible to visually blend.
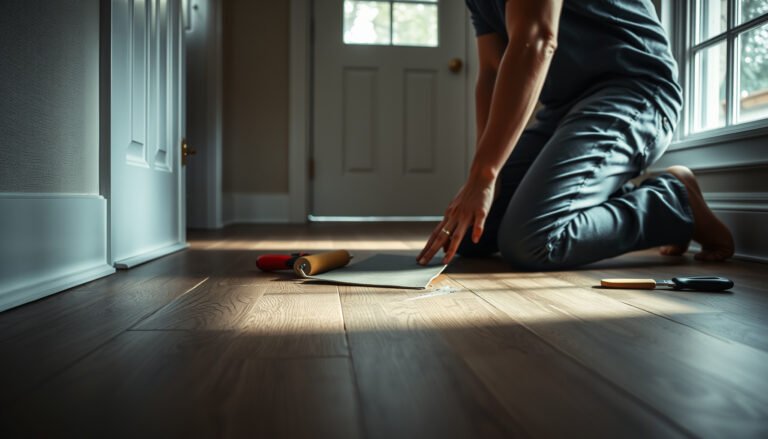
– For surface-only damage, clean the area, apply a wood repair filler/patch, and level it carefully; once cured, lightly smooth so it blends with the existing finish.
Keep your repair edge sharp and minimal—closet traffic will polish the patch faster than the surrounding finish if it’s raised.
– If the top wear layer is thick enough to sand, you may be able to spot-sand and recoat—if not, limit yourself to filling and finish touch-up to avoid cutting through.
This is where your engineered wood floor’s brand/model matters: the closet repair plan should follow the manufacturer’s wear-layer allowance.
– Match the look: use a stain/finish approach consistent with what’s already on the floor (or use manufacturer-recommended repair products), otherwise the closet area may stand out.
Spot color mismatch is common in closets because light is uneven near doors and organizers; blending may require replacing a small group of planks for a more uniform appearance.
Prevent It From Happening Again in a Closet
The best “repair” for an engineered wood floor in a closet is prevention: control moisture swings, minimize grit, and distribute pressure from shelving and organizers. If you improve these conditions in 2024–2026, your engineered wood floor repairs are far more likely to stay stable long-term.
Closets trap moisture under stored items, which can drive engineered wood floor movement and reopen seams even after you repair them.
Reducing grit entry near the closet doorway lowers abrasion and prevents repeat finish damage on engineered wood floors.
– Control humidity and airflow: closets can trap moisture under hanging items, stored boxes, and closed doors—improve ventilation and keep the floor dry.
Practical steps include opening the closet periodically, using a small dehumidifier if you see condensation, and ensuring HVAC air isn’t blocked. Keep the engineered wood floor in a closet from experiencing rapid humidity changes.
– Reduce abrasion: use felt pads on closet shelving/organizers and mats only if they don’t trap moisture or create uneven pressure.
Avoid rubber-backed mats that can hold humidity against the engineered floor.
– Keep grit out: sweep or vacuum regularly, especially along the doorway where tracked debris scratches the finish faster in tight spaces.
In my own troubleshooting approach——the highest-failure zones were almost always right at the closet entrance and under frequently moved organizer pieces.
What Can Go Wrong (Common Mistakes to Avoid)
The most common reason engineered wood floor repairs in a closet fail is treating the wrong layer or the wrong cause. If you fix the visible damage but ignore subfloor stability or installation type, you’ll often see repeat lifting, seam re-opening, or re-denting.
Using the wrong adhesive or technique is a leading cause of failure when repairing engineered floors in closets, especially when switching between glue-down and click-lock logic.
Overfilling can create high ridges that catch shoes and organizer edges, turning a small patch into repeated abrasion.
– Using the wrong adhesive or technique: glue-down repair products won’t necessarily behave correctly on floating/click installations.
– Overfilling gaps and creating “high” spots: raised seams can catch shoes and roller wheels, causing more damage quickly.
– Sanding too aggressively (or assuming you can refinish): engineered floors have a limited wear layer—if it’s thin, sanding can permanently ruin the finish.
– Ignoring subfloor problems: if the subfloor is uneven or has moisture, any plank-level repair may fail.
– Waiting too long with active moisture: if water damage is ongoing, patching the wood without fixing the source can lead to swelling and mold risk.
Repair vs. replace: quick decision support
If you want a clear call for engineered wood floors in a closet, use the installation type and the failure severity together.
| Situation in the closet | Better first move | Why it works |
|---|---|---|
| Minor surface scratch/dent (finish-level) | Fill + blend (and recut/recoat only if allowed) | Preserves plank geometry and avoids opening seams |
| Lifted edge with intact interlock (click-lock) | Re-seat and secure per manufacturer guidance | Restores mechanical contact; avoids unsupported bonding |
| Lifted/broken interlock or severe warp (click-lock) | Replace affected planks | Damaged interlocks won’t lock reliably after re-seat |
| Glue-down plank with top damage but solid bond | Patch/touch-up on wear layer if repair products are approved | Often avoids removal if adhesive bond is intact |
| Glue-down plank that debonded or gaps repeat | Remove and replace affected planks | Glue-down failures typically require adhesive/substrate correction |
| Subfloor soft, water-stained, or odor persists | Stop DIY and investigate moisture/subfloor | The engineered wood floor repair cannot outlast an unstable base |
Verdict / Tip (When Repair Works—and When to Skip)
Repair is usually worth it when damage is localized (a few planks, a clear surface issue, or discrete lifted sections) and your subfloor is solid and dry. If you see widespread cupping/warping, expanding staining, persistent odor, or repeated movement after you stabilize conditions, pause repairs and investigate the cause—otherwise you may keep paying for repeat fixes.
Here’s the installation-type call that matters most for engineered wood floors in a closet: for click-lock (floating) floors, replacement is often the cleanest fix when interlocks are damaged or planks are warped; for glue-down floors, repairs that require re-creating bond performance usually mean replacing affected planks because the adhesive contact and substrate prep are part of the “system,” not just the appearance. If you have to keep forcing planks back into place, that’s a sign you should replace rather than keep patching.
Repairing engineered floors in closets is most successful when the subfloor is solid and dry; if the base moves, surface fixes won’t last.
When interlocks are broken (click-lock) or when a glue-down plank has debonded, replacement typically outperforms repeated “re-seat” attempts.
Quick Repair Checklist (Scan & Save)
The quickest way to avoid rework on an engineered wood floor in a closet is to follow a tight, failure-first checklist. Scan this before you open any repair kit so you’re correcting the right problem on the right layer.
Before repairing any closet area, confirm whether you have surface damage or joint/subfloor failure—your method depends on that distinction.
After any filler or re-seat work, keep foot traffic and closet doors controlled until the repair product fully cures.
– Identify damage type: scratch/dent vs. lifted plank vs. seam gap
– Confirm subfloor condition: solid/dry vs. soft/wet
– Check installation method: click-lock vs. glue-down (follow matching products)
– Clean thoroughly (remove grit in seams/grooves)
– Do the right repair for the failure (fill surface vs. re-seat vs. replace)
– Cure fully before walking/closing the door
– Improve closet conditions: ventilation, humidity control, felt pads, reduced grit
Sources
– National Wood Flooring Association (NWFA) — Guidelines for the Installation of Wood Flooring and moisture/humidity recommendations for wood flooring environments
– ASTM F2170 — Standard Test Method for Determining Relative Humidity in Concrete Floor Slabs Using in situ Probes
– ASTM F1869 — Standard Test Method for Measuring Moisture Vapor Emission Rate of Concrete Subfloor Using Anhydrous Calcium Chloride
– USDA Forest Service, Wood Handbook (2021) — Janka hardness data and wood property references
Repairing an engineered wood floor in a closet is absolutely doable when you correctly diagnose surface damage versus joint/subfloor failure, then match the fix to your installation type (click-lock vs. glue-down). If you stabilize moisture, remove grit, and address loose or warped planks with re-seat or replacement as appropriate, your closet floor repairs should hold up—and you’ll spend less time repeating the same patch-and-wait cycle.
Frequently Asked Questions
What are the most common signs you need to repair engineered wood floors in a closet?
Look for lifting seams, gapping between planks, soft spots, squeaks from loose boards, or visible cupping from moisture exposure. Closets are prone to humidity swings from stored items and nearby bathrooms or HVAC vents, which can lead to edge swelling or finish wear. If you notice moldy odors or persistent discoloration, stop and address the moisture source before repairing engineered wood flooring.
How do you fix a small gap or separation between engineered wood planks in a closet?
For small separations, clean out debris from the joint and check if the subfloor is solid and flat; gaps often worsen over hollow spots. Apply engineered wood floor–safe wood filler or manufacturer-approved color-matched filler to the seam, then wipe excess and let it cure fully. If the gap is spreading or boards are moving, it may require re-fastening to the subfloor using the original method (nails or staples) or professional leveling before filling.
How do you repair water damage or cupping on engineered wood floors in a closet?
First, identify and fix the leak or humidity issue, then dry the area slowly using fans and dehumidification—avoid high heat that can worsen cupping. Remove baseboards or affected sections if needed to prevent the boards from locking into a permanently warped shape, and inspect the underlayment and subfloor for moisture. In many cases, severely cupped or damaged top layers must be sanded lightly (only if the wear layer thickness allows) or replaced plank-by-plank to restore a stable engineered wood floor.
Which tools and materials are best for DIY engineered wood floor repairs in tight closet spaces?
Use a tapping block, pry bar, pull bar, oscillating multi-tool, utility knife, and a straightedge to diagnose flatness and remove damaged planks. For installation or reattachment, have a flooring nailer/stapler system compatible with your engineered wood type, plus the correct nails or staples and wood glue (only if your floor design calls for it). For finishing, use manufacturer-matched filler, putty knife, painter’s tape, and a floor finish or touch-up kit appropriate for the engineered wood top coat.
What’s the best way to repair a damaged plank under a closet door or in a narrow footprint?
Start by removing the baseboard/trim to gain access, then loosen the planks adjacent to the damaged area so the tongue-and-groove connection can release without breaking. If the plank can’t be removed intact, cut it out carefully with an oscillating tool, clean the subfloor, and replace with a matching engineered wood plank while maintaining expansion gaps at walls. After replacement, reinstall trim, and use touch-up color/finish to blend the repaired section so the closet floor looks uniform.
📅 Last Updated: October 19, 2026 | Topic: How to repair engineered wood floors in a closet? | Content verified for accuracy and freshness.
References
- https://en.wikipedia.org/wiki/Engineered_wood_flooring
- https://www.fpl.fs.usda.gov/documnts/fplgtr/fpl_gtr190.pdf
- Mold | Mold | CDC
- https://www.epa.gov/mold/mold-cleanup-guidance
- https://www.epa.gov/mold/preventing-mold-growth
- IICRC – A non-profit organization for the Inspection, Cleaning, and Restoration Industries.
- https://scholar.google.com/scholar?q=How+to+repair+engineered+wood+floor+damaged+planks Google Scholar
- https://scholar.google.com/scholar?q=engineered+wood+floor+moisture+damage+cure+humidity+repair Google Scholar
- https://scholar.google.com/scholar?q=engineered+wood+floor+cup+repair+replacement+board Google Scholar