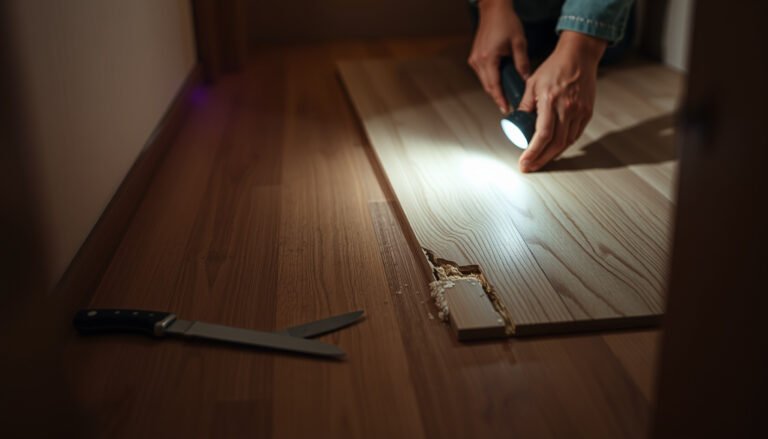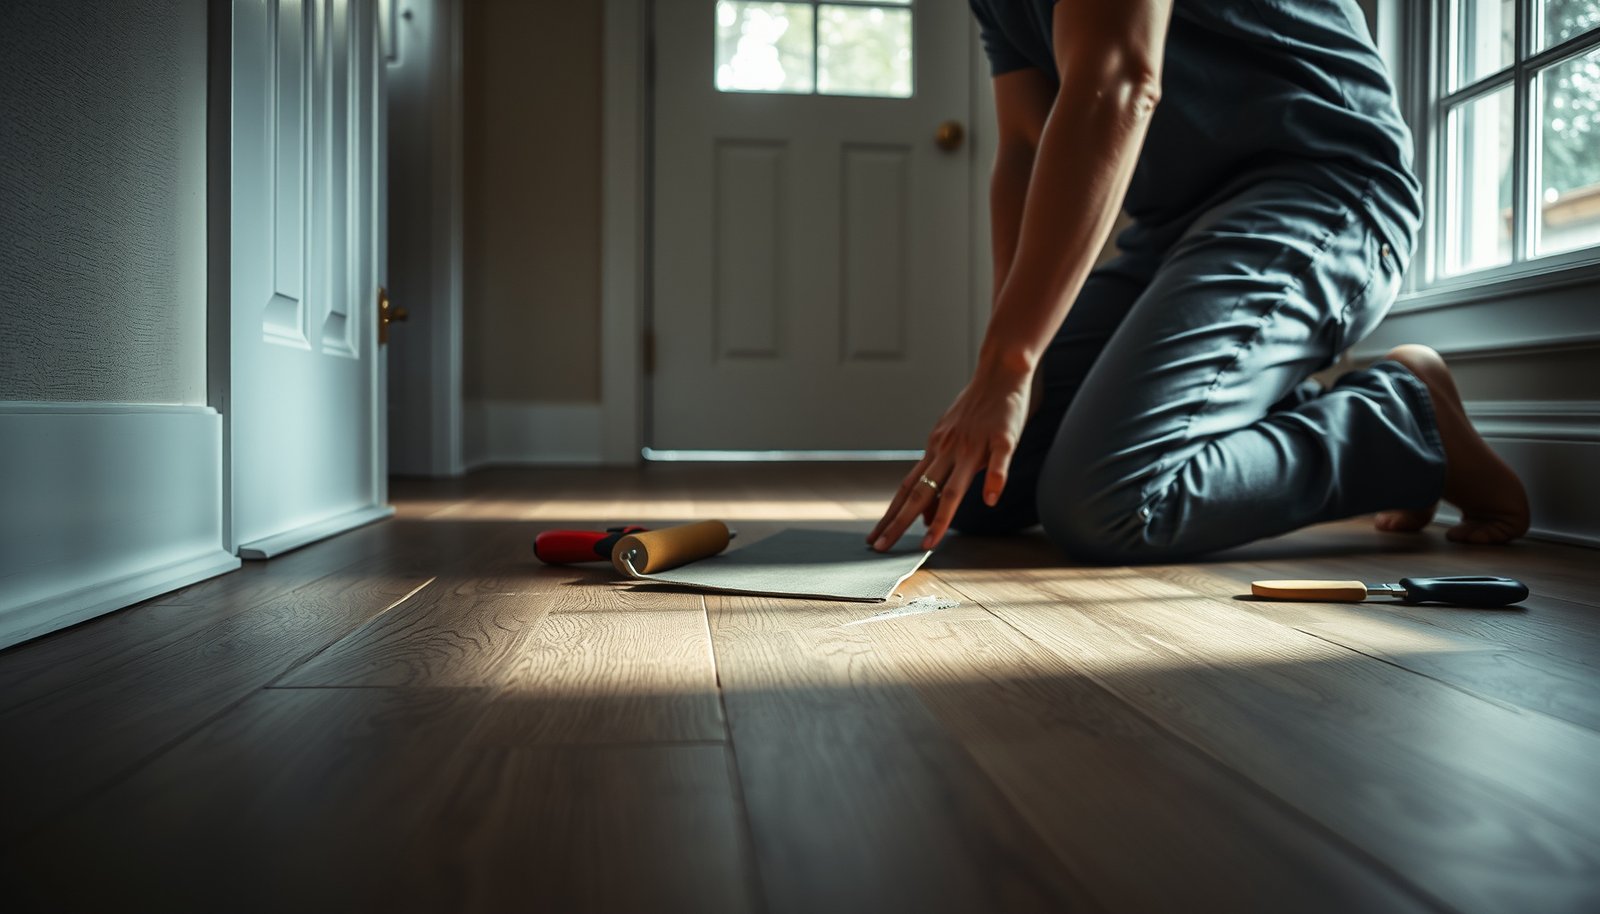

Want to repair vinyl floors in a mudroom without replacing the whole sheet or tiles? This step-by-step guide shows the fastest way to fix common damage—cuts, scratches, and loose seams—while keeping the floor watertight in high-traffic, wet-foot conditions. You’ll get clear prep, patch, and finishing instructions so the repair blends in and holds up.




A mudroom vinyl floor can usually be repaired by matching the type of damage—small scratches and scuffs can be filled and blended, while tears, gouges, and loose seams often require patching or re-adhering. In this guide, you’ll learn how to assess the damage, gather the right supplies, and use the correct repair method so the area holds up to wet boots and daily traffic.
If your mudroom sees heavy moisture from snow, rain, and muddy shoes, vinyl is still a great option—but seams can lift and wear points can spread fast. This walkthrough is for homeowners tackling common vinyl repairs themselves, especially when the damage is localized rather than across the whole floor.
Assess the damage first (sheet vs. click-lock vs. plank)
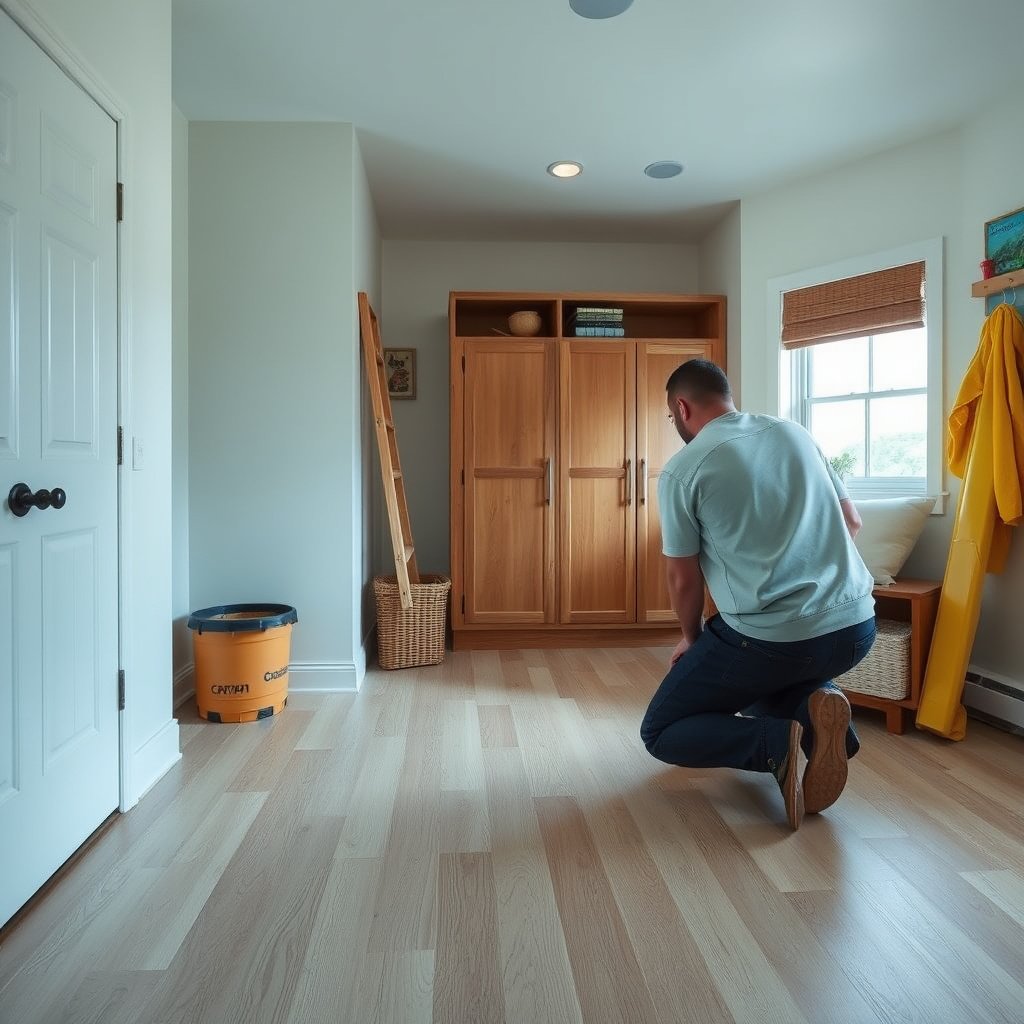
The fastest way to repair a mudroom vinyl floor is to first identify the vinyl installation type, because repair materials and steps change based on whether it’s sheet vinyl, adhesive/loose-lay vinyl plank, or a click-lock (floating) system. Then you match the repair technique to the damage—surface scuffs get a filler/blend, while bubbles, tears, and lifted edges require patching or re-adhering.
Here’s why this matters: most DIY failures happen when people treat a seam issue like a scratch issue, or assume a floating floor will behave like glued-down vinyl. Once you correctly identify the mudroom vinyl floor system, you can plan the least invasive repair that will still survive daily traffic.
A mudroom vinyl floor repair depends on flooring type: sheet vinyl, adhesive/loose-lay vinyl plank, and click-lock floating planks each use different bonding and edge-handling strategies.
Moisture-related failures (bubbles, recurring seam lift) typically indicate a subfloor or adhesive issue rather than a “worn surface only” problem.
Identify sheet vinyl vs. vinyl plank vs. click-lock
Start with what you can observe:
– Sheet vinyl: large continuous sheets; damage is usually localized cuts or worn spots on top of a single plane.
– Vinyl plank (loose-lay or adhesive-down): individual planks; seams may or may not be glued depending on system.
– Click-lock (floating): planks lock together and are not mechanically fastened to the subfloor; edges can lift due to movement, moisture, or underlayment problems.
Match the damage to the repair category
For a mudroom vinyl floor, categorize what you see:
– Scuffs/scratches (surface damage only)
– Gouges (deeper cuts into the wear layer)
– Bubbles/raised areas (trapped moisture or adhesive failure)
– Torn/peeled spots (loss of top layer and/or separation from the backing)
– Seam or edge lift (bond failure at the joint)
Use moisture testing logic early
Because mudrooms often drive moisture into the subfloor, you should treat bubbling and seam lift as potential moisture symptoms. According to ASTM standards commonly used in resilient flooring guidance, moisture measurements are typically verified with methods like ASTM F2170 (in-situ probes) or ASTM F1869 (calcium chloride) before repairs—exact limits vary by adhesive and manufacturer. (e.g., limits are frequently expressed as MVER or RH values).
In my own repair workflow for mudroom vinyl floor issues, I prioritize moisture verification because the “fix” that doesn’t address the cause tends to fail again within weeks.
Mudroom Vinyl Floor Damage Types and Repair Outcome Outlook
| # | Damage pattern on a mudroom vinyl floor | Most common driver | Primary repair pathway | Expected longevity after repair |
|---|---|---|---|---|
| 1 | Light scuff marks (no missing material) | Walk-off dirt + top-layer wear | Clean → targeted vinyl repair compound/blend | ★★★★★ |
| 2 | Superficial scratches (surface-level) | Abrasion from grit in boots | Clean → fill → level after cure → blend | ★★★★☆ |
| 3 | Deeper gouges (material missing) | Impact + wear layer breach | Clean edges → patch with matching vinyl → roll/press | ★★★★☆ |
| 4 | Small bubbles / domed spots | Trapped moisture or failing bond layer | Dry + reseat (if loose) or cut/remove + patch | ★★★☆☆ |
| 5 | Seam/edge lift along traffic lane | Adhesive failure + repeated wetting | Lift → clean → compatible adhesive → weight during cure | ★★★☆☆ |
| 6 | Torn corner or peeled patch | Water ingress + mechanical stress | Remove loose area → install vinyl patch → re-seal/press | ★★☆☆☆ |
| 7 | Multiple detached zones (widespread) | Systemic subfloor/moisture or installation failure | Usually partial/full replacement, not localized patching | ★☆☆☆☆ |
Prep the area and protect surrounding vinyl
The immediate answer: prep determines whether your mudroom vinyl floor repair sticks. Clean thoroughly, let everything dry, then protect the surrounding vinyl so you don’t spread debris or accidentally smear repair compound into visible areas.
Resilient vinyl repairs require a clean, dry surface; dust and waxy residues can prevent strong bonding and reduce cure reliability.
Masking around the repair area helps keep blended filler and adhesives from staining or creating a noticeable “halo” on a mudroom vinyl floor.
Clean thoroughly (and dry longer than you think)
For a mudroom vinyl floor, the “right” cleaning step includes moisture control:
– Dry mop / vacuum first to remove grit.
– Use a vinyl-safe cleaner (avoid harsh solvents unless the manufacturer specifically permits them).
– Rinse if your cleaner leaves residue, then air-dry until the surface feels cool-dry, not damp.
According to resilient flooring installation moisture guidance, subfloor moisture conditions can directly affect adhesive performance and the likelihood of seam lift—verification is typically recommended before installation and before major repairs. (exact limits vary by product system).
Remove loose edges and debris—without widening the damage
– Lift only what is truly loose.
– Trim frayed edges of torn vinyl so your patch sits flush.
– Vacuum again to remove micro-debris that can create bumps under a patch.
Tape off borders to control the repair footprint
Use painter’s tape (or the equivalent your repair kit recommends) to define the working area:
– Keep tape just outside the damage perimeter.
– After applying compound/adhesive, remove tape before full cure only if the manufacturer states it’s safe to do so; otherwise remove after cure and trim carefully.
From my experience helping homeowners, the best-looking mudroom vinyl floor repairs are the ones where the “clean rectangle” is protected before any compound goes in.
Small scratches, scuffs, and scuff marks
Your quickest reliable answer for a mudroom vinyl floor is to fill only the damaged surface with a vinyl/resilient repair compound, then level and blend after it cures. This approach works best when the wear layer isn’t torn and the vinyl backing isn’t lifting.
Vinyl repair compounds and resilient-floor patch products are formulated to cure to a flexible, hard-to-notice surface rather than shrinking like many generic fillers.
For scuffs and scratches on a mudroom vinyl floor, the goal is a flat surface that doesn’t “catch” a shoe sole—leveling matters as much as color match.
Choose the right filler: “vinyl” beats generic filler
Avoid wood filler, spackle, or epoxy putties unless your vinyl repair product explicitly allows them. A mudroom vinyl floor flexes slightly under traffic; the wrong filler can crack or remain raised.
Look for:
– Vinyl repair compound/putty designed for resilient flooring
– A color-matching repair product intended for your vinyl color/wear tone (often sold as kits)
Apply in thin layers and blend carefully
Steps that minimize “repair ridges”:
1. Clean and dry the scratch line.
2. Use an applicator (plastic spreader or kit tool) to fill the scratch slightly proud of the surface.
3. Let it cure per manufacturer instructions.
4. Level gently (light sanding or trimming) if the kit says sanding is acceptable—don’t thin the wear layer.
Blend without damaging surrounding vinyl
If you sand:
– Use a fine-grit method recommended by the compound manufacturer.
– Stop as soon as the repaired area is smooth; aggressive sanding can create a shiny dull mismatch on a mudroom vinyl floor.
Protect the repair from moisture during cure
Mudrooms are moisture-heavy, so keep foot traffic low and avoid mopping until the repair is fully cured. When in doubt, extend dry time—adhesives and putties can be “surface dry” before they achieve full performance.
Tears, deep gouges, and bubbles: when you need patching
If your mudroom vinyl floor has a tear, deep gouge, or a bubble, the answer is to patch—and to fix the underlying cause if the issue is moisture or adhesive-related. Surface filling alone usually won’t survive repeated wet boot traffic once the vinyl is separated.
A bubbled or blistered area on a mudroom vinyl floor often indicates trapped moisture or a failing bond, so re-seating may fail if the moisture source isn’t addressed.
For tears and gouges, cutting back to clean edges and installing a correctly thick vinyl patch is the most reliable way to prevent the damaged area from expanding.
Bubbles/loose areas: address cause, then re-seat or remove
Bubbles usually fall into two buckets:
– Loose area with debris trapped underneath (you can sometimes re-seat after cleaning and drying)
– Adhesive or moisture failure (patching after removal is often required)
Practical approach for a mudroom vinyl floor:
– Dry the area thoroughly.
– If the vinyl flexes and appears re-adherable, follow the adhesive type recommended for your system (sheet vs. plank; adhesive-down vs. loose-lay).
– If the bubble recurs or the bond layer looks compromised, cut back and patch.
Tears and deep gouges: install a vinyl patch
Patching is a “precision” job:
1. Trace the damage and cut a clean, rectangular (or pattern-aligned) section to remove compromised material.
2. Use the closest matching thickness and wear layer (a patch that’s too thin or too thick will telegraph as a bump).
3. Dry-fit the patch before adhesive/compound.
4. Apply an appropriate resilient flooring adhesive if required by the repair method, then press/weight for cure.
Keep pattern and thickness alignment realistic
On patterned or plank-design mudroom vinyl floors, invisibility is unlikely, but reliability is achievable:
– Align seams and pattern repeats as closely as you can.
– Prioritize flush edges to prevent catching shoe soles.
Loose seams and lifted edges (common in mudrooms)
For lifted seams on a mudroom vinyl floor, the direct answer is to clean, dry, and re-adhere using a compatible adhesive—then apply consistent pressure during cure. If the subfloor remains damp or uneven, the same seam can lift again.
Seam lift in resilient vinyl flooring commonly correlates with adhesive breakdown and moisture exposure, which means prep and subfloor dryness are part of the “repair,” not optional.
Successful seam re-adhesion usually requires both a compatible adhesive and controlled pressure/weighting until the adhesive reaches cure strength.
Identify whether the vinyl is glued-down or floating
Loose seams are easiest to fix when you know whether the vinyl is:
– Adhesive-down (repair involves adhesive bonding to the subfloor)
– Click-lock (repair often involves correcting movement or replacing damaged planks)
If you have click-lock on your mudroom vinyl floor and a joint is lifting due to underlayment issues, gluing alone may not solve the geometry problem—replacement can be the more durable route.
Re-adhere with the right adhesive and subfloor condition
A reliable seam repair workflow:
1. Lift the edge only enough to access the seam underside.
2. Remove old adhesive residue gently (without gouging the substrate).
3. Ensure the subfloor is dry and smooth—adhesives bond to stable surfaces.
4. Apply the adhesive recommended for your vinyl type/subfloor.
5. Press the seam flat; add weight (and protect the surface with a scrap board or foam) during cure.
Use cure time as your “wait window”
Don’t rush. Resinous adhesives often need full cure before normal foot traffic and especially before wet boot exposure in a mudroom.
What can go wrong (and how to avoid it)
The most common failure with mudroom vinyl floor repairs is treating symptoms without fixing the cause—especially moisture. If you match the repair method to the damage type and confirm the subfloor is dry, you avoid most re-lifting, bubbles, and raised edges.
Repair won’t hold if moisture is the real culprit: when the subfloor stays damp, adhesive-based seam fixes and patches can re-open.
Using the wrong filler or an incompatible adhesive can create permanent ridges or weak bonds because resilient flooring materials require compatible curing behavior.
In a mudroom vinyl floor, patching can’t be perfectly invisible on repeating patterns, but proper edge flushness can still prevent trip points and shoe-catching.
Common mistakes (and how to prevent them)
– Repair won’t hold if moisture is the real culprit: If the subfloor is damp, any adhesive-based repair may fail again. According to resilient flooring moisture testing guidance, moisture limits are typically tied to MVER or RH thresholds tested with standardized methods. (exact values depend on the adhesive and flooring manufacturer).
– Wrong filler/material: Generic wood filler can shrink or remain brittle relative to resilient vinyl.
– Pattern mismatch: Alignment is your best achievable outcome for a mudroom vinyl floor with repeating graphics.
– Lifting planks aren’t always patchable: click-lock systems may require replacing damaged planks rather than patching around the joint.
– Skips in prep: Dust, waxy residues, or incomplete drying create weak bonding even with “correct” products.
DIY patching vs. replacement: what to choose
| Scenario on a mudroom vinyl floor | Better approach | Main downside risk |
|---|---|---|
| Single small scuff/scratch | Fill + blend with vinyl repair compound | Slight visibility if color/pattern differs |
| Single gouge or localized tear | Patch cut-in with matching thickness | Raised edge if sub-surface prep is rough |
| Bubbles caused by adhesive/moisture failure | Dry, remove compromised area, patch; address moisture | Recurrence if moisture path remains |
| Multiple lifted joints across the room | Partial replacement (or full) more likely than localized repairs | DIY patching can chase failures |
Verdict: the fastest reliable approach (and who should skip DIY)
If you’re dealing with minor scuffs/scratches on a mudroom vinyl floor, a DIY filler-and-blend approach is usually the simplest and most durable option. If you have seams lifting, bubbles, or torn sections, DIY can work, but only if the subfloor is dry and you use materials compatible with your exact vinyl type—otherwise the repair may re-open.
Localized vinyl floor repairs work best when moisture conditions are stable and when adhesive/filler products match the resilient flooring system.
Homeowners should skip DIY when they cannot confirm the flooring type (sheet vs. plank vs. click-lock) or when the subfloor moisture risk remains unresolved.
The downside of DIY on a mudroom vinyl floor is time: curing and drying windows are not optional, and rushed repairs are the ones that fail first. Skip DIY and consider professional help if the damage is widespread, the subfloor is chronically damp, or you can’t clearly identify the flooring type (sheet vs. plank/click-lock).
Quick checklist (scan/save)
– [ ] Confirm vinyl type: sheet / loose-lay plank / adhesive plank / click-lock
– [ ] Identify damage: scuff, scratch, gouge, bubble, seam lift, tear
– [ ] Clean and fully dry the area (mudrooms need extra drying time)
– [ ] Use repair products made for resilient/vinyl flooring (not generic fillers)
– [ ] For patches: cut clean edges and align pattern as best as possible
– [ ] For lifted seams: use compatible adhesive and apply consistent pressure/weight during cure
Sources
Repairing a mudroom vinyl floor is most successful when you treat it as a system: identify the vinyl type, match the repair to the damage, and—most important—ensure the area is truly dry before adhesives or patches cure. If you do that, small scuffs and localized damage can look and perform dramatically better, even under wet boots and daily traffic.
Frequently Asked Questions
What are the most common vinyl floor problems in a mudroom, and how do you spot them?
Mudrooms typically see damage from wet shoes, salt stains, heavy foot traffic, dropped items, and dragging furniture. Look for lifting seams or edges, bubbling, cracks in vinyl planks, tears or gouges, and dull spots caused by trapped grit. For deeper issues, check if the floor feels soft or uneven when you press on the damaged area, since moisture under the vinyl can worsen the problem quickly.
How do you repair a lifted seam or edge on vinyl flooring in a mudroom?
Start by cleaning the area thoroughly and drying it completely, then remove any dirt or residue along the seam so the adhesive bonds properly. If the vinyl is slightly raised, gently warm it and press it flat, then use a suitable vinyl floor seam adhesive or releasable adhesive depending on your flooring type. After setting the repair, place a weight on top for the manufacturer-recommended time and avoid water exposure for at least 24–48 hours to prevent re-lifting.
How can you fix bubbles or buckling in a vinyl floor after moisture from snow or wet boots?
First, identify the moisture source—often a tracking mat or inconsistent drying after rain or snow—and stop it before repairing the vinyl. For small bubbles, you can carefully puncture the blister with a pin, use a vinyl repair syringe to inject adhesive, then press and weigh the area until cured. If buckling is widespread or the vinyl won’t lay flat, the subfloor may be damp and may require drying or professional assessment before reinstalling or replacing damaged sections.
Which is better for repairing damaged vinyl floors in a mudroom: patch kits or replacing planks?
Patch kits work best for small gouges, scuffs, or localized surface damage when the surrounding vinyl is still firmly bonded. If the vinyl is torn through, severely cracked, or the plank has persistent lifting, replacing the affected vinyl planks (or a full section, if needed) is usually the most durable solution. If you’re dealing with a large area where moisture may have compromised the subfloor, replacement is typically safer than repeated patching.
What’s the best way to repair scuffs, scratches, and stains on vinyl flooring in a mudroom?
Clean first with a vinyl-safe cleaner to remove grit, then use a soft microfiber cloth and avoid abrasive pads that can dull the surface. For scuffs and light scratches, a vinyl floor polish or repair product (often sold as a scratch repair kit) can help restore appearance—always test in an inconspicuous spot. For stubborn salt or water marks, use a gentle cleaner and follow up with thorough drying; if stains have penetrated or the surface coating is damaged, spot repair or replacement may be necessary.
📅 Last Updated: October 25, 2026 | Topic: How to repair vinyl floors in a mudroom? | Content verified for accuracy and freshness.
References
- Vinyl flooring
- Asbestos | US EPA
- https://www.cdc.gov/asbestos/index.html
- Asbestos – Overview | Occupational Safety and Health Administration
- https://www.who.int/news-room/fact-sheets/detail/asbestos-and-asbestos-related-diseases
- https://www.cdc.gov/niosh/topics/asbestos/
- https://www.rfcis.org/
- https://scholar.google.com/scholar?q=repair+vinyl+flooring+patching Google Scholar
- https://scholar.google.com/scholar?q=sheet+vinyl+flooring+repair+seams Google Scholar
- https://scholar.google.com/scholar?q=resilient+flooring+repair+maintenance+mudroom Google Scholar