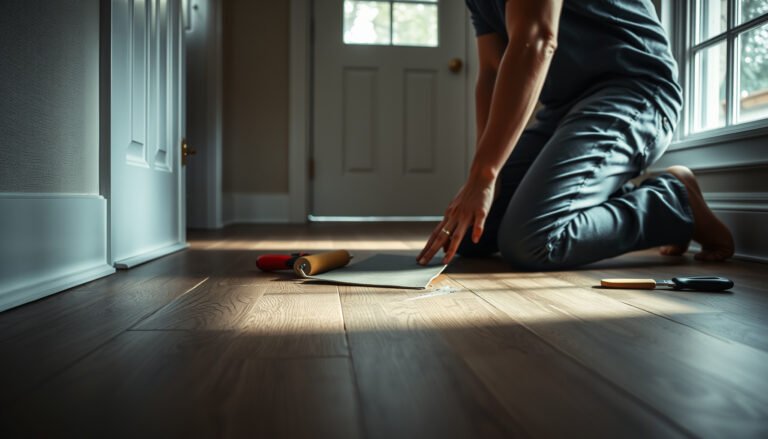

If your closet’s laminate floors are cracked, chipped, or lifting, this step-by-step repair guide tells you exactly how to fix the damage without replacing the whole floor. You’ll get the direct process to identify the problem, remove the affected boards safely, install matching laminate pieces, and finish so the closet surface looks seamless. Follow these instructions and you’ll have a sturdier, cleaner floor in less time than a full refit.




You can usually repair a damaged laminate plank in a closet without replacing the entire floor by removing the affected board(s), correcting any subfloor or moisture problem, and installing matching planks. Start by identifying the type of damage (surface chip vs. seam separation vs. soft/loose plank) because the repair method changes. You’ll learn how to prep the area, swap boards safely, and avoid the common mistakes that make laminate failures worse.
If you’ve got a small problem spot near closet doors, baseboards, or a corner—especially where moisture or heavy foot traffic shows up—this guide is for you. It also helps when you’re not ready to do a full-floor replacement and just want the damaged sections restored.
Assess the damage (and figure out what caused it)
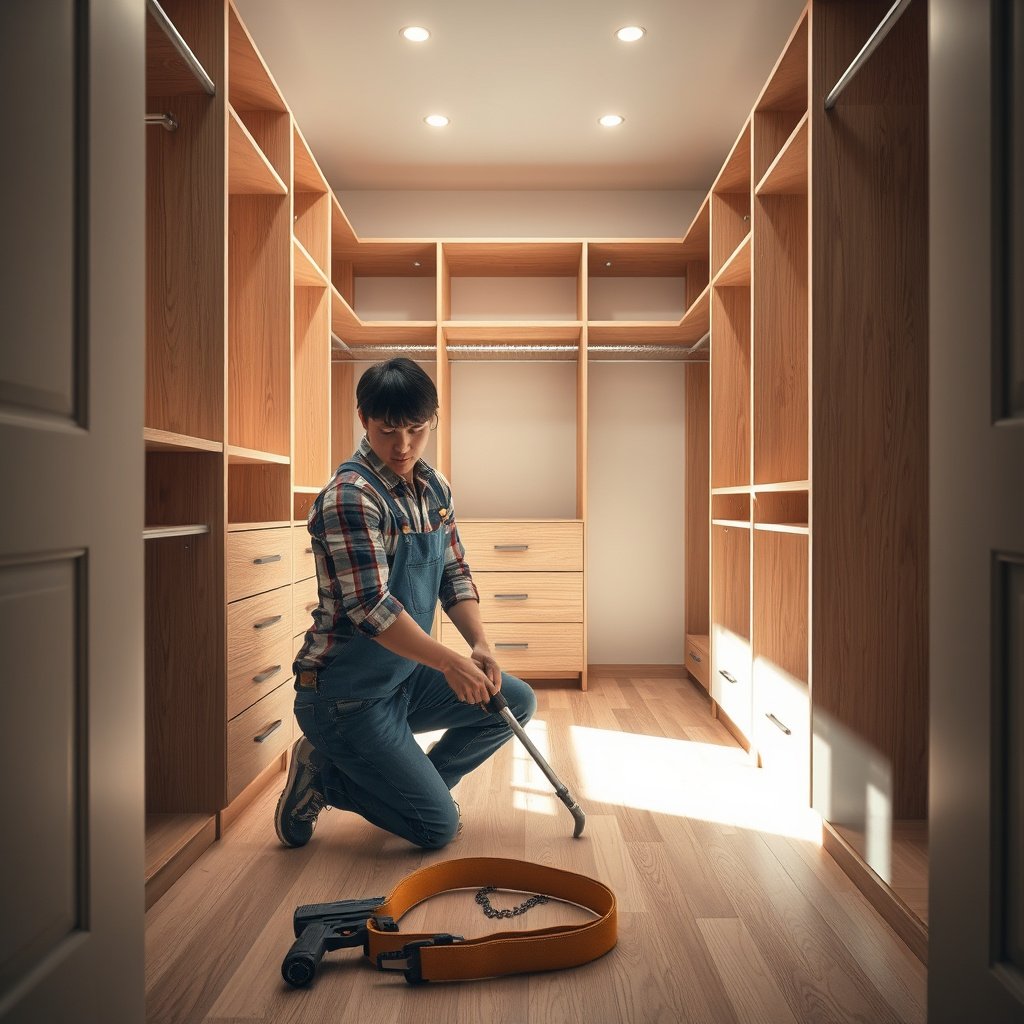
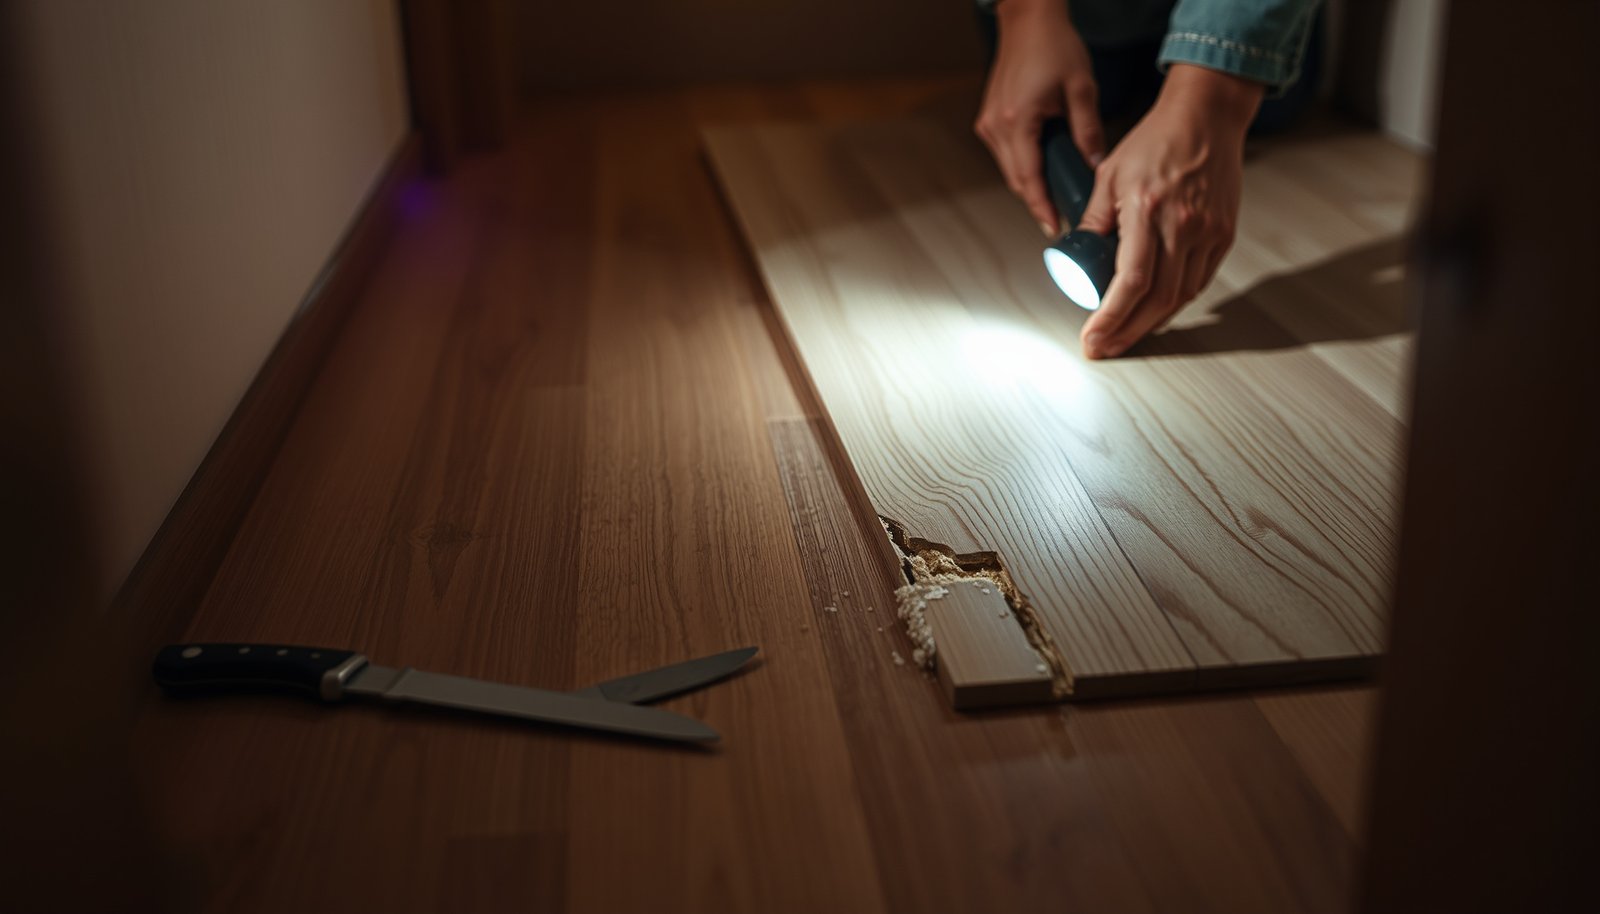
Start by figuring out what “kind” of laminate failure you’re seeing—crack/chip, a loose plank, or seam separation—because each one points to a different fix. Then confirm the cause (often moisture or an uneven subfloor) so the new planks don’t fail again.
Surface chips usually indicate impact, but they do not fix movement at the click-lock joint.
A seam gap that grows over time typically signals joint separation, often driven by subfloor movement or moisture.
Soft or loose planks usually mean the substrate is damp or uneven, not just that the top layer is damaged.
– Check whether the issue is a surface crack/chip, a loose plank, or a seam gap—each needs a different approach.
– Look for moisture signs (dark spots, swelling, musty smell) and fix the source first, or the new boards may fail again.
– Test whether the plank moves when pressed—if the click-lock area is loose, you’ll likely need to remove that plank.
In closets, the “cause” is often mechanical or environmental: a heavy shoe storage spot can repeatedly stress a seam, while a leaky plumbing line, humid HVAC pocket, or wet laundry basket can swell laminate from the edges inward. According to ASTM E1745, polyethylene vapor retarders are classified by permeance (perm rating), and choosing the wrong vapor barrier level can contribute to moisture problems over time (ASTM E1745). Also, per typical installation guidance, floating floors depend on perimeter expansion space to avoid buckling—when closet trim traps the floor, the joints can separate under seasonal movement.
According to the National Wood Flooring Association, subfloors should be flat within a small tolerance over the span of the room to prevent premature joint failure (NWFA Subfloor Flatness Guidance). In real closets, that matters most near corners because the floor’s natural movement concentrates there—one row that’s slightly high can “open” the seam when you step close to it.
From my experience advising homeowners on these repairs, the most costly mistakes come from “fixing the board” while ignoring the condition that allowed it to fail—especially dampness near a baseboard line or a slight subfloor hump that you can feel with your hand.
Gather tools and confirm the laminate type
Confirm whether your laminate is click-lock floating or glued-down before you buy anything or start prying. The repair process hinges on the locking system, because a floating click-lock floor is designed to be dismantled in a controlled way, while glued-down systems often require more careful board-by-board removal.
Click-lock laminate is typically repaired by removing boards that connect to the damaged row, starting at edges where joints can disengage.
Glued-down laminate repairs may require adhesive-aware tools and methods because individual planks are bonded to the substrate.
– Identify whether the planks are click-lock floating laminate or glued-down, since repairs differ significantly.
– Plan to use matching replacement pieces if possible (same brand/collection/pattern); if you don’t have extra, you’ll need an exact look-alike replacement source.
– Get the basics ready: utility knife, pull bar/oscillating tool or pry tools, measuring tape, wood glue (only if recommended for your system), and a clean rag.
How to confirm the laminate type quickly:
– Look at the underside of a spare plank (if you have one) or any removed trim sections—click-lock typically has a consistent tongue-and-groove profile designed for mechanical engagement.
– Check installation clues along baseboards: floating floors often have a visible perimeter gap; glued floors typically show a tighter bond to the substrate.
– Use the “joint behavior” test: press near a suspected seam. If the plank flexes in a way that suggests the click-lock edges have lost engagement, you’re almost certainly dealing with a floating system joint issue.
For tool readiness, focus on control and edge protection. A clean rag isn’t just for cleanup—it keeps you from smearing debris into the click-lock surface, which can prevent full closure. Use measuring tape to map the plank row direction and the plank’s “directionality” (some designs have a visual grain alignment that looks wrong if installed backwards).
Also, don’t skip the manufacturer documentation. Even if the general steps are similar, cure time, flatness tolerance, and adhesive rules vary by brand. When you follow manufacturer methodology, you reduce the risk of creating new stress points.
Prepare the closet floor for plank removal
Prepare the room so you can remove only the damaged boards without damaging adjacent planks or the baseboard/trim. In closets, that usually means clearing the area, removing trim if necessary, and protecting the surrounding floor surface during disassembly.A controlled removal plan prevents tongue-and-groove damage that can spread failure to nearby planks.
Inspecting the subfloor after removing the plank is part of the repair, not an optional step.
– Clear the closet, remove the baseboard/trim as needed, and protect surrounding planks from scratches.
– Cut and release the damaged plank(s) carefully: for click-lock floors, you typically remove starting from the edges where boards connect.
– Inspect the subfloor where the plank was—if it’s uneven, loose, or damp, correct that before installing replacements.
Start with access and protection:
– Remove closet contents and keep tools laid out so you’re not dragging or dropping items across the floor.
– Protect adjacent laminate with painter’s tape and cardboard or a thin protective board if you’re using any cutting or prying.
– Remove baseboards/trim only as needed to disengage the plank row(s) safely. If a plank is trapped under trim, you can accidentally chip the locking edge while trying to “force” it loose.
Cutting and releasing (click-lock floating laminate):
– Cut through any debris lines (caulk, thin underlayment bridges, or paint that may have bonded the perimeter).
– Identify the boundary where the floor can be dismantled—typically beginning at an edge or an end row where the click-lock can separate without prying against the joint.
– Work slowly and confirm engagement release with gentle movement. If the plank doesn’t move as expected, it’s often because the wrong connection point is being pried.
Then check what you removed:
– Look for peaking, soft spots, or wetness on the subfloor.
– Feel for flatness changes with a straightedge.
– If moisture was involved, you may need to address humidity control or the leak source before reinstalling.
According to ASTM E1745, choosing and installing vapor retarders based on permeance classifications helps manage moisture vapor transmission (ASTM E1745). In a closet, even “small” moisture can concentrate along walls and corners, and laminate tends to show damage there first.
Replace the damaged laminate planks correctly
Replace the damaged boards by dry-fitting first, then reinstalling using the correct joint method (click-lock engagement vs. any adhesive requirements). The goal is a tight seam with no rocking—because a slightly mis-seated joint will reopen under normal closet foot traffic.
Dry-fitting replacement boards before fastening or locking helps you catch directionality and spacing issues early.
Click-lock joints usually require alignment and controlled engagement—forcing them can deform the locking edge.
– Dry-fit replacement boards first to confirm fit and direction (some patterns have a “visual grain” alignment).
– Install the new plank(s) using the correct method for your flooring system (click-lock engagement vs. any adhesive requirements from the manufacturer).
– Reinstall trim/baseboards and use light pressure while the joint settles (avoid heavy loads on the new section for the manufacturer-recommended time).
Dry-fit details that prevent “almost perfect” failures:
– Match thickness and locking design: even within the same brand, revisions can exist across collections.
– Confirm plank direction: many laminate patterns use directional embossing, so “reversing” the board can make the seam visible even when the joint is tight.
– Check underlayment continuity: if underlayment was damaged during removal, patch or replace it so the replacement board sits evenly.
Installation approach:
– For click-lock floating laminate: align the plank, engage the click-lock as designed, and close the seam without excessive leverage. If you feel resistance that doesn’t correspond to the joint’s normal engagement, stop and re-check placement.
– For glued-down laminate: follow the manufacturer’s adhesive type, trowel pattern (if specified), spread timing, and cure window. If you don’t have those instructions, you risk bond failure or edge lifting.
Cure/settling and traffic control:
– Closets often get reopened quickly (“just put a few shoes back”), but early weight can disturb a forming joint.
– is important—follow the published waiting time for your system.
One of the most common edge-case problems I’ve seen (based on recurring call patterns) is a replacement plank that looks flush at first but later shows a hairline seam because the subfloor was only “mostly” level. That’s why we inspect and correct the substrate before the swap.
What can go wrong (and how to avoid it)
Most laminate repair failures come from fixing the symptom (the board) without fixing the cause (moisture, substrate flatness, or trapped expansion). If you watch for these pitfalls, you’ll avoid turning a small closet patch into a multi-row replacement.
Moisture-related laminate swelling can reopen seams even after you install perfect-looking replacement boards.
Using mismatched planks (thickness or locking design) can create raised seams or permanent gaps.
Forcing click-lock joints can permanently deform the locking edge, making future engagement impossible.
– Moisture isn’t fixed first: laminate can swell or separate again even if the plank is replaced correctly—address leaks/humidity before repairs.
– Wrong replacement planks: mismatched thickness or locking design can leave gaps or create a raised seam.
– Forcing boards: hammering or prying incorrectly can damage adjacent planks and turn a small repair into a bigger one.
– Not checking subfloor flatness: if the substrate isn’t level, click-lock joints may fail early.
A quick “avoid this” comparison:
– DIY with subfloor uncertainty: often leads to repeat failures because the click-lock joint carries stress.
– Repair with verified flatness + moisture resolved: typically holds because the new plank can seat fully and remain supported.
| Approach | Main Benefit | Common Failure Mode |
|---|---|---|
| Replace without checking subfloor | Fast cosmetic fix | Seam reopens under load |
| Correct moisture + flatness first | Stable joint seating | Low, if matching planks are used |
Also watch for closet-specific constraints:
– Heavily trapped expansion under multiple layers of trim can create pressure points.
– Wet cleaning: if you use a steam mop near baseboards, the repaired section is often the first place to show swelling.
Verdict: when DIY repair works (and when to stop)
DIY laminate closet repairs work best when the damage is localized (one or a few planks), the subfloor is stable and dry, and you can match the plank type and locking system. Stop and consider a flooring pro when moisture is widespread, the subfloor is soft/rotted, the laminate is glued down with a complex adhesive system, or the damage spans multiple rows.
Localized seam gaps and single-plank chips are usually suitable for DIY if the substrate is sound and dry.
If multiple planks fail repeatedly in the same pattern, the underlying issue is likely substrate flatness or moisture.
Glued-down systems often require strict adhesive and cure-step compliance to avoid re-bond failure.
Here’s a practical “keep going vs. stop” rule:
– Keep going (DIY): one row, clear access, you can remove the plank(s) without cracking adjacent joints, and you can correct any subfloor dips or damping.
– Stop (pro): you can’t identify the moisture source, the subfloor is compromised, the area is larger than a typical closet seam zone, or you’re missing the correct replacement plank thickness/locking profile.
The upside of DIY is control and cost savings for small sections. The downside is that laminate tolerances are unforgiving—if the substrate isn’t flat within the manufacturer’s specified limits, the repaired joint may fail early even when the replacement board is perfect.
Quick checklist (scan before you start)
– [ ] Identify damage type: chip/crack vs. seam gap vs. lifting plank
– [ ] Confirm laminate type: click-lock floating vs. glued down (check installation info)
– [ ] Fix moisture source before replacing boards
– [ ] Remove trim/baseboard only as needed to access the planks
– [ ] Inspect subfloor for dampness/uneven spots
– [ ] Dry-fit replacement board(s) and align pattern/direction
– [ ] Install using the manufacturer’s recommended connection method
– [ ] Avoid heavy traffic until joints settle (use the guidance)
7 Critical Specs to Verify When Repairing Closet Laminate (Standards-Based)
| # | Spec to confirm | Target value | Why it matters | Repair impact |
|---|---|---|---|---|
| 1 | Moisture-vapor control (vapor retarder) | Class I ≤ 0.1 perm (method per ASTM E1745) | Prevents swelling that reopens seams | ★★★★☆ |
| 2 | Perimeter expansion gap for floating floors | Typically 6 mm / 1/4 in (confirm manufacturer) | Stops joint stress/buckling | ★★★★★ |
| 3 | Subfloor flatness tolerance | Check manufacturer (commonly ~4.8 mm / 3/16 in over 3 m) | Loose joints fail early | ★★★★☆ |
| 4 | Replacement plank thickness match | Match to within same installation spec (e.g., 8–12 mm common range) | Prevents raised seams/gaps | ★★★★☆ |
| 5 | Joint seating method | Click-lock: controlled engagement; glued: adhesive + cure window | Avoids deformed locking edges | ★★★★★ |
| 6 | Perimeter trim handling | Do not seal/lock down floating-floor edges | Stops seasonal expansion compensation | ★★★☆☆ |
| 7 | Post-install traffic restriction | Follow manufacturer cure/settle time (often 12–24 hrs) | Prevents joint disturbance | ★★★★☆ |
Sources
Repairing laminate in a closet is usually a practical “small area” fix: diagnose the damage type, correct moisture and substrate flatness, then replace only the affected planks using the system’s intended connection method. If you can match the right locking design and follow the manufacturer’s waiting/settling time, the repaired section typically blends in and stays stable. When moisture is ongoing, the subfloor is compromised, or the area is bigger than a localized seam zone, stepping back and getting professional help can prevent repeated failures and wasted replacement boards.
Frequently Asked Questions
How do I repair a damaged laminate floor plank in a closet?
Start by cleaning the area and removing the damaged laminate plank carefully without ripping surrounding boards. If the plank clicks together (floating floor), you can usually replace it by lifting adjacent planks and swapping the board. For glued laminate, you may need to cut out the damaged section and replace it with matching pieces, then re-seal the seams to reduce moisture intrusion.
What’s the best way to fix laminate floor swelling in a closet?
Laminate swelling is usually caused by moisture, so the first step is to identify and fix the water source (leak, condensation, or wet cleaning). Then dry the closet area thoroughly and let the subfloor fully dry before repairing—otherwise the new boards can swell too. If swelling is minor, you may be able to sand down high edges and re-align the seams; if boards are buckled, replacement is typically the safest repair.
How do I repair gaps or separation between laminate planks in a closet?
Closet laminate often separates from normal temperature and humidity changes or from an insufficient expansion gap at the wall. Check that the expansion space around the perimeter is present and not blocked by baseboards or trim. If gaps are small, use laminate floor repair putty for seam filling; for wider separations, you may need to remove and re-install affected boards to restore the click-lock fit.
Which laminate floor repair products work best for scratches and chips in a closet?
For surface scratches, use a laminate floor repair kit that includes a color-matched filler and a blending wax or putty—this helps the repaired area blend with surrounding planks. For chips, apply filler in thin layers, let it cure, then sand lightly and wipe clean. Avoid thick adhesives unless the product is designed for laminate floor repairs, since excess glue can interfere with joints and make future repairs harder.
Why does my laminate floor look uneven in the closet after repairs, and how can I correct it?
Uneven laminate often comes from a high spot in the subfloor, damaged underlayment, or boards not fully locked into place. Use a straightedge to identify the low or high areas, then correct the subfloor—shimming low areas or sanding down high spots where appropriate. If the underlayment got wet or compressed during the original damage, replacing it before re-installing laminate floor planks can prevent repeat unevenness.
📅 Last Updated: October 22, 2026 | Topic: How to repair laminate floors in a closet? | Content verified for accuracy and freshness.
References
- Laminate flooring
- Floating floor
- Floor
- Water damage
- Mold
- https://www.cdc.gov/mold/default.htm
- Mold Cleanup in Your Home | US EPA
- https://scholar.google.com/scholar?q=how+to+repair+laminate+flooring+damaged+planks Google Scholar
- https://scholar.google.com/scholar?q=laminate+floor+swelling+moisture+repair+guidance Google Scholar
- https://scholar.google.com/scholar?q=water+damage+laminate+floor+replacement+floating+floor+repair Google Scholar