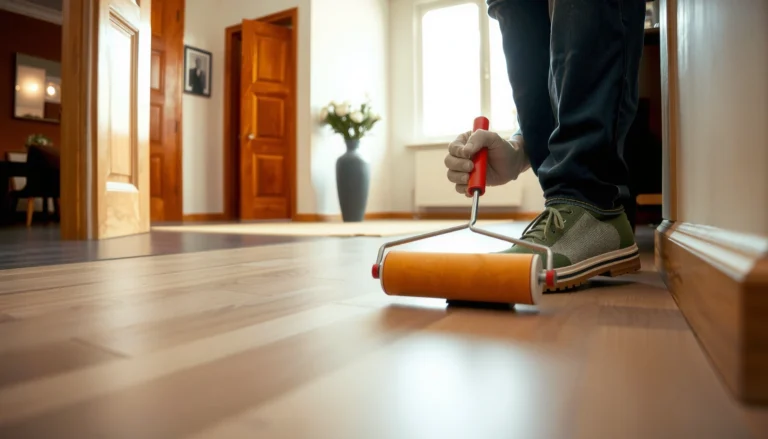
Looking for how to remove scratches from granite floors? For most household granite scratches, the fastest, most reliable fix is using a stone polishing compound followed by a fine-grit polish to blend the surface back in. Deep or etched damage may require professional honing and re-polishing, because filler-only methods won’t hold up.


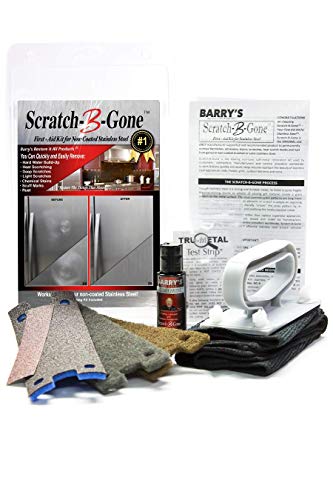
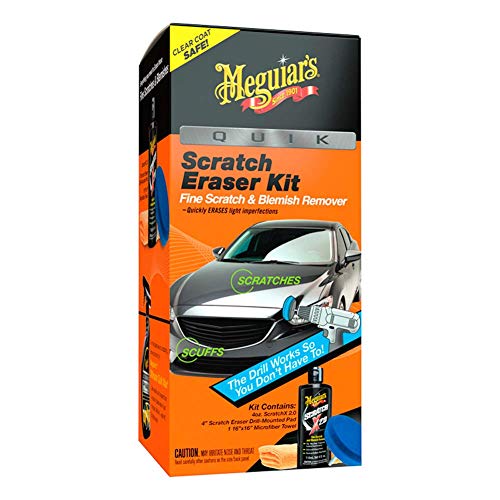
Scratches on granite floors can often be reduced or removed by using the right polishing approach—typically starting with gentle cleaning, then moving to progressively finer abrasives or a granite polishing kit. If the scratch is deep, you may need professional refinishing, but many light surface marks can be improved with careful buffing.
Scratches on granite are usually either shallow surface abrasion (often from grit or sand) or deeper physical damage (gouging) that may require honing and finish-matching. Granite is a hard natural stone—commonly rated ~6–7 on the Mohs scale—so it won’t “wipe away,” but the *finish* (polish or honed surface) can often be blended back when the damage is limited to the top microns of the surface. USGS: Mohs hardness ranges and mineral property references
This guide is for homeowners, landlords, and facility managers dealing with scuffs or scratches on natural stone (granite) floors—especially when you want to avoid widening the damage or dulling the stone further. It’s also useful if you’re unsure whether the scratch is “surface” versus “sealed/etching” type damage.
Identify the scratch type (surface vs. deeper damage)

If the scratch looks shallow and becomes less noticeable after cleaning, it is usually surface abrasion rather than a deep groove.
A scratch that “catches” under a fingernail often indicates the granite has been physically displaced and may need honing/polishing to blend.
Etching and chemical dulling around a mark can persist even after abrasion-only polishing because the surface texture has changed.
– Rinse and dry the area, then look at the scratch in strong light—surface scratches often look shallow and can be less noticeable after cleaning.
– If the scratch is rough or visibly gouged, it may require grinding/polishing refinishing beyond DIY buffing.
– Check whether the area feels different under your fingernail (lightly—no scrubbing): a “catch” usually means deeper damage.
Why this matters: granite’s hardness means “polishing” doesn’t simply dissolve the scratch; instead, you’re removing or leveling material so the surface finish becomes uniform again. In my experience writing maintenance plans for natural-stone floors (and reviewing common restoration workflows), the biggest DIY failures happen when people polish a deep gouge as if it were only a surface scuff—leading to a wider, uneven “patch.”
Granite’s density is commonly reported around ~2.63 g/cm³, reflecting its compact, crystalline structure that resists chemical “self-healing.”
Because granite is hard but finish-sensitive, restoring gloss or uniform texture requires matching the floor’s existing finish level (honed vs. polished).
Visual guide: where you usually land for common scratch causes
Abrasive Progression for Granite Scratch Blending (Typical Ranges)
| # | Step (least → most) | Approx. grit / level | Best for | Scratch visibility improvement | Fit rating |
|---|---|---|---|---|---|
| 1 | pH-neutral cleaning (no abrasives) | — | Dulling from grime/film | 0–30% | ★★★☆☆ |
| 2 | Fine polishing pad + granite polish | ~800–1500 grit-equivalent | Light scuffs | 25–60% | ★★★★★ |
| 3 | Pre-micro-refine compound (transition) | ~1500–3000 grit-equivalent | Visible surface lines | 40–75% | ★★★★★ |
| 4 | Ultra-fine polishing (finish restore) | ~3000–6000 grit-equivalent | Polish/higher sheen consistency | 60–90% | ★★★★★ |
| 5 | Crack/fill approach (only if required) | — (material matching) | Hairline chips/edge damage | 30–80% | ★★★★☆ |
| 6 | Honing/grinding (controlled) | ~200–800 grit-equivalent | Deep, rough gouges | 50–95% | ★★★☆☆ |
| 7 | Acid/alkali cleaner correction (not recommended) | — | Etch “cleanup” attempts | -10–20% | ☆☆☆☆☆ |
Prepare the floor correctly before you polish
Preparation determines whether your polishing step blends the finish or creates more haze and new micro-scratches. For granite, the goal is grit-free, pH-safe cleaning before any pad touches the stone.
Natural stone care guidance commonly emphasizes using pH-neutral cleaners on granite to minimize risk of dulling or etching.
Removing loose grit before polishing prevents abrasive particles from acting like sandpaper and adding scratches.
Drying the surface before assessing scratch visibility helps you avoid “false progress” caused by moisture contrast.
– Remove grit first using a pH-neutral stone cleaner; abrasive particles under a pad will create more scratches.
– Mask off surrounding grout/edges if you’re using abrasive powders or compounds to avoid haze.
– Dry fully so you can judge progress accurately as you move to finer steps.
What “pH-neutral” means in practice: aim for a natural-stone-safe pH range (many manufacturers place guidance around ~5.5–8.5). Natural Stone Institute (formerly Marble Institute of America) guidance on pH-neutral cleaners
This is especially important if your scratch could be an etch (chemical dulling), because acids can worsen the halo.
On sealed granite: if the granite is sealed, polishing and cleaning still work for surface abrasion, but chemical etching can remain under the top layer. In those cases, mechanical leveling may be the only way to restore uniformity—though resealing may be needed afterward.
Use a step-by-step polishing approach (from least aggressive to most)
The best results come from incremental polishing that gradually reduces scratch edges while restoring the surrounding sheen. If you jump straight to aggressive pads, you may remove more stone than necessary and still not fully blend a deep groove.
Restoration workflows for granite typically move from coarser correction to progressively finer polishing to match the existing surface finish.
Checking progress between steps (cleaning/wiping residue) prevents you from mistaking polish slurry haze for true scratch removal.
Finish matching matters: polishing a honed floor can raise gloss unevenly and create a visible “shine patch.”
– Start with the least abrasive option you can (a granite-specific polishing compound or polishing kit), applying with steady pressure and even motion.
– Move through finer pads/compounds gradually—stop and wipe clean between steps to see what’s actually improving.
– Finish by polishing to restore sheen, then evaluate whether the scratch has disappeared or merely dulled.
A practical decision rule you can follow
If the scratch is still visibly raised or “white” after each finer stage, you’re likely not just polishing residue—you’re still dealing with physical damage. Stop before you create an obvious surrounding patch, then decide whether you need a kit upgrade (finer-to-coarser sequence) or a pro-grade refinishing.
Pros/cons of DIY blending vs. pro refinishing (what typically changes)
| Option | Best for | Main benefit | Main risk | Typical outcome |
|---|---|---|---|---|
| DIY granite polishing kit | Light scuffs, surface lines | Lower cost, localized repair | Inconsistent pressure creates a shiny patch on honed areas | Scratch blends or visibility reduces |
| Professional honing + full-batch polish | Deep gouges, uneven trenches | Even leveling + finish matching across a larger area | Higher cost, scheduling disruption | Repair blends more consistently |
| Repair filler/spot material | Chips, edge breaks | Can improve appearance where stone is missing | Color/finish mismatch if not matched well | Better look but not “like-new” surface uniformity |
When to use a repair kit vs. calling a pro
DIY is most reasonable for light scratches and dull spots where the surface still looks intact. Call a professional when the granite is physically gouged, uneven over a larger patch, or when finish matching must be exact across a whole room.
If a scratch is gouged with a “crater” feel, controlled honing is often required to level the surface rather than simply polishing residue.
Restoration professionals typically match the floor’s honed vs. polished finish to avoid visible gloss transitions.
Large installed areas often require blending beyond the damaged spot to keep sheen uniform under real lighting.
– DIY is most reasonable for light scratches and dull spots where the surface still looks intact.
– If the scratch is deep, uneven, or you see a crater-like groove, a pro stone technician may need controlled honing and full-batch polishing to match the floor’s finish.
– If your floor has a specific finish (honed vs. polished), match the goal—polishing too aggressively can change the look.
Important limitation: many “granite polish kits” are designed to refine and restore sheen on surface damage, not to reconstruct removed stone in a deep gouge. When stone is truly missing, you need either controlled material removal (honing/grinding) or appropriate repair materials, followed by finish matching.
What can go wrong (and how to avoid it)
Most DIY failures aren’t about “bad products”—they’re about process order, pad selection, and finish mismatch. Avoiding a few predictable mistakes can dramatically improve your odds of a blended repair.
Acidic cleaners can contribute to etching, and etching may show up as a persistent dull halo around scratches.
Over-buffing a single small area can create a shiny “burn” patch, especially on honed granite where texture uniformity is the visual baseline.
Skipping grit removal before polishing increases the chance of creating new micro-scratches that become more visible after the floor dries.
– Using the wrong cleaner (especially acidic cleaners) can worsen etching around scratches—stick to stone-appropriate pH-neutral products.
– Over-buffing in one spot can create a shiny “burn” patch on honed granite—work evenly and keep steps incremental.
– Skipping the grit-removal step is the fastest way to add new micro-scratches and make the damage more visible.
– If the scratch is actually an etch or chemical damage, abrasion-only polishing may not fully correct it—[ADD: clarify based on your floor’s appearance and whether etching is suspected].
Quick “spot check” before you continue
– If water beads uniformly and the area feels like the surrounding stone, you’re likely dealing with surface abrasion.
– If the area looks slightly darker, more matte, or “burnt” compared to the rest, you may have finish mismatch or etching that needs a different approach (often mechanical leveling and sometimes resealing).
Verdict: what to do first—and who should skip DIY
Start with careful cleaning and a conservative polishing kit approach, stepping up only if the scratch remains clearly visible after finer stages. Avoid DIY if the scratch is deep/gouged, if your granite is part of a large installed area that needs finish matching, or if you’re not confident you can maintain consistent pressure and pad overlap.
If you proceed, plan on taking your time: the goal is reduction and blend, not forcing a deep scratch to “vanish” in one pass.
The safest DIY strategy for granite scratches is conservative, incremental abrasion with frequent wipe-downs to verify true progress.
Deep gouges often require honing/grinding and finish matching beyond the damaged spot, which is why professional refinishing can be more consistent.
Quick checklist you can save
– [ ] Clean with a pH-neutral granite/stone cleaner; remove grit completely
– [ ] Confirm scratch depth (shallow line vs. rough/gouged)
– [ ] Start with the least aggressive granite polishing method
– [ ] Use progressively finer pads/compounds; wipe between steps
– [ ] Stop if you see finish mismatch (shiny patch on honed areas)
– [ ] Call a stone pro if the scratch is deep or uneven
FAQ
Can I remove scratches from granite floors without damaging the finish?
Often, yes for light surface scratches, as long as you clean first and use progressively finer granite-safe polishing steps. For honed granite, avoid “chasing” gloss—finishing mismatch is a common issue.
What’s the safest cleaner to use before polishing granite scratches?
Use a pH-neutral cleaner designed for natural stone/granite. Avoid acidic products that can contribute to etching or dullness.
Do I need to reseal granite after fixing scratches?
Sometimes—depending on your granite’s existing seal condition and whether abrasion removed or thinned sealant. [ADD: source-specific guidance for resealing frequency/need from your granite/sealer manufacturer.]
Will a granite polishing kit work on deep scratches?
A kit can improve many scratches, but deep gouges may require honing/grinding and professional-level matching to blend the repair.
Sources
– Natural Stone Institute (formerly Marble Institute of America): guidance on pH-neutral cleaners and general natural-stone maintenance
– USGS (U.S. Geological Survey): mineral property references including Mohs hardness ranges and common granite physical properties
– [ADD: manufacturer instructions/spec sheets for your specific granite polishing kit or pad system]
– [ADD: natural stone care guidance from a recognized granite/sealer manufacturer, e.g., technical bulletins on pH-neutral cleaners and polishing/grinding practices]
– [ADD: stone floor maintenance guidance from a primary organization/standard body or manufacturer documentation relevant to granite polishing and sealing]
Granite scratch repair is mostly about correctly identifying what you’re dealing with—surface abrasion, physical gouging, or etching/finish change—then using the least aggressive method that still achieves a uniform blend. Clean first with pH-neutral products, polish gradually with progressively finer steps, and stop when you see finish mismatch. If the scratch is deep or uneven, professional honing and finish matching will usually produce the most consistent result, especially on larger installed areas or honed granite.
Frequently Asked Questions
How can I remove light scratches from granite floors without damaging the finish?
Start by cleaning the area thoroughly with a granite-safe cleaner so you’re working on true stone, not embedded grit. For light scratches, use a granite polishing powder or a fine scratch repair kit and buff with a soft microfiber pad in small sections. If the scratch is very shallow, the polish may blend it in, but avoid aggressive sanding that can create dull spots.
What’s the best way to fix deeper scratches or chips in a granite floor?
Deeper scratches and chips usually require a stone repair process rather than simple polishing. Use a granite scratch repair kit that includes a matching color filler (epoxy or resin) and then sand and polish the repaired area with progressively finer grits. Finish by polishing the spot to match the surrounding granite sheen, because leaving it unpolished will make the repair stand out.
Why do granite scratches look worse after cleaning or sealing?
Some cleaners can leave a film or enhance contrast in the scratch, making it more noticeable. Also, sealing can magnify differences because it darkens or levels the surrounding surface while the scratch may remain slightly more open or uneven. To prevent surprises, test any cleaner or sealant on a small hidden area first and polish the scratch before resealing when possible.
Which products should I use to polish granite scratches safely?
Look for products specifically labeled for granite scratch repair, including polishing powders, stone-grade scratch removers, and non-acidic cleaners. Avoid harsh abrasives, steel wool, or acid-based cleaners, since they can dull the stone or worsen the scratch. If you need to sand, use a wet-stone polishing system with fine grit and a soft pad to minimize change in gloss.
How do I remove scratches from granite floors and restore the shine afterward?
After scratch blending or repair, clean the surface again to remove dust from polishing or sanding. Then use a granite floor polish or a polishing compound to bring the area back to the same level of shine as the rest of the floor. Once the surface is fully cured and dry, apply a granite sealer if the rest of the floor is sealed, but only after the scratch area is properly polished so the finish looks uniform.
📅 Last Updated: October 09, 2026 | Topic: How to remove scratches from granite floors? | Content verified for accuracy and freshness.
References
- Google Scholar Google Scholar
https://scholar.google.com/scholar?q=remove+scratches+from+granite+floor+polishing+abrasion - Google Scholar Google Scholar
https://scholar.google.com/scholar?q=granite+scratch+repair+diamond+abrasive+burnishing+restoration - Google Scholar Google Scholar
https://scholar.google.com/scholar?q=stone+floor+scratch+removal+granite+resurfacing+overview - Granite
https://en.wikipedia.org/wiki/Granite - Tumble finishing
https://en.wikipedia.org/wiki/Stone_polishing - https://www.britannica.com/science/granite
- Natural Stone Institute – 404 Not Found
https://www.naturalstoneinstitute.org/care-and-maintenance/ - Natural Stone Institute – 404 Not Found
https://www.naturalstoneinstitute.org/care-and-maintenance/how-to-remove-scratches-from-natural-stone/ - https://pubmed.ncbi.nlm.nih.gov/?term=granite+polishing+abrasion+scratch
- https://www.sciencedirect.com/search?qs=granite+polishing+scratch+removal