


First, carefully assess the damage by inspecting for warping, discoloration, and measuring moisture levels. Next, thoroughly dry the area using fans, dehumidifiers, and by increasing ventilation, while removing any standing water and furniture. Finally, replace severely damaged boards, sand the floor smoothly, and apply a protective finish to restore its appearance and durability. Taking these precise steps guarantees your floor’s integrity, and you’ll uncover more detailed techniques to perfect the restoration process as you go.




Assessing the Extent of Water Damage

Before you begin repairs, you need to carefully evaluate the extent of the water damage to your wood floor. Start by identifying damage visually—look for discoloration, warping, or cupping in the planks. Don’t overlook subtle signs like slight swelling or soft spots, which indicate deeper issues. Use a reliable moisture detection tool to measure the moisture content in the wood. This step is essential; it helps determine how far the water has penetrated and whether the subfloor is affected. Systematically check across multiple areas, noting variations in moisture levels. By methodically identifying damage and evaluating moisture, you gain the freedom to decide whether repairs are sufficient or full replacement is necessary. This thorough evaluation sets the foundation for effective restoration.
Drying and Preparing the Affected Area
Once you’ve assessed the damage, you’ll need to thoroughly dry the affected area to prevent mold growth and further deterioration. Start by removing any standing water using a wet/dry vacuum or absorbent towels. Next, apply drying techniques such as using fans, dehumidifiers, and opening windows to promote airflow and reduce moisture content. Monitor humidity levels closely; aim for below 60% to inhibit mold development. As part of your preparation steps, clear the area of furniture and rugs to expose the floor fully. Inspect the subfloor for dampness, since hidden moisture can compromise repairs. Finally, allow sufficient drying time—often 48 to 72 hours—before proceeding. Proper drying and preparation guarantee a stable foundation for restoring your wood floor and maintaining your home’s freedom from ongoing damage.
Repairing and Refinishing the Wood Floor

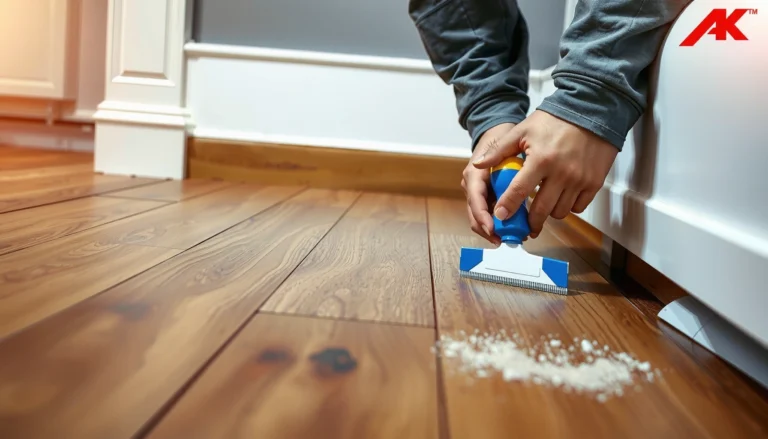
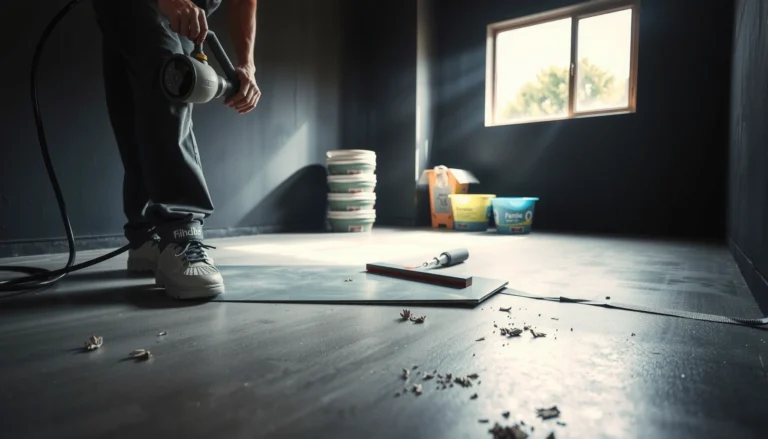
Begin by evaluating the extent of damage to determine whether you need to replace individual boards or can simply sand and refinish the surface. Once assessed, follow these repair methods for effective restoration:
- Replace any severely warped or rotted boards to maintain structural integrity.
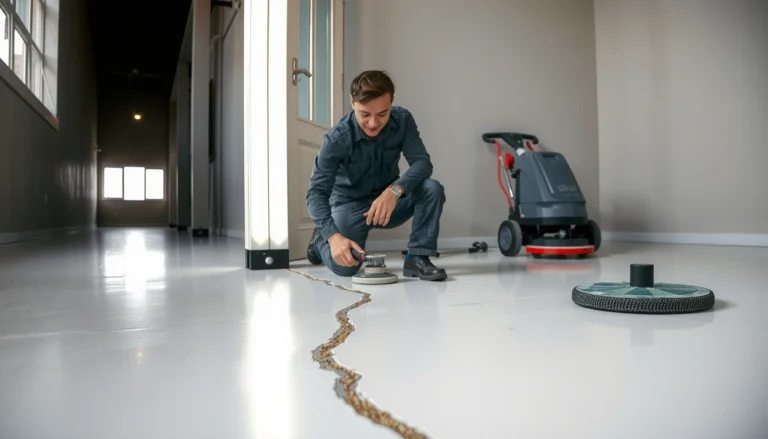
- Sand the entire floor using appropriate refinishing techniques, starting with coarse grit and progressing to finer grits for smoothness.
- Apply stain and multiple coats of polyurethane or a water-resistant finish to protect and enhance the wood’s appearance.
[…] or trim if needed so you can access the raised section and avoid forcing boards into place. Dry the area thoroughly and allow the floor to acclimate until the boards stop moving, then re-secure the boards […]
[…] If the stain is stubborn, dry the area thoroughly and reassess before moving to stronger methods. “Temporary darkening” can happen […]
[…] your hardwood floors got wet, the fastest path to saving them is to stop the moisture immediately, dry the area thoroughly, and then decide whether you need to sand/refinish or call a pro. The key is not just […]
[…] the gap thoroughly with a vacuum and a soft brush, then dry the area so the filler adheres well. Use a wood floor gap filler designed for engineered or laminate floors, […]
[…] won’t release, switch to an adhesive remover rather than applying more heat. Finally, clean and dry the area to remove both adhesive residue and any softened material left in the […]
[…] check caulk lines and transitions for cracks or gaps. During wet seasons or after plumbing events, dry the area quickly and monitor for lingering moisture to stop water damage from […]
[…] should clean and dry the area before applying any scratch-restore product or filler, because grit makes repairs look darker, […]
[…] whether repair compound blends or looks patchy. Before you apply anything, remove grit and fully dry the area so the putty/wax (or polish) bonds to the wear layer instead of trapping […]
[…] discoloration appears after a spill or leak, act quickly: dry the area thoroughly and remove any sources of trapped moisture. Use fans or dehumidification, and check […]
[…] stop the source of water and remove any standing water using towels and a wet/dry vacuum. Then dry the area quickly by opening windows, using fans, and maintaining consistent airflow over the SPC floor […]
[…] spills, high humidity, or damp subfloor). If the floor is recently affected, you may be able to dry the area and let it acclimate, but warped boards usually need replacement because they won’t reliably […]
[…] by removing standing water immediately with a wet/dry vacuum and wipe up any excess moisture. Then dry the area using fans and dehumidifiers, and keep air moving across the floor for at least 24–48 hours. If […]
[…] dry the area routinely, especially after leaks or sloppy […]
[…] Use minimal moisture and work gradually, repeating the process until the stain lightens, then dry the area completely. If the spot persists, apply a targeted stain remover for grease/oil and keep furniture […]