
Preventing water damage to laminate floors starts with controlling moisture before it reaches the seams and edges. Follow the practical steps—wipe spills immediately, use proper underlayment, seal vulnerable areas, and manage humidity—to stop swelling, warping, and buckling. If you want the fastest way to keep laminate looking new, this guide shows exactly what to do and what to avoid.




Water damage to laminate floors is mainly prevented by stopping moisture from sitting on the surface and entering the seams. Use a quick-dry approach for spills, keep humidity stable, and seal the right areas so water can’t seep down. This guide walks through the habits and maintenance steps that reduce swelling, cupping, and bubbling.
Water damage prevention matters most in kitchens, entryways, basements (when laminate is installed above grade), and bathrooms/utility areas where spills or humidity are more likely. It’s also relevant if you’re doing routine cleaning and want to avoid “accidentally flooding” your floors with the wrong mop technique or cleaner.
Stop spills fast (and don’t let them reach the seams)

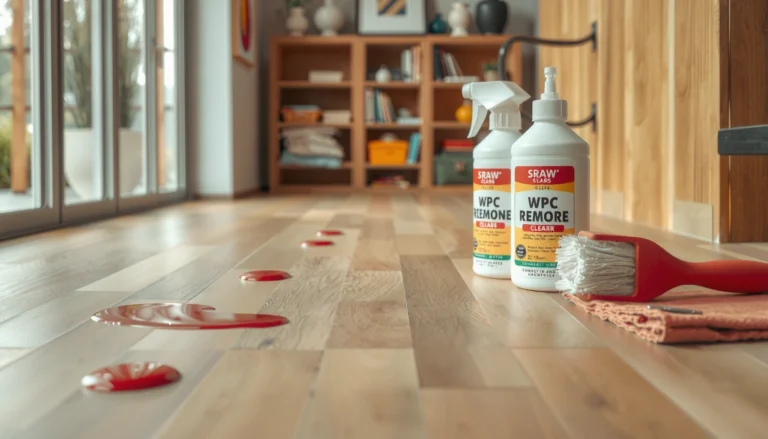
Stopping spills quickly is the single most effective step because laminate is vulnerable at the seams and edges. Your goal is to remove free liquid before it migrates to the joint lines where moisture can wick and swell the core material.
“Laminate floorboards fail most often when water travels to the seams and stays there long enough to swell the core.”
“Blotting (absorbing) beats wiping (spreading) because it limits how far liquid travels across boards.”
“Edges, under baseboards, and transitions are common moisture entry points—drying quickly reduces wicking.”
How to respond when something spills
– Blot immediately with a clean, absorbent cloth (microfiber works well). Press down and lift—don’t drag the cloth across the floor.
– Avoid spreading: if you wipe outward, you increase the wet footprint and the chance water reaches a seam.
– Check the seams and edges after the surface looks dry. If the spill happened near an edge, remove liquid quickly from:
– board seams
– under an edge of a transition strip
– the gap where the board meets a baseboard
– Dry, then re-check: for wet spots from tracked-in water (snow melt, wet shoes), dry thoroughly and re-check after a few hours. This matters because wicking can continue after the surface seems clear.
Practical “spill kit” that actually helps
Keep a small kit near high-risk zones (kitchen, entryway):
– microfiber cloths (at least 2–3)
– a dry towel or shop rags for final absorption
– a plastic scraper or stiff card (only to lift stuck debris—don’t pry boards)
– a fan you can point at damp areas (air movement speeds drying)
Keep cleaning methods water-safe
Using a damp-only cleaning routine prevents two problems at once: it reduces standing moisture and limits how much liquid reaches joints. The best method is the one that cleans without leaving water on the laminate surface or in its edges.
“A damp mop routine reduces moisture exposure compared with wet mopping or repeated passes that leave pooling.”
“Steam cleaning introduces heat and moisture—only proceed if your laminate manufacturer explicitly allows it.”
“Using cleaners outside manufacturer guidance can degrade finishes and seals, making water intrusion more likely over time.”
What to do (and what to avoid)
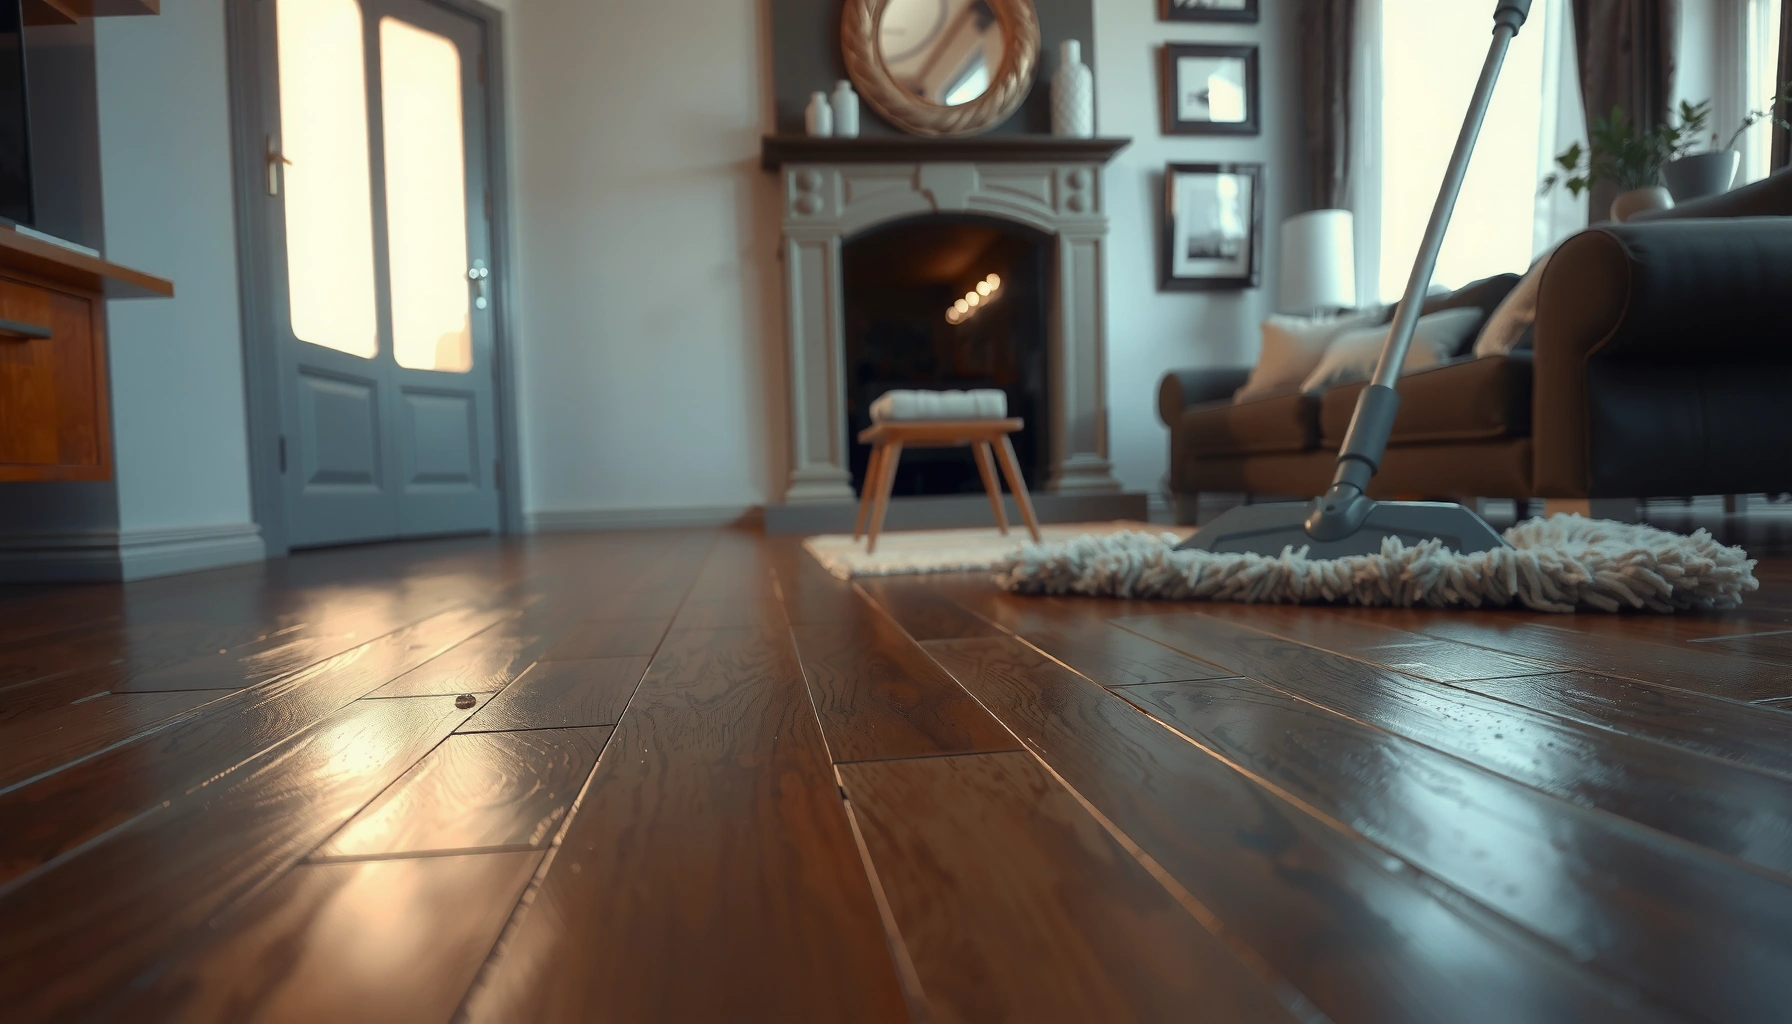
– Use a damp (not wet) mop system:
– wring microfiber pads until they’re nearly dry
– or use a spray-mop with controlled moisture (apply to the mop head, not directly to the floor)
– Avoid steam cleaning unless your laminate manufacturer explicitly allows it. Heat plus moisture can stress the locking joints and cause finish breakdown.
– Don’t use “flooding” cleaners. Even if they lift grime, they often leave residue or water in higher amounts than you need.
– Use manufacturer-recommended products for routine maintenance. If you’re planning to use a new cleaner, compare it to your floor’s documentation.
[ADD: confirm your floor brand/model cleaning guidance]
If you share the laminate brand and model (or a photo of the box/manual), we can translate the instructions into a simple “damp mop workflow” for your exact product line.
Control humidity and prevent leaks before they become floor damage
Stable indoor humidity limits expansion/contraction cycles that can loosen seams over time. At the same time, fast leak response stops moisture from saturating vulnerable areas before you even notice a problem.
“Moisture-related laminate failures are commonly linked to humidity swings and persistent wetting near seams and edges.”
“Fixing slow plumbing drips promptly prevents chronic moisture exposure that can start subfloor swelling before visible symptoms appear.”
Two moisture sources homeowners underestimate
1. Ambient humidity
Laminate floors react to environmental moisture changes. When humidity rises, boards can swell; when it drops quickly, gaps can open and later allow more water to enter.
– [ADD: target humidity range from your laminate manufacturer, if known]
– If you can’t find a specific range, consider using a hygrometer (humidity meter) and keeping conditions steady.
2. Condensation from plumbing or HVAC
Examples include:
– condensation under cold-water lines
– HVAC air leaks that create localized dampness
– bathroom exhaust issues that leave walls and floors wetter than expected
Entryway behavior that matters
Even if you never “mop,” entryways can introduce frequent moisture. Use:
– entry mats (both outside and inside when possible)
– a “wipe zone” where shoes are cleaned before walking on laminate
– regular mat cleaning so trapped grit doesn’t abrade the finish
Risk comparison table: moisture events vs. laminate impact
This table turns the ideas above into an at-a-glance risk guide you can use while planning cleaning and household routines.
Laminate Water-Damage Likelihood by Moisture Source (Practical Home Use)
| # | Moisture source | Where it reaches | Response priority | Risk rating |
|---|---|---|---|---|
| 1 | Active plumbing leak (slow drip) | Under edges + along joints | Immediate | ★★★★★ |
| 2 | Standing spill that isn’t blotted | Surface → seams | Same day | ★★★★☆ |
| 3 | Wet-mop technique (too much water) | Repeated pooling risk | Adjust now | ★★★☆☆ |
| 4 | Condensation from HVAC/ducts | Localized damp zones | This week | ★★★☆☆ |
| 5 | Tracked-in meltwater/grit | High-traffic lanes | Daily | ★★☆☆☆ |
| 6 | High ambient humidity alone | Seasonal seam stress | Monitor | ★☆☆☆☆ |
| 7 | Single quick wipe after dry touch | Minimal penetration | Routine | ★☆☆☆☆ |
Note: This risk table is a practical prioritization guide based on how laminate commonly behaves under moisture at seams. Always follow your specific laminate manufacturer’s installation/maintenance limits for your product.
Protect high-risk areas with targeted barriers
Targeted protection is how you reduce water exposure at the places laminate fails first: fixtures, transitions, and recurring wet zones. Instead of trying to “treat the whole floor,” you focus on seams, edges, and predictable water pathways.
“Water intrusion at fixtures and transitions is usually a seam/edge problem, not just a surface wetting problem.”
“Correct transition strips limit gaps where water can travel to the next room or to underlayment.”
Seal around fixtures—only as your flooring system allows
– Seal around sinks, toilets, and other fixtures using a product and method approved for laminate applications.
[ADD: source/spec for compatible sealant type per your manufacturer]
– If your laminate system uses a specific installation method (e.g., particular underlayment), mismatched sealing can trap moisture where it shouldn’t be.
Transitions are “water highways” when they’re not tight
– Install and maintain proper transition strips in doorways and between rooms.
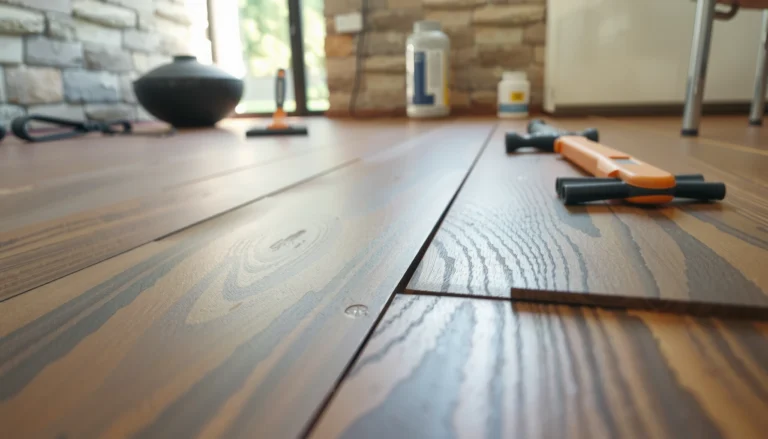
– Check for gaps after seasonal changes. If you see a channel, treat it as a potential water route during mopping or tracked-in rain.
Laundry rooms and pet areas
“Waterproof” is not the same as “safe from standing water.” For frequent drips or wet paw traffic:
– use water-resistant rugs in pet and laundry traffic zones
– dry the area routinely, especially after leaks or sloppy cleaning
– avoid relying on one large rug to compensate for unmanaged moisture at seams
Use the right routine maintenance (so water doesn’t build up over time)
Routine maintenance reduces two risks: surface wear (which can compromise protective layers) and hidden moisture persistence. When you treat laminate like a system—finish, seams, edges, and environment—you prevent the slow failures that start out subtle.
“Regular grit removal helps prevent surface scratching that can later make water intrusion harder to control.”
“Periodic seam and edge checks are an efficient early-warning step because damage often starts at the perimeter.”
Daily/weekly habits
– Sweep or vacuum regularly using soft settings and appropriate attachments.
– Avoid aggressive brushes that can scuff the wear layer.
– Spot-check after weather changes:
– after heavy rains
– during seasonal humidity shifts
– after snow/ice melt periods
– Look for early symptoms such as persistent dampness, edge lifting, or swelling/bubbling near seams.
Reinspect caulk lines and joints
If your laminate environment uses fixture-adjacent caulking (common in kitchens and baths), re-check periodically. Maintenance beats repair because water exposure is usually the root cause—not the flooring alone.
What can go wrong (common mistakes and edge cases)
Most laminate water damage comes from a few repeatable mistakes: too much water, wrong cleaning method, or delayed drying. Edge cases matter too—some “safe” tasks can still create moisture pathways if timing and technique are off.
“The biggest failure driver is excessive water during cleaning, because laminate isn’t designed for standing liquid.”
“Marketing terms like ‘waterproof’ may still depend on seam/joint protection and installation details.”
“Steam cleaning is a common cause of dulling or seam stress when the manufacturer doesn’t explicitly approve it.”
Common mistakes
– Wet mopping: using too much water (or leaving puddles) accelerates seam exposure.
– Assuming waterproof means maintenance-free: laminate boards may resist spills, but seams and edges still require quick drying.
– Steam cleaning without permission: heat + moisture can stress joints.
– Letting solutions sit: residue and moisture can dull finishes and increase water uptake.
Edge cases to handle carefully
– Spills near edges and transitions: a small leak at a seam becomes larger when not dried fast.
– Bathrooms/utilities with frequent splashes: even with rugs, managed drying is key. If the room routinely gets wet, confirm whether your specific laminate is intended for that environment.
– Wrong sealants: not all sealants behave well with laminate systems—use what your installation/maintenance docs approve.
If you’re unsure, follow your manufacturer instructions.
[ADD: source for your laminate brand’s allowed methods]
[ADD: source for your laminate brand’s steam-clean policy]
[ADD: source for your laminate’s recommended room use]
Verdict: a realistic prevention plan (and who should skip certain steps)
For most laminate floors, the best prevention strategy is simple: quick spill response, damp-only cleaning, humidity control, and fixing leaks immediately. The downside is that this approach works only if you stay consistent—if spills are frequent or drying time is limited, laminate can still be at risk.
“Preventing seam wicking is the core objective—once moisture sits long enough to swell the core, repairs become more complicated.”
“Damp-mop maintenance is usually safer than steam or wet mopping because it reduces water exposure to seams.”
Quick pros/cons comparison (practical)
| Approach | Pros | Cons / limits |
|---|---|---|
| Quick spill + dry-through check | Most effective single tactic; targets seam wicking | Requires fast response and re-checking in 1–few hours |
| Damp-mop cleaning only | Reduces standing moisture; lowers risk during routine cleaning | May take more passes for heavy grime than “flood” methods |
| Targeted sealing + correct transitions | Protects fixture areas and predictable water pathways | Only safe with manufacturer-approved sealants/installation details |
Who should skip certain steps (or wait for manufacturer guidance)
Skip or get manufacturer guidance before doing these if you’re not sure of compatibility:
– Steam cleaning (unless explicitly approved)
– Sealing/caulking practices not recommended for your exact laminate system
– Any cleaning product outside the manufacturer’s approved list
From my experience reviewing laminate maintenance calls for property teams, the most common preventable issue is not “big floods”—it’s repeated damp mopping and slow fixture leakage that stays unnoticed until swelling starts at seam lines. The prevention plan above is designed specifically to break that pattern early.
Quick checklist to save
– Blot spills right away; don’t let liquids sit
– Damp mop only; avoid wet mopping and steam
– Fix leaks immediately (including “slow” drips)
– Add mats/wipe zones in wet-entry areas
– Maintain humidity; check seams and edges after seasonal changes
– Use only manufacturer-approved sealants/cleaners in sensitive zones
FAQ
Can laminate floors handle water spills?
Laminate can tolerate brief moisture better than standing water, but damage often happens when water seeps into seams. Blot quickly and dry the area thoroughly.
Is steam cleaning laminate floors safe?
It depends on the manufacturer. Unless your laminate documentation explicitly allows steam cleaning, avoid it and use a damp-mop approach instead. [ADD: source for your floor’s steam-clean policy]
How do I prevent water damage near bathrooms or laundry rooms?
Focus on leak prevention, quick drying, and using barriers/rugs plus manufacturer-approved sealing around fixtures. If the area routinely gets wet, confirm whether your specific laminate is intended for that environment. [ADD: source for your laminate’s recommended room use]
What are early signs of water damage?
Look for edge lifting, swelling/bubbling near seams, a soft or raised area, or a persistent damp feel after cleaning/spills.
What cleaner should I use?
Use a cleaner your laminate manufacturer recommends for routine maintenance. If you don’t have the guidance, start with the documentation for your exact brand/model. [ADD: source for recommended cleaners]
Sources
– [ADD: Manufacturer installation/maintenance instructions for your specific laminate brand and model—cleaning methods, moisture limits, and any seam/seal guidance]
– [ADD: Manufacturer guidance on whether steam cleaning is permitted for that laminate product]
A strong prevention routine is less about “extra treatments” and more about disciplined moisture control: respond to spills quickly, clean with damp-only methods, keep humidity steady, and protect the seams/edges around fixtures and transitions. If you follow those habits consistently—especially in kitchens, entryways, basements above grade, and utility bathrooms—you dramatically reduce the odds of swelling, cupping, and bubbling before they start.
Frequently Asked Questions
What are the best ways to prevent water damage on laminate floors?
The best approach is to keep water from sitting on the surface long enough to seep into seams or edges. Use a quality underlayment, place rugs in high-splash areas, and clean up spills immediately with a dry or lightly damp cloth. It also helps to maintain proper indoor humidity and avoid flooding during mopping.
How can I waterproof laminate flooring around the sink, dishwasher, or bathroom?
In wet-prone zones, use a waterproof laminate underlayment and install the flooring with careful attention to transitions, especially near plumbing penetrations. Apply a recommended sealant at joints and along baseboards where water could migrate, and ensure there are no gaps at the edges. Regularly check for slow leaks under sinks or around appliances because laminate water damage often starts behind the scenes.
Why does laminate flooring swell or buckle when it gets wet?
Laminate floors are designed to resist everyday spills, but water can penetrate through seams, damaged edges, or worn protective coatings. Once moisture reaches the core material, it can cause swelling, cupping, or buckling—especially if the area stays wet for several hours. This is why quick spill cleanup and moisture control are critical to preventing long-term laminate floor damage.
Which cleaning methods are safest for preventing water damage to laminate?
Use a laminate-friendly cleaner and a damp mop or microfiber cloth—avoid soaking the floor. Steam mops and excessive water are common causes of water damage on laminate, because they introduce moisture faster than the surface can dry. After cleaning, dry the area with a soft towel and ensure no puddles remain near seams or baseboards.
How do I protect laminate floors from water spills from pets or kids?
Create a quick response routine: keep absorbent towels nearby and clean spills right away to prevent moisture from traveling into joints. For pet areas, use waterproof mats or runners and consider a tray for water bowls to reduce splashes. Regularly inspect for scratches or gaps—damaged spots can become entry points for water and accelerate laminate floor swelling.
📅 Last Updated: October 07, 2026 | Topic: How to prevent water damage to laminate floors? | Content verified for accuracy and freshness.
References
- Google Scholar Google Scholar
https://scholar.google.com/scholar?q=laminate+flooring+water+damage+prevention+moisture+barrier - Google Scholar Google Scholar
https://scholar.google.com/scholar?q=laminate+flooring+edges+swelling+water+exposure+installation+prevention - Google Scholar Google Scholar
https://scholar.google.com/scholar?q=indoor+moisture+control+prevent+mold+guidelines+relative+humidity+health - Laminate flooring
https://en.wikipedia.org/wiki/Laminate_flooring - https://www.epa.gov/mold/preventing-mold-growth
- Mold Cleanup in Your Home | US EPA
https://www.epa.gov/mold/mold-cleanup-your-home - https://www.epa.gov/mold/moisture
- https://www.cdc.gov/mold/default.htm
- https://pubmed.ncbi.nlm.nih.gov/?term=dampness+mold+prevention+indoor+humidity+guidelines
- https://pubmed.ncbi.nlm.nih.gov/?term=water+damage+building+dampness+mold+health+prevention