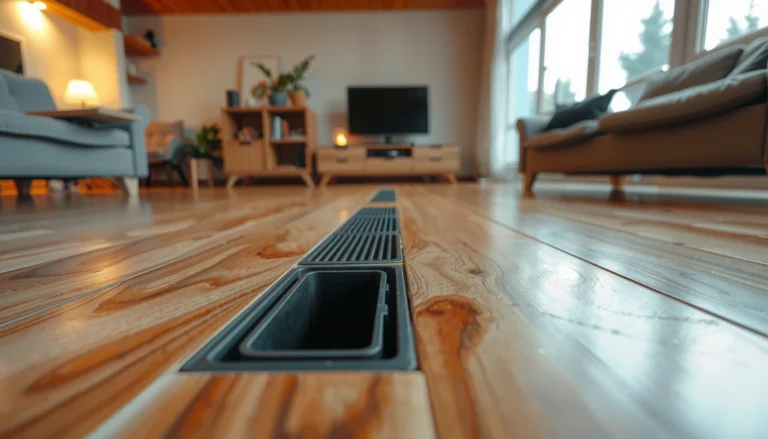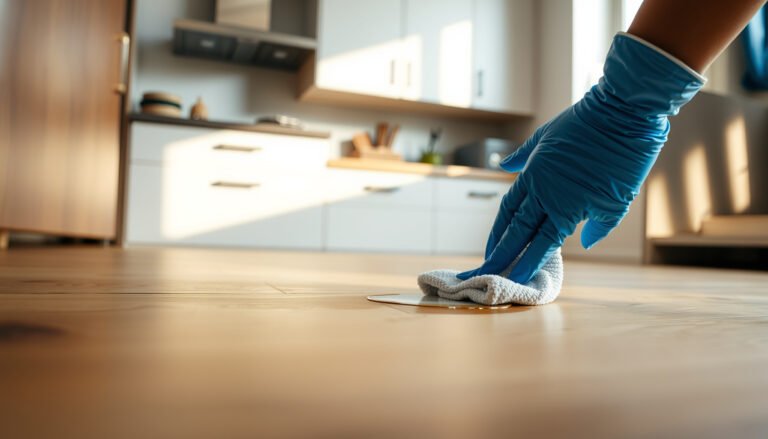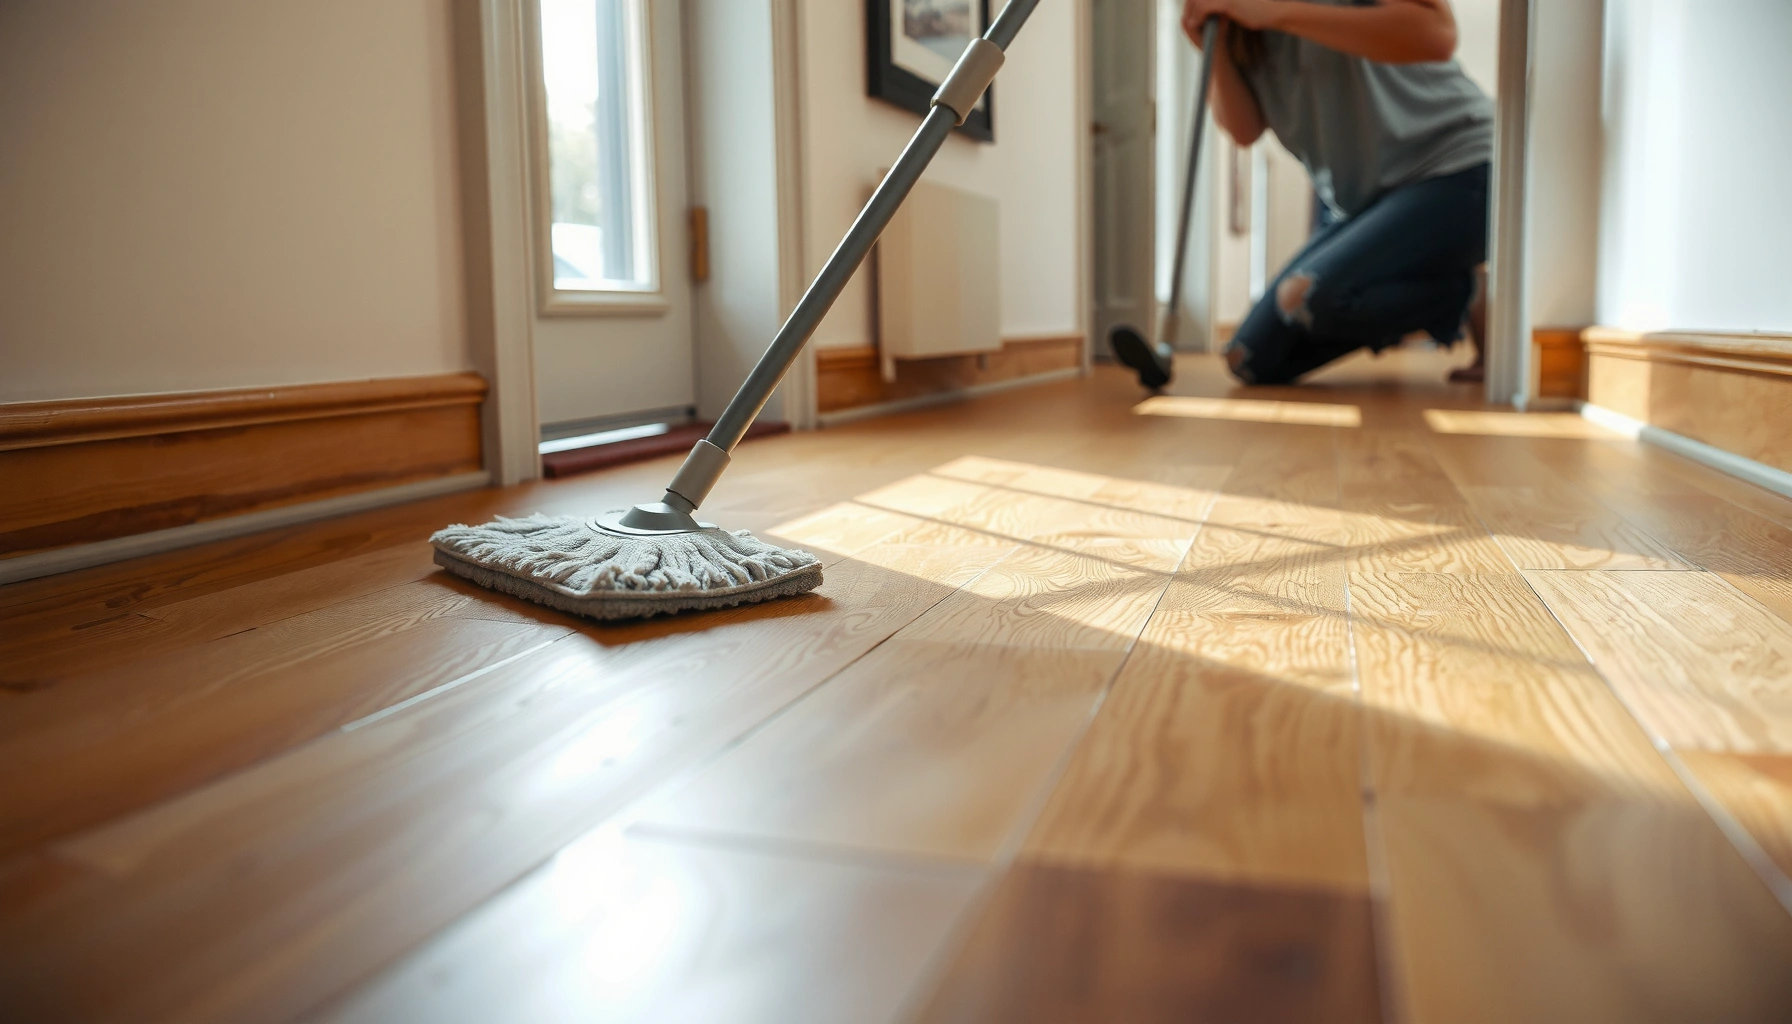

Keep hardwood floors in a hallway looking new with a simple, repeatable routine that actually holds up to daily foot traffic. This guide gives you clear, practical steps—from the right cleaning method and stain-prevention habits to the best way to protect high-wear areas. If you want fewer scratches, less dulling, and faster fixes for common hallway messes, follow these proven maintenance moves.




Preventing hallway hardwood damage is mainly about stopping grit and moisture before they reach the wood, then cleaning gently and consistently. Use doormats/runners to trap debris, keep up with daily dry cleaning, and only use manufacturer-approved cleaners—so small scuffs and spills don’t turn into dullness or finish breakdown.
If your hallway is high-traffic—kids, pets, shoes, frequent deliveries—this routine matters more than deep-cleaning. The goal is to reduce the two big hardwood enemies: abrasive debris (sand/grit) and excess water.
Hardwood-floor maintenance is for anyone living with a busy entryway: homeowners, property managers, and facilities teams responsible for common-area wear. The steps below are designed for real hallway conditions (tracked grit, quick spills, and constant foot traffic), not slow, low-traffic showrooms.
Daily upkeep in a hallway
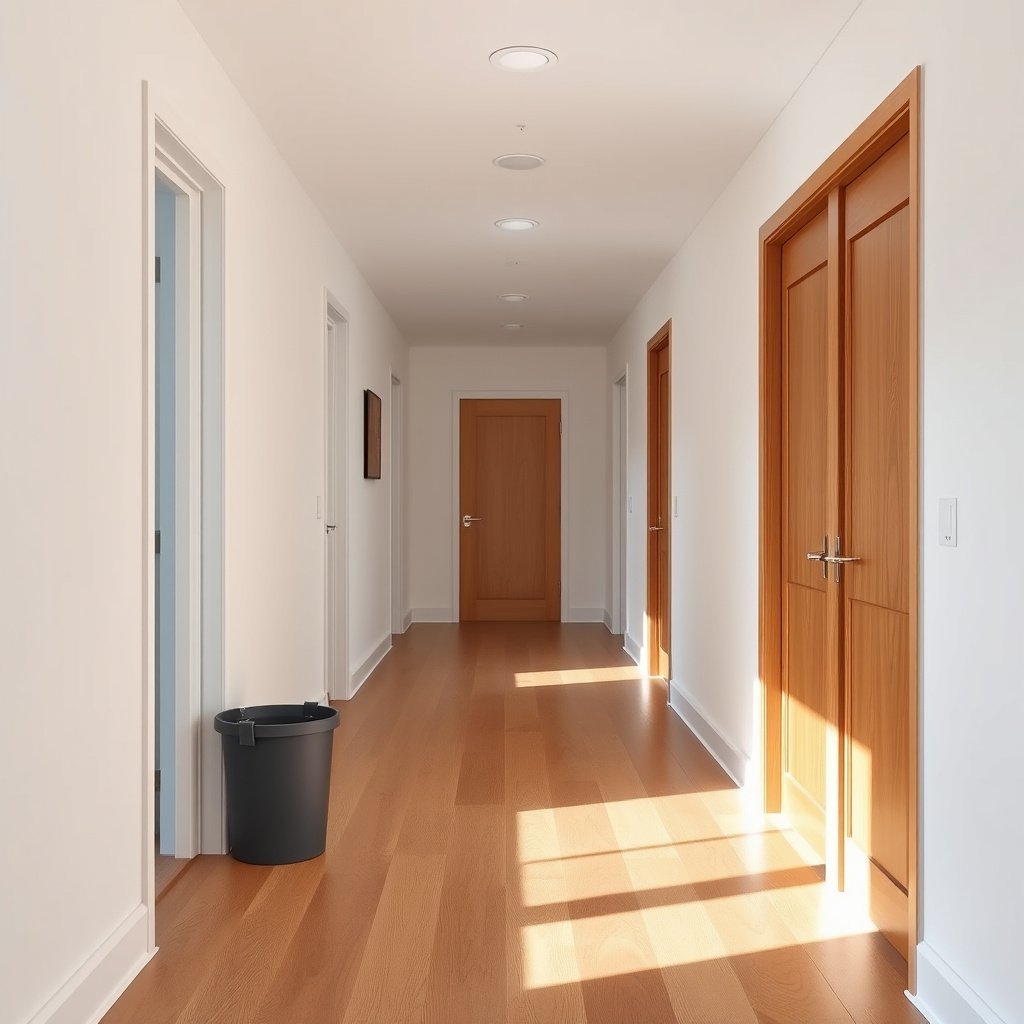
The fastest way to keep hardwood floors in a hallway looking even is to remove grit every day and wipe tracked dirt before it dries. This reduces micro-scratches that gradually dull the finish, especially at door thresholds and transition areas.
“In a hallway, the most damaging debris is usually grit—tiny particles that act like sandpaper underfoot.”
“Daily dry cleaning is lower-effort than periodic deep cleaning because it prevents debris from grinding into the hallway’s finish.”
“Wear typically starts at edges and transitions because that’s where shoes bring in dirt and where traffic concentrates.”
Sweep or vacuum in a way that won’t grind grit
For hardwood floors in a hallway, “cleaning” first means controlling abrasion. Use a soft brush attachment or a vacuum setting designed for hard floors, then avoid dragging debris across the same spots.
– Sweep or vacuum every day (or at least after busy periods) using a soft brush or hard-floor setting to avoid grinding grit into the finish.
– Wipe up tracked-in dirt quickly—don’t let it dry and get walked around again.
– Keep an eye on edges and transitions (near entry doors and between rooms), since that’s where wear often starts.
Abrasive context (why this matters): Sand and stone fragments aren’t just “dirt”—many are hard minerals. On the Mohs hardness scale (developed in 1812), quartz is rated 7/10, which helps explain why hallway grit is so effective at scuffing finishes. (Mohs hardness scale, Friedrich Mohs; 1812)
Abrasive potential of tracked hallway grit (normalized from Mohs hardness)
| # | Grit type (common in tracked debris) | Typical hallway source | Mohs hardness | Prevent finish-wear priority |
|---|---|---|---|---|
| 1 | Quartz (silica-rich sand) | Bare/road sand | 7.0 | ★★★★★ |
| 2 | Feldspar dust | Granite/concrete dust | 6.0 | ★★★★☆ |
| 3 | Granite grit (mixed feldspar/quartz) | Crushed stone pathways | 6.5–7.0 | ★★★★★ |
| 4 | Hematite/iron oxides | Red-clay soils | 5.5–6.5 | ★★★★☆ |
| 5 | Calcite (limestone fragments) | Dust from masonry/stone | 3.0 | ★★☆☆☆ |
| 6 | Gypsum | Drywall/plaster dust | 2.0 | ★☆☆☆☆ |
| 7 | Organic soil/leaf grit | Garden/porch debris | 1.0–2.0 | ★☆☆☆☆ |
Cleaning hardwood floors without dulling or stripping
The best approach for hardwood floors in a hallway is to use a finish-safe cleaner and only “dampen” when you truly need mopping-level cleaning. Over-wetting is one of the most common causes of dullness, haze, and finish breakdown over time.
“For hardwood floors, the safest ‘mop’ is usually a microfiber mop that is damp, not wet, because excess water is the bigger risk than gentle surface dirt.”
“pH-neutral, finish-compatible cleaners help prevent residue that dulls sheen.”
“Steam mops and harsh all-purpose cleaners can add heat and moisture that manufacturer specs often warn against.”
Use the right moisture level and the right cleaner
Hallway hardwood floors don’t need deep stripping to stay clean; they need residue-free, finish-safe cleaning that avoids water exposure.
– Use a slightly damp (not wet) microfiber mop when you truly need “mop-level” cleaning; over-wetting can damage the finish and underlying wood.
– Choose a pH-neutral, hardwood-floor cleaner that matches your floor’s finish type (polyurethane/water-based vs. oil/wax). When in doubt, follow the cleaner directions for your specific product.
– Avoid steam mops, bleach, and harsh all-purpose cleaners—many can leave residue, dull the sheen, or break down the finish.
Comparison: “what to do” vs. “what to avoid” for hallway hardwood floors
Below is a practical decision guide for cleaning hardwood floors in a hallway. It’s not about “stronger” cleaning—it’s about finish compatibility and controlled moisture.
| Cleaning method (hallway hardwood floors) | Key risk or benefit | Best practice outcome |
|---|---|---|
| Dry microfiber dusting | Low moisture; reduces grit carry-in before it bonds | Keeps hallway finish uniform |
| Slightly damp microfiber with pH-neutral cleaner | Controls water; minimizes residue and dulling haze | Cleans without finish breakdown |
| Spray-and-buff (finish-approved product) | Targets high-traffic patches; avoids soaking | Spot-fresh look in minutes |
| Steam mopping | Heat + moisture exposure beyond many hardwood specs | Often increases finish/clouding risk |
| Bucket mopping with too much water | Over-wetting can swell wood and stress seams | Higher chance of dullness/edge issues |
| All-purpose cleaner (unknown pH / additives) | Can leave film and interact with finish chemistry | Sheen loss over repeat use |
| Bleach or strong oxidizers | Can degrade finish and discolor wood | Avoid for hallway hardwood floors |
| Abrasive pads or scouring powders | Mechanical scratching of protective coating | Permanent dulling and finish lines |
| Residue-heavy cleaners | Film attracts dirt and increases future scuffing | More frequent haze and re-cleaning |
| Best For | Avoiding dullness while cleaning hallway traffic lanes | Use damp microfiber + pH-neutral, finish-approved cleaner |
Hallway protection: rugs, mats, and floor guards
The most effective “maintenance shortcut” for hardwood floors in a hallway is to capture dirt before it reaches the wood. A layered entry system (door mat + runner) can drastically reduce abrasive grit and keep moisture from migrating into the finish.
“Mats and runners work because they stop abrasive particles at the entrance, not after they’re already embedded in hallway traffic paths.”
“Properly secured runners prevent curling that can scratch floors or create trip hazards.”
“Felt pads and glides reduce friction—especially when chairs or small furniture shift in a busy hallway.”
– Put a quality doormat at the hallway entry and a second mat outside the main door when possible; this reduces abrasive grit at the source.
– Use a rug runner in the hallway and ensure it’s properly secured so corners don’t curl and become trip hazards.
– Add felt pads under furniture and consider glides for any frequently moved items (stools, plant stands, small tables). Avoid backing materials that can discolor floors (e.g., some rubber or unsealed backings).
Choose placement, not just materials
For hardwood floors in a hallway, placement determines impact. Put the mat where shoe soles actually land (entry thresholds, coat-drop areas, and the most-used path to stairs/rooms). If deliveries are common, adding a second capture zone near the “drop-off” area can reduce the number of grit particles that get walked across the finish.
Also, make runner security part of routine maintenance: if the runner shifts, edges can drag, and dragging converts grit into scratches. In 2026, the same core protection logic still aligns with manufacturer care guidance for hardwood floors: control abrasion first, then clean gently.
Spotting and fixing common hallway damage
The easiest time to fix hallway hardwood floors is immediately after you notice the first signs of scuffs, scratches, dents, or spills. Early intervention prevents the surface from becoming a dull, uneven “dirt magnet” that visitors keep stressing.
“Touching up scuffs sooner reduces the amount of finish you later need to blend or repair.”
“Blotting spills and drying promptly matters because standing water can affect finish and wood dimensional stability.”
“Some dents are finish-only; checking depth first can prevent unnecessary sanding.”
– For surface scuffs/scratches, try the floor’s recommended touch-up options first (a color-matched marker, putty, or repair kit)—the earlier you fix them, the less you have to blend later.
– For small dents, don’t rush to sand. Instead, check whether the dent is finish-only or deeper; sometimes a controlled repair or professional refinishing is the right call.
– Address spills immediately: blot, then dry. Don’t “let it evaporate” while the water sits on the wood/finish.
A quick, practical spill method for hallway hardwood floors
When water hits hardwood floors in a hallway, the wrong response is “wait and see.” Instead:
1. Blot with a clean, absorbent cloth/paper towels—press to lift, don’t rub.
2. Dry fully after blotting (fans can help).
3. Monitor for haze over the next day or two; if the finish looks uneven, switch to the manufacturer-approved clean/restore method rather than escalating to strong chemicals.
Moisture control and seasonal maintenance
The best moisture plan for hardwood floors in a hallway is stable indoor humidity and fast reaction during wet seasons. Wood floors expand/contract with humidity, and hallway water tracking turns small wet events into longer-term finish and seam stress.
“Indoor humidity control is one of the most effective ways to reduce hardwood expansion and contraction stress.”
“After rain, snow melt, or spring thaw, tracked moisture increases—clean more frequently before grit becomes embedded.”
“Stable humidity helps prevent finish dullness that can follow repeated wet/dry cycles.”
– Keep indoor humidity stable so the wood can expand/contract without stressing joints and finish—use your HVAC or a humidifier/dehumidifier if needed.
– Take extra care after rainy seasons, snow melt, and spring thaw: that’s when hallway tracking increases and “hidden moisture” (from wet shoes) becomes a problem.
– Reassess mats and cleaning frequency seasonally—when weather gets messy, do more frequent dry cleaning to keep grit from turning into sandpaper.
Use humidity targets—not guesses
According to National Wood Flooring Association (NWFA) guidance, maintaining roughly 35%–55% relative humidity helps hardwood floors stay dimensionally stable (NWFA ). Humidity targets can vary by installation type and product—so confirm with your floor’s manufacturer specs as well.
Also, consider the heat/moisture interaction if you’re tempted to “steam it clean.” As of 2026, most manufacturer care instructions still discourage steam mops on finished hardwood because you’re introducing moisture and heat far beyond quick spot cleaning.
What can go wrong (and when to stop DIY)
The most common reason hallway hardwood floors look worse after “cleaning” is over-wetting, wrong products, or abrasive vacuum settings. If you see hazing, streaks, or widespread finish breakdown, it’s time to stop DIY and follow the manufacturer’s approved restoration pathway.
“Repeated damp-mopping can dull hallway hardwood finishes even if no standing water is visible.”
“Using a cleaner meant for a different finish type can leave residue and force major corrections.”
“If boards are separating or seams are lifting, DIY sanding can make the problem more obvious.”
– Over-wetting: repeatedly damp-mopping can cause dulling, edge lifting, or finish breakdown even if the water seems “brief.” When you notice streaking or haze, stop and switch to the manufacturer-approved method.
– Wrong cleaner for the finish: some oil/wax floors can’t be treated like polyurethane-finished floors. Using the wrong product may require refinish-level corrections.
– Vacuuming mistakes: a rough brush, beater bar, or debris caught under wheels can scratch the surface over time.
– DIY refinishing in the wrong spot: if scratches are deep or boards are separating, DIY sanding can make the damage more obvious. In those cases, it’s better to consult a flooring professional.
A realistic DIY boundary for hallway hardwood floors
From a maintenance perspective, hallway hardwood floors are low-drama when you prevent abrasion and moisture early. When damage becomes structural (seams lifting, cupping, widespread finish failure), it stops being a “cleaning problem” and becomes a “floor performance problem.” At that point, DIY often increases cost because you remove finish and make blending more difficult.
In 2026, the most cost-effective approach is usually: keep doing preventive care, then use touch-ups for surface issues—while scheduling professional assessment for anything that indicates deeper wood movement or coating failure. (Exact timelines depend on your manufacturer warranty and product type.)
Verdict: a maintenance routine that actually holds up
A hallway-friendly routine is simple: stop grit, clean gently, and fix issues early. The downside is that you’ll need consistency—spotty care won’t prevent wear, and using the wrong cleaner (or too much water) can shorten the life of the finish.
Who should skip (or get help):
– If your floor is heavily worn, cupped, lifting at seams, or has widespread finish failure, plan for professional assessment rather than repeated DIY “cleaning.”
– If you’re unsure what finish your floor has (oil vs. polyurethane) or you can’t find the manufacturer’s maintenance instructions, don’t guess—follow the documented care steps or get guidance.
Quick checklist (scan/save):
| Task | Frequency (typical) | Do this |
|---|---|---|
| Dry sweep/vacuum (soft head) | Daily / after busy times | Remove grit before it grinds in |
| Check for grit at edges | Weekly | Focus near doors and transitions |
| Damp clean (microfiber) | As needed | Use pH-neutral, finish-safe cleaner |
| Blot spills immediately | ASAP | Dry fully—don’t let water sit |
| Inspect mats/runners | Weekly | Ensure they lie flat and aren’t damaging backing |
| Touch up scuffs/scratches | As soon as you notice | Use the right color-match/repair system |
Frequently Asked Questions
What’s the best way to clean hardwood floors in a hallway without damaging the finish?
Sweep or vacuum daily using a soft-bristle attachment to remove grit that can scratch hardwood floors. Use a hardwood floor cleaner that’s pH-neutral and slightly dampens a microfiber mop—avoid soaking water or using steam cleaners. Wipe up spills immediately and dry the area to prevent moisture from penetrating the wood and compromising the finish.
How do I protect hardwood floors in a high-traffic hallway?
Place runner rugs or area rugs with non-slip pads to reduce wear in the busiest walking paths. Use furniture pads under chairs, shoe racks, and any moving items to prevent scuffs and dents. Consider adding felt floor protectors at the edges of doorways and transitions where debris and impacts are most common.
Why do hardwood floors in hallways start to look dull, and how can I restore them?
Dullness often comes from fine scratches, buildup from improper cleaners, and sun exposure over time. Use a manufacturer-recommended hardwood floor cleaner first, then buff gently with a clean, dry microfiber cloth to remove residue. If the finish is worn, use the appropriate refinishing or re-coating process rather than generic waxes that can interfere with a proper hardwood floor refinishing later.
Which cleaning products should I avoid when maintaining hardwood floors in hallways?
Avoid harsh chemicals like vinegar, ammonia, bleach, and abrasive scrubbers because they can strip the protective layer and dull the sheen. Don’t use wax-based or oil-based cleaners unless your floor’s finish is specifically compatible—some products can create residue that’s hard to remove. Also avoid soaking the floor with water; excess moisture can lead to cupping, warping, or gaps between planks.
How often should I maintain hardwood floors in a hallway with preventive care?
Perform quick daily maintenance by sweeping, dusting, or dry-mopping to keep grit off the wood surface. Do a deeper clean with a hardwood floor cleaner every 1–4 weeks depending on foot traffic, and re-check rug pads regularly so they don’t shift. Aim to manage humidity with a consistent indoor range (ideally around 35–55%) to minimize seasonal expansion and contraction that can stress hallway hardwood floors.
📅 Last Updated: October 16, 2026 | Topic: How to maintain hardwood floors in a hallway? | Content verified for accuracy and freshness.