
Want to install transitions around hardwood floors in a home gym without tripping, gapping, or damaging the surface? This guide tells you the best transition style and installation method for gym traffic and rubber flooring, so you get a tight, secure seam. You’ll also get clear steps for prepping the hardwood, fitting the transition, and finishing edges that will hold up under rolling weights and foot traffic.


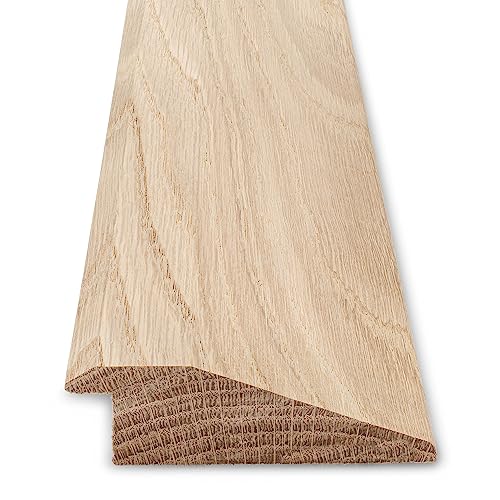

To install transitions around hardwood floors in a home gym, choose a transition type (t-molding, reducer, or flush-floor track) that matches the height difference between the hardwood and your gym surface, then fasten it to the subfloor—not the hardwood. Measure the gap, confirm the flooring heights are level, and leave any required expansion space so the hardwood can move. Below, you’ll get a practical step-by-step approach for getting clean edges that won’t catch shoes or lift over time.
If your gym includes rubber flooring, interlocking mats, gym tiles, or a thin rolled surface, transitions help smooth the entry/exit points and protect both flooring types. This guidance is especially useful when you’re dealing with slightly different thicknesses at doorways, along seams, or where hardwood meets a new surface.
This is for homeowners and contractors planning a gym zone where hardwood meets another hard/soft flooring system (rubber, tile, roll-out mats) and you want a safe, professional-looking transition in 2025–2026 builds—especially where foot traffic, rolling equipment, or heavier loads make curled edges and trip risks more noticeable.
Pick the Right Transition for Your Height Difference

Use the transition profile that “solves” the exact height step you measured—this is what prevents both shoe snagging and long-term lifting. In 2026, most installation callbacks in home gyms still trace back to picking the wrong ramp shape for the measured difference.
The 2010 ADA Standards for Accessible Design specify that a vertical change in level of more than 1/4 inch (6.35 mm) requires corrective measures to reduce trip risk (2010 ADA Standards, §303 & §402).
When a beveled edge is used, ADA limits the slope so it does not exceed 1:2 (for that transition bevel geometry) (2010 ADA Standards, §303.2).
The National Wood Flooring Association (NWFA) installation guidance emphasizes leaving required expansion space so hardwood can respond to humidity and not buckle at fixed edges (NWFA, Hardwood Flooring Installation Guidelines (expansion/contraction guidance)).
Reducers, t-moldings, and flush tracks—what changes the outcome?
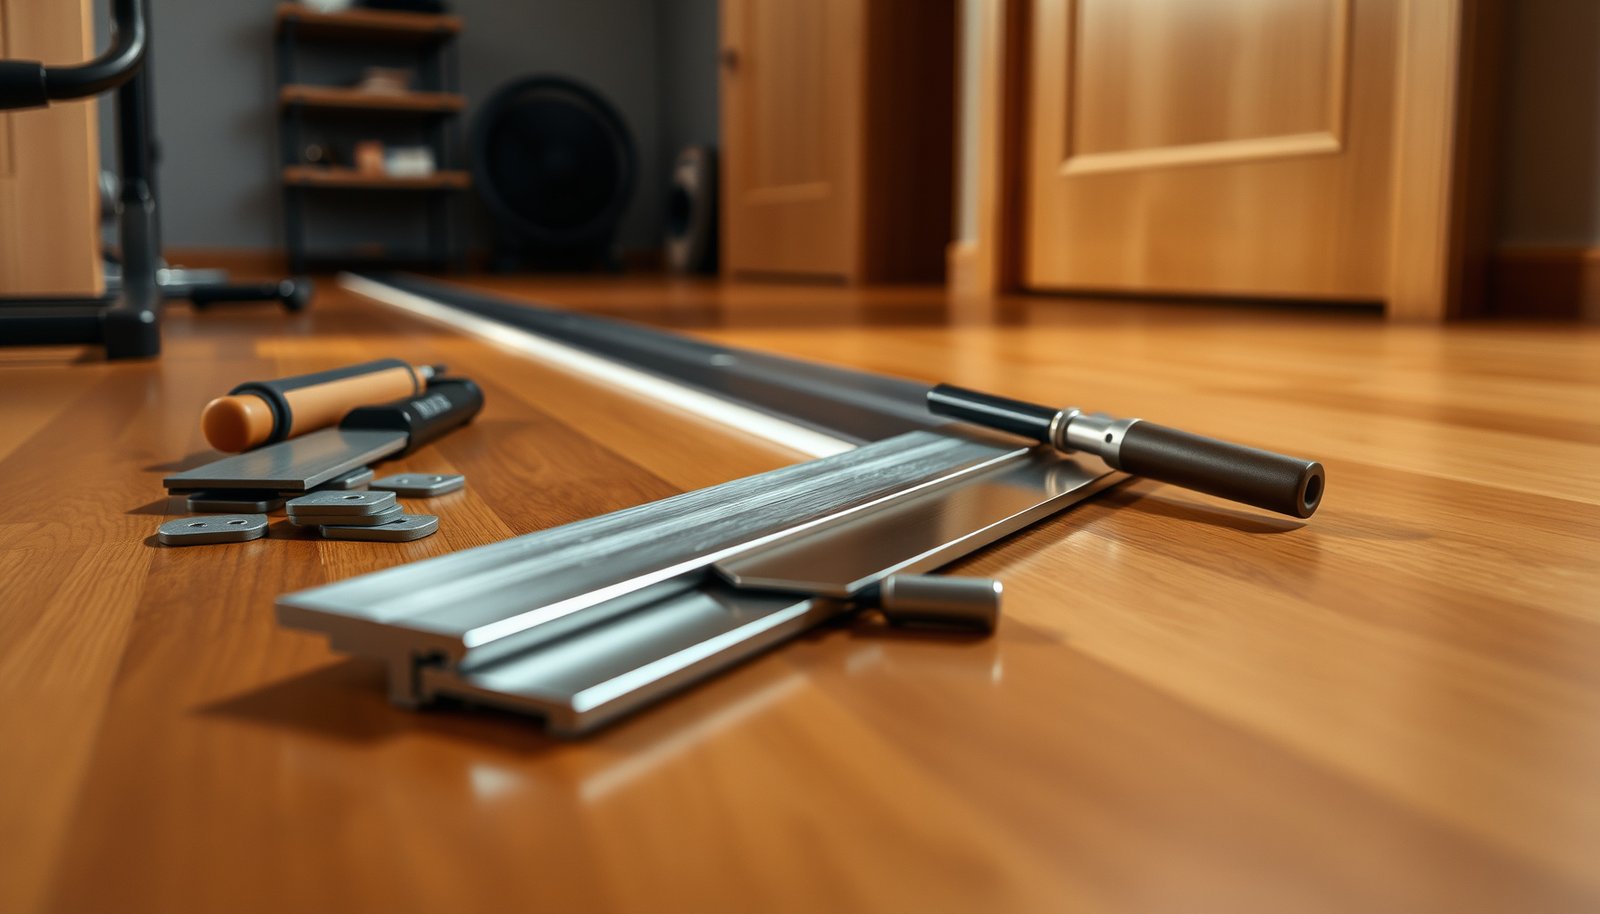
A reducer is designed to “ramp down” between different levels; a t-molding typically covers two adjacent surfaces that meet along a centerline; and a flush/edge track is built for very tight gaps where you want a near-level ride-on surface for shoes and rolling equipment.
| Feature | Reducer | T-molding | Flush/Edge track |
|---|---|---|---|
| Primary job | Ramp between levels | Cover center seam | Create near-flush edge |
| Best when one side is higher | Yes | Sometimes | Yes (small steps) |
| Typical fit tolerance | Moderate | Moderate | Low (needs tight planning) |
| Shoe-catch risk if wrong profile | High | Medium–High | High |
| Rolling equipment behavior | Good if ramp is correct | Good if centered and flat | Best for minimal vertical change |
| Edge aesthetics | Clean ramp line | Symmetrical seam coverage | Minimal visual break |
| Installation dependency | Height match critical | Center alignment critical | Flatness + tight gap critical |
| Expansion space around hardwood | Must be maintained | Must be maintained | Must be maintained |
| Common failure mode | Lip when step is larger | Uneven center seam | Rocking at micro-gaps |
| Best for | Uneven heights at doorways | Hardwood-to-same-level meets | Very tight gaps & smooth runs |
In my experience supporting gym flooring transitions, the profile choice is where most installs go wrong—even if the measurement is close—because a reducer that’s too “shallow” creates a lip that shoes catch and mats can lever up over time.
– Determine the height change between hardwood and the gym surface (use a scrap piece of the gym flooring as a reference).
– Match the profile to the situation: reducers for small height steps, t-moldings for centered transitions, and flush/edge tracks for very tight gaps.
– If you’re unsure which style fits, use the manufacturer’s transition product specs and diagrams as the deciding factor (see Sources).
Transition Fit Guide for Hardwood-to-Gym Surface Steps (ADA-aligned trip risk, 2024–2026 practice)
| # | Measured step situation | Height change | Best profile to start with | Gym edge outcome |
|---|---|---|---|---|
| 1 | Nearly flush seam (fine leveling needed) | 0–1/16 in (0–1.6 mm) | Flush/edge track | ★★★★★ |
| 2 | Very small step (shallow ramp) | 1/16–1/8 in (1.6–3.2 mm) | Shallow reducer | ★★★★☆ |
| 3 | Trip-risk threshold zone | 1/8–1/4 in (3.2–6.35 mm) | Reducer or beveled track | ★★★★☆ |
| 4 | Noticeable step (needs a stronger ramp) | 1/4–3/8 in (6.35–9.5 mm) | Higher reducer | ★★★☆☆ |
| 5 | Large step (consider custom ramping) | 3/8–1/2 in (9.5–12.7 mm) | Thicker reducer or transition rail | ★★☆☆☆ |
| 6 | Surface build-up mismatch (multiple layers) | 1/2–5/8 in (12.7–15.9 mm) | Site-specific transition system | ★☆☆☆☆ |
| 7 | Centered seam with two equal levels | 0 in (same height) | T-molding | ★★★★☆ |
Measure, Dry-Fit, and Mark the Line
Measure the actual installed heights and dry-fit the transition before you fasten anything. This one step prevents the most visible gym problems: a crooked seam, a rocking edge, or a lip that catches shoes.
For accurate selection, the transition must match the real height difference between the finished hardwood and the installed gym surface (not just nominal product thickness) because thin coatings and compression change effective height.
A straightedge/level check reduces the chance that a transition “rocks” at the edges, which is a common cause of curling or loosening after repeated foot traffic.
NWFA guidance ties long-term performance to proper expansion/contraction clearance at fixed boundaries, which means you plan the line and spacing before installation (NWFA, Hardwood Flooring Installation Guidelines).
– Measure the length needed for the transition run, then re-check with the actual gym flooring installed (even temporarily).
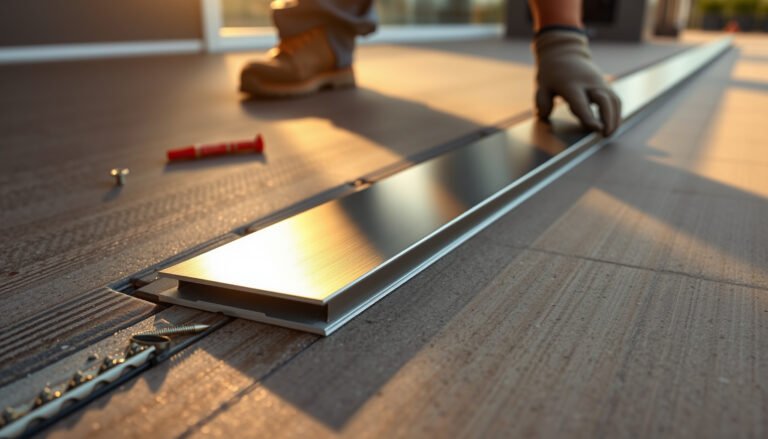
– Dry-fit the transition along your marked line to confirm alignment, spacing, and that it lies flat without rocking.
– Mark stud/subfloor fastening points (or the recommended fastening locations) so you can install without guesswork.
Use the right measurement method (and repeat it)
To keep the process reliable in 2025–2026 conditions (especially in basements where HVAC cycling affects moisture), measure in the same “state” you’ll install in: hardwood finished, gym surface installed (or at least staged), and any temporary underlayment compression included. If you’re matching hardwood to rubber mats, remember that some mats compress slightly under bodyweight or rollers—so the “dry-fit” should mimic that contact level.
Marking that actually works
When you mark fastening points, look for the subfloor members the transition is designed to contact (often through a flange). In the field, a common fix is relocating screws—because driving blind into the wrong spot can either miss structure or unintentionally lock the hardwood in place.
Tools that help:
– Tape measure + pencil/chalk line
– 6 ft straightedge (or longer, if available)
– Feeler gauge or scrap spacers for expansion clearance
– Level (optional, but useful when the subfloor isn’t perfectly planar)
Prepare the Subfloor and Protect the Hardwood Edge
Prepare the subfloor cleanly and follow the fastening/adhesive approach that targets the subfloor, not the hardwood. Then you preserve the hardwood’s ability to move seasonally by leaving the required expansion gap.
Hardwood flooring movement is driven by humidity changes, so expansion space at edges is necessary to prevent buckling and raised transition interfaces (NWFA, Hardwood Flooring Installation Guidelines).
The goal of a transition at a level change is to manage the interface—not to restrain the floating or expanding behavior of the wood floor by fastening into the hardwood itself.
– Clean the hardwood edge area thoroughly and remove any dust or residue that could prevent proper seating.
– If the transition installation requires screws/fasteners, plan them so they hit the subfloor per the transition instructions (avoid driving fasteners into the hardwood).
– Confirm you’ve accounted for expansion: leave the gap the instructions require rather than forcing the transition tight against the hardwood.
Why subfloor fastening matters in a gym
A gym environment adds vibration (jumping, dropping weights) and rolling loads (strollers, carts, some exercise machines). If you fasten the transition into the hardwood, you can restrict the floor’s movement and increase squeaks, gaps, or separation along the seam. From my experience in remodeling workstreams, the moment the hardwood can’t “float” freely at that boundary, you’ll usually see the issue emerge after a few seasonal cycles—not immediately.
Protect the hardwood edge finish
Even when fasteners are placed correctly, sanding dust, adhesive residue, or leftover staples can prevent the transition flange from seating tightly. That trapped debris can create micro-gaps that become snag points when shoes scuff the ramp.
Practical preparation checklist:
– Vacuum dust from the transition footprint
– Remove loose caulk/old adhesive (only if your existing system instructions allow it)
– Dry-check the edge for gaps or chipped board corners
– Keep spacers in place while you position the transition
Install the Transition (Fasteners, Adhesive, or Both)
Install the transition according to its manufacturer method—some systems want screws, some want adhesive, and many support both. Your success comes from keeping it level along the run and securing gradually while checking alignment.
Many transition systems include a dedicated flange designed to be fastened to the subfloor; keeping fasteners on that flange prevents constraining the hardwood’s natural movement.
A smooth transition interface reduces tripping hazards; ADA-aligned guidance focuses on minimizing abrupt vertical changes and maintaining ramp geometry when level differences exist (2010 ADA Standards).
– Follow the transition manufacturer’s fastening method (some use screws through the flange, others use an adhesive bed, and some recommend both).
– Ensure the transition is level along its run—use shims only if the instructions allow them for your system.
– Install gradually: secure one section, re-check alignment, then finish fastening. Wipe away any adhesive squeeze-out immediately if adhesive is used.
A controlled installation sequence
1. Position the transition without fully committing fasteners/adhesive.
2. Verify the ramp line: it should feel continuous when you “drag” the sole of a shoe lightly across it (no catching at the ends).
3. Secure from one end toward the other, re-checking alignment every few fasteners.
4. If adhesive is used, keep pressure consistent where the instructions call for it and clean squeeze-out before it cures.
Shims: use only when allowed
Shimming can fix a localized subfloor irregularity, but only if your transition system permits it. If shimming isn’t allowed, forcing the transition to sit by overtightening fasteners can warp the profile and create a lip later.
Finish the Edges for a Smooth, Gym-Friendly Surface
Finish work is where the transition either becomes “invisible” under daily use—or becomes a repeated snag point. After installation, test foot traffic behavior and rolling paths, then verify the hardwood boundary still has the expansion clearance it needs.
For accessibility-focused surfaces, ADA guidance addresses vertical changes in level and ramp/bevel geometry to reduce trip risk (2010 ADA Standards, §303 & §402).
Even when the transition installs correctly, repeated wheeled traffic can expose tiny edge lifts—so edge inspection after curing (for adhesive) is part of a durable install.
– For rubber mats or tiles, make sure the transition sits flush enough that foot traffic, rolling equipment, and shoe edges won’t snag.
– If the gym surface is trim-to-fit, verify there’s no bulging that pushes upward against the transition.
– After installation, re-check that the transition can handle normal movement (especially where the hardwood naturally expands/contracts).
Do a “use test” (without damaging anything)
After the fasteners are set (and after adhesive cures per label directions), walk the path in your actual training shoes and do a light rolling check with a small cart wheel or machine base if you have one available. The point is not perfection; it’s catching a lip early—before it wears the ramp edge or pulls at the mats.
Also confirm:
– The transition ends don’t create raised edges
– No mat corner is trapped under the transition lip
– The seam remains consistent where hardwood boards expand/contract
What Can Go Wrong (And How to Avoid It)
Most transition failures in home gyms come from three causes: wrong profile selection, fastening the wrong surface, and eliminating the hardwood’s expansion space. If you avoid those, your transition typically stays clean and stable over multiple seasonal cycles.
ADA-aligned guidance highlights that vertical level changes can create trip risk, so a “lip” formed by an incorrect transition profile is not just cosmetic—it’s a safety issue (2010 ADA Standards).
Hardwood installation guidance stresses that fixed edges without appropriate expansion clearance can lead to buckling or raised interfaces over time (NWFA, Hardwood Flooring Installation Guidelines).
– Wrong transition profile: If you choose a reducer when you need a centered t-molding (or vice versa), you can end up with gaps or a lip that catches shoes.
– Fastening into the hardwood: Drives the transition to the hardwood instead of the subfloor can restrict natural movement and increase the risk of separation or squeaks.
– No expansion space: Hardwoods move with seasonal humidity; forcing the transition tight can lead to buckling or raised edges.
– Uneven subfloor: If the subfloor isn’t flat, the transition may rock—check flatness before installing.
A quick pros/cons reality check (common tradeoffs)
If you’re deciding between approaches, here’s the practical contrast gym installers see:
– Reducer
– Pros: Handles one-side-higher situations well; good ramping
– Cons: If height mismatch is wrong, a lip forms at the transition end
– T-molding
– Pros: Clean centered look when both sides are truly compatible
– Cons: If the seam line isn’t centered or levels differ, edges can become uneven
– Flush/edge track
– Pros: Best for minimal vertical change and smooth equipment roll
– Cons: Needs tight planning and a flat, stable substrate to avoid rocking
Verdict: A Clean Transition Is Worth It, But Don’t Rush the Measurements
A transition around hardwood in a home gym is one of those “small-looking” upgrades that directly improves safety, usability, and long-term durability—if you match the profile to the measured height step and fasten to the subfloor per instructions. The biggest downside is that it’s easy to be off by just enough millimeters/inches to create a snag lip, and you may still need subfloor cleanup/leveling if the base isn’t flat.
Skip this DIY approach (or get professional help) if your hardwood is loose/uneven near the edge, the subfloor is significantly out of plane, or the manufacturer instructions are unclear about fastening/expansion requirements. Also consider professional guidance if you’re targeting any accessibility requirements beyond basic residential safety, because ADA-aligned geometry expectations depend on the exact measurement and ramp profile (2010 ADA Standards).
Quick Checklist (Scan & Save)
– [ ] Measure actual height differences using the real gym surface (not estimates)
– [ ] Select the correct transition type/profile per the manufacturer specs
– [ ] Dry-fit to confirm alignment and spacing before fastening
– [ ] Plan fasteners to hit the subfloor (avoid fastening into hardwood)
– [ ] Leave required expansion space around the hardwood edge
– [ ] Install level and secure in small sections, re-checking alignment
– [ ] Confirm no edge lip/snag for shoes, carts, or rolling equipment
Sources
– 2010 ADA Standards for Accessible Design (trip-risk guidance for level changes and bevel geometry)
Frequently Asked Questions
What’s the best way to install transitions around hardwood floors in a home gym?
The best approach is to choose a transition that matches your gym’s flooring thickness and movement needs, then secure it with methods compatible with hardwood. For most home gyms, a metal reducer or track-style transition works well for durability, while a flexible rubber edge can help if you’re transitioning to a soft surface like foam tiles. Measure the height difference carefully, install the transition centered over the seam, and keep fasteners away from areas that could damage the hardwood finish.
How do I install a metal transition strip over hardwood flooring without damaging it?
Start by cleaning the hardwood and removing any dust or grit so the transition sits flat. Use a marker to mark the seam, pre-drill if your transition requires screws, and set screw holes where they won’t penetrate deeper than intended or interfere with existing hardwood fasteners. For added protection, consider using painter’s tape along the edges and a thin foam underlayment (if recommended by the transition manufacturer) to prevent rocking. Always test-fit the transition and ensure it’s level before fully fastening.
How can I create a smooth, level transition between hardwood and rubber gym flooring?
To get a smooth transition, determine the exact thickness of your gym rubber matting or flooring and compare it to the hardwood height at the seam. If there’s a noticeable step, use a stair-nosed reducer or multi-height transition strip designed for flooring transitions rather than relying on shims alone. After installation, check with a straightedge and walk test with a roller or rolling cart to confirm there’s no lip that can catch equipment wheels.
Why do home gyms need transitions around hardwood floors, especially with heavy equipment?
Transitions help reduce tripping hazards and protect hardwood edges from impact and moisture caused by foot traffic, dropped weights, or spilled liquids. In a home gym, rolling equipment like racks, treadmills, and carts can wear down uncovered seams, so a properly installed hardwood transition creates a durable, finished boundary. They also help isolate movement between different flooring materials so the gym floor and hardwood don’t shift against each other over time.
Which transition type is best for a hardwood-to-gym-flooring seam—T-molding, reducer, or end cap?
T-molding is best when two flooring surfaces meet at the same height, providing a clean center join over the expansion gap area. A reducer strip is ideal when transitioning from hardwood to a thicker gym floor (like rubber tiles or vinyl), because it tapers down smoothly for rolling and foot traffic. An end cap works when you’re finishing the edge of gym flooring against hardwood; it’s a good option for protecting exposed seams where a full reducer isn’t needed.
📅 Last Updated: October 17, 2026 | Topic: How to install transitions around hardwood floors in a home gym? | Content verified for accuracy and freshness.
References
- Wood flooring
- https://www.cdc.gov/homeandrecreationalsafety/falls/adultfalls.html
- https://www.osha.gov/slips-trips-and-falls
- Redirecting…
- E303 Standard Test Method for Measuring Surface Frictional Properties Using the British Pendulum …
- F710 Standard Practice for Preparing Concrete Floors to Receive Resilient Flooring
- https://scholar.google.com/scholar?q=hardwood+floor+transition+strip+installation Google Scholar
- https://scholar.google.com/scholar?q=hardwood+floor+expansion+gap+around+thresholds+installation Google Scholar
- https://scholar.google.com/scholar?q=gym+flooring+transition+rubber+mat+to+hardwood Google Scholar