
Removing hardwood floors from a home gym is a fast, controlled job when you know exactly how to disconnect the boards and protect the subfloor. Follow the right method for nail-down versus glue-down planks to minimize splintering and avoid costly repairs. This guide tells you what to do step-by-step so you can lift the floor efficiently and get your gym space ready for the next upgrade.


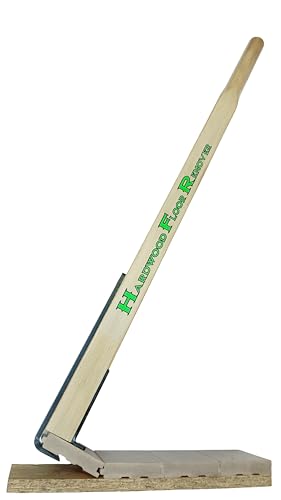

Remove hardwood floors from a home gym by protecting the subfloor, figuring out how your boards are attached, and then working plank-by-plank from the edges and trim lines. The exact technique depends on whether your hardwood is solid or engineered and whether it’s nailed, stapled, glued, or floating. This guide walks you through the safest removal order so you can minimize damage and mess.
If your gym is already built out—rubber flooring, wall mirrors, power racks, or heavy mats—you’ll mainly be managing access, dust control, and protecting the underlayment/subfloor. This applies to most residential hardwood removals, especially when you want to replace the floor or upgrade to a new surface.
If you’re removing hardwood floors to keep your subfloor usable for the next build (new gym flooring, new hardwood, or a different underlayment system), the approach below is designed for that goal. It’s also suitable for most residential setups in 2026 where gym zones are enclosed, dust spreads easily through open doorways, and time matters.
Prep: Protect the gym space and plan your removal path

You reduce risk and cleanup by treating this as a controlled demolition of a “finish assembly,” not just lifting boards. In practice, the safest hardwood floor removal in a home gym starts with containment, access planning, and a clear perimeter-first work plan.
OSHA requires a respirator program (including medical evaluation and training) when tight-fitting respirators are used to control dust exposures during hazardous work.
OSHA fit testing for tight-fitting respirators must be performed at least annually under 29 CFR 1910.134(f)(2).
HEPA filtration is commonly defined as capturing at least 99.97% of 0.3-micron particles, which helps reduce airborne dust during removal activities.
Before you touch a board, clear enough space that you can kneel, stand, and swing a pry bar without hitting equipment. In a home gym, that often means temporarily relocating power rack uprights, benches, and wall attachments—or at least unfastening anything bolted to the floor. Cover wall mirrors and keep sharp trim edges protected with painter’s tape and cardboard/foam. For the hardwood floor removal in a home gym, your goal is to avoid the “one bad pry” cascade: cracked boards, gouged subfloor, and debris you can’t contain.
Dust control is not optional if you’re trying to keep the room usable or protect HVAC returns. In 2026, most best-practice approaches align with the NIOSH Hierarchy of Controls: prioritize engineering controls (containment and HEPA filtration), then administrative controls (timing, access control), then PPE (respirators, eye protection). At minimum, use sealed plastic sheeting to block off hallways and returns, tape seams, and run a HEPA vac at the point of disturbance.
Quick specs you can anchor to (why dust control matters)
– According to U.S. OSHA, 29 CFR 1910.1001 (Asbestos), the asbestos permissible exposure limit (PEL) is 0.1 fibers per cubic centimeter as an 8-hour time-weighted average.
– According to U.S. OSHA, 29 CFR 1926.1153 (Crystalline silica), the respirable crystalline silica PEL is 0.05 mg/m³ (50 µg/m³) as an 8-hour TWA for many construction tasks.
– According to U.S. OSHA, 29 CFR 1910.134(f)(2), respirator fit testing must be performed at least annually for tight-fitting respirators.
Mandatory “OSHA-aligned” prep data (what matters most for dusty removal)
OSHA Respiratory Protection Steps Most Relevant to Hardwood Removal Dust (29 CFR 1910.134)
| # | Respiratory protection element | When required | Regulatory basis | Priority for dusty teardown |
|---|---|---|---|---|
| 1 | Medical evaluation | Before initial respirator use | 1910.134(e) | ★★★★★ |
| 2 | Fit testing (tight-fitting) | At least annually | 1910.134(f)(2) | ★★★★☆ |
| 3 | User seal check | Each time the respirator is donned | 1910.134(f)(1) | ★★★★★ |
| 4 | Training | Before job starts with respirator | 1910.134(b) | ★★★★☆ |
| 5 | Written program (when required) | Required for covered workplaces/programs | 1910.134(c) | ★★★☆☆ |
| 6 | Cleaning and storage | As needed with regular maintenance | 1910.134(h) | ★★★☆☆ |
| 7 | Inspection of respirators | Regularly and before use | 1910.134(h) | ★★☆☆☆ |
Identify your hardwood type and how it’s fastened
You get the correct removal order by correctly identifying whether your hardwood is solid or engineered and whether it’s nailed/stapled, glued, or floating. If you’re wrong here, you’ll either crack boards (solid/nailed) or tear up the underlayment (glued), which is exactly what you want to avoid in a home gym.
Solid hardwood generally tolerates nail/staple removal work differently than engineered hardwood because the top wear layer can be thinner and more vulnerable to over-aggressive scraping.
If flooring is truly floating/locked, forcing it upward can break the click/tongue-and-groove profile and create irreversible damage.
U.S. EPA guidance emphasizes that asbestos-containing materials should be handled using trained, compliant methods when they might be disturbed.
For hardwood floor removal in a home gym, “fastened” is the decisive variable. Before you pry anything, inspect the perimeter where the boards meet trim, transitions, or door jambs. Look for:
– Nails/staples: small puncture marks, nail heads near board edges, or staple lines.
– Glue: darker patches, adhesive squeeze-out, or residue patterns at plank seams.
– Floating/locked: no visible fasteners and consistent board-to-board joint behavior across the room.
Solid vs. engineered: why the distinction matters
– Solid hardwood is typically one piece throughout, so it may resist minor scraping better, but it’s still prone to cupping if you pry unevenly.
– Engineered hardwood has layers; aggressive prying can delaminate the wear layer, and scraped glue can prevent a new installation from sitting flat.
A quick “unknown? stop” safety check
If your gym sits in a home built before you know finishes are modern, treat adhesives and underlayments as potentially hazardous. According to U.S. EPA asbestos risk management guidance, asbestos-containing materials pose a greater risk when disturbed and should not be assumed safe.
If you can’t identify the fastening method confidently, remove a very small sacrificial section under a transition or hidden edge first.
Remove trim and break the floor’s “hold” before prying boards
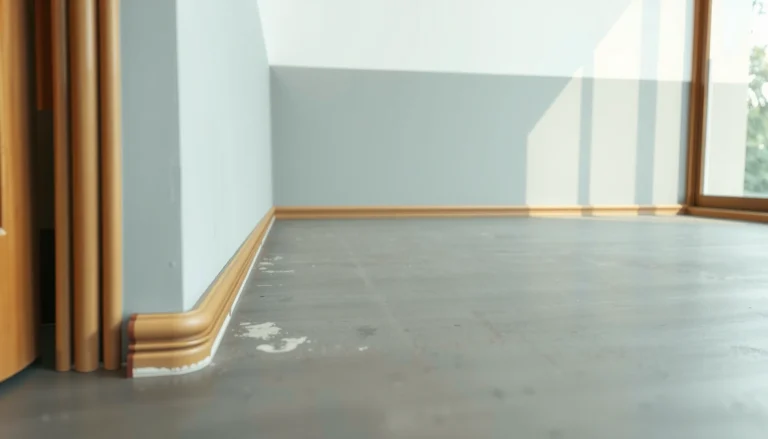
You start by removing shoe molding/base trim so the first hardwood row can release without tearing the profiles. This step is the highest-leverage “make it easy later” move for hardwood floor removal in a home gym.
Removing base/shoe trim first helps reduce tongue-and-groove damage because the initial fastening or locking restraint is usually along the perimeter.
A controlled perimeter start reduces the chance of splitting boards that are still secured by nails/staples or adhesive.
OSHA’s general PPE guidance supports eye and respiratory protection when creating dust during demolition/renovation tasks.
Plan your removal path before you lift anything: aim to work from the edges and trim lines toward the center. In a home gym, that usually means starting at:
– The room perimeter opposite equipment walls (so you can pull debris outward),
– Any door thresholds (they’re often designed as transitions),
– The longest wall where you can maintain a straight “row release.”
Trim removal technique that reduces board damage
Use a thin pry bar or trim puller, a utility knife to score paint/caulk lines, and wood blocks to protect drywall. Keep pressure controlled: the goal is to free trim, not pry the hardwood upward through the base shoe. If the trim is painted, scoring the caulk seam prevents splintering and keeps the removal clean enough to reuse if desired.
Then “break the hold” at the perimeter:
– For nailed/stapled floors: you’re exposing the first row that’s mechanically restrained.
– For glued floors: you’re exposing adhesive edges and seam lines.
– For floating floors: you’re freeing the perimeter gap so the locked joints can disengage.
Remove hardwood boards safely (by attachment method)
You remove boards the safest way by matching your tool motion to the attachment method—nails/staples get controlled lifting, glue gets controlled separation, and floating gets controlled disengagement. The attachment method is the difference between a manageable hardwood floor removal in a home gym and a subfloor-repair project.
Nailed or stapled hardwood is typically released by minimizing pry depth and moving in small increments until the fasteners let go.
Glued hardwood often requires slower, seam-focused separation to avoid gouging the underlayment while adhesives resist pry removal.
Floating/locked flooring can be damaged when forced; removal is usually safer when joints disengage in the intended direction.
Nailed/stapled: release fasteners without gouging
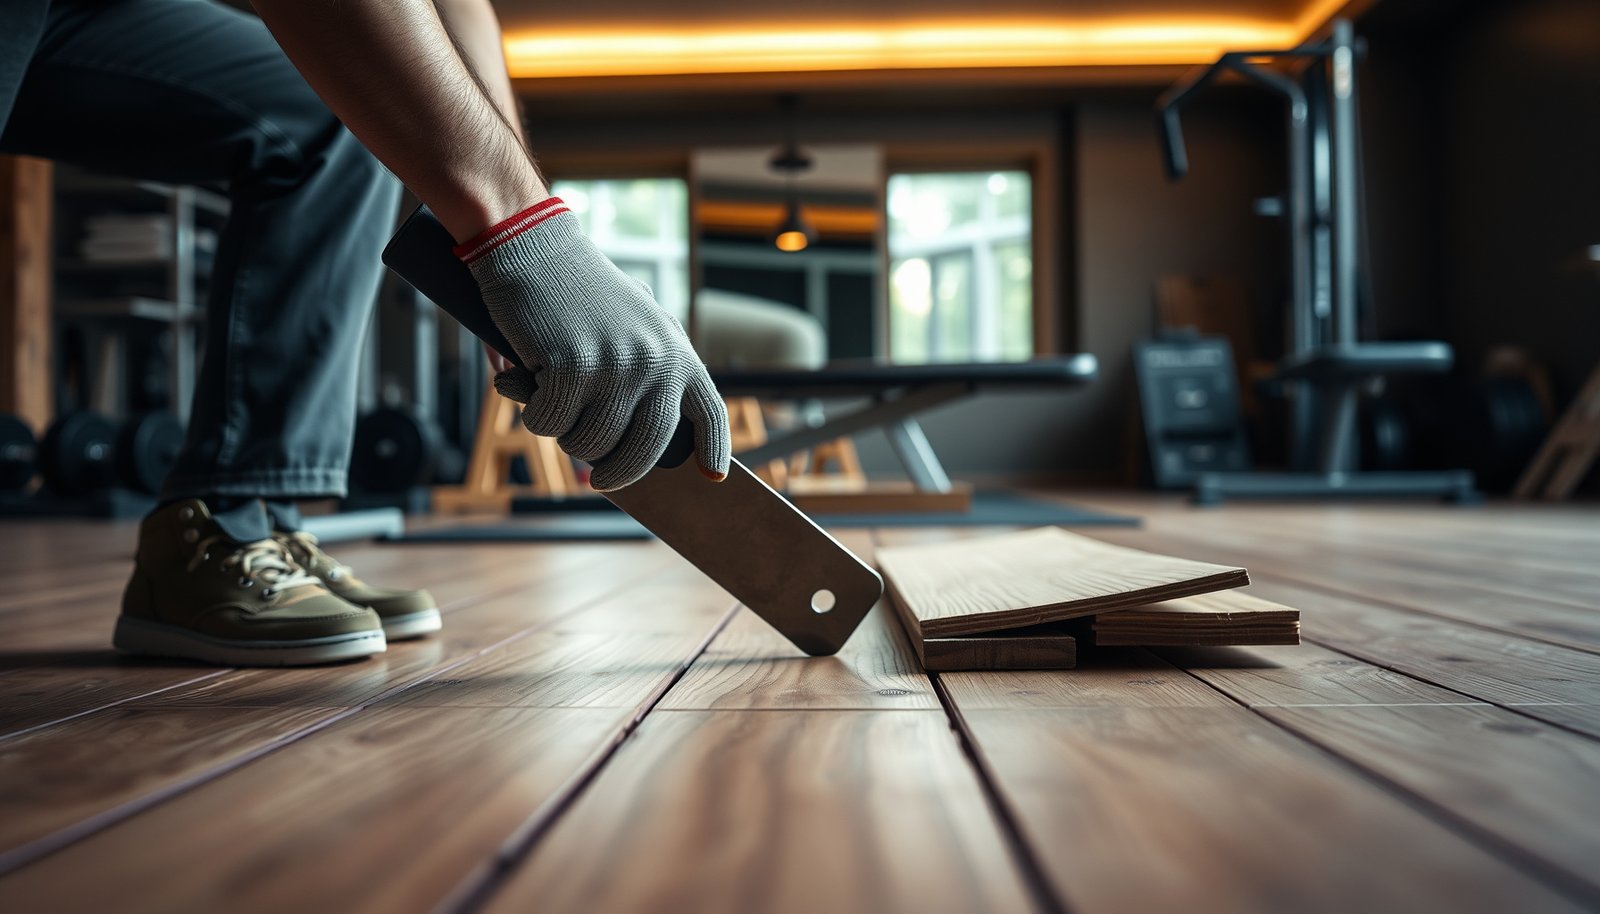
If you see nail/staple locations, use a pry bar with a stable fulcrum and helper blocks to distribute force. Work plank-by-plank:
1. Start at the first loosened row.
2. Lift only enough to break the fastener grip.
3. Move to the next board once the current one releases cleanly.
Avoid levering against the subfloor directly. If your pry bar is too aggressive, you’ll cut channels that telegraph through any replacement gym flooring.
Glued: expect slower removal and residue risk
For glue-down hardwood, the biggest danger is scraping too deep. Instead:
– Focus on seams and board edges where separation is easiest.
– Keep a conservative scraping depth.
– Assume adhesive residue will remain and plan for careful mechanical removal later.
For hardwood floor removal in a home gym, glue is where time increases. You may need an oscillating multi-tool with a floor-safe blade to cut adhesive at seams—then lift with less force.
Floating/locked: disengage, don’t force
For floating/locked floors:
– Look for a perimeter expansion gap (usually hidden behind trim).
– Try to lift/disengage rows by tapping joints free rather than forcing boards upward.
– If the joint “fights back,” stop and shift approach; forcing can snap click profiles.
Pros/cons comparison: choosing the right removal behavior
| Attachment method | Primary risk during removal | What to do instead | Best outcome if done right |
|---|---|---|---|
| Nailed/stapled | Subfloor gouges from over-prying | Small lifts + helper blocks; avoid prying against joists/subfloor | Rows release with minimal damage |
| Glued | Underlayment damage + adhesive residue | Seam-first separation; conservative scraping; plan for residue removal | More predictable extraction, less gouging |
| Floating/locked | Joint breakage if forced | Disengage from perimeter; reduce upward force; stop at resistance | Boards lift in controlled sections |
After removal: clean up, inspect subfloor, and prep for what’s next
You finish safely by removing leftover fasteners/residue and checking the subfloor flatness and integrity before installing new gym flooring. Skipping inspection is how hardwood floor removal in a home gym turns into a “why is my new floor rocking?” call.
After removing nailed/stapled flooring, remaining nails/staples must be pulled or flattened to prevent punctures and unevenness under replacement flooring.
Subfloor flatness problems—high spots, dips, and loose patches—directly increase squeaks and installation failures for many flooring systems.
Start by clearing debris in layers: big boards out first, then underlayment scraps, then small nails/staples. Use a flashlight and magnetic pickup where appropriate. For glue residue, plan the cleanup method based on what comes next:
– If you’re installing new hardwood, you generally need a clean, stable surface.
– If you’re putting down a gym-specific surface (rubber tiles, interlocking mats), you still benefit from a smooth subfloor so mats don’t bridge or trap moisture.
Inspect the subfloor for:
– Gouges from pry work,
– Loose areas (subfloor movement),
– Moisture staining (especially in basements or slab-on-grade),
– Adhesive thickness that prevents flat contact.
If you’re reusing underlayment, verify it isn’t soaked, torn, or contaminated. If underlayment looks questionable, replacing it usually costs less than chasing failure points after the gym is set up again.
What can go wrong (and why your gym floor won’t cooperate)
You run into problems when the attachment method is unclear, when pry force is too high, or when older materials introduce safety risks. Those issues are especially common in a home gym because equipment blocks access and dust containment is harder.
Over-prying hardwood commonly leaves gouges that can transfer through underlayment and cause unevenness or noise under replacement flooring.
Hidden fastener or adhesive zones are a common reason removal tools suddenly “catch,” which increases the chance of board cracking and subfloor damage.
OSHA emphasizes hazard control planning for dust-generating tasks, including respiratory protection where exposures exceed limits.
Common failure modes during hardwood floor removal in a home gym
– Subfloor damage: Random prying creates channels that become bumps under new gym flooring.
– Unseen fasteners/glue: Boards can be partially secured—perimeter nails, mid-run glue patches, or transitions with different construction.
– Dust and hazard exposure: If the home is older, assumptions can be dangerous. For example, asbestos risk rises when older floor-related materials are disturbed. According to U.S. OSHA, 29 CFR 1910.1001, asbestos exposure limits are stringent, and compliant controls are expected.
– Access forcing bad decisions: A power rack anchored near the floor can make you pry at an angle; that’s when boards break and subfloor damage increases.
DIY limitations that matter in 2026
If you can’t confirm attachment type, it’s not just a comfort issue—it’s a cost issue. In glued scenarios, the time and cleanup can outweigh the perceived savings of DIY.
DIY vs pro: when to switch plans
| Criterion | DIY removal | Professional removal |
|---|---|---|
| Attachment clarity | Works best when nailed/stapled is obvious | Better when attachment method is mixed/unknown |
| Subfloor preservation | Risk increases with glue or hidden fasteners | More consistent surface outcomes |
| Dust containment | Depends on setup quality and access | More likely to use robust containment/HEPA controls |
| Safety planning | You control PPE and procedures | Trained compliance processes for hazardous scenarios |
| Glue residue management | Time-consuming and tool-dependent | More predictable remediation |
| Schedule certainty | Can expand significantly if hidden adhesion exists | More consistent timelines |
| Access in tight gyms | Equipment can force risky leverage | More likely to plan sequencing around anchors |
| Cost control | Cheaper when conditions are straightforward | Higher up-front cost, lower chance of expensive subfloor repairs |
| Material reusability | Hard to guarantee board reuse | Higher chance of orderly removal when feasible |
| Risk tolerance | You accept unknowns and adjust mid-project | Handles unknowns with safer contingency procedures |
| Verdict | Choose DIY only if attachment type is clear and access is controlled | Choose a pro if glue/unknown materials are likely, or if dust containment must be high |
Verdict / tip: DIY is doable—stop early if attachment is unclear
If your hardwood is nailed/stapled and you can clearly see how it’s built up at the edges, DIY removal is usually the practical path. If it’s glued, glued + layered, or you can’t confidently identify attachment type, consider pausing and getting a pro assessment—stubborn glue and damaged subfloor costs can quickly erase any savings.
Who should skip DIY (or get help):
– You suspect hazardous materials (e.g., older homes with unknown coatings/adhesives) and haven’t confirmed what’s safe to remove.
– You’re aiming to reuse materials or keep the subfloor pristine for a seamless next installation.
– Your gym layout limits access and you’re likely to rush.
Scan/save checklist (quick removal plan):
| Step | What to do | Why it matters |
|---|---|---|
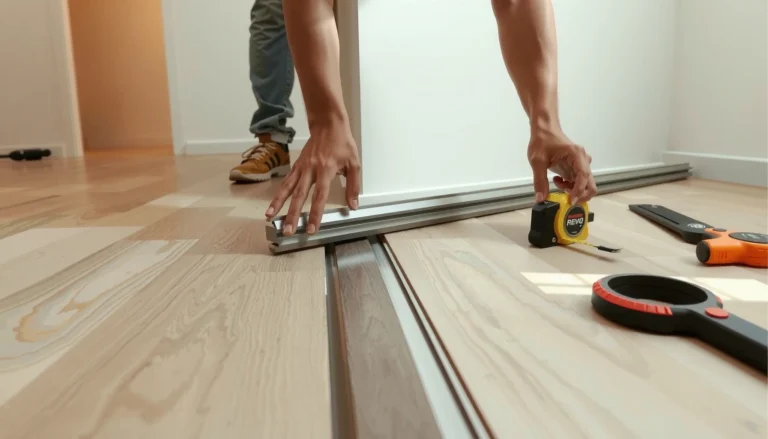
| 1 | Identify solid vs engineered + attachment type | Determines pry vs disengage vs scrape |
| 2 | Clear and cover gym equipment | Prevents damage and speeds cleanup |
| 3 | Remove/loosen trim first | Helps release the first row without tearing |
| 4 | Work from edges/transitions | Reduces breakage and subfloor gouging |
| 5 | Clean fasteners + residue | Needed for a flat, ready surface |
| 6 | Inspect subfloor stability | Stops problems before new flooring goes down |
If you share your floor type and how it’s attached, I’ll help you map the safest removal sequence for your home gym.
Conclusion
Hardwood floor removal in a home gym is safest when you slow down at the start: protect the subfloor, correctly identify solid vs engineered and nailed vs glued vs floating, remove trim to break the perimeter hold, and then extract boards in controlled edge-to-center steps. Once the floor is out, take time to remove fasteners/residue and inspect subfloor flatness so your next gym surface installs cleanly. If attachment type is unclear—especially with suspected glue or older materials—pausing for a professional assessment can prevent the most expensive failure mode: a damaged subfloor and a delayed gym rebuild.
Sources
– U.S. Environmental Protection Agency (EPA) — guidance on asbestos in buildings and risk management when disturbing older materials.
– U.S. Occupational Safety and Health Administration (OSHA) — general PPE and hazard safety guidance for dust/airborne risks, including respirator requirements and fit testing (e.g., 29 CFR 1910.134).
– U.S. Occupational Safety and Health Administration (OSHA) — asbestos exposure limits and requirements (e.g., 29 CFR 1910.1001).
– U.S. Occupational Safety and Health Administration (OSHA) — crystalline silica exposure limits relevant to dust-generating work (e.g., 29 CFR 1926.1153).
Frequently Asked Questions
How do I remove hardwood floors from a home gym without damaging the subfloor?
Start by identifying the flooring type (nail-down vs. glued-down) and follow the safest removal method for that installation. For nail-down hardwood, use a pry bar and oscillating multi-tool to separate boards while pulling nails with pliers and minimizing gouges in the subfloor. For glued-down hardwood, carefully cut through the planks at seams and use a floor scraper to remove remaining adhesive, then sand or level the surface before reinstalling anything. Always work in small sections to reduce splintering and wear appropriate eye and respiratory protection.
What tools are best for removing hardwood floors in a home gym?
Common essentials include a pry bar, hammer, floor scraper, oscillating multi-tool, utility knife, pry wedges, and a claw or nail puller. If the gym has workout surfaces like rubber mats or adhesives, you may also need a heat gun or adhesive remover and a heavy-duty blade for cutting through tough residues. A shop vacuum with a HEPA filter is highly recommended because hardwood removal creates dust that can be hard to clean in a workout space. For large areas, consider renting a flooring removal tool or chisel system to speed up the job and reduce damage.
Why is it harder to remove hardwood floors in a gym compared to other rooms?
Home gyms often have gym flooring overlays, permanent anchors, heavy equipment bolted into the floor, and concentrated areas of wear that can bond hardwood more strongly to the subfloor. These factors can increase the amount of adhesive residue, nail heads, or embedded fasteners you must remove before lifting planks. Gym vibration and moisture from sweat can also warp boards, making separation more difficult. Planning for these complications—especially around equipment and transitions—can prevent subfloor damage and delays.
Which method should I use if my hardwood floor is nailed down versus glued down?
If your hardwood is nail-down, you’ll typically remove it by loosening planks along a wall, prying gently to keep boards intact, and pulling nails as you go. If it’s glued down, you’ll usually have better results cutting along seams with an oscillating tool and then scraping residue to avoid tearing up the subfloor. Many homeowners find it helpful to test a small area to determine whether nails are present or if the boards release only after cutting. Choosing the correct method is key to keeping the subfloor level and ready for replacement.
Best way to clean and prep the subfloor after hardwood removal for gym flooring?
After removing hardwood, scrape off all remaining adhesive and debris, then inspect the subfloor for nails, staples, and high spots that could affect new flooring. Vacuum thoroughly with a HEPA shop vac and wipe the surface to remove fine dust, which can interfere with underlayment or adhesives. If you plan to install gym flooring like rubber tiles or interlocking mats, check flatness and address uneven areas by sanding high points or using patch/leveling compound where needed. Proper prep helps prevent squeaks, shifting tiles, and future damage once your home gym is back in use.
📅 Last Updated: October 17, 2026 | Topic: How to remove hardwood floors from a home gym? | Content verified for accuracy and freshness.
References
- Wood flooring
- Asbestos | US EPA
- Lead Renovation, Repair and Painting Program | US EPA
- Lead – Overview | Occupational Safety and Health Administration
- About Childhood Lead Poisoning Prevention | Childhood Lead Poisoning Prevention | CDC
- https://scholar.google.com/scholar?q=remove+hardwood+flooring+how+to Google Scholar
- https://scholar.google.com/scholar?q=asbestos+in+flooring+tiles+wood+floor+removal+guidance Google Scholar
- https://scholar.google.com/scholar?q=lead+paint+flooring+removal+renovation+repair+painting+guide Google Scholar