Stop guessing and install thresholds for chevron floors the right way with a step-by-step method that prevents lippage, misalignment, and gaps. This guide walks you through every critical decision—measuring, marking the transition, prepping the substrate, and setting the threshold cleanly for a tight, straight finish. If you want a chevron floor transition that looks factory-finished, follow these steps end to end.




Install thresholds for chevron floors by dry-fitting first, aligning the chevron pattern across the doorway, and then anchoring the threshold to a properly prepped subfloor. After the hardware is secure, finish the edges with the correct trim and sealant/caulk system so movement and micro-gaps don’t crack the transition look.
Who this is for (and when it applies)

This guide is for anyone installing chevron-pattern planks who wants a doorway or room-to-room transition that looks intentional—not like the pattern “breaks” at the threshold. It’s most relevant when your chevron floor runs right up to a door jamb and you need the seam to land cleanly while the threshold handles expansion, traffic wear, and height changes.
Chevron floors look best when the chevron line and “points” are planned to cross the doorway in a deliberate way, which is why dry-fitting before fastening matters.
Thresholds are a transition component: they must be stable against the subfloor and sealed/trimmed to prevent debris buildup and edge lifting over time.
Most threshold types (surface-mount, snap-in, or fixed-mount profiles) require following the manufacturer’s fastening and edge-finish instructions to maintain warranty compliance.
Measure, align, and dry-fit the chevron seam
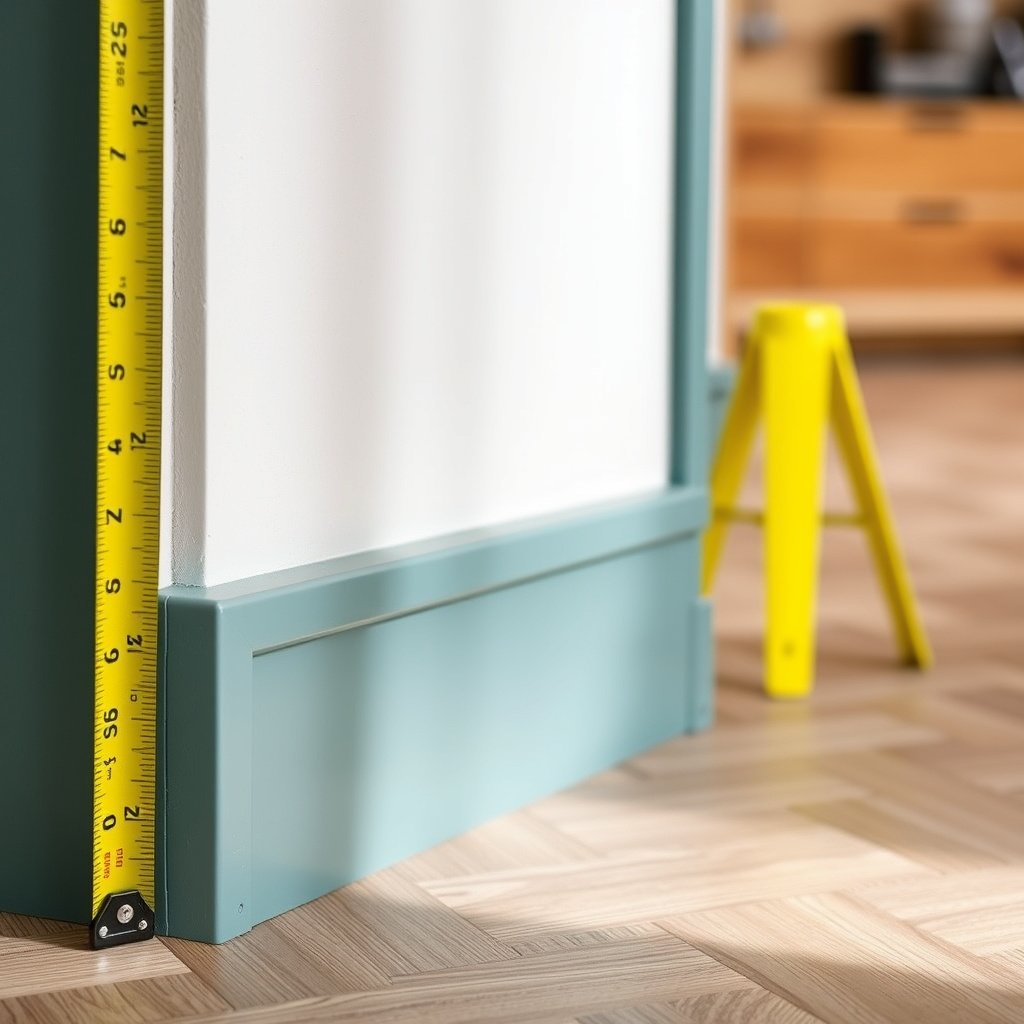
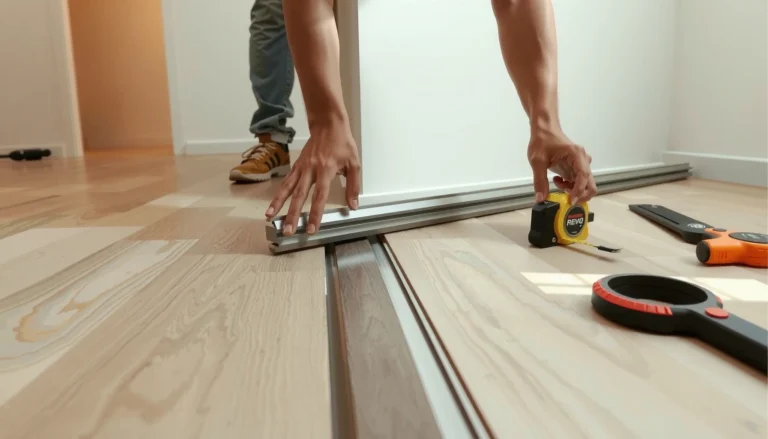
You should plan the seam and chevron alignment before you touch the fasteners or adhesive—because once the threshold is mounted, correcting a pattern shift usually means redoing boards and the transition. The goal is to make the chevron “geometry” (the repeating V shapes and points) cross the doorway in a way that reads centered and symmetrical (or intentionally offset).
Dry-fitting lets you confirm direction, overlap/miters, and visible “point” placement without risking a permanent height or alignment mistake.
Using a centerline for the doorway transition reduces the chance that chevron pattern asymmetry becomes noticeable after installation.
Plan the visual target at the doorway
Start by deciding what “correct” looks like in your doorway:
– Centered transition: the midpoint of the chevron pattern aligns with the doorway centerline.
– Intentional offset: the seam lands slightly off-center to match adjacent wall features or a register.
– Matching the last full plank: you preserve the pattern continuity by letting the threshold break fall after a full chevron block completes.
For chevron floors, the “seam” isn’t just a straight cut—it’s where the chevron points appear to end and restart. That’s why you want a visual reference (chalk line or laser line) on the subfloor or underlayment.
Measure height and confirm overlap
Thresholds bridge height differences and sometimes hide board edges. Before dry-fitting:
– Verify board thickness, underlayment (if used), and subfloor build-up.
– Confirm the threshold’s designed coverage and that its profile won’t “trap” the plank edge at an angle.
A practical approach is to test-fit the threshold with 2–4 chevron boards already positioned in the exact orientation you’ll install. From there, you can mark:
– where the chevron points land relative to the doorway
– where the plank edge meets the threshold profile
– where you’ll likely trim/mitre (if required)
Common “alignment failure points” to watch
Chevron transitions fail visually when:
– the chevron direction flips at the threshold
– a “point” ends too close to the doorway and reads like a mistake
– the seam placement forces you to cut a plank in the middle of a chevron “V” instead of at a planned repeat
From my experience helping coordinate flooring crews, the most expensive rework isn’t the threshold itself—it’s fixing pattern alignment after fastening when the chevron seam has to be re-cut.
Prep the subfloor and choose the right threshold mounting method
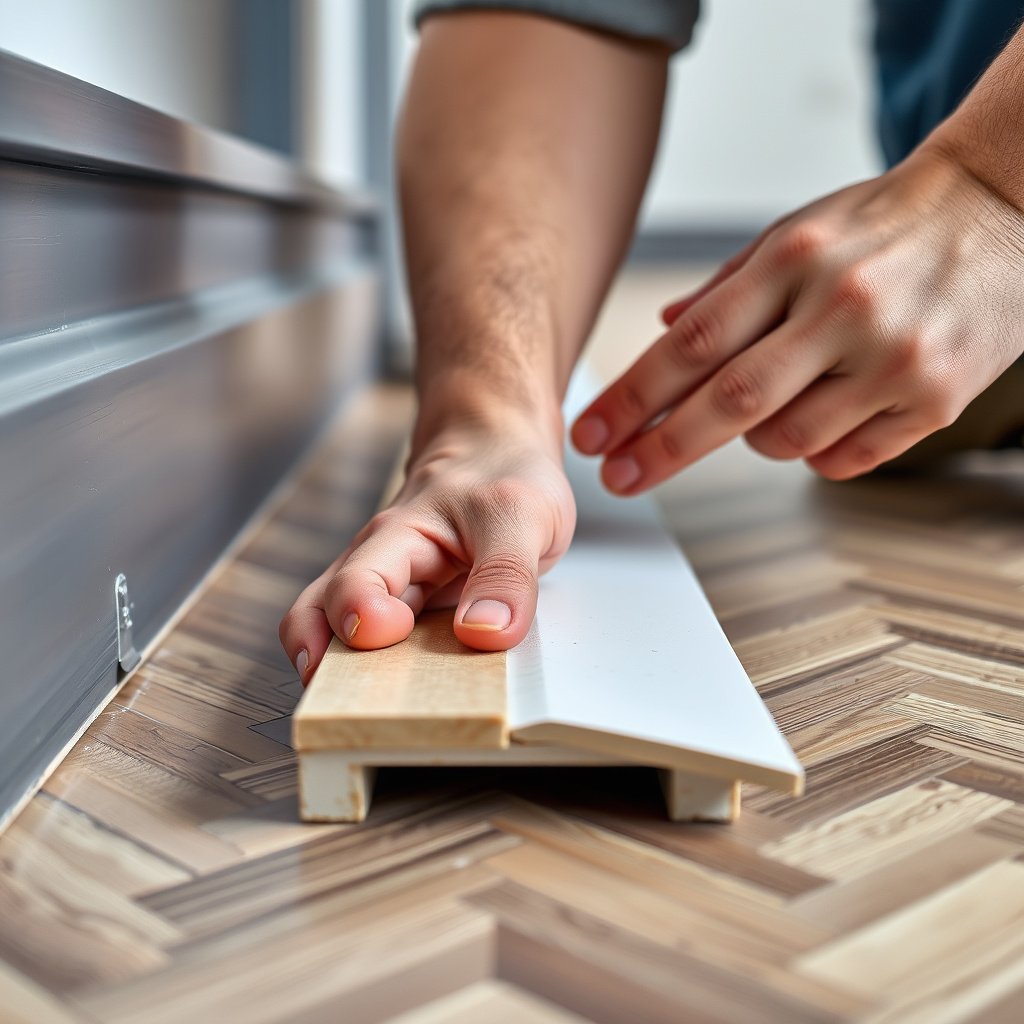
A properly prepped subfloor is what prevents threshold rocking, gapping, and future edge wear. Choose the threshold mounting method next—because surface preparation requirements and allowable fasteners/adhesives depend on the threshold profile.
ASTM E1155 is commonly referenced for measuring floor flatness/levelness, which is critical because uneven subfloors can cause threshold rocking and visible gaps.
For moisture-sensitive systems, moisture testing methods like ASTM F1869 (using calcium chloride) report results in lb/1000 ft²/24h, which guides whether adhesives under thresholds can be safely used.
Threshold stability depends on the right fastening/adhesive system matched to the threshold profile and the flooring type, not just on “getting it down.”
Level/clean the mounting zone (no exceptions)
Clean the subfloor where the threshold will sit:– Vacuum thoroughly and remove dust/grit from the adhesive zone (if adhesive-supported).
– Scrape off high ridges, loose patch material, and failed smoothing compound.
– Address low spots with leveling compound or manufacturer-approved underlayment/patch methods.
Why this matters: even a small high point can prevent full contact, and the threshold can then flex under foot traffic—telegraphing as a gap at the chevron seam.
Decide the fastening approach based on the threshold profile type
You should select the mounting method from the threshold manufacturer’s installation instructions and match it to your chevron flooring system. Specify the threshold profile type you’re using (examples: surface-mount exterior metal threshold, reducer/reversible profile, flush-mount vinyl transition, or fixed-mount wood threshold with flange). Then follow the required bonding/fastening strategy.
In general, chevron-floor thresholds fall into these mounting categories:
– Surface-mount trim: secured through the profile (often screws) into subfloor where required.
– Flange or nail/screw-down thresholds: fixed to the subfloor to prevent movement.
– Adhesive-supported profiles: rely on correct surface prep and adhesive compatibility.
If your threshold system uses spacers or a specific screw pattern, use it. If it calls for primer, use it. If it requires a caulk line type at the perimeter, use that—because random caulk is a common cause of edge cracking.
Common prep checks
– Height difference accounted for: If the adjacent floor heights aren’t equal, shimming or underlayment may be required *before* the threshold is fastened. Don’t try to “force” a threshold flat with over-tightening.
– Expansion/gap rules followed: At doorways and transitions, floating floors (like many laminate/LVP systems) typically require an expansion gap. The threshold can influence how that gap is honored—so follow the flooring manufacturer’s requirements, not a generic rule of thumb.
Subfloor-Prep Standards Used for Resilient Flooring Transitions (ASTM/E)
| # | Standard | Primary Purpose in Transition Prep | Reported/Applied Metric | Method Code (Higher = broader adoption) |
|---|---|---|---|---|
| 1 | ASTM F1869 | Concrete moisture vapor emission | lb/1000 ft²/24h | 1869 |
| 2 | ASTM F2170 | In-situ relative humidity | % RH (probe readings) | 2170 |
| 3 | ASTM E1155 | Floor flatness/levelness quantification | F-number system | 1155 |
| 4 | ASTM F710 | Concrete floor preparation for resilient flooring | Surface condition requirements | 710 |
| 5 | ASTM D4263 | Moisture indication via plastic sheet | Qualitative condensation/no condensation | 4263 |
| 6 | ASTM C1583 | Moisture in concrete via plastic sheeting (epoxy skin) | Moisture performance assessment | 1583 |
| 7 | ASTM F3010 | Moisture measurement methods (updated resilient prep context) | In-situ compatibility guidance | 3010 |
Note: This table organizes commonly cited ASTM methods used during subfloor readiness checks for installations involving adhesives and resilient transitions. Always confirm the relevant method(s) your floor/threshold system manufacturer expects and use the exact test approach in their documentation.
Install and secure the chevron-floor threshold
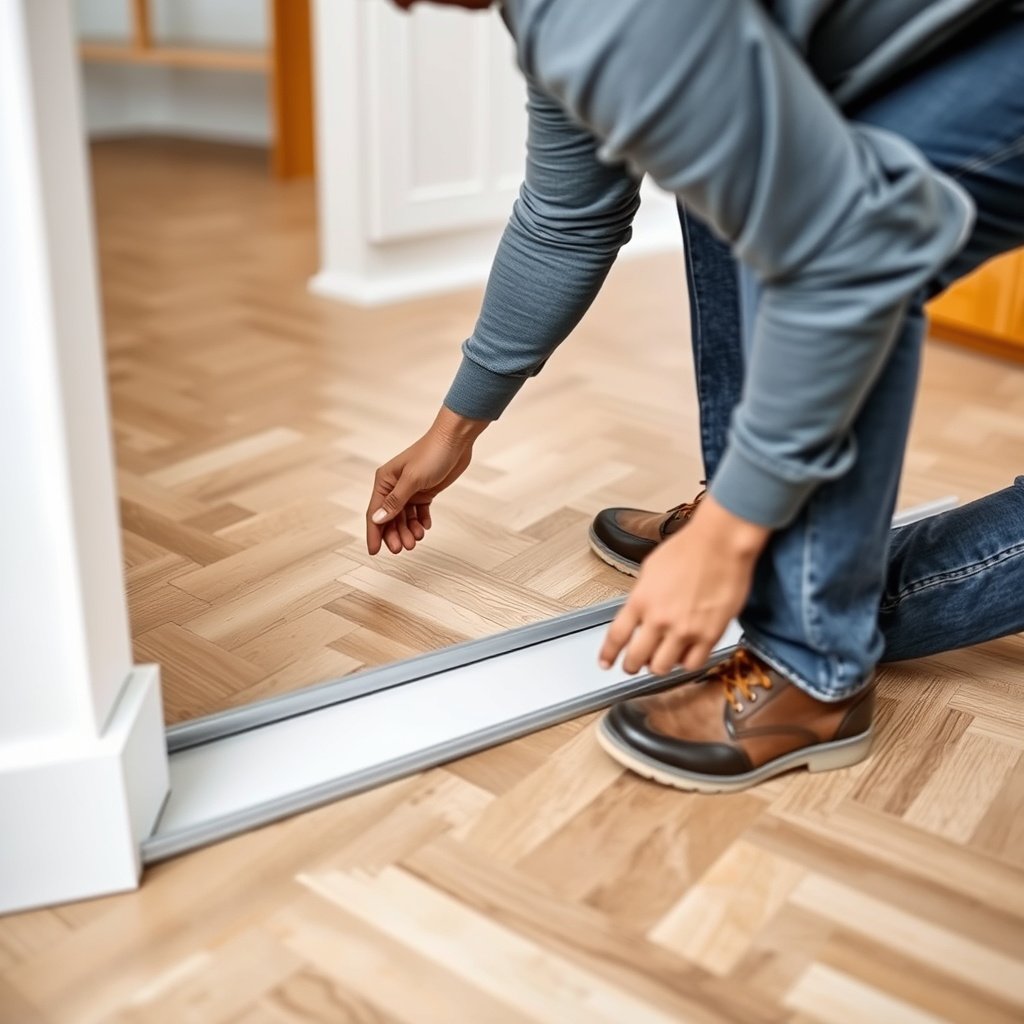
You should set and fasten the threshold only after alignment is correct in your final plank position, because tightening can shift a profile slightly. This step is about two things at once: (1) lock the threshold to the subfloor using the required mounting method, and (2) re-check that the chevron pattern still crosses the doorway cleanly.
Fasteners and adhesive setting pressure can micro-shift a threshold; re-check alignment immediately after each tightening/placement stage.
Finishing the perimeter seam with the manufacturer-recommended trim/caulk system reduces edge lifting and helps prevent debris intrusion at the chevron-floor threshold joint.
Set the threshold using the required mounting method
Work in a controlled order:
1. Place the threshold dry (no sealant/adhesive unless required by the spec) and verify fit.
2. Fasten or bond according to the threshold profile type (surface mount vs flange vs adhesive-supported).
3. Re-check height relative to adjacent planks—especially at the doorway corners where movement shows first.
If your system uses adhesive:
– confirm substrate compatibility (primer if specified)
– apply adhesive only as described (trowel notches/coverage rate if provided)
– keep the profile stable while the adhesive sets
If your system uses fasteners:
– use the manufacturer’s drill points and screw/nail schedule
– avoid over-torquing that can warp the profile
Finish the perimeter seam correctly
After the threshold is secured, address the edges:
– Use the recommended caulk/sealant type (often an appropriate sealant for the threshold material and flooring system).
– Use trim components or edge covers if the system includes them.
– Do not “fill everything with caulk” unless that’s exactly what the instructions specify—too much flexible sealant can trap debris or crack under movement.
Alignment tip that saves rework
– If you must adjust after fastening, loosen only what allows micro-alignment; fully re-spotting the threshold later often creates height mismatch and makes the chevron seam visually “float.”
In practice, the winning approach is iterative: align → fasten minimally → verify pattern → then finalize all fasteners/adhesive placement while keeping the chevron-floor threshold position locked.
What can go wrong
Threshold failures usually come from alignment drift, an unprepared subfloor, or using the wrong attachment method for the threshold profile. Because chevron patterns are visually regular, even small shifts become obvious at doorways.
Misalignment at the threshold is most often caused by skipping the dry-fit stage with the actual boards and threshold profile in final orientation.
Uneven subfloor contact produces rocking, which can widen the seam over time and cause edge wear at the chevron-floor threshold transition.
– Misaligned chevron “points” at the threshold
Usually caused by dry-fitting without the real board sequence, or cutting boards before you confirm how the chevron repeats land at the doorway.
– Height mismatch or an uneven subfloor under the threshold
This leads to rocking, visible gaps, and premature edge wear—especially under heavier foot traffic. Surface imperfections are magnified by the doorway pivot/traffic zone.
– Using the wrong attachment method
Examples include fastening in a way that violates a threshold design (e.g., screws where adhesive is required) or bonding to incompatible substrates that don’t cure as intended.
– Ignoring expansion/gap rules near a transition
For some floating installations, the threshold affects how movement is allowed. Over-constraining can cause lip-up or separation at the chevron-floor threshold seam.
Verdict / tip
If you dry-fit the chevron seam, level/prepare the mounting area thoroughly, and follow the threshold + flooring manufacturer instructions for fastening and edge finishing, this is a straightforward installation with a major visual payoff. The main downside is that “perfect” chevron alignment requires patience—especially if the doorway framing or subfloor flatness isn’t within acceptable tolerances.
Skip this DIY approach if:
– your doorway framing or subfloor is significantly out of level and you’re not confident correcting it
– you’re unsure about expansion-gap requirements for a floating floor system
– your threshold system requires specialized hardware layouts that you can’t confidently identify from the installation guide
Quick checklist (scan/save)
| Step | Do this | Notes |
|---|---|---|
| Plan the seam | Mark where the chevron pattern crosses the doorway | Aim for visually centered/intentional placement |
| Dry-fit | Test the threshold + a few boards before fastening | Re-check direction and height |
| Prep subfloor | Clean and level the mounting area | Remove high spots; address low spots |
| Mount threshold | Use the method required by the threshold type | Fasteners/adhesive/spacers vary by system |
| Confirm alignment | Verify the look after securing | Micro-adjust before finishing |
| Finish edges | Apply the recommended sealant/trim system (if required) | Don’t use random caulk types |
Frequently Asked Questions
What tools and materials do I need to install thresholds for chevron floors?
For chevron flooring thresholds, you’ll typically need a threshold strip (metal, wood, or vinyl), a measuring tape, pencil, and a fine-tooth saw or angle-cutting tool. For installation, have construction adhesive or floor-rated caulk, appropriate screws or anchors, a level, spacers, and a utility knife for trimming underlayment and floor edges. If you’re installing over concrete, consider a drill, masonry bits, and wall plugs, and for wood subfloors use proper wood screws designed for floor trims.
How do I cut and fit a threshold to match the chevron pattern accurately?
Start by dry-fitting the threshold and marking where the chevron lines intersect the doorway or transition area. Because chevron planks meet at angles, cut the threshold to align with your floor direction and keep joint lines centered to avoid a “misaligned” look. Use a miter saw or angle guide for precision, and make small test cuts—then re-check the fit against both sides of the chevron floor before permanently securing.
How do I install a threshold for chevron floors without damaging the edges or misaligning joints?
Clean the transition area and remove any debris or old adhesive so the threshold seats evenly. Apply adhesive in a consistent bead (or use screws if your threshold is designed for mechanical fastening), then set the threshold so it bridges the gap while supporting the chevron floor edges. Leave proper expansion gaps at the perimeter and verify the height is flush—if your chevron floor thickness varies, use a leveling transition or a tapered threshold to prevent rocking and tripping.
Why is it important to choose the right threshold type for chevron floors?
Chevron floors draw attention to seams because the angled layout makes misalignment more noticeable, so the wrong threshold can exaggerate height differences and joint gaps. A properly chosen threshold for chevron flooring helps protect the plank ends, reduces edge wear, and provides a clean transition between rooms or between different flooring materials. It also improves comfort by preventing lift or movement at the joints that can lead to cracking or loose planks over time.
Which threshold is best for chevron flooring transitions: metal, wood, or vinyl?
Metal thresholds are often the best choice for durability and consistent height bridging, especially in high-traffic areas and where you want a sleek transition. Wood thresholds can blend beautifully with warm interiors but require careful finishing to handle humidity changes, while vinyl thresholds are typically easier to install and budget-friendly for smoother, forgiving transitions. Choose based on your chevron floor thickness, subfloor flatness, and whether you need an expansion-friendly installation across seasonal movement.
📅 Last Updated: October 15, 2026 | Topic: How to install thresholds for chevron floors? | Content verified for accuracy and freshness.
References
- https://en.wikipedia.org/wiki/Chevron_pattern
- Tile
- Threshold
- Expansion joint
- Grout
- Thinset
- eCFR :: 28 CFR 36.403 — Alterations: Path of travel.
- https://scholar.google.com/scholar?q=install+tile+threshold+transition+strip Google Scholar
- https://scholar.google.com/scholar?q=chevron+tile+layout+installation+edge+details Google Scholar
- https://scholar.google.com/scholar?q=tile+expansion+joint+threshold+installation+movement+joint Google Scholar