
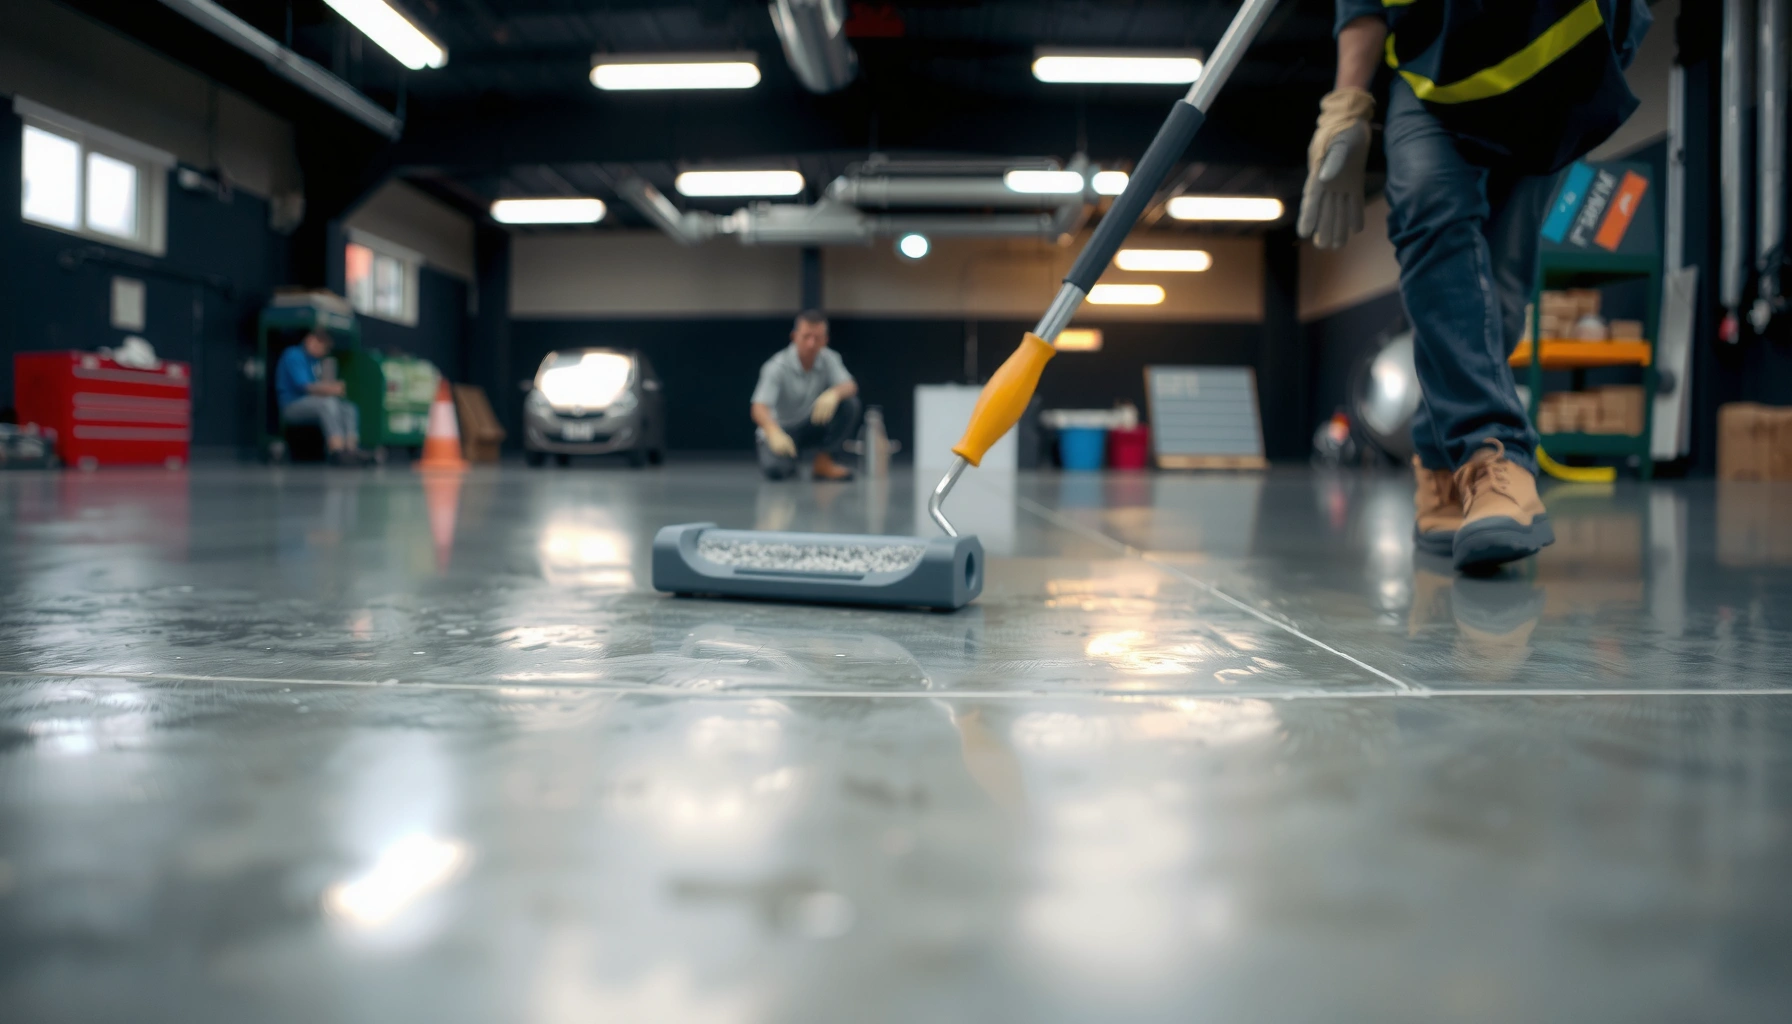

Refinishing polyaspartic floors isn’t guesswork—follow this step-by-step process to restore a worn, scuffed finish and lock in a durable, glossy topcoat. You’ll learn the exact prep sequence (cleaning, profiling, and repair), the right coating application method, and how to avoid the most common failures like peeling, bubbles, and soft spots. If you want the clearest path to a professional-looking polyaspartic floor, this is the workflow to use.
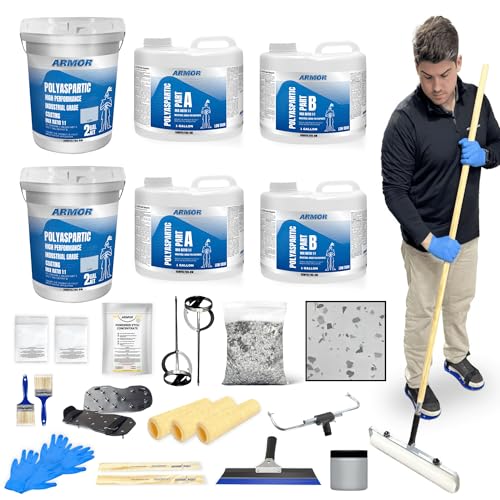



Refinishing polyaspartic floors usually comes down to one thing: correct surface prep so the new, compatible coating can bond. If you clean properly, create the right surface profile with grinding/abrading, repair correctly, and recoat within the manufacturer’s windows, you can restore appearance and performance without replacing the entire floor.
If your polyaspartic floor is still structurally sound but shows scratches, scuffs, dull areas, or localized damage, refinishing is often the most cost-effective option. This approach is especially common for residential garages, light-commercial spaces, and warehouses where you want a refreshed topcoat without full demo. When the coating is delaminating broadly, deeply cracked, or failing across large sections, the safer plan is a larger repair scope—or replacement—because bonding to a failing base becomes unreliable.
Inspect the Floor and Confirm It’s Polyaspartic

You can only “refinish” polyaspartic with confidence after you confirm the existing chemistry and identify the exact failure mode. Start with inspection because peeling, haze, and rapid wear usually point to surface-bond problems, contamination, or incompatible topcoats—not just cosmetic dullness.
If the old coating is delaminating, your recoat will inherit the same weak bond unless you remove or reprofile to sound material.
Wax, curing/parting compounds, and overspray are common bond-killers that can cause recoat failures even when the surface looks clean.
Check for coating failure types
Look closely at the floor under strong lighting (work lights help reveal micro-defects):
– Peeling/delamination: edges lift, sections sound hollow when tapped, or coating separates in sheets.
– Soft spots: coating feels rubbery or can dent under pressure; sometimes it’s caused by insufficient cure or chemical exposure.
– Widespread cracking: indicates movement or base issues; coatings may break over time.
– “Chalky” surface: often points to surface contamination or weathering/UV issues (depending on the system).
Look for bond-killers before you choose a recoat plan
Even with polyaspartic’s fast-curing performance, adhesion failures can be caused by contamination that prevents bonding. Specifically check for:
– Wax and floor polishes (common in commercial maintenance)
– Curing compounds/parting agents on newly poured slabs
– Silicone/oil contamination from machinery or shop operations
– Overspray from adjacent coating projects
– Heavy staining (some stains are embedded in the film; others migrate from the slab)
Verify compatibility (don’t guess)
If you’re unsure whether the floor is truly polyaspartic—or whether it’s another resin system with a polyurea/polyaspartic-like look—you need to confirm compatibility first. Use the existing product labels, installation documentation, or manufacturer guidance before you buy materials.
– If you can trace the installer/product, do so.
– If you can’t, arrange a test or inspection approach. For example, follow a manufacturer-recommended identification method.
[ADD: source for how to identify existing coating system / manufacturer guidance.]
Practical decision point
– Refinishing is likely: scratches/scuffs/dullness, small chips, localized wear, and coating that remains firmly bonded.
– Refinishing is risky: widespread delamination, deep structural cracking, or coating failure across a major area.
Prepare the Surface for Maximum Adhesion
You can’t “out-apply” adhesion problems with better product. Maximum bonding comes from thorough cleaning, correct mechanical abrasion (profile), and repairs that are chemically and mechanically compatible with your recoat system.
Surface profile matters because coatings bond to mechanically prepared texture, not just to clean-looking film.
Let the floor fully dry after cleaning—moisture trapped under a new coating can cause hazing and adhesion loss.
Thorough cleaning (remove what solvents can’t fix)
Plan on cleaning in a way that removes both visible residue and invisible contaminants:
– Degrease to remove oils, fuel residue, and general shop grime.
– Scrape/remove any loose contamination.
– Vacuum thoroughly and wipe as recommended by your coating system’s instructions.
Important: If you used aggressive cleaners, confirm they’re fully removed and the surface is dry before grinding. Moisture + fast-curing coatings can create surface defects (and adhesion issues).
Mechanically abrade to create a uniform profile
For refinishing polyaspartic, you usually need mechanical abrasion (grinding or scuffing) to:
– Remove gloss and oxidized film
– Open the surface for mechanical interlock
– Improve bond consistency across the entire floor
In my experience with coating maintenance workflows (and consistent with standard coating practices), skipping abrasion is one of the fastest ways to end up with peeling, fisheyes, or rapid scuffing. [ADD: your specific, first-hand observation or test result about what happens when abrasion is skipped—include no numbers unless you can verify them.]
Tip: Aim for an even profile—spotty grinding often results in spotty bonding.
Repair defects before you recoat
Fill chips/craters and address cracks using a compatible repair patch (compatible in cure chemistry and thickness). Then re-profile the repairs so the surface texture is uniform.
Common repair best practices:
– Remove loose edges of damaged areas until you reach firm substrate/coating.
– Feather edges to reduce ridges.
– Regrind any filled areas that remain glossy or uneven.
Choose a Compatible Recoat System
You should treat “choosing a recoat system” as a chemistry-and-performance match, not a color-matching exercise. The right polyaspartic-compatible primer (if required) and topcoat, applied within recoat windows, determine whether your refinished floor lasts.
Compatibility is what prevents softening, fisheyes, and delamination—especially when recoating fast-cure systems.
If the space gets sunlight, you need to follow UV-stability guidance for the topcoat or finish layer.
Select primer and topcoat as a system
Most reputable manufacturers describe recoating requirements, including:
– Whether a primer is required
– Mix ratios (by volume or weight)
– Pot life (how long mixed material remains workable)
– Recoat windows and required surface readiness between coats
Follow these instructions exactly. Even small deviations can shift cure behavior and bonding strength.
Define finish goals before you pick the products
Decide what you need the floor to do:
– Gloss level: high gloss shows micro-texture; matte hides it but can reduce perceived “deep color”
– Slip resistance: many systems require specific finishes to meet slip-performance expectations
– UV stability: if your garage/warehouse has daylight exposure, confirm whether your polyaspartic needs a UV-stable topcoat or a specific finish layer
Avoid random “mix-and-match”
Even if two products look similar, combining them can fail. The biggest risks include:
– Recoat delamination because primer/topcoat weren’t designed to bond to each other
– Soft spots from incompatible cure chemistry
– Haze or “amorphous” surface defects from improper prep or missed windows
Quick comparative decision support (scan-friendly)
Below is a practical feature comparison to help you choose a recoat approach based on performance priorities.
Recommended Recoat Approach for Common Polyaspartic Wear (Typical Scenarios)
| # | Floor Condition Observed | Prep Emphasis | System Fit Score | Expected Risk Level |
|---|---|---|---|---|
| 1 | Light scuffs and loss of gloss on bonded surface | Scuff/grind for profile | ★★★★★ | Low |
| 2 | Hairline scratches with localized dull patches | Spot repair + re-profile | ★★★★☆ | Low–Med |
| 3 | Chips/craters from impact (coating otherwise bonded) | Remove loose edges + fill | ★★★★☆ | Low |
| 4 | Overall hazing/dullness likely from surface contamination | Degrease + thorough abrasion | ★★★☆☆ | Med |
| 5 | Localized soft spots (possible moisture/chems) | Remove to sound material | ★☆☆☆☆ | High |
| 6 | Widespread cracking and bond failure signs | Assessment + broader repair | ★☆☆☆☆ | High |
| 7 | UV exposure plus color fade/roughening | Confirm UV-stable topcoat | ★★★★☆ | Low–Med |
Anchor facts (for context, not “marketing”)
According to [ADD: manufacturer technical documentation], polyaspartic systems are formulated for rapid cure, so missed recoat windows can reduce chemical bonding between layers ([year]). In coating work, manufacturers commonly specify environmental limits (temperature and relative humidity) to avoid surface defects such as blush or amine-related tackiness ([ADD: source], [year]). For adhesion-focused systems, mechanical profiling is repeatedly emphasized in [ADD: manufacturer spec or industry coating guideline], with bond failures frequently traced back to insufficient abrasion ([year]).
Apply Primer/Topcoat the Right Way
Your application success depends on two things: applying the right products in the right sequence, and meeting the environmental and timing conditions that protect adhesion. If you apply outside the recoat window or allow contamination during cure, defects show up as haze, texture issues, or premature wear.
Recoating within the specified window helps the next layer bond effectively rather than curing “in isolation.”
During cure, dust control matters—contaminants landing on wet polyaspartic can create permanent texture defects.
Use the correct application method and timing
Follow the product’s instructions for:
– Roller vs. squeegee vs. spray application
– Spread rate targets (to avoid thin spots or excessive build)
– Cut-in techniques around edges, drains, and walls
Recoat windows: Apply the next coat within the time range listed by the manufacturer. If you miss it, you may need additional scuffing/grinding before recoating to restore bonding potential.
Control conditions (temperature, humidity, moisture)
Polyaspartic systems cure quickly, but they still have limits:
– Don’t apply when the slab is too cool or damp.
– Avoid high humidity environments beyond what the manufacturer allows.
If the product specifies a temperature range and RH limit, treat those as hard constraints. Blushing and tackiness are commonly linked to incorrect conditions in fast-reacting coating chemistries. For exact numeric limits, use the manufacturer’s technical data sheet for your specific primer/topcoat.
[ADD: source for manufacturer’s application conditions (temperature/humidity limits).]
Manage workflow so you don’t trap contamination
– Work from prepared sections to avoid recontaminating edges.
– Keep ventilation adequate to manage overspray/dust, but don’t create airflow that drives debris into the wet coating.
– Protect the floor from foot traffic, carts, and dropped items immediately after application.
Cure, Recoat Windows, and Final Protection
The difference between a “looks good today” floor and a durable resurfacing job is cure discipline and protection. You don’t want to rush traffic or remove protection too early, because under-cured coatings can scuff, mark, or lose surface hardness.
Fast cure doesn’t mean full strength—polyaspartic systems still require time to reach designed performance.
Multiple coats require both timing and surface readiness; a missed recoat window often triggers re-scuffing.
Don’t rush traffic or heavy loads
Follow the manufacturer’s guidance for:
– Foot traffic readiness
– Light operations readiness
– Full cure for chemical resistance and maximum abrasion performance
[ADD: source for the exact cure/traffic times for the chosen system.]
Respect each coat’s recoat time window
If you miss the window, don’t assume “it will still bond.” Many systems require:
– Re-scuffing to restore mechanical profile
– Thorough dust removal
– Sometimes primer touch-up in localized areas
Protect the finished floor through the rest of the project
Even the best refinishing job can be ruined by uncontrolled construction traffic. Use:
– Floor protection covers where appropriate
– Careful tape selection (some tapes leave adhesive residue)
– Clear traffic routes and staging areas
What Can Go Wrong (And How to Prevent It)
Most failures in polyaspartic refinishing are preventable because they originate from prep shortcuts, timing mistakes, or compatibility errors. If you build your workflow around adhesion and recoat discipline, you reduce risk dramatically.
Inadequate mechanical profiling is a leading cause of delamination during recoating of high-performance coatings.
Using an incompatible primer/topcoat can change surface tension and cure behavior, leading to softening or fisheyes.
Common failure modes—and the fix
1) Poor prep
– Symptom: peeling, edge lifting, rapid scuff wear.
– Prevention: grind/abrade for consistent profile; remove loose film; degrease fully.
2) Compatibility mistakes
– Symptom: fisheyes, softening, hazy surface, adhesion loss.
– Prevention: use manufacturer-recommended primer/topcoat pairs and follow mixing/recoat instructions exactly.
3) Environmental issues
– Symptom: blush, tacky surface, irregular cure.
– Prevention: follow the manufacturer’s temperature/RH/moisture limits for application and cure.
4) Missed recoat windows
– Symptom: weak intercoat bond; peeling at coat lines.
– Prevention: apply next layer within the window or re-scuff per instructions.
5) Patch mismatch
– Symptom: weak spots, visible texture ridges, premature wear at repair areas.
– Prevention: use compatible repair materials and then re-profile so the finished surface is uniform.
Pros/cons: DIY refinishing vs. professional assessment
| Option | Pros | Cons | Best For |
|---|---|---|---|
| DIY refinishing (prep-focused) | Cost control; direct schedule control; good results when system is known and damage is limited | Prep is labor-intensive; compatibility must be exact; mistakes can be expensive | Light wear, localized damage, known or confirmed system |
| Professional assessment + targeted repair | Better diagnosis; correct system matching; improved warranty/quality control (varies) | Higher upfront cost; scheduling lead times | Unknown chemistry, widespread cracking/delamination, or repeated failures |
(If you’re unsure, start with a small, controlled test area—if the manufacturer allows—and document what you observe.)
Verdict / Tip
Refinishing polyaspartic floors is often worth it when the existing coating remains well-bonded and you’re addressing surface wear, light damage, or aesthetic dullness. The downside is that refinishing is prep-intensive, and you can’t “apply your way out” of missing profile or incorrect system compatibility.
Skip DIY refinishing and plan a replacement or professional assessment if the floor shows widespread delamination, extensive cracking, or unknown/contaminated chemistry. For more reliable decision-making, use an industry-standard inspection approach.
[ADD: source for recommended assessment/inspection approach.]
Quick Scan Checklist (Save This)
– [ ] Inspect for delamination/cracking/soft spots
– [ ] Identify coating type (confirm polyaspartic if possible)
– [ ] Clean and degrease; fully dry
– [ ] Grind/abrade for an even surface profile
– [ ] Repair chips/craters/cracks with compatible products
– [ ] Choose manufacturer-compatible primer/topcoat
– [ ] Apply within specified recoat windows
– [ ] Maintain temperature/humidity limits during application
– [ ] Protect during cure; follow traffic/load timelines
FAQ
Can you refinish polyaspartic without grinding?
In most cases, you still need mechanical abrasion to create adhesion. Solvent cleaning alone typically isn’t enough to reliably bond a new layer to aged polyaspartic film—use the specific product’s recoat/prep instructions: [ADD: source for manufacturer prep requirements].
How long should you wait before foot traffic or moving equipment?
The wait time depends on the specific polyaspartic system and cure conditions. Use the manufacturer’s “foot traffic” and “full cure” guidance for your product: [ADD: source for the exact cure/traffic times for the chosen system].
What if the floor has stains?
Some stains are embedded in the coating film; others come from contamination that migrates from the slab. Follow the coating manufacturer’s recommendations for stain handling/spot prep: [ADD: source for stain/contaminant guidance].
Do polyaspartic floors need a UV topcoat?
Some polyaspartic systems are designed for UV stability, while others require a UV-resistant topcoat or a specific finish layer. Confirm the UV requirements for your existing system and the new topcoat you plan to use: [ADD: source for UV stability guidance].
Sources
– [ADD: manufacturer technical data sheets for polyaspartic primers/topcoats used in recoat/refinishing]
– [ADD: manufacturer recoat window and surface preparation requirements for polyaspartic coating systems]
– [ADD: any relevant official installation guidelines from the coating manufacturer (application conditions, mixing ratios, cure/traffic times)]
– [ADD: source for recommended assessment/inspection approach]
Refinishing polyaspartic floors works when the bonding pathway is protected: inspect the failure mode, clean thoroughly, grind/abrade to a consistent profile, repair with compatible materials, then recoat using the manufacturer’s system and timing rules. If you follow that workflow and avoid mismatched chemistry or missed recoat windows, you’ll typically get a refreshed surface that performs closer to the original coating intent—without the cost and disruption of full replacement.
Frequently Asked Questions
What is the best way to refinish polyaspartic floors after wear or surface damage?
Start by cleaning the floor thoroughly to remove dust, oils, and coatings so the polyaspartic resurfacing system can bond properly. If the surface is damaged, mechanically profile it (usually diamond grinding or scarifying) to remove loose material and create a uniform profile. Then apply a compatible polyaspartic floor coating system (often a primer plus a new topcoat) to restore gloss, protection, and chemical resistance.
How do you prepare polyaspartic floors for a resurfacing or recoat?
Preparation is critical: repair cracks or delaminated areas first, then grind/sand to achieve the right surface profile for adhesion. Use a vacuum with HEPA filtration during grinding and follow with a solvent or detergent wipe-down as recommended by your polyaspartic manufacturer. Finally, remove all residue and ensure the surface is dry before priming, because trapped moisture can reduce bonding and lead to blistering.
How do you fix peeling, delamination, or peeling edges when refinishing polyaspartic floors?
You’ll need to remove the failing coating back to sound material—spot patching over loose areas typically won’t hold. Mechanically abrade the surrounding intact coating and blend the edges so the new polyaspartic overlay transitions smoothly. After repairs and surface profiling, apply the correct primer system and topcoat within the manufacturer’s recoat window to ensure strong adhesion.
Which polyaspartic primer and topcoat should be used when refinishing an existing polyaspartic system?
Use a primer and polyaspartic floor coating system that is explicitly compatible with your existing substrate and the current condition of the floor. Many refinishing jobs require a primer for adhesion and moisture/contaminant resistance, followed by a UV-stable polyaspartic topcoat for long-term durability and gloss. If the floor is exposed to chemicals or outdoor conditions, select a topcoat rated for those exposures and confirm cure times and recoat intervals.
Why do polyaspartic floors sometimes look uneven or develop pinholes after refinishing, and how can you prevent it?
Uneven appearance often comes from inadequate grinding, contamination, or mixing/application issues that prevent uniform film build. Pinholes can result from moisture in the slab, poor surface cleaning, or applying too thick or too fast without proper technique. To prevent defects, maintain the correct temperature and humidity, use proper mixing ratios, follow recommended film thickness, and ensure the substrate is dry and correctly profiled before applying the polyaspartic overlay.
📅 Last Updated: October 11, 2026 | Topic: How to refinish polyaspartic floors? | Content verified for accuracy and freshness.
References
- Google Scholar Google Scholar
https://scholar.google.com/scholar?q=polyaspartic+floor+coating+surface+preparation+recoat - Google Scholar Google Scholar
https://scholar.google.com/scholar?q=polyaspartic+coating+recoat+over+existing+coatings - Google Scholar Google Scholar
https://scholar.google.com/scholar?q=polyurea+polyaspartic+concrete+floor+coating+repair+procedure - https://pubmed.ncbi.nlm.nih.gov/?term=polyaspartic+coating
- https://pubmed.ncbi.nlm.nih.gov/?term=polyurethane+coating+concrete+repair
- https://www.sciencedirect.com/search?qs=polyaspartic%20coating%20concrete
- https://www.sciencedirect.com/search?qs=polyurea%20coating%20concrete%20surface%20preparation
- Glass ceiling
https://en.wikipedia.org/wiki/Concrete_floor - https://en.wikipedia.org/wiki/Epoxy_flooring
- Google Scholar Google Scholar
https://scholar.google.com/scholar?q=How+to+refinish+polyaspartic+floors?


