
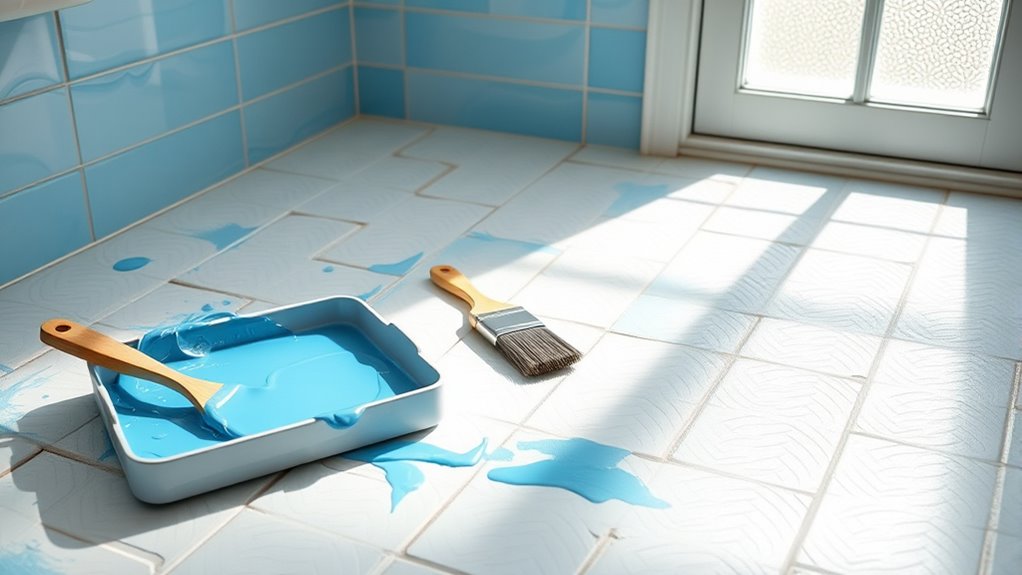

To paint your bathroom tile floors, start by cleaning them thoroughly, removing all dirt, grease, and soap scum, then let them dry completely. Next, apply a high-quality primer designed for tiles, followed by two coats of durable paint, like epoxy or latex, allowing each coat to dry well. Finally, seal the paint with a protective tile sealer to guarantee durability. These simple steps will rejuvenate your floor’s look, and there’s more to discover for the best results.




Prepare and Clean the Tile Surface
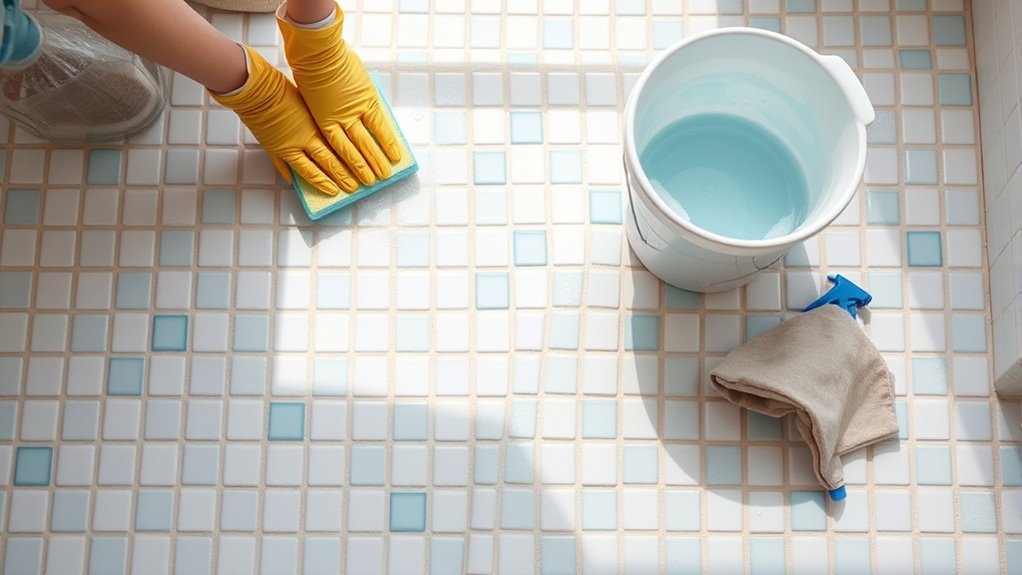
Before you start painting, you’ll need to thoroughly prepare and clean your bathroom tile floors. Surface preparation is key to ensuring the paint adheres well and lasts long. Begin by removing any dirt, grease, or soap scum using a strong cleaner or degreaser. Scrub the tiles and grout with a stiff brush, focusing on stubborn spots. After rinsing, let the floor dry completely. Next, lightly sand the tiles to create a rough texture, helping the paint stick better. Vacuum or wipe down the dust to leave a clean, smooth surface. Using proper cleaning techniques during this step grants you the freedom to achieve a professional-looking finish without worrying about peeling or flaking down the line.
Apply Primer and Paint
Start by applying a high-quality primer designed for tiles to guarantee the paint adheres properly and lasts longer. Choose a primer that suits your tile material. After priming, select the right paint type—epoxy or latex are popular for durability. Use smooth, even application techniques like rolling or brushing to avoid streaks. Allow sufficient drying time between coats to verify a flawless finish.
| Step | Paint Types | Application Techniques |
|---|---|---|
| 1. Primer | Tile-specific primer | Roller or brush |
| 2. First Coat | Epoxy or latex | Smooth brush strokes |
| 3. Drying | N/A | Wait 2-4 hours |
| 4. Second Coat | Same as first | Even roller application |
| 5. Final Dry | N/A | Avoid traffic for 24 hours |
Seal and Protect the Painted Tiles
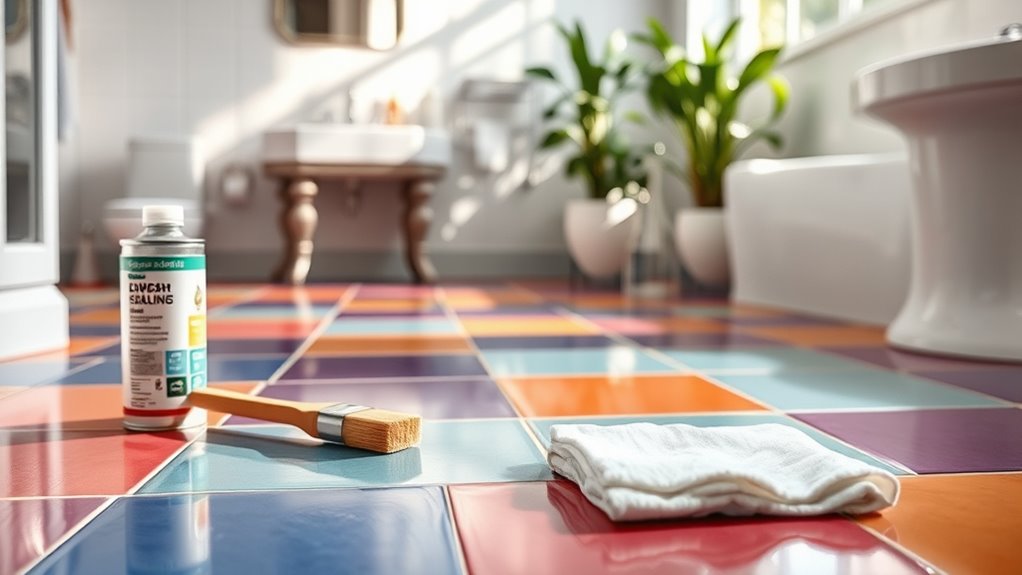
Protecting your painted bathroom tiles with a quality sealer is essential to guarantee durability and resistance to moisture and wear. Once your paint has fully dried, apply a thin, even coat of tile sealants designed specifically for floor protection. Use a high-quality polyurethane or epoxy sealer to lock in color and shield your work from water, stains, and foot traffic. Be certain to follow the manufacturer’s instructions for application and drying times. Applying two or more coats will enhance protection and extend the life of your painted tiles. Remember, proper floor protection not only preserves the look but also reduces maintenance needs. By sealing your painted tiles correctly, you ensure your bathroom floor stays vibrant and durable for years to come.
[…] Begin with a dry, clean floor—remove dust and residue, and make sure there are no loose boards or damaged click joints. Test the sealer in a small inconspicuous area to ensure it doesn’t streak, haze, or change the sheen. Apply thin, even coats only where the manufacturer recommends (often seams, edges, and sometimes the whole surface), then buff gently if the instructions call for it. Let the sealer cure completely before walking on it or placing rugs to maintain long-term laminate floor protection. […]
[…] to prevent scratches on ceramic tile floors? The fastest, most reliable approach is using the right floor protection—high-quality felt pads under furniture, scratch-resistant cleaning tools, and a protective mat in […]
[…] scratches on concrete floors by using the right floor protection first—felt or rubber pads under furniture, proper mats in high-traffic zones, and controlled […]
[…] “Surface preparation is the primary determinant of coating adhesion; contaminants can prevent the primer from wetting and bonding.” [ADD: cite from your polyurethane TDS or application guide] If the substrate is too wet, polyurethane systems can show loss of adhesion or bubbles as moisture disrupts film formation. [ADD: cite from your polyurethane TDS] Many coating failures trace back to dust, curing residues, or soap/grease films—common in bathrooms. [ADD: cite from manufacturer cleaning/substrate prep guidance] 🛒 Buy Polyurethane Floor Finish Now on Amazon […]
[…] use the right primers and application tools. This guide gives you a clear, step-by-step path for surface preparation, mixing, coating, and drying so the finish levels correctly and resists peeling. If you’re ready […]
[…] or delamination often results from poor surface preparation, contamination (oil, dust, curing agents), moisture vapor issues, or inadequate mechanical […]
[…] [ADD: manufacturer surface preparation instructions] (cleaning/decontamination and whether grinding/priming is […]
[…] is often either moisture vapor pressure from the slab or an adhesion failure caused by inadequate surface preparation or contamination. Edge lifting commonly indicates perimeter transition problems (prep, joint […]
[…] coating adhesion, surface preparation standards commonly require removing contaminants and profiling so the primer can wet and bond […]
[…] polyaspartic manufacturer’s application/system guide (often includes moisture testing method and surface preparation […]
[…] mixing, and topcoat timing steps exactly. This guide gives you a clear, do-it-yourself path from surface preparation through application and curing, so you don’t waste materials or risk a soft, mottled finish. If […]
[…] solar gain patterns, and nighttime cooling. If the building envelope or drainage is leaking, floor protection won’t fix the root cause—so skip “surface-only” solutions if you’re seeing persistent […]