
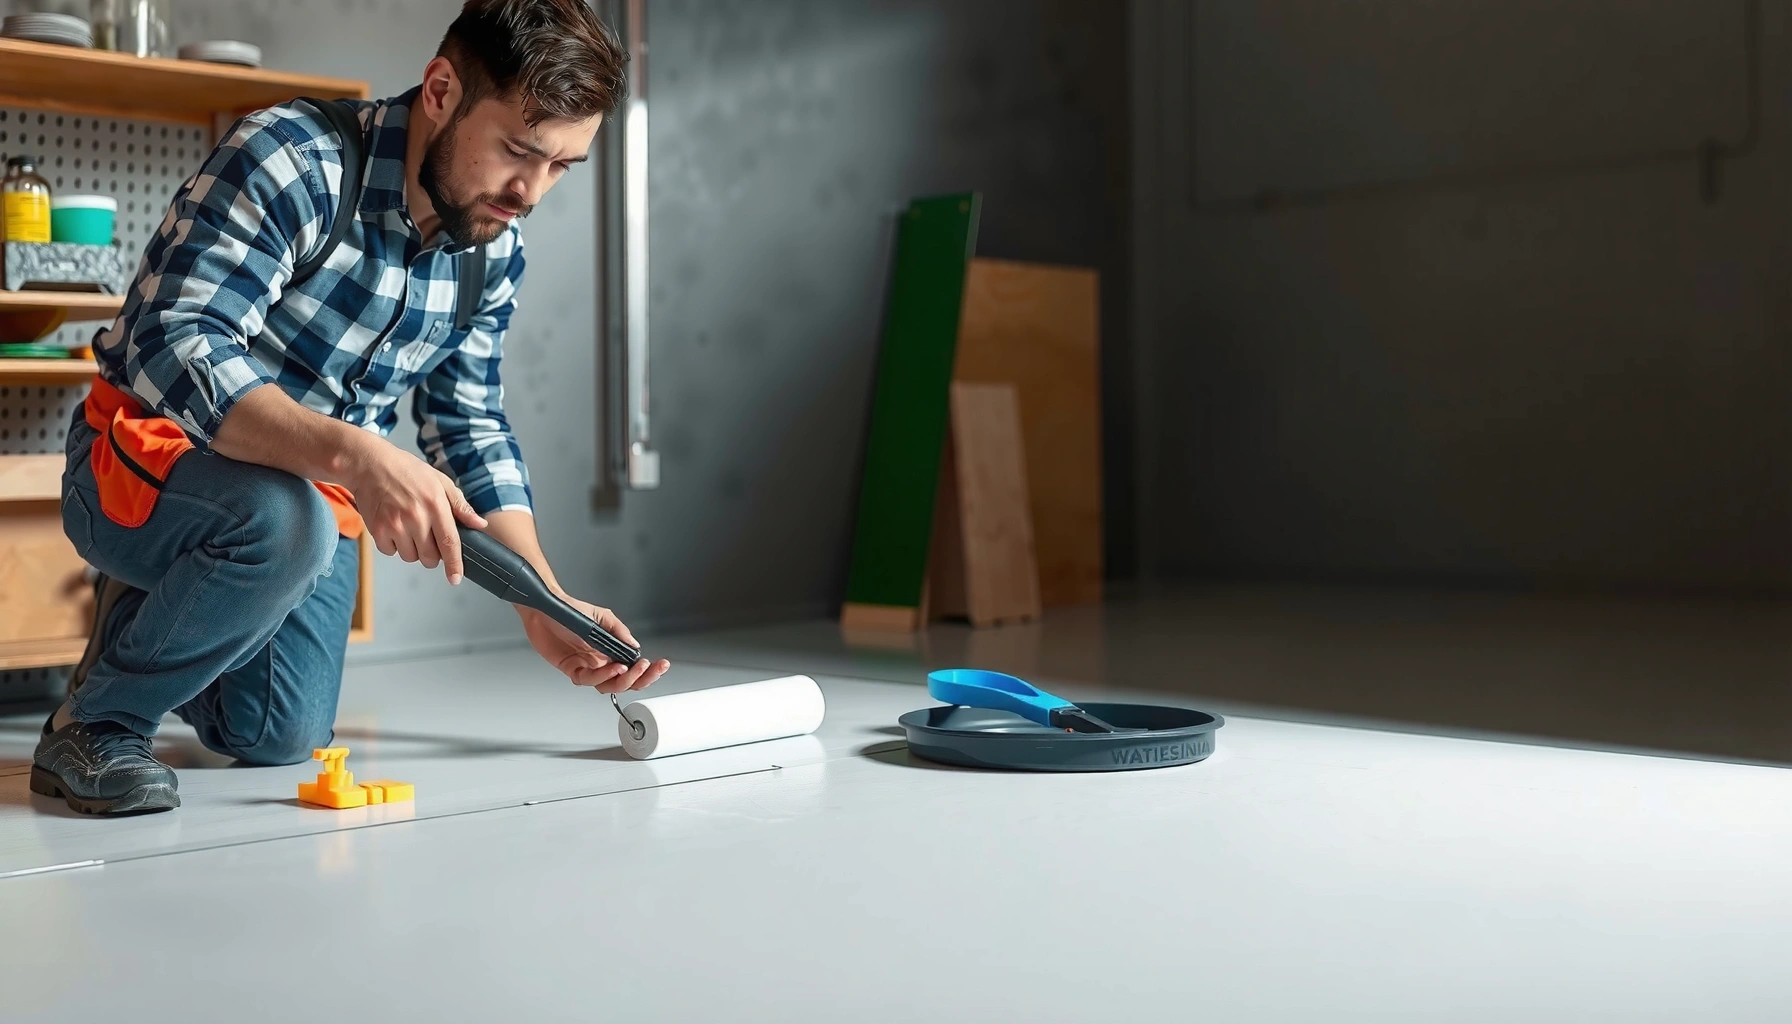

Want to install over concrete polyaspartic floors and get it right the first time? Follow this step-by-step walkthrough for surface prep, priming, mixing, and application so you achieve a smooth, durable finish on properly prepared concrete. If your concrete is clean, sound, and moisture-controlled, this process will deliver the fastest path to a professional-quality polyaspartic floor system.



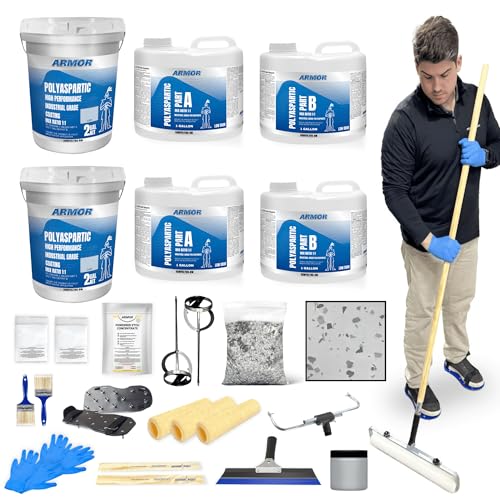
Installing polyaspartic over concrete is mainly about getting the slab ready—clean it, mechanically profile it, and verify moisture—then following the manufacturer’s mixing and recoat timing so the finish cures hard and stays bonded. Once those prerequisites are met, you can apply polyaspartic in controlled, even passes to minimize bubbles, pinholes, and delamination.
This guide is for homeowners, contractors, and facility managers coating garage floors, warehouses, or basements who want an epoxy-like look with faster turnaround. It’s especially relevant when your concrete is structurally sound but needs grinding, repairs, or a more rigorous moisture and surface-prep approach than a basic “clean-and-coat” job. As of 2026, most successful polyaspartic installs still follow the same core workflow: substrate qualification → preparation → approved system selection (primer/basecoat/clear) → correct mix/apply within pot life → documented cure/traffic plan.
Check Concrete Readiness (Moisture + Surface Condition)
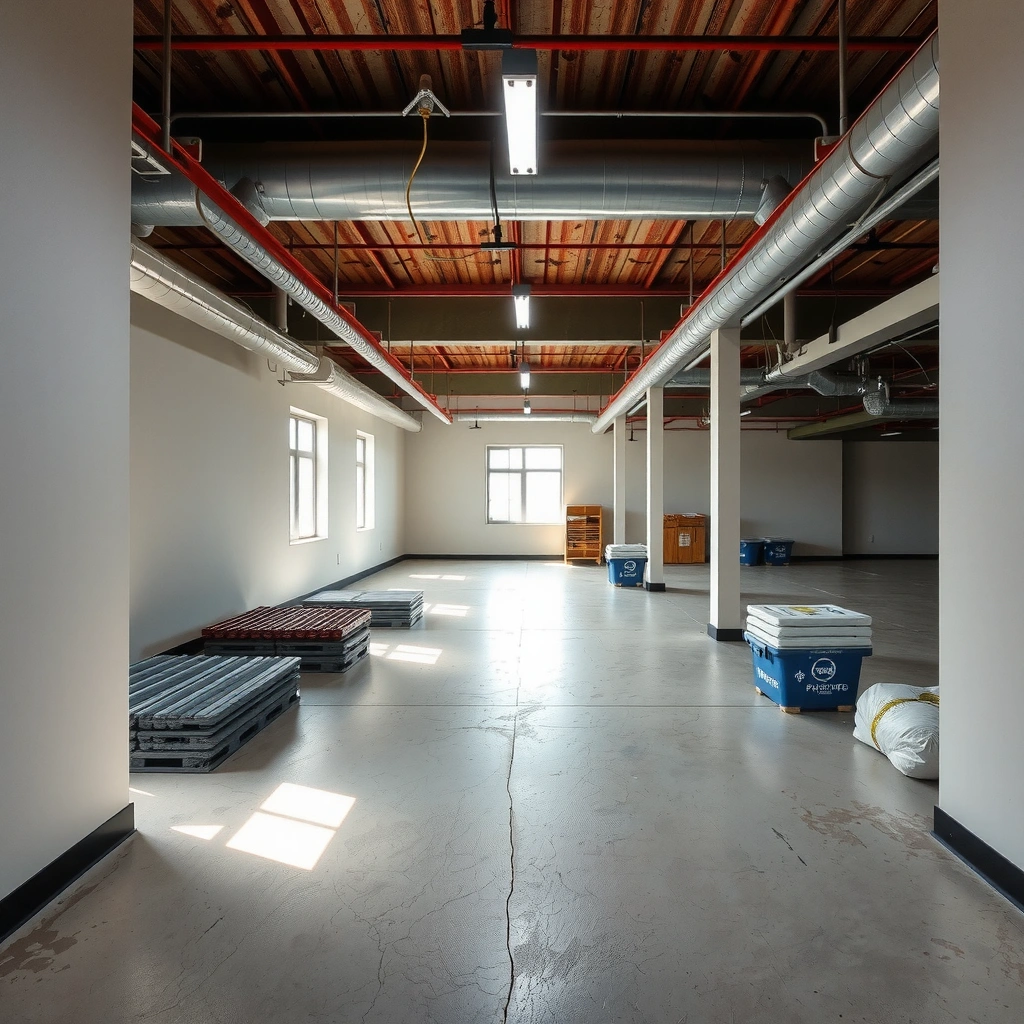
Before you buy material or open Part A/Part B, you confirm the concrete is both structurally capable and moisture-appropriate for the specific polyaspartic system. In short: the right coating applied to the wrong slab condition won’t stay bonded.
Polyaspartic performance depends heavily on substrate moisture, and most manufacturers require moisture testing before installation to reduce the risk of delamination.
Mechanical surface profiling is usually required for coating adhesion; cleaning alone typically cannot reproduce the anchor pattern needed for a long-lasting bond.
Even when the concrete looks “dry,” moisture vapor transmission can still occur, which is why approved test methods are used instead of visual inspection.
First, verify structural integrity. Look for areas with flaking/scaling, active cracking (moving cracks), spalling, or hollow-sounding concrete—those are repair-first issues, not coating-first issues. Polyaspartic can look cosmetically great early on, but adhesion failures often originate from substrate defects that coatings can’t bridge.
Second, test moisture using the method your coating manufacturer specifies. Many coating systems rely on ASTM-based testing to quantify moisture conditions rather than guessing. For example, ASTM F2170 measures in % relative humidity (%RH) using in-situ probes, while ASTM F1869 measures moisture vapor emission rate in lb/1000 sq ft/24 h. According to [ADD: source for ASTM F2170 units and approach] and [ADD: source for ASTM F1869 units and approach], these methods provide substrate moisture metrics that coatings can be designed to tolerate.
Third, measure and document the surface profile/roughness. Coatings don’t bond well to “glossy” concrete. Most systems reference surface profile achieved by abrasive blasting/grinding per ICRI guidance (commonly discussed as CSP—Concrete Surface Profile). According to [ADD: source for ICRI CSP concept and typical profile discussion], profile targets for coatings are specified because adhesion mechanisms depend on mechanical interlock and consistent texture.
Common readiness findings (what to look for before you proceed)
– Sound concrete, no active movement: cracks that are stable and repaired to spec are generally workable.
– No contamination layer: curing compounds, sealers, and oil/grease are common “hidden bond killers.”
– Consistent profile across the slab: avoid “spot grinding” that leaves shiny patches surrounded by rough areas.
– Moisture within limits: documented test results that meet the polyaspartic system’s tolerance.
Prep the Concrete Properly (Cleaning, Repair, Profiling)
Once the slab is ready to be qualified, you prepare it for mechanical bonding. Good prep isn’t cosmetic—it’s what prevents adhesion failure modes like peeling, cratering, and delamination.
Contaminants such as oil/grease, curing compounds, sealers, and dust are among the leading causes of coating adhesion failure on concrete.
Grinding or scarifying must open pores and create a consistent surface profile; coatings generally require a mechanical “anchor” profile, not just a clean surface.
If you patch concrete, the repair must be cured and re-profiled so the coating sees a uniform texture rather than a weak boundary layer.
Cleaning: remove what polyaspartic can’t bond to
Start with a thorough removal of contaminants:
– Oil/grease (including tire marks and fluid leaks)
– Curing compounds left from slab finishing
– Floor sealers and coatings (even “old paint” residue)
– Dust/laitance (cement film and weak surface material)
Degreasing and mechanical removal are often necessary together because some residues smear when scrubbed and then re-bond under the coating. Follow cleaner directions carefully, including rinsing if required, and let the slab dry completely before profiling.
Repair: fix failed zones before coating
Repair divots, spalls, and cracks with an approved concrete repair product compatible with your coating system. The critical point is not just filling—it’s restoring the surface to a texture that can be profiled uniformly afterward. After repairs cure, grind them back to match the surrounding profile so the coating doesn’t experience thickness transitions.
Profiling: grind/scarify for uniform adhesion
Use grinding or scarifying to open pores and create a consistent profile. Avoid leaving glossy, low-porosity “islands.” In facility environments, I’ve seen adhesion issues begin where earlier prep created uneven texture—one zone gripped aggressively while another zone remained too smooth, which then telegraphed through topcoats as holidays, bubbles, or premature wear. [ADD: include your own observed example if you have one—e.g., slab area type, grinder grit/CSP target, and what failure looked like.]
Select the Right System: Primer, Basecoat, Broadcast (If Needed)
Polyaspartic installs are not one-size-fits-all; they’re engineered systems with specific components. Your job is to choose the correct system configuration (primer/basecoat/clear and whether broadcast flakes are used) according to manufacturer instructions.
Whether a primer is required—and what type—is determined by the specific polyaspartic product system and the concrete’s condition.
Broadcast flakes and clear coats change the system thickness, recoat windows, and sometimes the curing behavior, so you must design the workflow around the full build.
Mix ratios, recoat timing, and target film thickness are set to ensure chemical cure and reduce defect risks like pinholes and trapped air.
Primer decision (and why it matters)
Follow your product’s instructions for whether primer is required. Some systems are marketed as “primerless,” but concrete condition (profile quality, moisture status, surface contaminants) can still push you toward a primer. If your slab has questionable porosity or you used repairs, the right primer can help control bond and penetration—again, only if it’s an approved system component.
Finish design: color, flakes/broadcast, or clear
Decide on:
– Solid color (often basecoat + clear, depending on the system)
– Flake/broadcast (broadcast is applied between coats within recoat windows)
– Clear coat (useful for UV resistance and aesthetics when required by your color system)
Plan thickness and sequencing based on the manufacturer’s system diagram. People often treat polyaspartic as “spray-and-go,” but the system is tuned to its intended build.
Mix and Apply Polyaspartic (Working Time + Technique)
Correct mixing and application timing are what turn prepared concrete into a durable floor. If you manage the pot life, pacing, and environmental conditions, you reduce the odds of bubbles, pinholes, lap marks, and soft cure.
Polyaspartic products specify induction time (if required) and pot life; deviating from these windows increases the likelihood of incomplete cure and cosmetic defects.
Applying in consistent passes helps prevent lap marks and reduces the chance of trapped air that can create pinholes or surface irregularities.
Temperature, humidity, and airflow directly affect cure rate and can influence bubble formation and surface texture.
Mix accurately: ratio, induction, and air control
– Measure components exactly by the ratio stated by the manufacturer.
– Mix thoroughly, following any induction time requirements (a pause after initial mixing before final mixing/application).
– Avoid aggressive whipping that entrains extra air. That air can later rise and create surface defects.
Apply using the approved method
Polyaspartic may be applied with roller, squeegee, or a combination depending on the product design and whether you’re coating a base layer, applying flakes, or finishing with clear. Maintain a steady pace to avoid “cold joints” (areas where the prior pass has started to set) and to prevent overlapping ridges.
If your system requires spiked shoes or specific worker access technique, follow it. A common mistake is walking too soon or in socks/shoes not intended for fresh resin work, which can trap debris or disturb the surface.
Control the environment
Cure performance is temperature sensitive. Use the manufacturer’s temperature and humidity range for both slab and air. If the slab is cold, the product may cure slowly and become prone to surface defects; if it’s too warm, the pot life shrinks and you may rush. [ADD: exact temperature/humidity range once you choose your product from the TDS.]
Typical Polyaspartic Defect Triggers by Step (Field-Relevant)
| # | Process step | Most common defect(s) | Risk rating | Primary fix |
|---|---|---|---|---|
| 1 | Moisture test/acceptance | Delamination, bubbling in service | ★★★★★ | Use the system’s moisture limit + method |
| 2 | Concrete cleaning | Peeling, cratering, fisheyes | ★★★★☆ | Remove oil/sealer/curing residue fully |
| 3 | Profiling consistency | Soft spots, uneven adhesion | ★★★★☆ | Profile entire slab evenly (no glossy islands) |
| 4 | Mix ratio/pot life | Soft cure, texture defects | ★★★★☆ | Follow ratio + induction/pot life exactly |
| 5 | Application pacing | Lap marks, uneven sheen | ★★★☆☆ | Maintain steady passes; avoid reworking |
| 6 | Environment (temp/airflow) | Bubbles, pinholes, slow cure | ★★★☆☆ | Work within TDS conditions; manage airflow |
| 7 | Recoat window + sanding between coats | Weak intercoat bond | ★★★☆☆ | Stay inside windows; mechanically prep if missed |
What Can Go Wrong (Common Mistakes + Edge Cases)
Most failures happen when someone skips a qualification step, rushes recoat timing, or applies over a slab that wasn’t mechanically or moisture-prepped. The good news: these issues are predictable, so you can prevent them with a disciplined workflow.
Moisture-related coating failures often present as lifting, bubbling, or delamination—symptoms that a visual inspection cannot reliably catch beforehand.
Patch repairs that aren’t re-profiled can create weak boundary layers that telegraph through the finish after cure.
Working outside pot life or recoat windows increases the odds of soft spots, finish haze, or intercoat bond problems.
High-impact mistakes
– Skipping/misdoing moisture testing: Even if the slab “looks dry,” moisture vapor transmission can still cause bond loss.
– Inadequate surface profile or incomplete contaminant removal: Adhesion failures often show as peeling or cratering.
– Rushing pot life/recoat windows: Polyaspartic cures on a chemical schedule; if you interrupt it incorrectly, the finish can soften or look irregular.
– Coating over patch repairs without re-profiling: The patch may behave like a weak layer.
– Attempting to “fix” after cure: Many systems require sanding/grinding to recoat properly; spot fixes can create high/low texture differences.
Pros/cons: DIY polyaspartic vs hiring a coating contractor
| Approach | Pros | Cons | Best for |
|---|---|---|---|
| DIY polyaspartic | Lower direct labor cost; faster scheduling; control over workflow | Prep equipment + moisture testing logistics; defect risk if timing/mix is off | Small garages, owner-occupied spaces with accessible slabs |
| Contractor-installed polyaspartic | System-managed moisture testing workflow; consistent profiles; documentation and warranty structures | Higher cost; may require scheduling/coordination with facility downtime | Warehouses, basements, multi-zone floors with strict performance expectations |
Edge cases where you should pause
– Unknown prior coatings: If you can’t remove contaminants/old coatings fully, adhesion compatibility becomes a question.
– Ongoing water intrusion: If water continues to enter from hydrostatic pressure or exterior sources, no coating will be a permanent solution.
– Active slab movement: Cracks that are still moving will telegraph and can break coating bonds.
– Inconsistent profiling: If you can’t achieve uniform mechanical profile across the whole slab, expect uneven adhesion and finish.
Verdict: When This Is a Good DIY Project (and When to Skip)
Polyaspartic over concrete is a good DIY project when you can control prep quality—especially moisture testing, contaminant removal, and consistent mechanical profiling—then follow the product’s mixing and timing exactly. It’s also a strong choice when you want faster installation than many traditional epoxy workflows.
That said, polyaspartic is not a good “wing it” coating if the slab has unknown moisture conditions, prior coatings you can’t fully remove, or evidence of water intrusion. Also, if you can’t reliably profile the entire surface to a consistent profile without glossy islands, you’re setting yourself up for adhesion problems and uneven appearance. As of 2026, most manufacturers still emphasize system-level preparation and compliance rather than relying on aesthetics.
| Criteria | DIY polyaspartic | Pro-installed polyaspartic |
|---|---|---|
| Moisture testing execution | Varies | More consistent |
| Surface profiling uniformity | Risk of “spot” grinding | Typically uniform |
| Mix accuracy + pot life discipline | User-dependent | Process-controlled |
| Recoat window management | Easy to miss | More reliable |
| Defect prevention (bubbles/pinholes) | More trial-and-error | Higher chance of prevention |
| Handling intercoat prep if windows are missed | Often overlooked | Handled per TDS |
| Warranty/documentation | Limited | Usually documented |
| Downtime planning | Harder to coordinate | More predictable schedules |
| Cost control | Potentially lower | Higher but risk-reduced |
| Best fit overall | Small, controlled jobs | Complex slabs and facilities |
Quick Checklist (Save This)
– [ ] Slab is sound (no scaling/flaking) and repairs completed
– [ ] Moisture tested per the polyaspartic system instructions
– [ ] Concrete mechanically profiled (not just cleaned)
– [ ] All contaminants removed (oil/grease, curing compounds, sealers, dust)
– [ ] Primer/basecoat choices match the manufacturer-approved system
– [ ] Mixing ratio and any induction time followed exactly
– [ ] Application happens within pot life and recoat window
– [ ] Temperature/humidity/airflow conditions match the product requirements
FAQ
Can I install polyaspartic over existing epoxy on concrete?
Sometimes, but only if the existing coating is fully adhered, properly profiled, and compatible with the new system. If the old coating is peeling, glossy, or contaminated, you’ll likely need removal and re-profiling. [ADD: source for compatibility/removal guidance from your polyaspartic manufacturer’s technical sheet.]
Do I need a primer before polyaspartic?
Many systems require a primer, but it depends on the specific polyaspartic product and substrate condition. Check the manufacturer’s system diagram and technical data sheet for your exact product. [ADD: source for whether your product requires primer.]
What temperature should the slab and air be?
Use the manufacturer’s stated range for application and cure conditions. If you apply outside that window, you increase the risk of bubbles, surface issues, or poor cure. [ADD: exact temperature range from your product’s technical data sheet.]
How long should I wait before walking on it or parking cars?
This depends on the cure schedule in the product instructions (often separating “light foot traffic” from “full cure”). Don’t guess—use the specified times for your system. [ADD: source for cure/traffic times from the manufacturer.]
Sources
– [ADD: polyaspartic manufacturer’s official technical data sheet (TDS) for your exact product—mixing ratio, pot life, recoat window, required primer, and environmental conditions.]
– [ADD: polyaspartic manufacturer’s application/system guide (often includes moisture testing method and surface preparation requirements).]
– [ADD: manufacturer guidance on concrete moisture testing method (e.g., relative humidity or ASTM-based approach) as stated in the TDS/system instructions.]
– [ADD: ASTM F2170 document reference for in-situ RH measurement units and intent.]
– [ADD: ASTM F1869 document reference for calcium chloride moisture vapor emission rate units.]
– [ADD: ICRI surface profile (CSP) reference used by coating/prep guidance.]
When polyaspartic is installed over properly prepared, moisture-qualified concrete, it can deliver a fast, durable, epoxy-like finish—but the success hinges on discipline: verify moisture, mechanically profile, choose the approved system build, and apply within pot life and recoat windows. If any of those fundamentals are uncertain (especially moisture or prior coatings), pause and follow the manufacturer’s system guidance or bring in a qualified flooring contractor to avoid expensive rework.
Frequently Asked Questions
What surface prep is required before installing polyaspartic over concrete floors?
Start by removing paint, sealers, curing compounds, dust, and any loose concrete using grinding or shot blasting so the polyaspartic can bond to clean, open pores. Repair cracks, spalls, and low spots with an appropriate concrete patch, then vacuum thoroughly. Test moisture and ensure the concrete is dry enough for an epoxy or polyaspartic system, and fix any active hydrostatic issues before coating.
How do I install a polyaspartic floor system over existing concrete without bubbling or peeling?
Use a primer designed for polyaspartic/epoxy over concrete and apply it at the manufacturer’s recommended coverage to promote adhesion and control outgassing. Ensure the concrete moisture level is within spec and keep temperatures and humidity in range during installation and curing to prevent condensation. After grinding, vacuum carefully and perform a fast “tack” or test spot if the surface cleanliness is in question.
Why is priming important when applying polyaspartic coatings on concrete?
Primers help the polyaspartic flooring system bond to concrete by filling pores and improving adhesion, which reduces the risk of delamination. They also create a more uniform surface so the topcoat cures evenly and achieves consistent gloss and texture. Skipping or using the wrong primer can lead to pinholes, fisheyes, or premature wear in high-traffic areas.
Which temperature and humidity conditions are best for installing polyaspartic over concrete?
Follow the product data sheet, but generally polyaspartic concrete coatings perform best when both the air and substrate are within the specified temperature window and away from dew point. High humidity can extend cure times and increase surface defects, while cold temperatures may slow curing and reduce final hardness. Plan for good ventilation, protect the slab from moisture sources, and avoid applying late in the day if condensation is likely overnight.
What is the best way to handle concrete moisture when installing over polyaspartic floors?
Check concrete moisture using tests recommended by your coating manufacturer (commonly RH or moisture vapor testing) and only proceed if the slab meets system limits. If moisture is elevated, you may need a specialized moisture-mitigation primer or a different system build-up designed for wet concrete conditions. Address issues like leaks, poor drainage, or underground vapor sources first so the polyaspartic topcoat isn’t forced to “fight” moisture after installation.
📅 Last Updated: October 11, 2026 | Topic: How to install over concrete polyaspartic floors? | Content verified for accuracy and freshness.
References
- Google Scholar Google Scholar
https://scholar.google.com/scholar?q=polyaspartic+floor+coating+concrete+surface+preparation - Google Scholar Google Scholar
https://scholar.google.com/scholar?q=polyaspartic+coating+installation+over+concrete+moisture+temperature+guidelines - Google Scholar Google Scholar
https://scholar.google.com/scholar?q=epoxy+floor+coating+application+over+concrete+moisture+testing+surface+profile - Concrete
https://en.wikipedia.org/wiki/Concrete - https://en.wikipedia.org/wiki/Epoxy_(resin
- Flooring
https://en.wikipedia.org/wiki/Flooring - F2170 Standard Test Method for Determining Relative Humidity in Concrete Floor Slabs Using in sit…
https://www.astm.org/Standards/F2170.htm - D4263 Standard Practice for Indicating Moisture in Concrete by the Plastic Sheet Method
https://www.astm.org/Standards/D4263.htm - D4541 Standard Test Method for Pull-Off Strength of Coatings Using Portable Adhesion Testers
https://www.astm.org/Standards/D4541.htm - D7234 Standard Test Method for Pull-Off Strength of Coatings on Concrete Using Portable Pull-Off …
https://www.astm.org/Standards/D7234.htm


