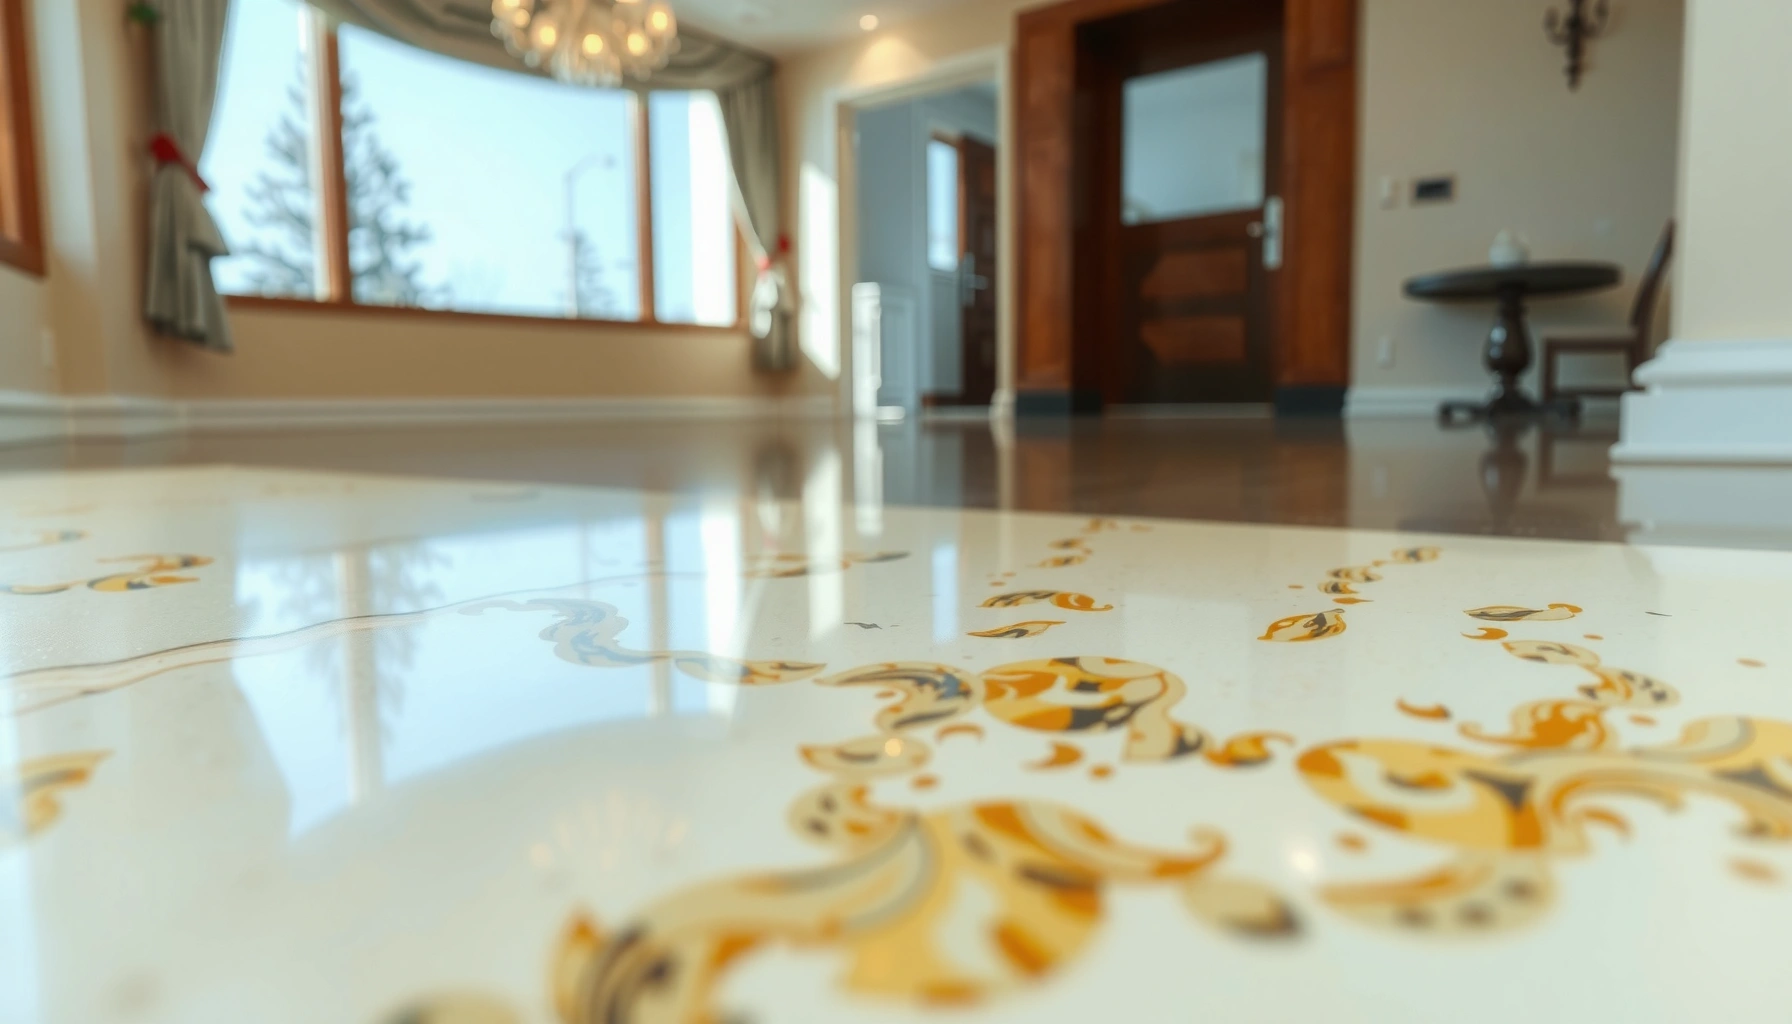

Want to know how to polish granite floors for a streak-free, mirror finish? This step-by-step guide shows the quickest winning sequence—clean, diamond-grind, densify, then polish—so your results look professional without guessing. Follow the method exactly and you’ll see consistent shine that holds up to everyday foot traffic.




Polish granite floors by cleaning thoroughly, then using progressively finer diamond polishing pads until you reach the gloss you want—then seal to lock in the look and reduce future staining. If your granite is cloudy or visibly dull but the surface isn’t deeply damaged, this step-by-step process can restore a high-end sheen without guessing.
If your granite looks cloudy, has light scratches, or just won’t regain its original luster, polishing is usually the fix. This is most relevant for sealed or sealable granite floors where the surface is stable and not deeply chipped or structurally failing.
Prep the floor properly before you polish
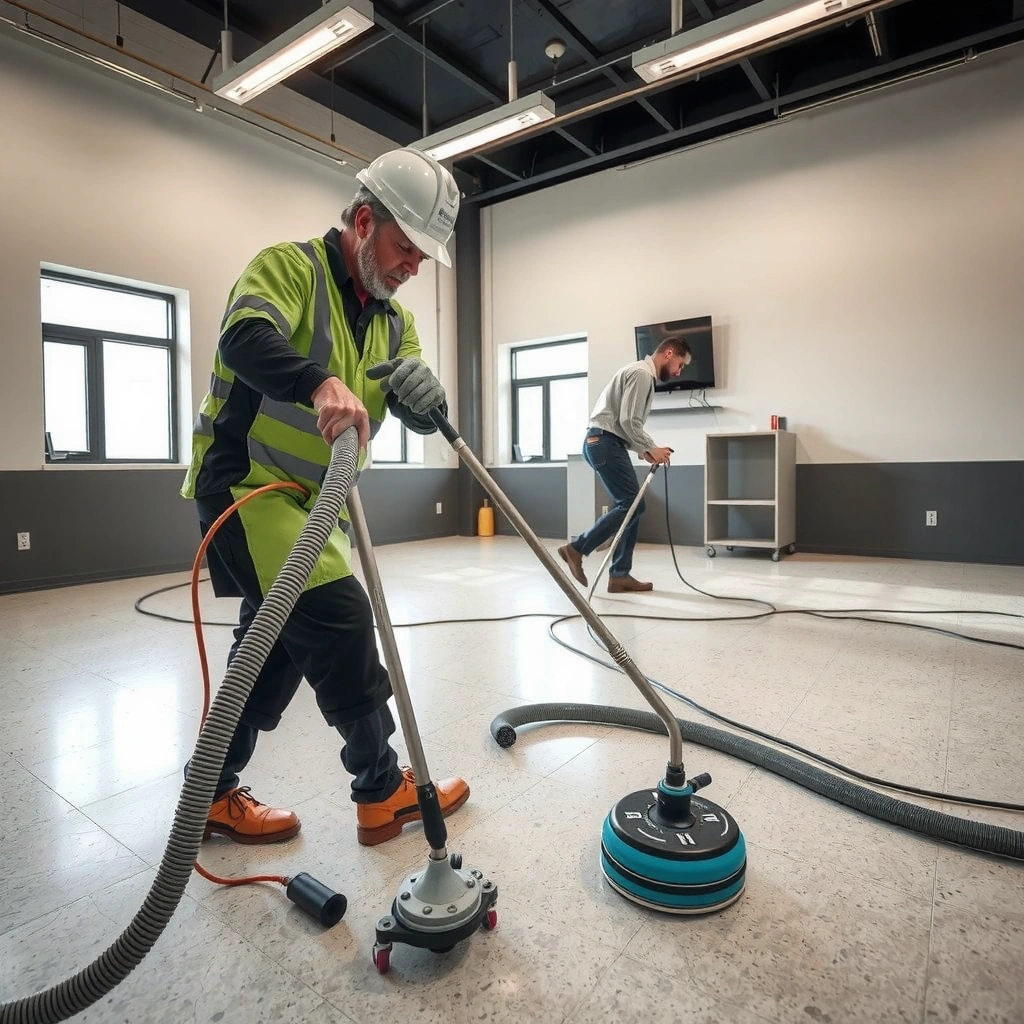
You’ll get consistent shine only if you start with a truly clean, fully understood surface. Prep is where most DIY projects succeed or fail because polishing can refine scratches—but it can’t remove grit embedded in old residue.
Polishing diamond abrasives are designed to refine the stone surface; loose grit and residue can cause re-scratching and uneven haze.
If granite has deep chips, cracks, or severe etching, polishing may improve appearance but won’t restore structural integrity or remove irreversible damage.
Granite care guidance consistently warns against acidic cleaners because acids can etch natural stone finishes and increase dullness.
– Remove dirt, grit, and any residues with a granite-appropriate cleaner (avoid acidic/harsh cleaners that can etch stone).
– Inspect the surface for chips, cracks, or deep etching—polishing won’t “erase” major damage.
– Dry completely (or follow the pad-manufacturer guidance if you’re using wet polishing).
Practical prep tips that matter:
– If you’re seeing a white “film,” don’t assume it’s only wax—test with a neutral pH cleaner first. That helps prevent you from grinding contaminants into the pores.
– Use a clean mop head/microfiber pad during final rinse/cleanup; dirty pads reintroduce abrasive particles.
– Use oblique lighting (a flashlight held low to the floor). It reveals etching haze (diffuse, dull glow) versus normal wear (more uniform dullness).
Choose the right polishing system and pads
The fastest route to a glassy finish is a diamond polishing sequence that matches your floor polisher setup and your granite’s current condition. In practice, you’re controlling two variables at once: abrasive aggressiveness (grit) and how heat/slurry is managed (wet vs. dry).
Diamond polishing pad kits for stone typically use a grit progression from coarse to fine to reduce scratches step-by-step.
Wet polishing generally helps manage dust and heat, while dry polishing can increase the risk of dust and “burn” if you pause too long.
Granite finishes vary widely by origin and previous treatments, so pad selection should follow the pad system documentation rather than generic “one-size-fits-all” advice.
– Use diamond polishing pads designed for stone/ granite, starting with a coarser grit and working up to finer grits for clarity and gloss.
– Match your method to your setup: a floor polisher/buffing machine (common) vs. smaller hand polishing tools (limited by area and evenness).
– If you’re unsure about pad progression or whether to use wet vs. dry, follow the pad/system documentation: [ADD: exact pad system or manufacturer guidance you plan to follow].
Typical Diamond Pad Progression for Granite Polishing (Common Sequences)
| # | Pad grit (approx.) | What it targets | Expected finish change | Best for | Finish rating |
|---|---|---|---|---|---|
| 1 | 50–100 grit | Heavy dullness, micro-scratches | Surface “reset” | Strong haze | ★☆☆☆☆ |
| 2 | 200 grit | Refining coarse scratches | Less visible haze | Moderate wear | ★★☆☆☆ |
| 3 | 400 grit | Evening out scratch depth | Improved clarity | Transition step | ★★★☆☆ |
| 4 | 800 grit | Bringing back “wet look” potential | Noticeable sheen | Common dullness | ★★★★☆ |
| 5 | 1500 grit | Fine polishing for gloss | High clarity | Semi-gloss | ★★★★★ |
| 6 | 2000–2500 grit | Maximizing surface refinement | Deep gloss | Light micro-scratches | ★★★★★ |
| 7 | 3000–5000 grit (where offered) | Final polish and “mirror” feel | Premium gloss (surface-dependent) | High-end finish targets | ★★★★★ |
(Note: pad kits differ by brand, and some manufacturers include different grit steps or additional “transition” pads. Always follow your specific system’s documentation for wet/dry and progression.)
Polish granite floors with progressive grits
You restore gloss by polishing in sections while moving the pad continuously and stepping through finer grits in order. This is how you refine the stone surface without reintroducing the scratches you just removed.
Diamond polishing is fundamentally a scratch-reduction process: coarse abrasives level roughness, and finer abrasives minimize the residual scratch pattern.
Working section-by-section helps prevent uneven sheen because contact time and heat can vary across the floor.
Removing slurry residue between steps prevents coarse particles from turning the next pass into re-scratching.
– Work in sections and keep the pad moving to prevent uneven haze or “burn” marks.
– Progress from the initial grit to finer grits, cleaning residue between steps so you’re actually refining the surface (not re-scratching it).
– After each step, check the finish under good light to confirm you’re moving toward the desired sheen.
How to know you’re on track (quick diagnostic):
– If the surface looks sharper after a grit step but never becomes “uniform glassy,” you likely skipped a transition grit or didn’t remove slurry.
– If you see dark, smeared patches, that often indicates heat buildup or contaminant slurry. Slow down your pass frequency and improve cleaning between grits.
Grind out spots carefully (without overdoing it)
You should spot-polish only after you confirm the dull area is surface-wear—not deep etching or structural damage. The right strategy is conservative: correct what’s there first, then move to refinement.
Polishing can improve surface gloss, but it cannot reliably reverse irreversible etching or contamination that has chemically changed the stone surface.
Spot grinding without checking surrounding areas can create “edges” or halos where sheen matches the adjacent floor only partially.
For stains, separating the stain-removal process from polishing prevents discoloration from staying visible after the gloss returns.
– Spot-polish cloudy areas only after confirming the problem isn’t damage from etching, stains, or failed sealing.
– If there are stubborn marks, use the least-aggressive approach first; don’t jump straight to the finest pad if the surface is still rough.
– For heavy stains, address the stain source separately—polishing alone can leave discoloration behind.
A quick comparison that helps you decide what to do:
| Issue on the floor | Best first response | Polishing outcome |
|---|---|---|
| Uniform dullness | Follow full grit progression + seal | Usually excellent gloss return |
| Light scratches / traffic marks | Refine starting at the scratch-relevant grit | Often improves noticeably |
| Cloudy spot with stain feel | Identify etching vs. contamination first | May not fully correct discoloration |
Seal the polished granite to maintain the shine
You seal after polishing because sealer protects the freshly refined surface and supports stain resistance. Skipping sealing often leads to faster dulling and more noticeable spotting.
Sealers work by changing how liquids interact with the stone surface, which helps reduce staining and helps maintain appearance after polishing.
Applying sealer on a wet or dirty surface can trap contaminants and create streaks or cloudiness.
Recoat intervals depend on the sealer type and traffic conditions, so the manufacturer’s schedule determines long-term results.
– After polishing, thoroughly remove slurry/dust and let the stone fully dry.
– Apply a granite sealer according to the product instructions, usually with controlled coverage and proper dwell time.
– Recoat on the schedule recommended by the sealer manufacturer: [ADD: sealer-specific reapplication timeframe from your chosen product].
What to watch during sealing:
– If you see rainbow/patchy films, you may need better coverage technique or additional wipe-down timing (per the product directions).
– Keep people and foot traffic off the floor until the sealer has cured as specified.
What can go wrong (and how to avoid it)
Most polish failures come from chemistry (etching), technique (uneven contact), or process order (sealing residue). If you avoid those three traps, you significantly improve odds of a uniform result.
Acid etching changes the stone surface finish; abrasive polishing may improve appearance but won’t always restore the exact original gloss.
Uneven shine commonly results from uneven pressure, inconsistent pad movement, or skipping intermediate grits.
Sealing residue or moisture can reduce stain resistance and create an opaque, cloudy film.
– Etching haze: If the “dull” look comes from acid etching, polishing may not fully correct it—consult the granite condition first.
– Uneven shine: Staying in one spot too long or skipping intermediate grits can create swirl marks or patchy gloss.
– Sealer problems: Sealing over remaining residue or moisture can cause streaking, cloudiness, or reduced stain resistance.
– Incompatible chemicals: Using vinegar, descalers, or other acidic cleaners can worsen etching and undo earlier work.
Verdict: is polishing worth it?
Polishing granite floors is worth it when the stone is intact and the dullness is mostly from surface dulling, light scratches, or normal wear. Polishing won’t reliably fix chips, deep cracks, or serious etching—those cases call for repair or professional assessment.
Skip DIY polishing if you’re dealing with major damage, extensive staining that isn’t responding to cleaning, or if you don’t have a safe, controlled way to run the polishing equipment evenly. If you do proceed, follow the exact pad progression and sealer instructions for your specific system—this is where most DIY outcomes are won or lost.
Quick checklist before you start
Use this as a pre-flight check so you don’t discover issues mid-polish.
– [ ] Clean thoroughly and remove all grit/residue
– [ ] Inspect for chips/cracks/etching (polish won’t fix structural damage)
– [ ] Confirm pad system (grit progression + wet/dry method) per manufacturer docs: [ADD: source details]
– [ ] Polish in even passes, section by section
– [ ] Clean between grits so residue doesn’t re-scratch
– [ ] Seal only after the surface is fully clean and dry
FAQ
Can I polish granite floors without a floor polisher?
You may be able to improve small areas with hand tools and polishing pads, but full-floor results are harder to keep even. For consistent gloss, a floor polisher is usually the practical route—[ADD: recommend specific approach based on your floor size].
How do I know which grit to start with?
Start with the coarsest grit needed to remove the visible dullness/haze without unnecessary grinding, then step up progressively. If you have a known pad kit, follow its included progression instructions: [ADD: exact kit guidance].
Will polishing remove stains?
Polishing can remove surface discoloration but won’t reliably remove deep stains, etching, or issues caused by contaminants. For stubborn stains, separate stain-removal steps may be required—[ADD: source for recommended stain treatment].
Do I need to seal granite after polishing?
Most granite benefits from sealing after polishing because it helps maintain stain resistance and appearance. Always follow the sealer manufacturer’s instructions for application and recoat intervals: [ADD: product instructions source].
Sources
– [ADD: manufacturer documentation for your diamond polishing pad system, including grit progression and wet/dry guidance]
– [ADD: manufacturer documentation for your granite sealer, including application method and recoat timing]
– [ADD: granite care guidance from a stone/setting authority or natural stone institute / marble-granite association—name the organization and the specific care document]
– [ADD: source for general stone-cleaner acidity/etching guidance—e.g., natural stone care guidance from a recognized industry association]
– [ADD: source for sealer behavior and surface protection explanation]
A polished, sealed granite floor is largely a process-quality outcome: clean first, follow a staged diamond pad progression, avoid heat/uneven contact, and seal only when the stone is fully clean and dry. If your dullness is driven by simple wear and light surface scratches, this approach typically restores a strong gloss; if the problem is etching or deep damage, polishing can help visually but won’t substitute for repair.
Frequently Asked Questions
How do you polish granite floors without damaging the stone?
Start by cleaning the granite thoroughly with a pH-neutral cleaner and removing all grit, which can cause scratches during polishing. Use a granite polishing pad system or polishing powder designed specifically for stone, and avoid acidic cleaners or harsh abrasives. Work in small sections with consistent pressure and keep the surface evenly wet or controlled-damp depending on your method, then seal only after polishing and fully drying.
What is the best way to polish granite floors for a high-gloss finish?
For a high-gloss look, use progressively finer diamond abrasives (or a wet/dry diamond polishing system) after initial grinding, then follow with polishing pads to refine the shine. Keep your slurry or water consistent to prevent uneven results and use buffing pads at the end to enhance reflectivity. Finish with a quality granite sealer to lock in the polish and help protect against stains and dulling.
Which polishing pads and compounds should you use on granite floors?
Choose diamond polishing pads or granite-specific polishing compounds matched to your current floor condition (honed, scratched, dull, or previously sealed). Typically, you’ll move from lower-grit diamond abrasives to higher grits, then switch to finer polishing pads for the final gloss. If you’re using a burnishing or crystallization product, confirm it’s approved for natural stone granite polishing to avoid haze or residue.
Why does my granite floor look dull even after cleaning, and how can polishing help?
Dullness often comes from worn sealers, embedded dirt/grit, water spots, or surface etching that ordinary mopping won’t fix. Polishing granite floors removes a thin layer of the surface with abrasives, restoring clarity and uniform reflectivity. If etching or deep scratches are present, you may need initial grinding or leveling before polishing to achieve a true shine.
How often should you polish granite floors, and is sealing required afterward?
How often to polish depends on foot traffic, how well the floor is protected, and whether the granite has a current sealer coating. In many homes, polishing is done periodically (for example, every 1–3 years) or when the finish fades, while commercial floors may need more frequent maintenance. Sealing is strongly recommended after polishing and curing/drying, because it helps resist stains and water absorption and keeps granite floors looking polished longer.
📅 Last Updated: October 09, 2026 | Topic: How to polish granite floors? | Content verified for accuracy and freshness.
References
- Polishing
https://en.wikipedia.org/wiki/Polishing - https://en.wikipedia.org/wiki/Granite
- Google Scholar Google Scholar
https://scholar.google.com/scholar?q=granite+floor+polishing+procedure - Google Scholar Google Scholar
https://scholar.google.com/scholar?q=natural+stone+floor+polishing+sealing+maintenance - Google Scholar Google Scholar
https://scholar.google.com/scholar?q=diamond+abrasive+granite+polishing - Conservation Institute | Getty
https://www.getty.edu/conservation/ - Historic Preservation (U.S. National Park Service)
https://www.nps.gov/subjects/historicpreservation/index.htm - https://www.ihs.gov/environmental-trade/
- https://pubmed.ncbi.nlm.nih.gov/
- Centers for Disease Control and Prevention | CDC
https://www.cdc.gov/