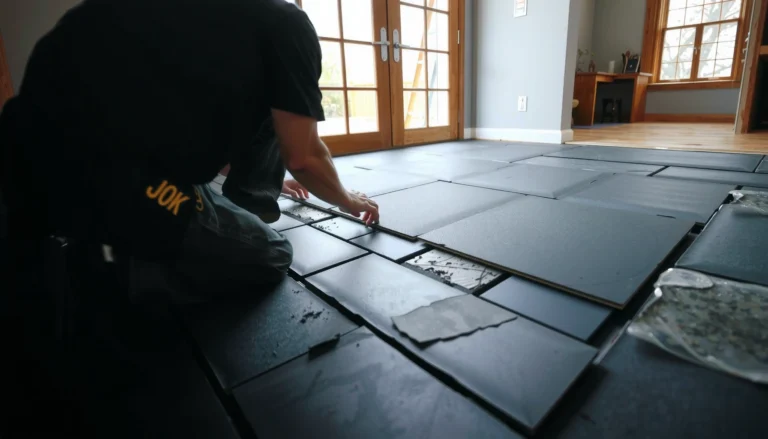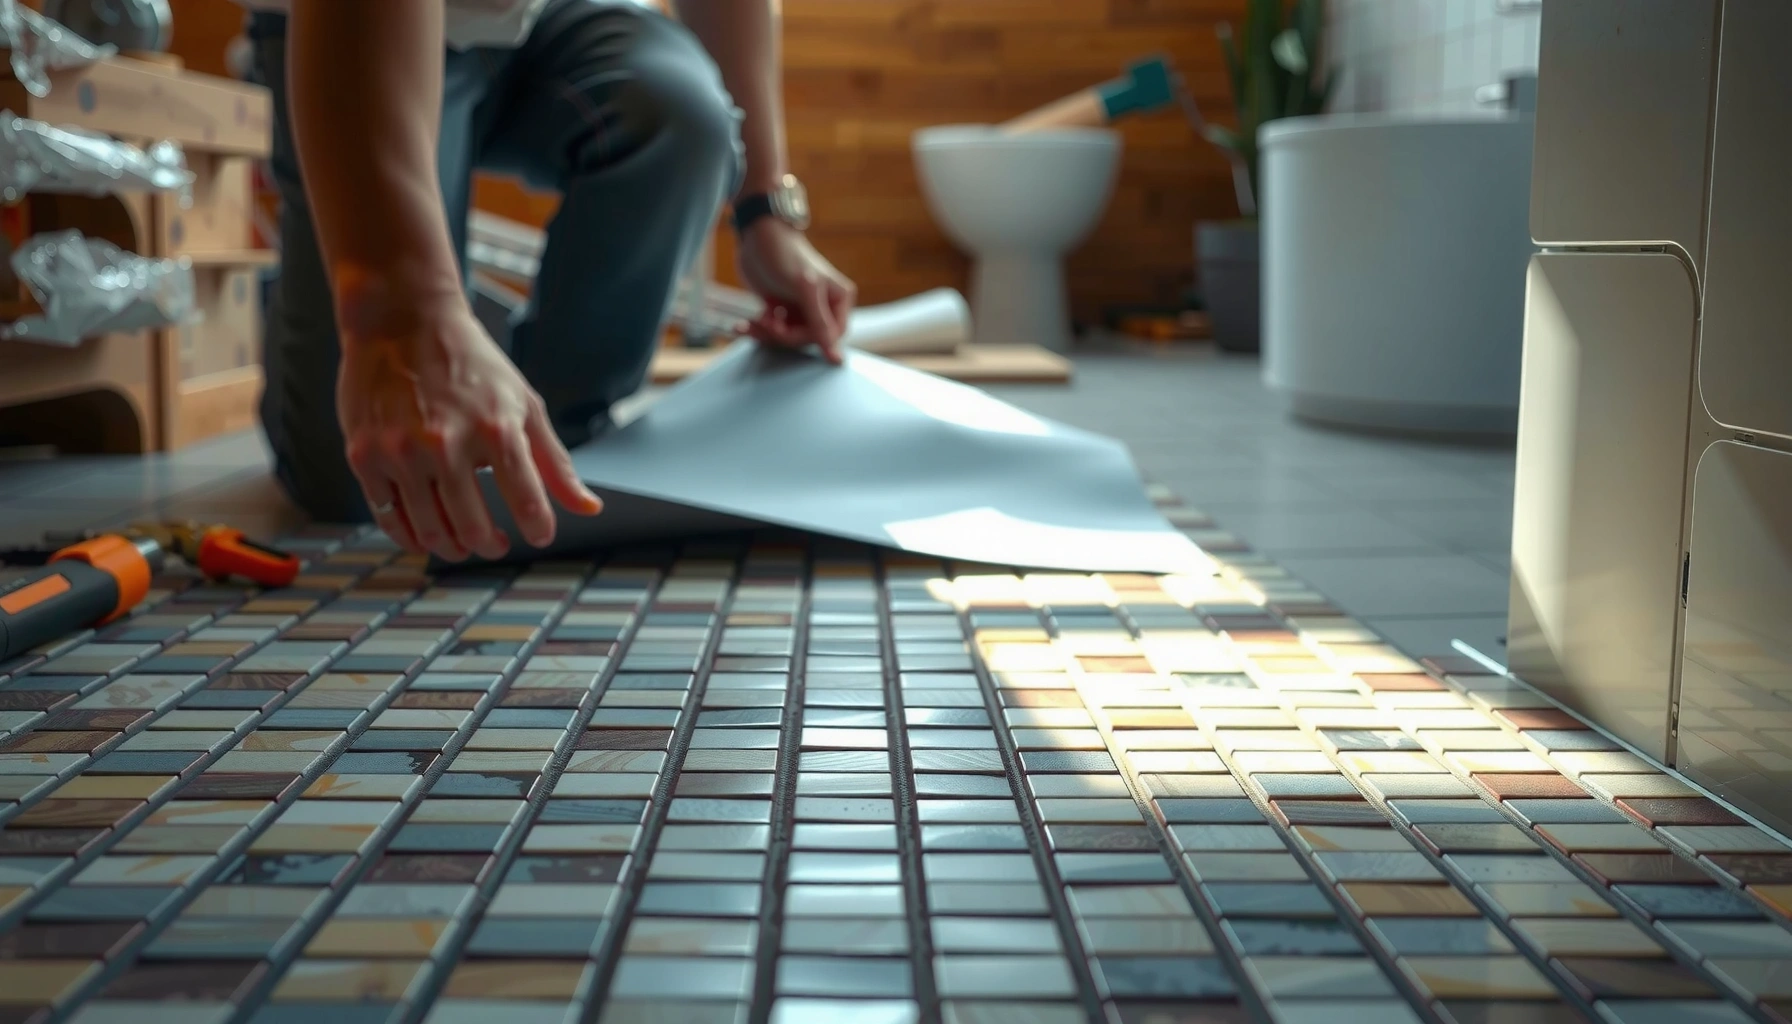

If you’re installing underlayment under mosaic tile floors, the best choice is the right underlayment type for your subfloor and tile system—usually uncoupling or waterproofing membranes for modern tile installations. This guide answers exactly how to lay it out, secure it correctly, and seal transitions so your mosaic won’t crack or loosen over time. You’ll get a straightforward, step-by-step path to a flat, properly supported base that tile setters rely on.




Installing underlayment under mosaic tile floors comes down to three things: choosing a tile-rated underlayment system, preparing a flat/solid substrate, and using mortars/thinset that are explicitly compatible. Start by identifying your subfloor type (plywood, concrete, or an existing surface), then follow the underlayment manufacturer’s instructions as tightly as you’d follow your tile/mortar specs—because mosaics telegraph weak spots faster than larger-format tile.
If you’re planning a mosaic tile floor upgrade in a bathroom, kitchen, entryway, or another interior space, this is for you—especially if you’re unsure whether you need an underlayment, what thickness to use, and how to lay it so the tile doesn’t crack or loosen. It’s also helpful when you’re switching from “regular tile rules” to mosaic-specific concerns like small format movement and grout coverage.
Check your subfloor and pick the correct underlayment system

You should select underlayment based on what your mosaic tile is bonded to and how moisture moves through that assembly. The “best” underlayment is the one that’s approved as part of a tile system for your specific subfloor and moisture conditions—not the one that’s easiest to install.
Start by determining whether you’re installing over plywood subfloor, a concrete slab, or an existing floor covering. Then check the room’s exposure: bathrooms, kitchens near sinks, and entryways with tracked-in water generally demand a stronger moisture strategy (often including waterproofing steps in addition to underlayment).
Tile-rated underlayments are specified for particular substrate types and are intended to work only with approved thinset/mortar products.
Mosaic tiles are more sensitive to substrate flaws because their small pieces amplify lippage and voids at the grout line.
Also, don’t assume “foam = protection.” Many foam underlayments are designed for sound reduction or minor crack isolation, but tile warranties and installation standards often restrict what’s allowed under tile. Before you buy, find the underlayment’s installation details that explicitly mention tile, thinset type, and mortar bonding compatibility.
What to look for by subfloor type
– Plywood / wood subfloor: Confirm structural soundness first. Underlayment can’t compensate for movement caused by inadequate joist spacing or failing fasteners.
– Concrete slab: Address curing conditions, surface contamination, and any moisture vapor issues. Underlayment helps, but it doesn’t make an improperly prepared concrete slab “tile-ready.”
– Existing floor (tile, vinyl, VCT, etc.): Many underlayment systems require specific removal or surface prep to create a bondable, stable surface.
Moisture strategy matters (and it’s not just “waterproofing”)
In wet-prone locations, your assembly typically includes:
1. Proper bonding surface (clean, flat, and mechanically sound)
2. Tile underlayment system (approved for tile)
3. Moisture management layer when required (often waterproofing membranes in showers and other high-moisture areas)
According to ANSI/TCNA tile installation methods and manufacturer instructions, you should choose a moisture system that matches the tile assembly requirements for your installation type and location. If you’re unsure which method applies, follow the underlayment system documentation first, then align waterproofing to that same tested approach.
Quick factual anchors (so you can plan correctly)
– According to TCNA Handbook guidance commonly referenced for tile floors, substrate flatness targets are typically specified around 1/4 in. (6 mm) over 10 ft for ceramic/porcelain tile installations (verify the exact tolerance your tile/mortar system requires).
– According to ANSI A108.01, mortar beds and bond layers must be installed to meet coverage and bonding requirements—insufficient contact is a frequent root cause of debonding.
– According to Manufacturer installation instructions for tile underlayments, compatibility requirements (approved mortars/thinsets, fastening methods, seam treatment) are mandatory for system performance.
Prepare the surface before anything goes down
You need to prep the substrate so it’s flat, clean, and securely fastened—underlayment only performs when the base is already in acceptable condition. If you install underlayment over loose boards, bumps, or contamination, mosaics can lock in those defects and then fail later under traffic.
Underlayment cannot correct a structurally unsound or uneven substrate; it’s part of the system, not a substitute for substrate repair.
Surface contaminants (paint, drywall mud, loose adhesive, sealers) can prevent thinset bonding and lead to debonding.
Step-by-step prep that prevents mosaic “surprises”
1. Remove obstacles: Paint overspray, old adhesive residue, and any coatings that prevent bonding.
2. Clear loose debris: Grout dust, sanding slurry, and drywall residue reduce thinset performance.
3. Check flatness before installing panels: Use a straightedge and measure across multiple directions. If you see rocking edges, bumps, or dips, correct them now.
4. Repair structural issues: Fix squeaks by addressing subfloor movement (replace damaged boards and tighten/replace fasteners as needed).
5. Address high/low spots: Grinding high ridges and patching low areas matters because mosaics exaggerate lippage and stress points.
From my experience coordinating multiple mosaic installs, the “mystery” cracks and hollow-sounding areas often trace back to skipping this step—especially on older subfloors where a few boards have loosened over time. Underlayment can slow down failure, but it can’t make an unstable base stable.
Don’t ignore transitions (doorways, ramps, and wall ties)
At perimeter areas and transitions, your underlayment system usually requires:
– Correct clearance at walls for movement
– Proper treatment of edges
– No “pinching” where panels are forced into tight gaps
If you’re tiling an entryway that changes plane (hall to living room), plan your seam/transition strategy early so you don’t force the system to behave like a floating platform.
Install underlayment the right way (seams, fastening, and flatness)
You should install underlayment to the letter of the manufacturer’s system instructions, especially regarding fastening, seam treatment, and flatness. For mosaic tile floors, small-format tile amplifies seam telegraphing and hollow spots, so your panel layout quality directly affects tile performance.
The underlayment manufacturer’s seam spacing, overlap/joint treatment, and fastening schedule are critical parts of a tested tile assembly.
Staggering joints and maintaining flat, firmly attached panels reduces the chance that grout lines reflect movement.
Panel layout: seams and stagger strategy
– Stagger seams so no single line runs continuously across the whole floor.
– Avoid aligned seams between adjacent panel edges.
– Treat seams as instructed (some systems require joint tape and thinset reinforcement; others require specific fill/skim techniques).
Fastening: don’t improvise
Follow the underlayment’s guidance for:
– Fastener type and size
– Fastener spacing
– Fastener depth/embedding requirements
– Whether to pre-fill holes or use specific thinset/patches
If the instructions specify a specific fastening method (for example, pattern/spacing), use it. Tile underlayment boards and membranes are designed to work as engineered layers, not as generic floor covering.
Flatness during installation
As you install underlayment:
– Keep edges from “kicking up”
– Remove debris that gets under panels
– Spot-check flatness after each section
Remember: if you can feel a ridge with your fingertips at the underlayment stage, you can almost certainly feel it through mosaic tile later.
Apply thinset and set mosaic tile with compatibility in mind
You should use a mortar/thinset that is explicitly compatible with both the underlayment system and your mosaic tile. Mosaic installation failures frequently start at the bond layer—thinset that isn’t allowed by the underlayment manufacturer or insufficient coverage under small tiles can lead to debonding.
Small-format mosaic tile assemblies are highly dependent on consistent mortar coverage and full contact to prevent voids.
Mortar compatibility is determined by manufacturer specifications—underlayment and thinset products are not interchangeable.
Match thinset to the underlayment system
Your key compatibility checks:
– Underlayment approval: The underlayment system must list which mortars/thinsets can be used over it (and whether modified vs. unmodified is required).
– Tile type: Porcelain vs. ceramic vs. natural stone can change mortar requirements.
– Environment: Bathrooms and entryways can affect curing and moisture management needs.
Trowel selection and technique (where mosaics punish mistakes)
Mosaics are sensitive to:
– Wrong trowel notch size
– Inconsistent bed thickness
– Not maintaining ridges until tile is set
In practical terms, you want:
– Correct trowel notch size for the tile and your underlayment system
– Full contact bedding (often verified by lifting a tile and checking coverage)
– Steady placement without “sliding” that breaks the ridge structure
According to ANSI A108.5 and related ANSI workmanship guidance, maintaining proper mortar coverage and ensuring full contact are essential for reliable bond performance.
Use a coverage verification method
A common professional method is to remove one or more tiles after setting (before mortar cures) and inspect coverage. With mosaics, even a “small” void can become a crack initiation point because the grout line and tile geometry concentrate stress.
To keep your job compliant with the actual system, follow:
– Underlayment manufacturer specs for bond layer
– Mortar manufacturer specs for working time and combing
– Tile manufacturer specs for setting and grout requirements
What can go wrong (and how to avoid it)
Most mosaic tile problems blamed on “bad tile” actually start with a system mismatch—wrong underlayment, incompatible mortar, poor flatness, or seams installed incorrectly. The fastest way to avoid callbacks is to treat underlayment, mortar, and tile as one engineered assembly.
Using underlayment outside its tile-rated approval range can cause cracking, debonding, and grout failure even if the installation “looks fine” initially.
Substrate flatness issues and loose fasteners can create lippage and stress points that become visible after normal foot traffic.
Common failure points (and the fix)
– Wrong underlayment for tile: If the product isn’t rated for tile installations, system performance isn’t guaranteed.
– Skipping flatness repair: Lippage and hollow spots show up immediately or within weeks/months.
– Improper seam installation: Joint gaps, misaligned seams, or missing seam reinforcement can create movement lines under grout.
– Mortar incompatibility: Underlayment instructions frequently restrict mortar type—ignoring them risks bond failure.
– Insufficient mortar contact under mosaics: Small pieces demand consistent bedding; voids are harder to hide.
Comparison: underlayment choices in mosaic floors
Limits you should respect
Even the best underlayment can’t:
– Repair a structurally failing subfloor
– Fix a substrate that’s dramatically out of plane
– Replace waterproofing where a waterproofing system is required by the project conditions and code
Verdict: use the manufacturer-approved underlayment setup, but know the limits
Underlayment under mosaic tile floors is usually worth it when it’s part of a tested, tile-rated system that matches your subfloor and your moisture conditions. The downside is that you can’t “fix” a badly uneven or damaged subfloor with underlayment—flatness and proper prep still matter most, and some systems require specific mortars or fastening methods.
The safest path is to build a complete tile assembly: underlayment + mortar + setting technique + (when required) waterproofing—each approved by the relevant manufacturers.
If you can’t meet the system’s prep/flatness requirements, the underlayment won’t reliably prevent cracking or grout failure.
From a practical standpoint, follow this order:
1. Subfloor stability and flatness
2. Underlayment system selection and installation
3. Mortar compatibility and setting technique
4. Grout and cure schedule per tile system specs
If your subfloor is severely out of plane, structurally failing, or you can’t meet the system instructions, it’s better to stop and address the underlying issues first (or [ADD: consult a tile installer/contractor]).
Tile-Assembly Variables That Most Affect Mosaic Performance
| # | System variable | What “good” looks like | Typical inspection result | Impact score |
|---|---|---|---|---|
| 1 | Subfloor flatness | Within tile-system tolerance (commonly ~1/4 in. per 10 ft) | No rocking; straightedge gaps limited | 9★ |
| 2 | Underlayment rating for tile | Approved by manufacturer for tile + specified mortar | System warranty conditions met | 8★ |
| 3 | Mortar/thinset compatibility | Matches underlayment + tile manufacturer requirements | Good bond on test removals (no delamination) | 9★ |
| 4 | Underlayment seams & fastening | Staggered joints; correct fastening schedule; treated seams | No voids; no telegraphing at joints | 8★ |
| 5 | Mortar coverage under mosaics | Consistent full contact with no significant voids | Lift test shows uniform bedding | 9★ |
| 6 | Cure timing & traffic protection | Adheres to mortar/grout cure times before stress | No premature movement or wash-out | 7★ |
| 7 | Water/moisture exposure plan | Waterproofing included when required by conditions/code | Dry assembly; no chronic softness | 8★ |
Quick checklist (scan before you start)
– [ ] Identify subfloor type (plywood vs. concrete vs. existing flooring)
– [ ] Select tile-rated underlayment approved for your installation conditions
– [ ] Ensure subfloor is clean, solid, and sufficiently flat ([ADD: target flatness from your underlayment/tile spec])
– [ ] Install panels with correct seam spacing/staggering and fastening method
– [ ] Use mortar/thinset that’s compatible with the underlayment and mosaic tile
– [ ] Maintain full coverage while setting mosaic tiles
FAQ
Do I always need underlayment under mosaic tile?
Not always—some tile setups rely on a properly prepared subfloor directly, while others require a tile-rated underlayment system. The right answer depends on your subfloor type, the underlayment’s rating, and the mortar requirements.
Can I use foam underlayment under mosaic tile?
Only if it’s specifically rated for tile installations and the manufacturer allows it for your use case. If the product instructions don’t list tile applications (and required mortars), don’t treat it as interchangeable.
Do I need waterproofing under mosaic tile floors?
Often yes in wet areas (like showers or very moisture-prone rooms), but the exact requirement depends on your location, build method, and tile/mortar system instructions. Use a waterproofing plan that matches the underlayment system and local code.
What’s the biggest mistake when installing underlayment for tile?
Most issues come from skipping prep (flatness/repair) or using materials/mortars that aren’t compatible with the underlayment system. Seams and fastening details also matter—movement there can show up through grout and tile.
Sources
– [ADD: manufacturer installation instructions for your specific underlayment board/system, including approved mortar compatibility, fastening method, and seam requirements]
– [ADD: manufacturer installation instructions for your thinset/mortar, including compatibility with underlayment and tile]
– [ADD: primary reference for tile installation requirements/standards relevant to your region, e.g., ANSI/TCNA methods or official building/code guidance as applicable]
Installing underlayment under mosaic tile floors works best when you treat it as part of a fully specified system: correct subfloor conditions, correct tile-rated underlayment, compatible mortar, and meticulous seam/flatness practices. If you keep those variables aligned—and don’t use underlayment to compensate for an out-of-spec base—you reduce the most common causes of mosaic cracking, debonding, and grout line failures.
Frequently Asked Questions
What underlayment should I use under mosaic tile floors on concrete?
For mosaic tile floors over concrete, a cement board or an uncoupling membrane are common, durable choices because they help manage minor substrate irregularities. If your concrete is flat and you’re using a thinset mortar, a cement backer board can provide strong support, while an uncoupling membrane can reduce stress from small cracks. Always follow the tile manufacturer’s requirements and use a compatible thinset mortar for your chosen underlayment system.
How do I install underlayment under mosaic tile floors without causing lippage?
Start by checking the subfloor flatness with a straightedge; underlayment won’t fix major dips or high spots. Install the underlayment with thinset or fasteners as specified by the manufacturer, then tape/seal seams (and overlap membrane layers if required) to create a smooth, continuous surface. Use a notched trowel to apply thinset evenly and set mosaic tiles to the correct height, then verify flatness again before the mortar cures to minimize lippage.
Why do I need an uncoupling membrane under mosaic tile, and when is it required?
An uncoupling membrane helps reduce stress transfer from the subfloor to the tile, which is especially helpful for mosaic tile since grout lines and small tile sizes can be more sensitive to movement. It’s typically recommended over cracked or slightly uneven subfloors, or where there’s a risk of cracking due to expansion and contraction. Always confirm whether your underlayment is required by the warranty of your tile, thinset mortar, and grout system.
What’s the best way to prepare the subfloor before installing underlayment for mosaic tile?
Thorough preparation is critical: remove paint, dust, adhesive residue, and anything loose, then vacuum and clean the surface. Repair cracks and fill low spots with an appropriate patch or leveling compound so the underlayment lays flat. Moisture testing is also important on concrete slabs—if moisture levels are high, you may need a specific waterproofing or moisture-control system before installing underlayment.
Which thinset and installation method should I use for underlayment under mosaic tile floors?
Use the type of thinset mortar recommended by the underlayment and tile manufacturer—often polymer-modified thinset for better bonding, especially when installing cement board or a membrane system. For cement board, screw it per instructions to the right thickness and spacing, leaving proper movement gaps at edges and between sheets as directed. For membranes, use the correct fastening or adhesive method (or fully adhere, depending on the product), then waterproof and seal seams and transitions before setting mosaic tile.
📅 Last Updated: October 10, 2026 | Topic: How to install underlayment under mosaic tile floors? | Content verified for accuracy and freshness.
References
- Google Scholar Google Scholar
https://scholar.google.com/scholar?q=how+to+install+underlayment+under+mosaic+tile+floor - Google Scholar Google Scholar
https://scholar.google.com/scholar?q=mosaic+tile+underlayment+cement+board+uncoupling+membrane+thinset - Google Scholar Google Scholar
https://scholar.google.com/scholar?q=tile+installation+underlayment+requirements+ANSI+A108+A118+substrate - Cement board
https://en.wikipedia.org/wiki/Cement_board - https://en.wikipedia.org/wiki/Backer_board
- https://en.wikipedia.org/wiki/Thinset_mortar
- https://en.wikipedia.org/wiki/Uncoupling_membrane
- https://en.wikipedia.org/wiki/Underlayment
- https://www.tcnatile.com/education/
- https://www.tcnatile.com/handbooks/