
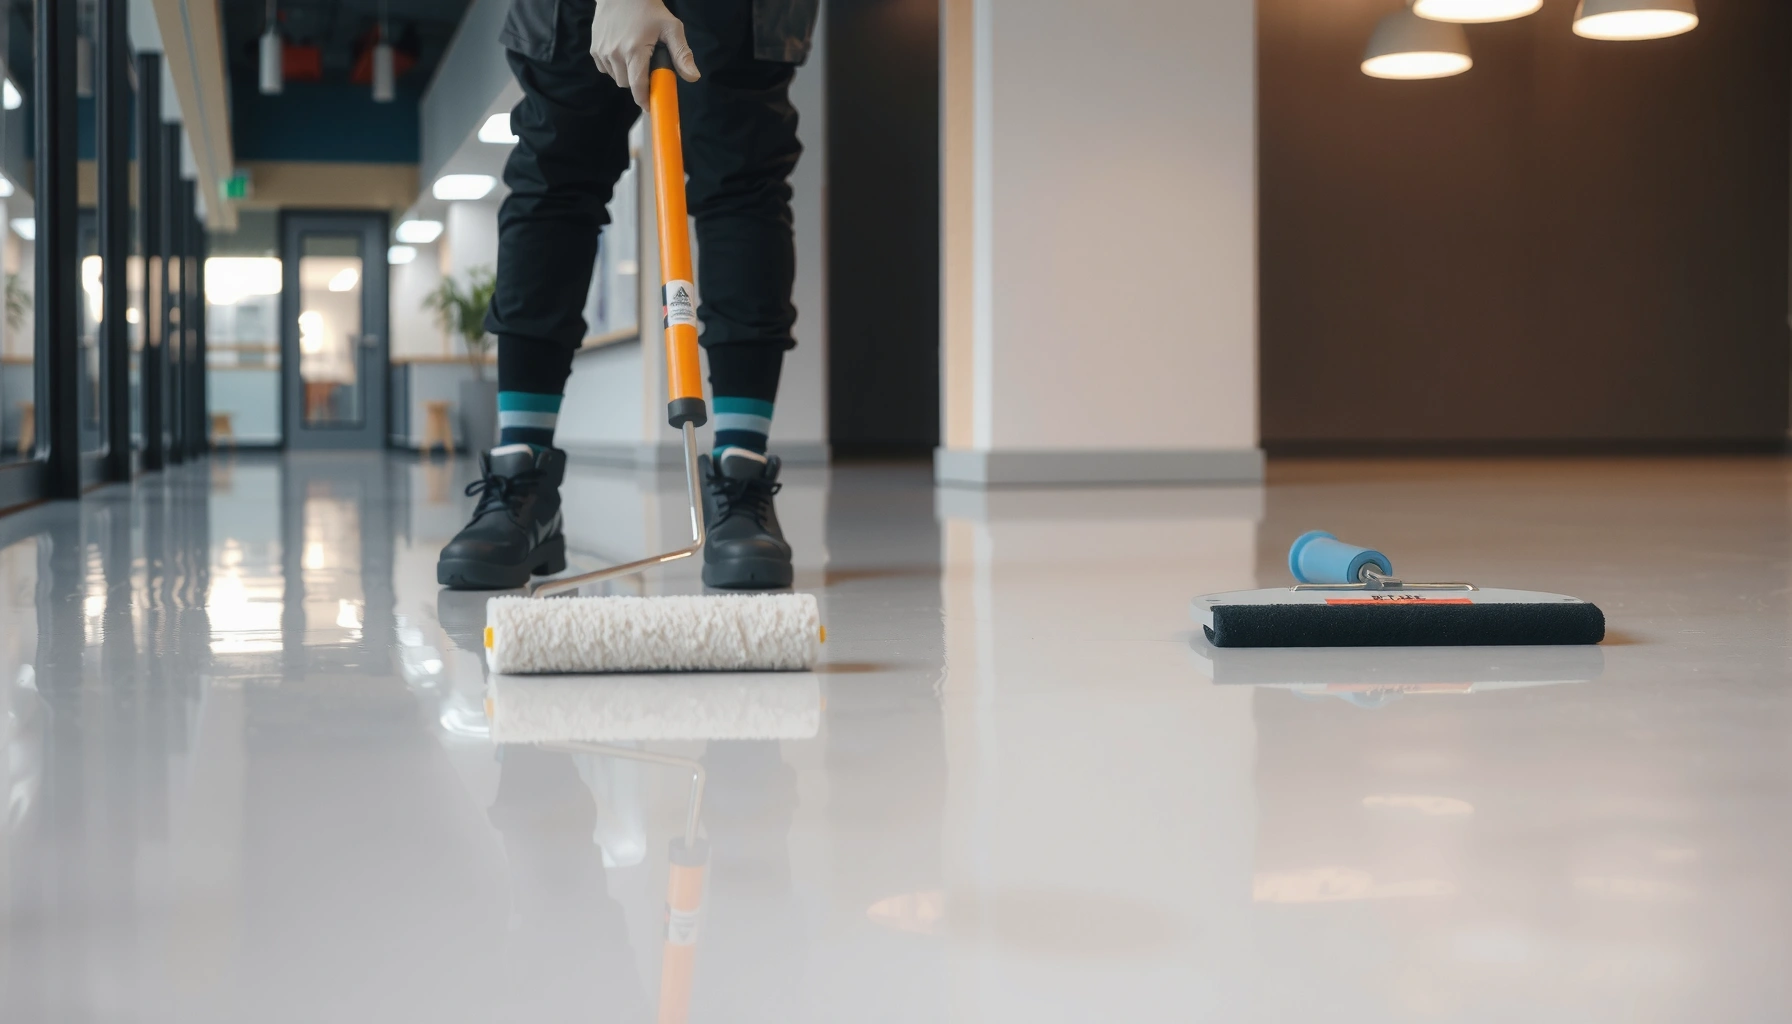

Want to know how to seal polyaspartic floors the right way? This step-by-step guide shows the exact prep, mixing, application, and cure steps that produce a hard, glossy, chemical-resistant finish. If you follow these instructions in order, you’ll avoid common failures like fisheyes, bubbles, and premature wear—starting the next day with confidence.




Sealing polyaspartic floors usually means adding the right compatible clear topcoat (often a polyurethane or polyaspartic-approved sealer) after the polyaspartic system has fully cured. The two biggest drivers of success are surface prep (clean + profile + vacuum) and timing/compatibility (coat only when the TDS says it’s ready, using the same manufacturer’s specified sealer).
If you’re working on a garage, warehouse, or commercial concrete floor finished with polyaspartic (or you’re planning to), this guide is for you—especially if you’re trying to improve chemical resistance, UV stability, cleanability, and overall wear resistance. The steps below are written for typical “clear coat/sealer” workflows; always follow your specific product’s technical data sheet (TDS).
Confirm the right product: “seal” vs “topcoat”

The fastest way to avoid adhesion problems is to treat “sealing” as a system decision, not a random product choice. In most polyaspartic systems, the “seal” is actually a manufacturer-approved clear topcoat designed to bond to the cured polyaspartic and deliver the performance you want (UV, chemical resistance, abrasion resistance).
Most polyaspartic floors are designed as a complete resin system; a “sealer” step is typically a compatible topcoat applied after the base layer cures. [ADD: manufacturer TDS/technical guide for your polyaspartic system]
Using a clear coat that isn’t listed as compatible can cause hazing, soft spots, or poor adhesion even if it looks fine when first applied. [ADD: manufacturer compatibility guidance]
Seal vs topcoat: what you should verify
Start by identifying what is already on the slab:
– If the polyaspartic already has a protective topcoat (sometimes included in the same install workflow), you may not need an additional sealing pass.
– If it’s a base polyaspartic layer only, “sealing” usually means adding a clear topcoat/sealer that matches the resin chemistry and film-build needs in the TDS.
Choose compatibility based on the TDS, not the goal
Your performance target—UV stability, chemical resistance, or gloss/appearance—will determine the topcoat category, but the manufacturer compatibility controls whether that target is achievable.
Here’s a quick comparison that teams often use during planning:
| Option (typical) | What it helps most with | Common risk if chosen incorrectly | Best for |
|---|---|---|---|
| Polyaspartic-compatible clear topcoat (from same system) | Balanced adhesion + chemical resistance + abrasion | Low (if TDS-followed) | Full “system-spec” jobs |
| Generic “clear polyurethane” not approved for polyaspartic | Appearance + general protection | Hazing, fisheyes, or delamination | Only if explicitly approved in TDS/compatibility chart |
| Wax/seal “enhancers” (consumer products) | Short-term shine | Bond failure under traffic and chemicals | Generally **avoid** for commercial durability |
Statistical anchor: why compatibility testing matters
Moisture and surface condition often dictate coating performance more than product branding. According to ASTM F2170, relative humidity testing is used to assess concrete moisture conditions before coatings are installed, and allowable limits are product-specific (commonly around 70–80% RH for many floor coating systems, but you must follow the TDS for your exact sealer). [ADD: ASTM F2170 overview + your sealer’s RH limit from TDS]
Prepare the surface correctly (this is where most failures start)
Good prep is what turns a “potentially great” topcoat into a durable finish. Most sealing failures—bubbles, fisheyes, peeling-like failures, and dull patches—start with contamination, weak surface profile, or incomplete cleaning before the clear coat goes down.
Contamination (especially oils, silicones, waxes, and curing compounds) is one of the most common causes of fisheyes and craters in clear coatings. [ADD: manufacturer cleaning/decontamination guidance]
Mechanical profiling (grinding/light abrasion) improves mechanical adhesion for many coating systems, but it must be followed by thorough vacuuming to remove dust. [ADD: manufacturer surface prep instructions]
Clean thoroughly—then verify it’s truly clean
Follow the TDS for the exact cleaner/degreaser and any rinse requirements. In general, your cleaning checklist should remove:
– Dust and fine concrete powder (especially after grinding)
– Oils/grease (common in garages and industrial bays)
– Waxes, sealers, and floor maintenance products
– Curing compounds (if the slab is new)
– Any residue that can repel topcoat wetting
Practical tip: after cleaning and profiling, keep the area traffic-controlled. One “walk-through” from dusty boots can reintroduce enough residue to trigger surface defects—particularly in gloss clear coats.
Mechanically profile as needed
Many polyaspartic sealing workflows require some form of surface profile so the new coat can “grip” rather than skate.
– Common approach: grind or abrade the cured polyaspartic (or the base) where the TDS calls for it.
– Critical step: vacuum thoroughly and remove residue (compressed air can re-deposit dust if used incorrectly—check TDS).
Check cure time, temperature, and moisture limits
You should seal only after the polyaspartic layer has reached the cure stage required by the manufacturer. If you seal too early, you can trap solvents/volatile components under the clear coat, leading to cloudiness, soft spots, or poor crosslinking.
Applying a topcoat before the underlying coating reaches the TDS-defined cure state can lead to cloudiness or reduced hardness due to trapped volatiles. [ADD: curing/overcoating section from your polyaspartic TDS]
Temperature, relative humidity, and (for concrete) moisture conditions are specified in the TDS because they affect viscosity, cure rate, and adhesion. [ADD: environmental limits from sealer/topcoat TDS]
Cure time: follow “recoat window” rules
Your schedule should be controlled by recoat windows and cure times:
– Recoat window: when the next coat bonds properly.
– Full cure: when the system has reached its designed chemical/abrasion resistance.
If your goal includes chemical resistance, don’t rush—many floors look fine on day one but perform differently once fully cured.
Match jobsite conditions to the TDS
Look up and document these constraints from the sealer’s TDS:
– Ambient temperature range
– Substrate temperature range
– Relative humidity limit
– Dew point / condensation considerations
– Concrete moisture limits (if sealing over bare concrete or if required by the system)
Moisture testing context: ASTM F2170 is widely used for in-situ RH testing. However, the *acceptance criteria* (how high is “too high”) must come from your specific sealer’s TDS. [ADD: ASTM F2170 + your sealer’s RH limit]
Apply the sealer in the recommended method and coat schedule
If you want a smooth, defect-free clear coat, you need to apply it exactly as the TDS describes: correct tools, correct spread rate, and correct number of coats. This is where many jobs accidentally introduce bubbles, dull areas, or uneven sheen through overworking or inconsistent thickness.
Thin, even coats applied at the TDS spread rate reduce the risk of bubbles and uneven gloss compared with “going thicker” to save time. [ADD: application/spread rate guidance from topcoat TDS]
Overworking a coating during the recoat window can disturb leveling and can contribute to streaking or dull spots. [ADD: open time/recoat window guidance from TDS]
Tooling matters (roller/squeegee/brush/sprayer)
The sealer’s TDS will specify the approved application method. Common scenarios:
– Roll-and-tip or roller only for field areas
– Squeegee-assisted spreading for uniform film build
– Brush for edges/cut-in
– Spraying only if specifically approved (to avoid overspray defects and inconsistencies)
Coat schedule: keep it consistent
Plan your workflow to maintain a wet edge and consistent coverage:
– Cut in edges carefully before roll-out
– Keep a steady pace so you don’t stop mid-panel
– Avoid re-rolling after material has begun to set (timing is TDS-driven)
Let it cure fully and protect it during hardening
Full performance comes after full cure—not just after the floor feels “dry.” Rushing traffic, chemical exposure, or aggressive cleaning before the clear coat is cured is one of the most frequent causes of early dullness and premature wear.
The recoat window and initial service time are defined in the TDS; following them is the simplest way to prevent premature wear and loss of gloss. [ADD: cure-to-foot-traffic + cure-to-chemical-resistance times from TDS]
Protecting the floor from dust, water, and cleaning chemicals until full cure helps prevent surface defects and compromised chemical resistance. [ADD: TDS protection/cure guidance]
Protect during cure
While curing:
– Use barriers to control dust and traffic
– Prevent standing water from spills
– Hold off on strong degreasers/solvents until the TDS says it’s safe
– Follow any “no polishing/no burnishing” guidance if your sealer requires it
From my planning experience on commercial coating schedules, the most common operational mistake isn’t the chemistry—it’s site traffic and cleaning crews arriving early. If your maintenance plan is written for “day-of,” adjust it for curing realities.
What can go wrong (and how to prevent it)
Even with the right sealer, defects can appear if any link in the chain is weak. Below are the most common failure modes and the prevention actions that map directly back to prep, timing, and compatibility.
Cloudiness often results from environmental conditions outside the TDS limits or from sealing before the base coating has fully cured. [ADD: TDS troubleshooting section for hazing/cloudiness]
Bubbles/fisheyes are typically caused by contamination (oils/silicones) or applying over incompatible residues that prevent proper wetting. [ADD: manufacturer troubleshooting for fisheyes]
Fast diagnosis table (scan-friendly)
Common Polyaspartic Clear-Coat Defects & Likely Root Causes
| # | Defect | Most Likely Cause | Severity (★) | Best Prevention |
|---|---|---|---|---|
| 1 | Fisheyes / Craters | Silicone/oil contamination blocking wetting | ★★★☆☆ | Thorough degrease + vacuum |
| 2 | Bubbles | Over-agitation or applying too thick | ★★★☆☆ | Follow spread rate + avoid overworking |
| 3 | Haze / Cloudiness | Sealing outside temp/RH limits or premature coat | ★★★★☆ | Wait for cure + apply within TDS limits |
| 4 | Peeling / Delamination | Inadequate prep or incompatible topcoat chemistry | ★★★★★ | TDS cleaning + mechanical profile + compatibility |
| 5 | Dull Spots / Uneven Sheen | Inconsistent film thickness or recoat timing errors | ★★★☆☆ | Maintain wet edge + correct spread rate |
| 6 | Soft Surface / Low Hardness | Sealed too early; trapped volatiles | ★★★★☆ | Respect cure stage + full cure protections |
| 7 | Pinholes | Moisture/air entrapment or contaminants | ★★★☆☆ | Control humidity + clean surface |
(The table summarizes typical coating-failure patterns; always verify defect causes against your specific sealer/topcoat TDS troubleshooting section.)
Additional prevention steps worth building into your plan
– Use clean mixing tools and proper induction/mixing time per TDS.
– Stage the room to avoid temperature swings during application.
– Maintain consistent batch discipline (don’t “mix the next bucket by eye” if TDS requires exact ratios).
Verdict / tip: Do it the “spec way,” or don’t do it at all
Sealing polyaspartic floors works best when you follow the manufacturer’s TDS for compatibility, surface prep, cure timing, and application schedule. The downside is that results are highly dependent on what’s already installed and whether you can control conditions—so skipping those controls can turn a clear coat into a chemistry-and-prep problem.
If you can meet the spec way (especially compatibility and prep), sealing is a practical route to better durability and cleanability. If you’re not sure what product is already on the slab, can’t control dust/temperature/humidity, or you’re trying to seal over unresolved bonding/contamination issues, you’re better off consulting a coatings professional or sticking to the system as originally specified.
Manufacturer technical data sheets (TDS) are the authority for overcoating timing, spread rate, and environmental limits; following them reduces the probability of adhesion and curing failures. [ADD: cite TDS “application” and “recoat” sections]
Quick checklist before you seal
Use this as a pre-start sheet so your crew doesn’t rely on memory.
– Confirm what’s already installed (polyaspartic base + any existing topcoat).
– Get the exact sealer/topcoat spec from the same manufacturer (or approved compatibility list).
– Clean thoroughly: remove oils/waxes/dust and any residue that can cause wetting defects.
– Mechanically prep if the TDS requires it (grind/abrade, vacuum, no residue).
– Verify cure time and recoat windows for the polyaspartic layer.
– Apply within TDS temperature/humidity/moisture limits.
– Use correct spread rate and number of coats.
– Protect during cure; don’t rush traffic or chemicals.
FAQ
How long should I wait to seal polyaspartic floors?
Wait until the polyaspartic layer reaches the cure time and overcoat/recoat window defined by the specific manufacturer’s TDS. If you don’t have the TDS, [ADD: source for the exact cure time/recoat window for your product/system] before sealing.
Can I use any clear coat to seal polyaspartic?
Not safely—compatibility matters. Use a sealer/topcoat that the manufacturer specifies as compatible with your polyaspartic system (per the TDS or compatibility guide). If you can’t confirm compatibility in writing, assume it’s not approved. [ADD: source for compatibility rule from manufacturer]
Will sealing make the floor more chemical-resistant?
Often it improves chemical resistance and cleanability, but the performance depends on the sealer chemistry and applied film thickness. Rely on the TDS performance claims for your specific topcoat rather than general category statements. [ADD: TDS chemical resistance testing/claims]
What’s the best way to avoid bubbles or fisheyes?
Prevent contamination (especially oils/silicones), clean properly, and apply within the TDS environment and recoat timing. If you’ve had fisheyes before, [ADD: source for common causes/troubleshooting from your sealer manufacturer] and re-evaluate cleaning and mechanical prep.
Sources
– [ADD: manufacturer TDS for your specific polyaspartic system and the recommended sealer/topcoat] (application rate, cure times, recoat windows, compatibility, and environmental limits)
– [ADD: manufacturer surface preparation instructions] (cleaning/decontamination and whether grinding/priming is required)
– [ADD: manufacturer technical guide or compatibility chart for polyaspartic + topcoat systems]
– ASTM documents referenced for moisture testing context: [ADD: ASTM F2170 reference and your sealer’s RH limits from TDS]
Sealing polyaspartic floors is less about “finding a clear coat” and more about maintaining a complete, documented system: correct sealer compatibility, disciplined surface prep, and strict adherence to cure timing and environmental limits. If you follow the TDS step-by-step and control jobsite conditions, you’ll typically get the smoother appearance and improved service life that commercial and industrial sites rely on—without the cloudy, peeling, or uneven-finish problems that derail timelines.
Frequently Asked Questions
What is the best way to seal a polyaspartic floor for maximum durability?
The best way to seal polyaspartic floors is to use a compatible clear topcoat designed for polyaspartic systems, typically a polyurethane or polyaspartic clear sealer. Proper surface preparation—grinding, thorough vacuuming, and removing all contamination—is essential so the sealer bonds correctly. Apply the sealer in the recommended thickness and number of coats, and allow full cure time before exposing the floor to chemicals, moisture, or traffic.
How do you seal polyaspartic floors before use to prevent staining and chemical damage?
After the polyaspartic coating cures, clean the surface thoroughly and lightly abrade it if needed to remove any surface laitance or gloss that could reduce adhesion. Vacuum dust completely, then apply a clear sealer/topcoat uniformly using the correct application method (roller or squeegee depending on product instructions). This helps create a protective barrier that resists oil, salts, and common chemicals, reducing the chance of staining.
Which sealer is compatible with polyaspartic floors—polyurethane vs. polyaspartic clear coat?
Compatibility matters most, so follow the manufacturer’s system recommendations for your specific polyaspartic floor coating. In many cases, a polyurethane clear topcoat is popular for good chemical resistance and wear performance, while a polyaspartic clear coat can offer excellent toughness and fast curing. Always check for guidelines on bonding and recoat windows, and perform a small test patch to confirm adhesion and appearance.
Why does sealing a polyaspartic floor matter for UV stability and long-term appearance?
Even though polyaspartic coatings are known for fast cure and durability, UV exposure can still affect surface gloss and color over time without a proper topcoat. Sealing with a UV-stable clear coat helps protect against yellowing, fading, and surface degradation from sunlight. A well-sealed polyaspartic floor is also easier to clean, which helps maintain a consistent look in warehouses, garages, and commercial spaces.
How many coats of clear sealer should you apply when sealing polyaspartic floors?
The number of coats depends on the sealer’s coverage rate, desired thickness, and the floor’s intended exposure level (light traffic vs. chemical-heavy environments). Many systems use 1–2 coats, but always base your plan on the product data sheet for recommended mil thickness or square footage coverage per coat. Ensure consistent application—avoid thin spots and bubbles—and respect the recoat window so the sealed polyaspartic floor bonds properly.
📅 Last Updated: October 11, 2026 | Topic: How to seal polyaspartic floors? | Content verified for accuracy and freshness.
References
- Google Scholar Google Scholar
https://scholar.google.com/scholar?q=polyaspartic+floor+coating+sealer+topcoat+installation - Google Scholar Google Scholar
https://scholar.google.com/scholar?q=polyaspartic+coating+concrete+surface+preparation+sealing - Google Scholar Google Scholar
https://scholar.google.com/scholar?q=polyaspartic+coatings+penetration+water+resistance+curing - https://en.wikipedia.org/wiki/Polyaspartic_polymer
- Epoxy
https://en.wikipedia.org/wiki/Epoxy_resin - https://pubmed.ncbi.nlm.nih.gov/?term=polyaspartic+coating+concrete
- https://pubmed.ncbi.nlm.nih.gov/?term=polyaspartic+floor+coating+curing+water+absorption
- https://www.sciencedirect.com/search?qs=polyaspartic%20floor%20coating%20sealer
- https://www.sciencedirect.com/search?qs=concrete%20floor%20coatings%20sealing%20penetrating%20sealer
- PMC Home
https://pmc.ncbi.nlm.nih.gov/?term=protective+coatings+for+concrete+sealing


