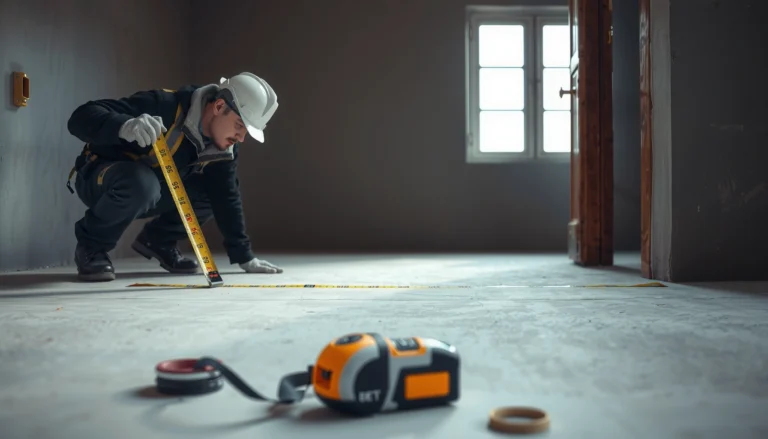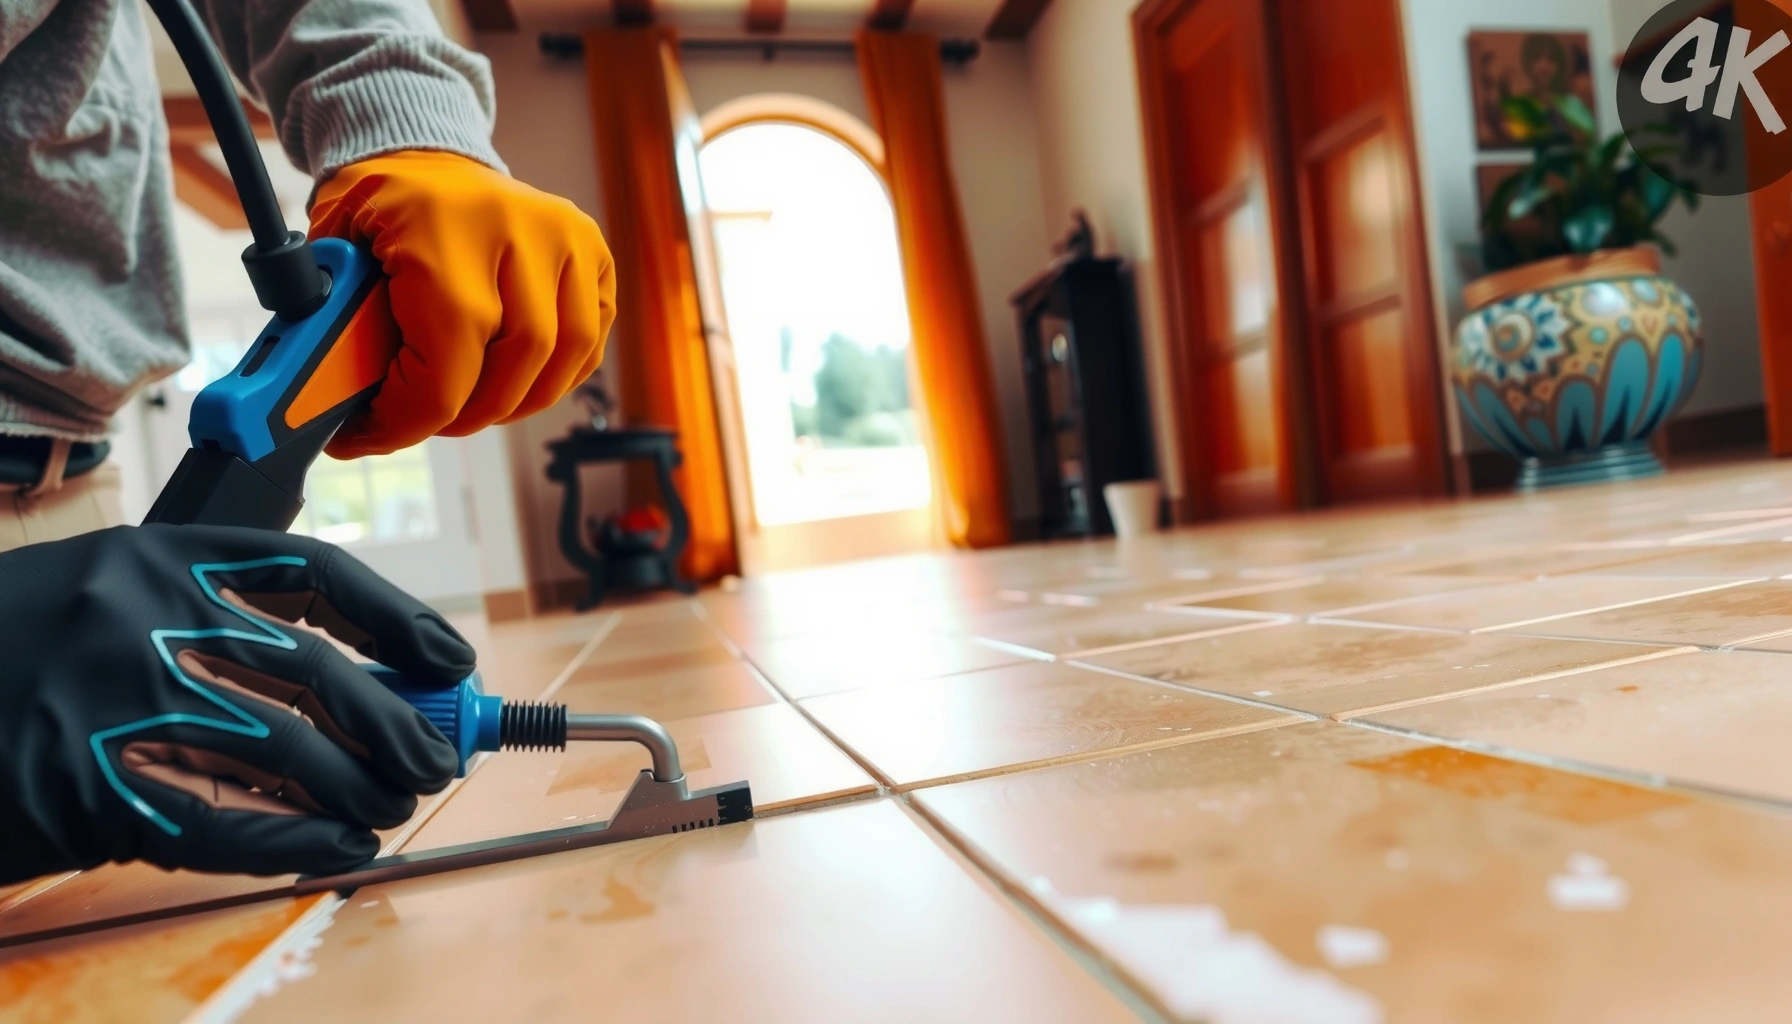

Trimming terracotta floors cleanly is possible—use a wet tile saw or an angle grinder with a diamond blade, because these methods produce the straightest cuts with the lowest crack risk. This guide shows exactly how to measure, mark, support the tile, and finish edges so your cuts stay true. If you’re trying to avoid chips, dust, and micro-cracks, this is the fastest route to professional-looking results.



Trimming terracotta floors is mostly about controlling the cut process—especially blade choice, support, and dust-managed cutting—to prevent chipping and cracking. With the right tooling (typically a wet saw for best edge control), careful marking, and dry-fitting before you commit, you can achieve straight, flush seams that look intentional rather than “patched.”
If you’re installing terracotta flooring (new or replacing a section) and need to fit around doorways, vents, irregular walls, or transitions, this guide is tailored to that job. It’s also aimed at homeowners and installers who’ve already seen hairline chips from earlier cuts and want a more dependable approach based on how terracotta tile behaves.
Prep the floor and choose your trim plan

You get cleaner terracotta cuts when you start by planning where the cut edge will land and how the tile will be supported during cutting. The goal is simple: remove the “guesswork variable” (fit) before you remove tile material (cut).
This section matters because terracotta—particularly unglazed or porous varieties—can chip along the face if the tile flexes or if the cut line isn’t aligned with the tile’s intended orientation. Plan first, cut second, and you’ll reduce breakage risk dramatically in real-world installs.
– Measure the gap precisely and plan where the cut edge will land (often the less visible side).
– Mark the cut line clearly on the tile and confirm fit with a dry placement before cutting.
– Gather your tools and PPE (eye protection, dust control, and stable clamping setup).
“Full support of the tile during cutting is critical for brittle materials because bending concentrates stress at the cut edge.”
“Terracotta tiles often have natural variance in thickness and face finish, so dry-fitting and correct orientation reduce the chance of a tight spot that later causes cracking.”
“Silica dust control isn’t optional for tile cutting—respirable crystalline silica exposure is regulated in many jurisdictions.”
To anchor your planning with measurable targets, use these commonly applied tolerances:
– Expansion gaps are commonly around 1/8 in (3 mm) for many hard-surface floor systems, but confirm your installer specs and product system before trimming (see [ADD: manufacturer/spec for your terracotta installation system]).
– For joint clean-up, plan to remove burrs down to a near-flush surface—aim for “no edge catch” by feel, not just visually flat.
– If you’re cutting and creating dust, OSHA’s respirable crystalline silica limit for the US is 0.05 mg/m³ (50 µg/m³) TWA (8-hour time-weighted average) per OSHA respirable crystalline silica standard (2016).
Marking and scoring: how to set up accurate cuts
Accurate trimming starts with a truly straight, repeatable cut line—because “close enough” becomes visible once terracotta seams are grouted. Your measuring, orientation, and labeling reduce miscuts and prevent unnecessary rework.
Terracotta tile is often forgiving in coverage but unforgiving in edges: a few millimeters off at the wall line can create a cramped seam, stress the tile, or force you to shave an edge too aggressively. That’s when chips appear.
– Use a straightedge and a consistent marking method so your blade follows a true line.
– Double-check the tile orientation—some terracotta tiles have slight variation in thickness or face.
– If you need multiple trims, label pieces (e.g., “left edge,” “hallway threshold”) to avoid mixing directions.
“A straightedge-based cut line reduces wandering at the start of the cut, which is a common cause of chipping on brittle tile bodies.”
“Dry orientation checks matter because some terracotta tiles show measurable face-to-back thickness variation, affecting how they sit in a joint.”
“Labeling cut tiles before cutting prevents reversal mistakes that can shift the visible face finish relative to the wall.”
Why scoring “almost” works (and when it doesn’t)
For some ceramic-like tiles, scoring can work if the tile behaves predictably under a snap. Terracotta can be more brittle, especially if it’s unglazed or irregularly fired. The safest approach is to follow manufacturer guidance for your exact tile line (see [ADD: terracotta tile manufacturer installation/spec sheet]).
Practical labeling and orientation workflow
1. Mark the cut on the same face side every time.
2. Record orientation: “front face out,” then note if the cut line differs by direction.
3. Label each piece with its location (e.g., “Vent collar—upper left”).
4. Dry-fit the tile in the space and check for rocking before cutting.
Cutting methods for terracotta floors (when to use each)
The best cutting method depends on your trim size and the amount of edge exposure the cut will have. In most cases, a wet saw with a tile blade delivers the cleanest edges with the least face chipping.
Below is a quick comparison so you can choose based on your specific cut type—small notch, straight edge, or uneven wall fitting.
– For smaller adjustments: consider a manual scoring approach only if your specific tile thickness/finish supports it (check manufacturer guidance—some terracotta behaves more brittle than standard ceramic).
– For reliable results: use a wet saw with a suitable blade for tile to reduce chipping risk.
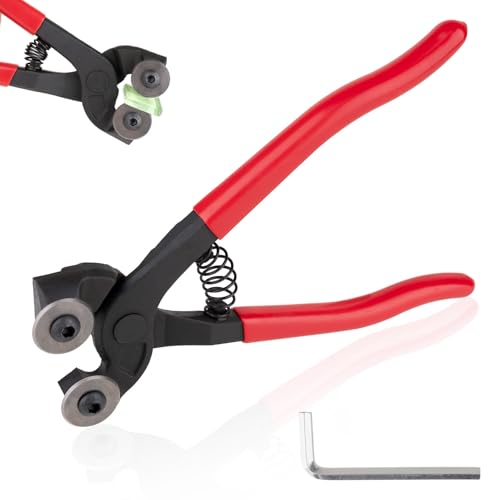
– For very small notches or uneven areas: use a tile nipper or controlled grinding, then refine the edge for a clean fit.
“Wet cutting typically reduces edge chipping by controlling heat and suppressing dust during the cut.”
“Using a tile-appropriate blade (not a masonry or wood blade) prevents micro-fractures that show up as chips after installation.”
“For uneven areas, controlled grinding after rough trimming lets you match irregular walls without forcing the tile to flex.”
Pros/cons comparison: which trim method fits your job?
| Method | Best for | Main downside |
|---|---|---|
| Wet saw | Straight cuts, threshold edges, visible seams | Requires setup, water management, and a proper tile blade |
| Manual scoring/snap | Very small straight trims (only if your tile supports it) | Higher chip/break risk if the tile is brittle or the score line isn’t perfect |
| Tile nippers | Small notches and irregular cutouts | Tends to create rougher edges that require sanding/grinding refinement |
| Controlled grinding | Uneven wall matches, final “fit-to-wall” adjustments | Can produce dust and edge weakening if you remove too much material |
Blade and tool selection (what to prioritize)
Because terracotta varies widely, select tooling based on manufacturer compatibility rather than generic “tile” assumptions. Follow:
– The wet saw manufacturer blade recommendations.
– The terracotta tile manufacturer guidance for cutting methods and acceptable tooling (see [ADD: manufacturer/spec sheet]).
Finishing the edges so seams look right
Clean cuts aren’t only about getting through the tile—they’re about making the seam behave after installation. Edge finishing is what turns “trimmed” into “flush.”
Even when the cut line is straight, terracotta edges can have micro-burrs or tiny irregularities that prevent tight contact at the wall or between tiles. That’s when you see uneven joints or grout/groutline gaps.
– Remove sharp burrs and rough spots with gentle sanding/grinding so tiles sit tight.
– Dry-fit again after finishing to confirm the piece won’t rock or leave an uneven joint.
– Clean the tile surface before installation so thinset or grout bonds properly (avoid dust buildup).
“Removing burrs after cutting helps tiles sit flush and reduces the chance of voids in thinset that can lead to lippage or joint stress.”
“Dry-fitting after edge finishing is a practical quality control step because small edge irregularities become visible only once the tile is placed.”
“Dust on the cut face can weaken bonding for thinset and grout; cleaning the tile surface before setting supports proper adhesion.”
A quick finishing workflow:
1. Knock down burrs with light passes (hand sanding stone or a fine abrasive).
2. Refine the edge where it meets the wall—stop as soon as the tile sits without rocking.
3. Vacuum and wipe dust from the cut face and the room side of the tile (clean bonding surfaces only).
“For dust-sensitive bonding, the safest process is vacuuming first, then wiping with the manufacturer-recommended method for your setting materials.”
Respiratory silica controls for tile cutting (US regulatory + guidance)
| # | Control / Standard | Value | Applies when | Expected effect |
|---|---|---|---|---|
| 1 | OSHA silica PEL (TWA) | 0.05 mg/m³ | 8-hour workday | Compliance target |
| 2 | OSHA action level | 0.025 mg/m³ | Measured airborne exposure | Triggers controls |
| 3 | N95 filtering facepiece (typical use) | APF ~10 (fit required) | Where silica exposures are controlled | Moderate reduction |
| 4 | P100 (HEPA) respirator (half-face) | APF ~10 (fit required) | Higher dust environments | High particle filtration |
| 5 | Tighter dust capture (wet cutting) | Water suppression | During active cutting | Reduces airborne dust |
| 6 | PAPR with HEPA (where used) | APF depends on unit | High-risk or poorly controlled jobs | Very high protection |
| 7 | Wet grinding vs dry grinding | Lower airborne dust | Edge refinement | Lower inhalation risk |
Note: Exact APF values can vary by respirator model and fit; verify against [ADD: OSHA/NIOSH respirator APF tables or the respirator’s official documentation] before relying on a specific number.
What can go wrong (and how to prevent it)
Most terracotta trimming failures come from uncontrolled stress: the tile isn’t fully supported, the cut line is forced, or dust cleanup compromises adhesion afterward. If you see chips or cracks, the fix is usually procedural—not mysterious.
Terracotta can crack when the cut progresses too quickly or when the tile shifts during cutting. It can also chip if you use the wrong blade type or if you clamp in a way that bends the tile.
– Chipped edges: often caused by rushing, incorrect blade type, or cutting without support—always support the tile fully and use the correct tooling.
– Cracks or breakage: usually from forcing the cut or trying to cut too fast; let the tool do the work and support both sides of the cut line.
– Fit issues at the wall: if your measuring didn’t account for expansion gaps or uneven surfaces, the tile may bind—test fit and adjust the trim rather than forcing installation.
“Tile cracking during trimming is frequently linked to insufficient support at the cut line, which increases flexural stress in the tile body.”
“Edge chipping is strongly associated with blade incompatibility and cutting too aggressively, especially at the entry/exit of the blade.”
“A tight fit can become a stress point after installation because floors expand—account for expansion gaps to reduce lippage and joint failure.”
Common mistake → practical prevention
– Mistake: Cutting without clamping/support
Prevention: Support both sides of the cut line; don’t rely on hand pressure to “hold it still.”
– Mistake: Forcing a dry “snap” attempt
Prevention: If the tile doesn’t behave predictably, switch to wet cutting or refine gradually with nippers/grinding.
– Mistake: Skipping dry-fit after edge finishing
Prevention: Every finished edge gets a final placement check before thinset/grout.
Verdict / tip: choose the method that matches your cut size
If you need clean, reliable terracotta trim around visible edges—especially door thresholds and tight corners—a wet saw with the correct tile blade is the safest default for preventing chipping. For tiny notches or uneven wall adjustments, nippers and controlled grinding can work, but they require more edge finishing and careful dust management.
Downside and limits: wet saw setups take time and require water + cleanup, and grinding/nipping can leave rougher edges that demand more refinement. Skip this DIY approach if your terracotta tile is unusually thick/brittle for its class, your cut line is complex (multiple angles without straight run time), or you can’t create effective dust control during cutting and finishing.
If you want tighter guidance, share your terracotta type/finish (unglazed vs finished), approximate thickness, and what tools you have (wet saw, tile nippers, angle grinder), and we can narrow the best method for your exact trim.
“For most tile trimming tasks, the method that minimizes chipping is the one that keeps cutting controlled and the tile supported throughout the process.”
“Edge finishing after the main cut is a practical step to ensure tight seams and reduce voids where thinset or grout must bond.”
Quick checklist for trimming terracotta floors
– Measure and dry-fit before cutting
– Mark cut lines with a straightedge
– Use a tile-appropriate blade/tool (per tile manufacturer guidance)
– Support the tile fully while cutting
– Finish edges so tiles sit flush
– Re-check fit and clean dust before installing
“A dry placement check right before cutting is one of the fastest ways to prevent rework on brittle floor tile.”
FAQ
Can I trim terracotta floors with a dry cutter?
It depends on the tile and tool—many installers prefer wet cutting for reduced chipping, but follow your terracotta tile and tool manufacturer instructions. [ADD: source for your specific cutting method guidance.]
What’s the best way to avoid chipping on terracotta?
Use the correct blade for tile, ensure full tile support, and cut at a controlled pace. Finishing the edge after cutting also helps hide minor imperfections in the joint area.
How much space should I leave at walls and transitions?
Most installs require an expansion gap, but the exact amount depends on your floor system and area conditions. [ADD: your installation system (floating vs. thinset) and the recommended gap from your manufacturer/spec.]
Do I need to seal terracotta after trimming?
Many terracotta floors are sealed for stain resistance, but whether you should seal after cutting depends on your product and whether the installer recommends sealing before/after grouting. [ADD: source for your specific terracotta sealer instructions.]
Sources
– [ADD: Terracotta tile manufacturer installation/spec sheet for cutting guidance and recommended methods.]
– [ADD: Wet saw or tile saw manufacturer instructions for blade compatibility and recommended cutting practice.]
– [ADD: Manufacturer guidance for jointing/expansion gap requirements based on your specific flooring installation method (thinset, floating, etc.).]
Trimming terracotta floors without cracks is achievable when you treat the job like a controlled engineering step: plan the trim location, mark precisely, cut with the right method for the cut size (often wet cutting for straighter, cleaner edges), and finish the seam so the tile sits flush. If you follow that sequence and protect dust and support throughout cutting, you’ll typically eliminate the two biggest drivers of failure—edge chipping from uncontrolled cutting and cracking from tile stress during trimming.
Frequently Asked Questions
What’s the best way to trim terracotta floors without chipping the edges?
Use a diamond blade designed for tile or stone and score lightly before making deeper cuts. Support the tile fully and slow the blade speed to reduce vibration, which is a common cause of chips on terracotta. For small edge adjustments, consider using a wet saw for cleaner cuts or a carbide-tipped tile cutter for straighter, low-risk trimming.
How do I trim terracotta floor tiles around doorways and corners?
Measure the gap carefully, then transfer the cut shape to the tile using a template or painter’s tape as a guide. For tight corners, use a tile nipper or an angle grinder with a diamond cup/grinding bit to gradually shape the edge until it fits. Test-fit the piece dry first, then set it in thinset, leaving the required expansion gap and finishing with trim where appropriate.
How should I cut and finish terracotta tile edges after trimming?
After cutting, use a rubbing stone, sanding block, or a diamond hand pad to smooth sharp edges and remove small chips. Clean the tile thoroughly to remove dust before installation, especially if you’re using a wet saw or grinder. If the cut edge will be visible, lightly polish the edge to match the surrounding terracotta texture as closely as possible.
Why do my terracotta floor tiles crack or chip when I trim them?
Terracotta is prone to chipping if the tile is under-supported, the blade is dull, or you force the cut too quickly. Using a blade meant for porcelain/ceramic without the correct diamond grit can also increase breakage, and dry cutting can create excessive heat and stress. Always trim slowly, keep the cut aligned, and consider wet cutting to improve results and reduce dust.
Which tools are best for trimming terracotta floors—wet saw, tile cutter, or grinder?
A wet saw with a diamond blade is typically the best choice for straight, clean cuts and minimizing chips. A manual tile cutter works for simpler straight lines on smaller adjustments, but it may struggle with irregular shapes. For detailed cuts, notches, or fitting around fixtures, a grinder with a diamond bit or a tile nipper is often the most practical option.
📅 Last Updated: October 10, 2026 | Topic: How to trim terracotta floors? | Content verified for accuracy and freshness.
References
- Terracotta
https://en.wikipedia.org/wiki/Terracotta - Tile
https://en.wikipedia.org/wiki/Ceramic_tile - https://en.wikipedia.org/wiki/Tiling
- Google Scholar Google Scholar
https://scholar.google.com/scholar?q=how+to+cut+and+install+terracotta+floor+tiles - Google Scholar Google Scholar
https://scholar.google.com/scholar?q=terracotta+tile+trimming+edge+finishing+installation - Google Scholar Google Scholar
https://scholar.google.com/scholar?q=ceramic+tile+cutting+methods+and+dust+control - Silica and Worker Health | Silica | CDC
https://www.cdc.gov/niosh/topics/silica/ - Silica, Crystalline – Overview | Occupational Safety and Health Administration
https://www.osha.gov/silica - https://pubmed.ncbi.nlm.nih.gov/?term=tile+cutting+silica+dust+control
- https://www.sciencedirect.com/search?qs=terracotta%20tile%20cutting%20installation