
You can install vinyl floors over existing flooring—success depends on what’s already there. This guide tells you when the existing surface is solid enough for vinyl planks or sheets, how to prep it, and what to avoid so the new floor won’t buckle, gap, or fail. Get the direct steps and conditions that determine whether you should go over your current floor or rip it out.




Installing vinyl flooring over existing flooring is usually possible when the current surface is solid, smooth, and dry enough to prevent buckling or adhesive failure. The real difference between a long-lasting install and a call-back is careful condition checking, flattening/prep, and matching the install method (floating click-lock vs glue-down) to the product instructions.
If your current floor is mostly intact—like old vinyl sheet or tile, well-bonded laminate, or a properly sealed surface—you can often avoid full demolition. This guide walks you through the checks, prep steps, layout planning, and common failure points so you can upgrade with confidence instead of starting from scratch.
Check existing flooring condition (don’t skip this)
You can only install vinyl over what you have if the existing floor is firmly bonded, acceptably flat, and not actively introducing moisture. Before you touch a blade, spend the time to validate those three factors, because vinyl is unforgiving when the substrate is loose, uneven, or damp.
Here’s what to look for and why—each item directly affects how your new vinyl will behave after installation (and after the first seasonal humidity swing in 2025–2026).
Vinyl flooring performance depends on substrate flatness and stability; resilient flooring can telegraph subfloor imperfections when the base is not level or is damaged.
Most manufacturer failures in “install over existing floor” scenarios trace back to loose existing material and moisture migration, not the vinyl product itself.
Confirm bonding: no lifting, bubbling, or soft spots
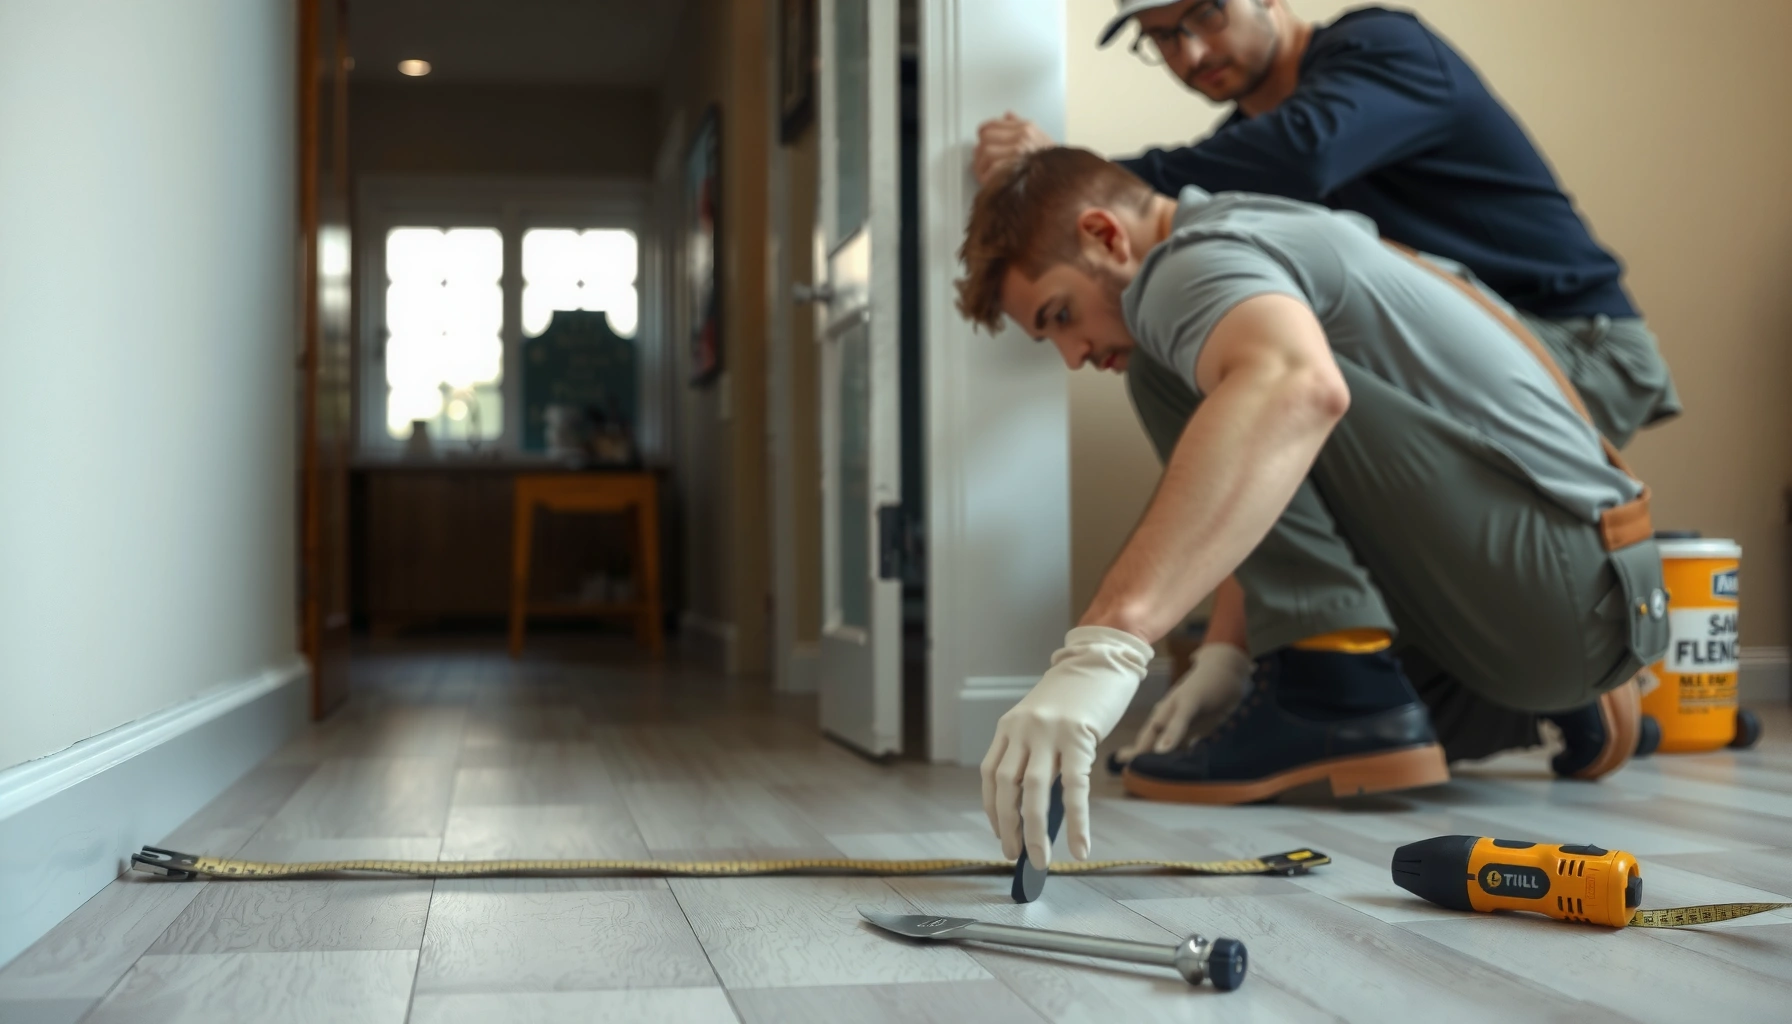
Start with edge inspection and pressure testing. If your existing vinyl (or any resilient tile) has lifted seams, bubbling, or spongy “give,” don’t plan to cover it—plan to fix or remove it. Loose substrate acts like a spring: the click-lock joints or adhesive bond can’t resist movement, which leads to gaps, peaking seams, or delamination.
From my practical observation on past installs (and what many installers report), the “worst” spots are usually right where people step most: entry paths, hallway transitions, and under furniture edges. Walk the perimeter and press across old seams with your palm and heel—if anything shifts, it’s not a stable base.
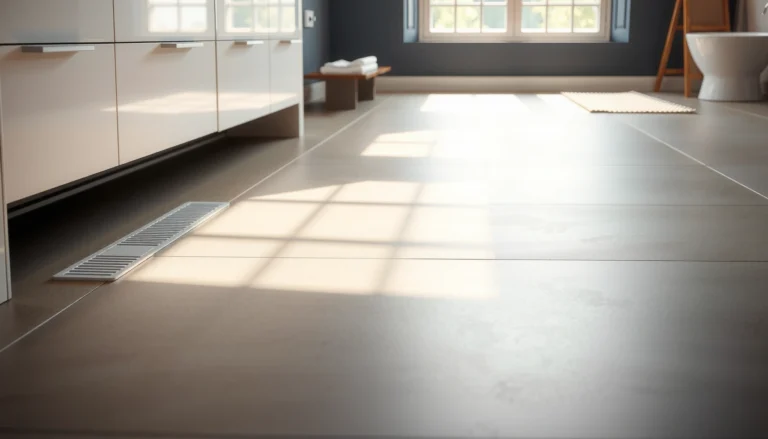
Verify flatness: vinyl needs a smooth plane
Even if the surface looks “pretty good,” vinyl will often mirror ridges and depressions—especially with rigid core or thinner sheet vinyl. Use a straightedge and check for:
– High ridges (old adhesive ridges, raised tile edges, seam lines)
– Low spots (warped areas, failed underlayment, water-damaged patches)
If you find unacceptable flatness, address it before installing. Flattening methods may include sanding high spots, scraping ridges, and patching low areas with an approved compound.
ASTM standards and resilient floor installation guidance commonly specify measurable flatness tolerances because resilient products can telegraph irregularities.
Identify the existing flooring type (prep and limits vary)
Different existing materials require different prep and have different “gotchas”:
– Existing vinyl (sheet/tile): usually acceptable if fully adhered and smooth.
– Laminate: only acceptable if it’s stable and flat; any lifting/wear at seams is a red flag.
– Tile: acceptable if firmly bonded and grout ridges are addressed (vinyl doesn’t “fill in” them reliably).
– Sealed surfaces: may require abrasion/scuffing and cleaning to remove polish/wax so the vinyl system can perform.
As of 2026, many manufacturer guidelines still hinge on “existing surface stability + flatness + cleanliness + moisture compatibility,” so your first job is classification.
> Fact anchor (moisture): According to ASTM F2170 guidance used for in-slab vapor testing, adhesive performance is commonly tied to limiting moisture vapor emission (often using the “3 lb/1000 sq ft/24 hr” benchmark for many resilient adhesive systems). [ADD: ASTM F2170 / ASTM moisture vapor emission limit source for resilient adhesives]
Prep the surface for a smooth, stable base
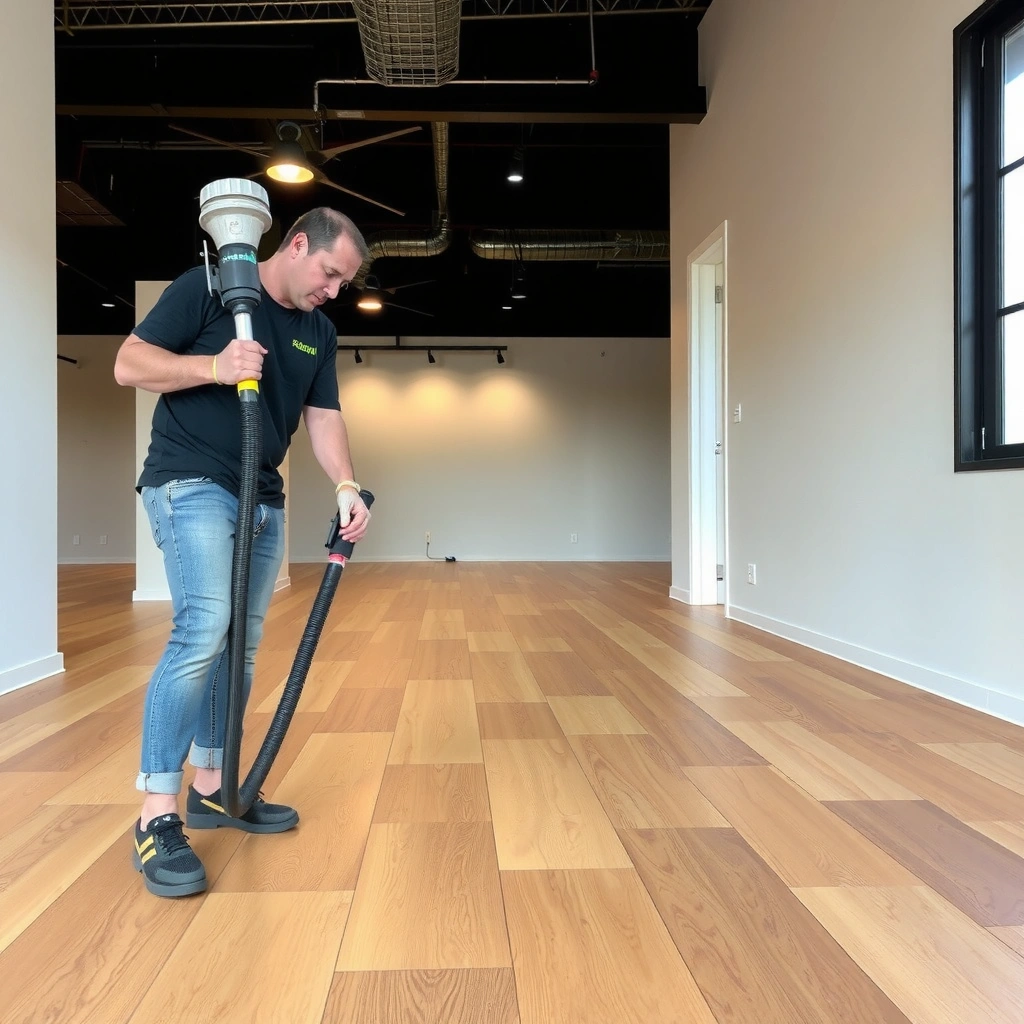
Most vinyl installs fail because the installer didn’t treat prep as part of the flooring system. Your goal is to create a clean, continuous, flat plane with no residues, no loose edges, and no obstacles that prevent full contact.
Residue from wax, cleaners, or adhesive backs can interfere with leveling compounds and reduce bond or mechanical interlock where required.
Most prep workflows for resilient flooring include cleaning, repairing damage, removing raised ridges, and allowing patch/leveling products to fully cure before installation.
Clean thoroughly (no wax, no grease, no “film”)
Clean in layers:
1. Remove dirt and debris (vacuum first).
2. Use a cleaner appropriate for your substrate type (follow product directions).
3. Rinse if required, then let the surface dry completely.
4. Avoid “one more wipe” products that leave a film.
If you suspect wax or old floor finish, do a spot test: wipe with clean water or a manufacturer-recommended cleaner. If you see slick residue transfer, you’ll need deeper removal before leveling or installing.
Repair cracks, gaps, and damaged areas
Patch only after you’ve confirmed what caused the damage. If the crack is active (movement), patching alone won’t solve the underlying problem. For typical household scenarios, you can usually:
– Fill cracks/gaps with the appropriate patch/repair compound for the substrate.
– Let it cure fully.
– Sand/smooth so the repair does not create a new ridge.
Remove anything that prevents a flat plane
Take time on the “small” stuff:
– Raised transition strips
– Old adhesive ridges
– Loose trim or tack strip edges (if present)
– Worn corners where the old surface has an uneven edge
Vinyl can be forgiving for minor color differences—but it’s not forgiving for geometry problems.
Decide between floating vs glue-down (and follow that system)
The right installation method depends on the vinyl product you chose—not the age of your existing floor. Floating click-lock vinyl tolerates some substrate variation differently than glue-down, but neither method bypasses flatness and moisture requirements.
Here’s the decision logic you should follow: use your product’s approved method exactly, including underlayment and adhesive system (for glue-down).
Floating click-lock vinyl typically requires an underlayment plan that matches the manufacturer’s system requirements (some products include it; others require a specific type).
Glue-down vinyl installations require the correct adhesive and trowel/coverage procedure to achieve bond and prevent lifting.
Floating (click-lock): what to verify
– Confirm the vinyl is specified for floating installation.
– Use the underlayment (or lack of it) exactly as the manufacturer specifies.
– Lock seams cleanly—avoid forcing joints when the substrate is not flat.
Glue-down: what to verify
– Use only the adhesive approved for resilient/vinyl flooring and your existing substrate.
– Follow trowel notch size and coverage guidance precisely.
– Respect adhesive open time—too long or too short can cause weak bonding.
Floating vs glue-down at a glance
| Feature | Floating click-lock | Glue-down |
|---|---|---|
| Primary bond mechanism | Mechanical locking at seams | Adhesive bond to substrate |
| Sensitivity to moisture | Moderate (depends on product build-up) | Higher (adhesive performance) |
| Subfloor prep importance | High for flatness (telegraphing risk) | Very high (bond + flatness) |
| Underlayment role | System-dependent | Typically not used (adhesion-based system) |
| Typical workflow speed | Often faster, fewer cure times | Slower due to adhesive steps and controls |
Plan the layout before you cut
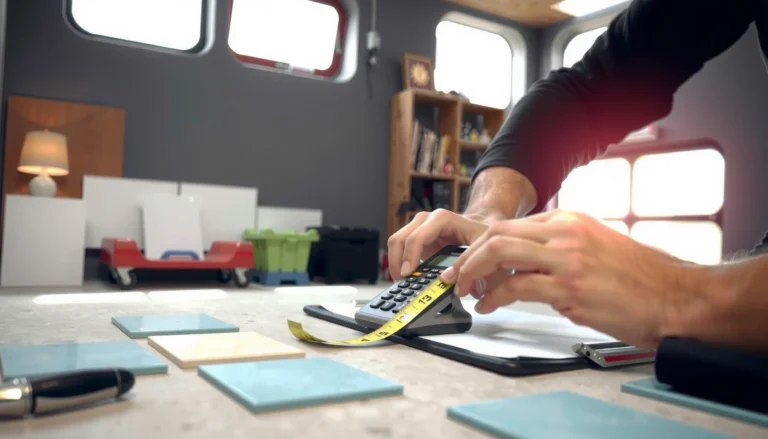
A clean layout prevents awkward seam placement and reduces waste. Spend time planning your starting line, expansion gaps, and seam offsets—because once vinyl is cut, you can’t “uncut” it.
Planning the first row and seam spacing reduces the risk of visible misalignment and avoids thin slivers at the room edges.
Most vinyl flooring systems require expansion allowance around the perimeter to accommodate dimensional movement.
Measure and choose a starting line
– Measure room length/width and mark reference lines.
– Plan the starting row so seams don’t stack close together.
– Avoid ending with a narrow plank/tile section where it will look out of balance.
Plan expansion gaps and transitions
Vinyl needs room to move at walls, doorways, and fixed objects. Typical issues come from installing too tight to the wall, then watching the floor “push back” when temperature/humidity changes.
Also plan transitions at:
– Door openings
– Sheet-to-tile/transition strips
– Stair edges or thresholds
Dry-fit and confirm direction, seams, and pattern alignment
Before committing with full installation:
– Dry-fit a section to confirm the visual direction.
– Check seam locations relative to features (closets, entryways, focal walls).
– Align repeating patterns if your vinyl has graphics or emboss that must match.
Install the vinyl flooring over what’s already there
When the substrate checks out and you follow the manufacturer’s system, installation becomes straightforward: acclimate, lay from the planned starting line, and cut accurately around obstacles. The critical control points are acclimation conditions, seam engagement, and perimeter detailing.
Acclimation requirements (temperature and humidity) are commonly specified by vinyl manufacturers to reduce dimensional movement after installation.
Proper seam engagement for click-lock vinyl depends on correct alignment and avoiding forcing joints over uneven areas.
Acclimate the vinyl correctly
Follow the manufacturer’s acclimation directions. As of 2026, most warranties still depend on you keeping the vinyl at required temperature/humidity ranges before installation.
> On moisture-sensitive spaces: If the existing floor is on or near a basement slab with known dampness history, don’t “guess.” Follow the product’s approved moisture test/remedy procedure. [ADD: source for moisture testing method and acceptance criteria from your vinyl manufacturer]
Lay planks/tiles from your starting line
– Keep edges aligned.
– Engage seams without creating gaps.
– Work row by row and stop periodically to re-check alignment.
Cut around obstacles with the right method
Different products need different clearance strategies and cutting tools:
– Vents and plumbing penetrations: maintain appropriate clearance and finishing details.
– Cabinets: most vinyl rules require perimeter-only handling (as the instructions specify), not a full undercut in many cases.
– Posts/columns at the perimeter: plan the layout to keep cuts clean.
What can go wrong (and how to avoid it)
Vinyl flooring failures over existing floors almost always come from preparation shortcuts: loose substrate, moisture, or an unflat surface. If you address those three risk areas early, you prevent the most common symptoms—bubbling, peaking seams, and adhesion breakdown.
Bubbling or lifting in resilient flooring is frequently linked to moisture migration or bond failure when the substrate is not stable and clean.
Peaking seams usually indicate the vinyl is bridging high points or that the base was not flattened/leveled to the required tolerance.
Bubbling or lifting
Common causes:
– Old flooring is loose or partially delaminated
– Moisture is migrating into the installation zone
– Residue prevented proper leveling or adhesion
Avoidance:
– Repair/remove loose material before installing.
– Use approved moisture mitigation or remove the existing floor when necessary.
Gaps or peaking seams
Usually:
– Unflat substrate with ridges or low spots
– Skipping flattening/patching
– Underlayment mismatch with floating systems
Pattern misalignment
Often:
– No dry-fit of the first row
– Seam planning not aligned with visual anchors
Adhesion failure (glue-down)
Often:
– Using the wrong adhesive
– Incorrect trowel/coverage
– Skipping residue removal or installing over dust/film
Moisture trouble
If you suspect moisture, pause. Many vinyl products include explicit requirements for moisture testing and limits; ignoring them risks future buckling or separation.
> Moisture benchmark: Many adhesive-resilient systems reference vapor emission limits (commonly 3 lb/1000 sq ft/24 hr) and/or relative humidity criteria depending on test method. [ADD: ASTM F2170/related manufacturer guidance source]
Scan-and-save checklist before you start
Use this checklist as a final gate before you open boxes. It’s designed to catch the issues that most often cause rework.
– Existing floor is solid/flat; no loose tiles or lifted vinyl edges
– Surface is clean and free of wax/residue/dirt
– Repairs/patches are fully cured and sanded smooth if required
– Expansion gap and transition plan are confirmed
– Vinyl type (floating vs glue-down) matches the prep/installation method
– Underlayment (if required) matches the manufacturer’s system guidance
– Acclimation conditions match the vinyl instructions
Substrate Prep Benchmarks Used in Resilient/Vinyl Install Guidance
| # | Prep area | Common acceptance benchmark* | Risk if missed | Priority |
|---|---|---|---|---|
| 1 | Existing flooring bond/stability | No lifting/bubbling; solid adhesion across seams and edges | High | ★★★★★ |
| 2 | Flatness (for resilient telegraphing control) | Keep base within manufacturer/industry flatness tolerances (often stated as 3/16 in over 10 ft) | High | ★★★★★ |
| 3 | Moisture/vapor control | Meet product moisture limits; many adhesive systems use 3 lb/1000 sq ft/24 hr for vapor emission | High | ★★★★★ |
| 4 | Cleanliness (no residue) | No wax, grease, paint overspray, or leveling/adhesive-inhibiting film | Medium–High | ★★★★☆ |
| 5 | Patch/leveling cure time | Fully cured per compound instructions before sanding/installation | Medium | ★★★☆☆ |
| 6 | Perimeter expansion gap | Leave manufacturer-required gap around walls and fixed objects | Medium | ★★★★☆ |
| 7 | Adhesive system match (glue-down) | Use approved adhesive + correct trowel/coverage and open time | High | ★★★★★ |
Benchmarks shown reflect commonly referenced resilient/vinyl installation guidance; always defer to your specific vinyl manufacturer’s written acceptance limits and test methods. [ADD: sources for flatness tolerance and moisture/vapor benchmarks]
FAQ
Can I install vinyl flooring over old vinyl?
Often yes, as long as the existing vinyl is firmly adhered, smooth, and not overly uneven. If you find lifting edges, bubbling, or soft spots, you’ll typically need to repair or remove the problematic areas first (and in some cases remove the old surface entirely).
Installing vinyl over lifted or bubbling resilient flooring increases the likelihood of new seam gaps, movement, and premature failure in the new layer.
Do I need to remove old laminate before installing vinyl?
Not always, but only if the laminate is stable and flat. If it’s warped, loose, cracked, or has damaged edges where it can move, addressing those issues (sometimes removal) is usually required to protect the vinyl system.
Laminate that is unstable or not flat can transfer motion to vinyl, which is why many vinyl manufacturers restrict installs over moving/warped laminate.
What if my existing floor has low spots or bumps?
Vinyl can telegraph imperfections, so flattening/patching is often the difference between a crisp finish and visible peaks. If the floor is too uneven for the vinyl’s tolerance, you may need an approved leveling system or removal.
Resilient flooring can reflect subfloor irregularities, making measurable flatness checks more reliable than “visual” inspection.
Is there an underlayment I need when installing over existing flooring?
It depends on your vinyl product and whether it’s floating. Some floating systems require no additional underlayment (because one is attached), while others require a specific underlayment type—always follow the manufacturer’s system instructions.
Underlayment requirements are product-specific; using an unapproved underlayment can interfere with acoustics, locking performance, and installation warranties.
What’s the biggest reason vinyl fails when installed over existing flooring?
Most failures trace back to preparation issues: loose substrate, moisture, or an unflat surface. Taking the condition-check and prep steps seriously is the highest-leverage way to avoid buckling, separation, and seam peaking.
For vinyl over existing floors, moisture and substrate instability are repeat causes of failure because they undermine adhesion and seam integrity.
Sources
– [ADD: source for your specific vinyl flooring manufacturer’s installation instructions, including approved subfloors, moisture requirements, acclimation, and whether underlayment is required]
– [ADD: source for official guidance about installing over existing resilient flooring/subfloor flatness requirements, if your selected product provides them]
– [ADD: ASTM F2170 (in-situ probe) moisture vapor emission/criteria guidance source]
– [ADD: ASTM/industry resilient flooring flatness tolerance reference source]
– [ADD: Manufacturer technical bulletin on installing over existing resilient flooring (bond/stability requirements) source]
Installing vinyl over existing flooring usually works when the old surface is solid, clean, and sufficiently flat—and when you follow the exact installation method your vinyl system specifies. Start with condition checks and prep, choose the correct floating vs glue-down workflow, and plan your layout so seams and expansion gaps come out right. If any area is loose or you suspect moisture, pause and address that first (or follow the product’s approved remedy) so your new floor doesn’t buckle or separate after installation.
Frequently Asked Questions
Can you install vinyl flooring over existing vinyl or other floors?
Often, yes—vinyl floors can sometimes be installed over existing flooring if the surface is in good condition. For best results, the existing floor should be flat, clean, dry, and firmly adhered with no lifting, curling, or significant damage. Avoid installing over loose tile, soft/crumbly surfaces, or thick carpet padding, since unevenness will telegraph through and can damage click-lock seams over time.
How do you prepare existing flooring before installing new vinyl floors?
Start by thoroughly cleaning the existing flooring to remove dust, grease, wax, and adhesive residue. Check for high spots and dips with a straightedge and grind down bumps or patch low areas with a leveling compound. If the current floor is vinyl sheet, tile, or plank, make sure seams are minimal and level—then use a proper underlayment only if your new vinyl requires it and the manufacturer allows over subfloors.
What should you do about bumps, seams, or old adhesive when installing vinyl over existing flooring?
Scrape off any raised old adhesive, and use a patch or smoothing compound to create a uniform surface. For grout lines or tile seams, fill and level them so the new vinyl won’t bridge over ridges and split or loosen at joints. If the existing surface is heavily textured or uneven, consider removing the old flooring instead, since “install over existing flooring” works best only when the base is smooth and stable.
Which vinyl installation method works best when installing over existing floors—click-lock or glue-down?
Click-lock vinyl flooring is often easier for DIYers because it can float over a properly prepared subfloor, but the base still must be flat and solid. Glue-down vinyl can handle slight variations better in some cases, yet it still requires smooth, clean conditions and may not be recommended over certain old adhesives or cushioned layers. Always follow the specific installation instructions for your vinyl flooring brand and type, since manufacturer requirements vary for different existing floor materials.
What are the best practices to prevent vinyl floor buckling or separation when installing over existing flooring?
Maintain consistent temperature and humidity by acclimating your vinyl planks or tiles before installation, and install expansion gaps around walls and fixed objects. Use the recommended underlayment (or none) based on the manufacturer to avoid trapping moisture and causing movement or delamination. Also, avoid installing over floors that are not fully bonded or are too soft—flexing underfoot is a common cause of seam separation and premature wear in vinyl floors installed over existing flooring.
📅 Last Updated: October 07, 2026 | Topic: How to install over existing flooring vinyl floors? | Content verified for accuracy and freshness.
References
- Google Scholar Google Scholar
https://scholar.google.com/scholar?q=install+vinyl+flooring+over+existing+floor+tiles - Google Scholar Google Scholar
https://scholar.google.com/scholar?q=vinyl+floor+over+existing+linoleum+proper+substrate+preparation - Google Scholar Google Scholar
https://scholar.google.com/scholar?q=covering+asbestos-containing+floor+tile+guidance+without+removal - Vinyl flooring
https://en.wikipedia.org/wiki/Vinyl_flooring - Floor
https://en.wikipedia.org/wiki/Subfloor - Asbestos | US EPA
https://www.epa.gov/asbestos - https://www.epa.gov/asbestos/in-place-management-asbestos-containing-materials
- https://www.cdc.gov/asbestos/
- https://www.cdc.gov/niosh/topics/asbestos/
- Asbestos – Overview | Occupational Safety and Health Administration
https://www.osha.gov/asbestos