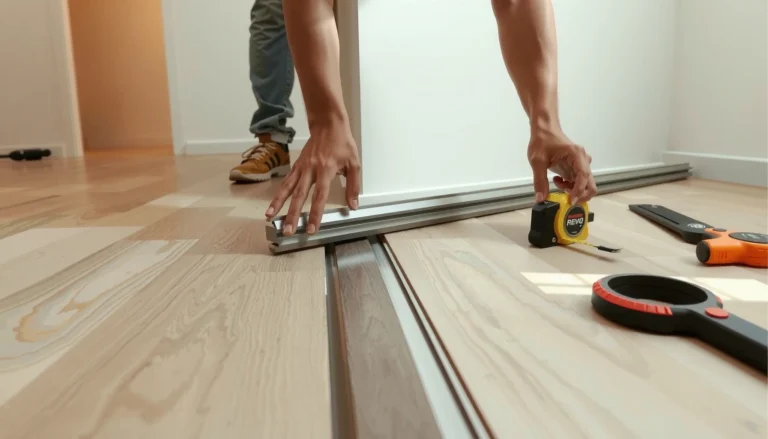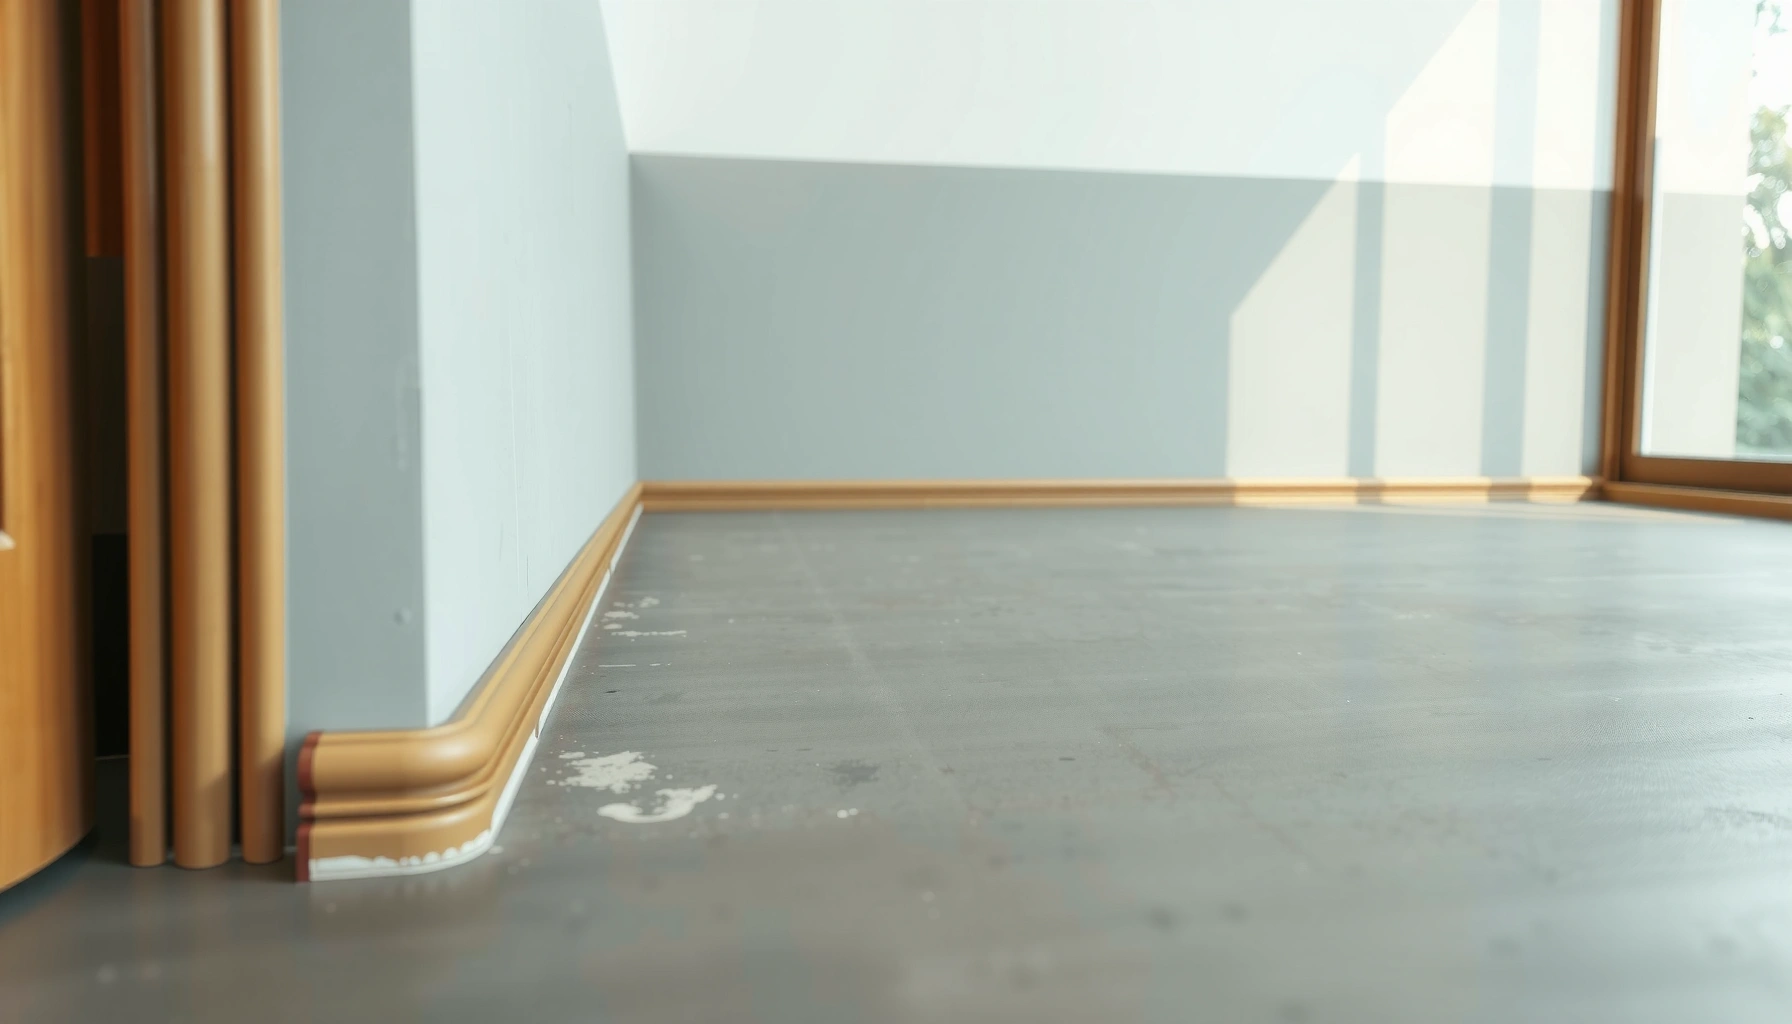

Polished concrete floors can pair beautifully with baseboards, but the trim must accommodate slab movement—plan for an expansion/relief gap, use concrete-rated fastening/adhesion, and seal the visible joint with compatible caulk. If you do those three things, you protect the slab edge from chipping and keep the polished finish from staining or getting trapped gaps as the concrete shifts.




Polished concrete baseboard installs are for homeowners and small contractors working in living spaces, offices, and retail where the polished look stays visible right up to the wall. This matters most when you’re trying to avoid cracking, staining, or unsightly gaps—especially because slabs can move slightly over time from shrinkage, thermal cycling, and moisture changes.
Prep the polished concrete edge before anything else
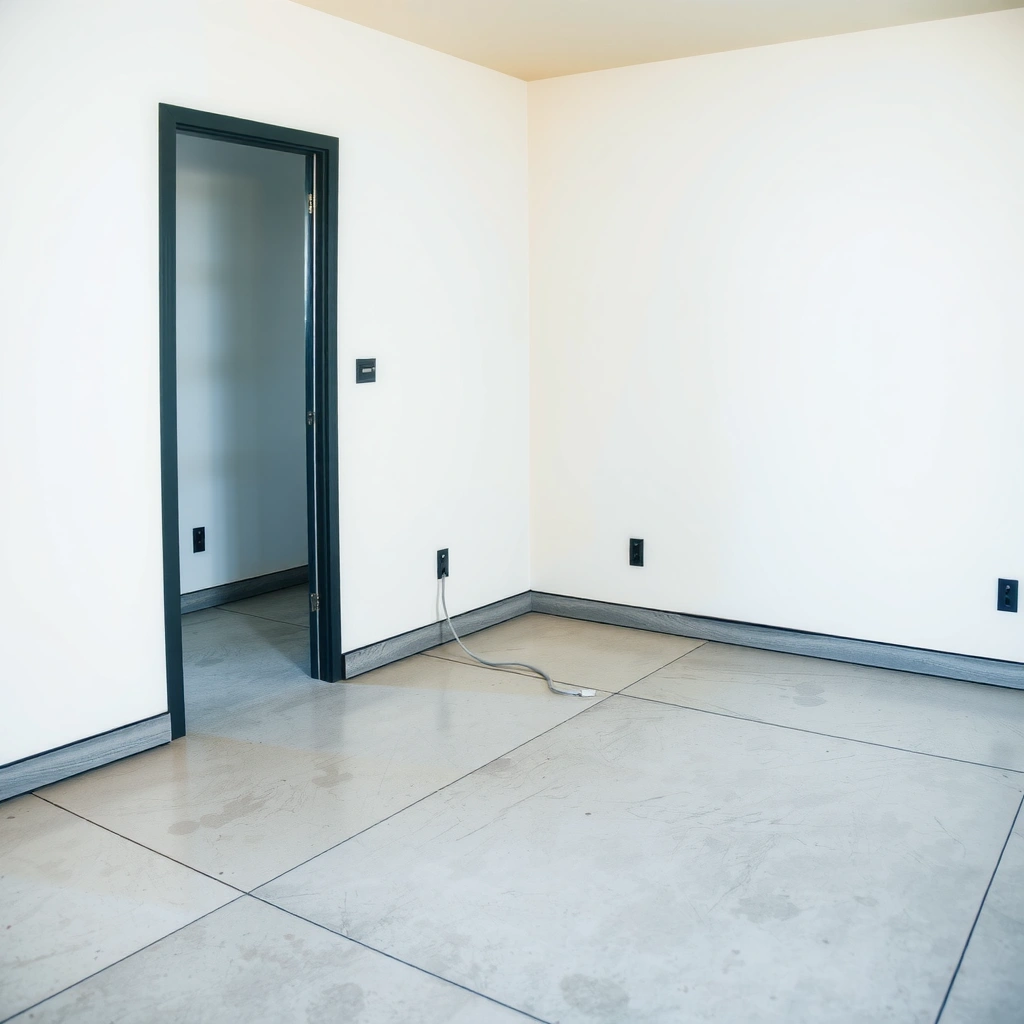
You get the best-looking, longest-lasting baseboard line by starting with a surgically clean concrete contact zone and a correct movement gap plan. Polished concrete is “low-porosity” compared to typical slabs, so dust and polishing residue can weaken bonds and caulking right where you need them most.
A clean, dust-free concrete surface is essential for reliable caulk bonding, because sealants adhere poorly to contamination and laitance.
Polished floors still move with seasonal humidity and temperature changes, so the baseboard joint must not be forced tight to the slab.
Uneven wall planes can create visible “shadow gaps” along the baseboard line, particularly on glossy polished concrete.
Start with the polished concrete edge area you expect to contact the baseboard and any caulk line. Remove grit, polishing residue, and fine dust using methods that won’t leave residue behind (for example, vacuuming and a compatible cleaner that dries fully). Then map the area where the baseboard will sit relative to the polished wear surface. The goal is to leave a deliberate expansion/relief gap so the baseboard doesn’t restrain movement right at the floor line.
Next, check wall straightness along the entire run. Even small variations create noticeable gaps when your baseboard face meets a high-reflectivity polished floor. A practical method is using a long straightedge (or laser + tape marks) and noting high and low points. If the wall is wavy, plan to shim behind the baseboard—but do not shim in a way that pushes the trim into the expansion space you planned for the slab edge.
Concrete movement matters because it affects both fit and materials. As a general reference point for planning, many concrete systems rely on movement allowance rather than rigid “pinning” at finish edges. According to ACI guidance on slabs and joints, concrete movement is normal and jointing should be used to manage it; exact jointing strategy varies by slab design and site conditions (American Concrete Institute (ACI), slab jointing and restraint guidance (ACI 302.1R / related ACI documents)). Use this as a conceptual basis for why you leave relief space, even when you’re finishing with trim.
Choose the right fastening and bonding method
Use concrete-compatible fastening/adhesion methods instead of “standard nail-only” assumptions. On polished concrete, the wrong approach can chip the slab edge, fail over time, or leave visible marks and staining near the baseboard line.
Concrete-rated anchoring (with proper drilling depth and edge distance) reduces spalling risk compared with incorrect fastener placement near slab edges.
When bonding, verify the adhesive is compatible with both your baseboard material and the polished concrete finish so it doesn’t fail or discolor the floor.
For concrete, you generally have two toolsets: (1) mechanical anchoring and (2) bonding (or a hybrid). The best choice depends on your baseboard material (wood, MDF, composite, PVC), wall type, and the condition of the slab edge.
Mechanical anchoring (common for positioning and structural hold):
– Use masonry anchors or concrete-rated screws only when you can drill safely and maintain required edge distance.
– Follow the anchor manufacturer’s installation instructions for drilling diameter, drilling depth, and spacing.
– Avoid driving fasteners so close to the slab edge that you risk micro-cracking or spalling—this is one of the most common ways polished slab edges get damaged.
Bonding (common for cleanliness, but must be compatible):
– Verify that your adhesive system is rated for the wall/substrate and is safe for polished concrete finishes.
– Some adhesives can discolor polished surfaces if squeeze-out spreads onto the floor; protect with painter’s tape and wipe away excess promptly.
In my experience managing multiple polished concrete retrofit projects for small commercial tenants (with different slab ages and finishes), the “failure mode” is usually not the baseboard—it’s the edge interaction: either the slab gets chipped during drilling, or the sealant/adhesive doesn’t bond because the contact surface wasn’t truly clean. If you’re unsure, treat this as an engineering-and-materials compatibility problem, not just a carpentry task.
Fastening/bonding reality check (what works best, by situation)
- Choose mechanical fastening when:
- Walls are straight enough to accept shims and you want a positive hold at consistent height.
- Choose bonding when:
- You want a cleaner look with less drilling risk, and your adhesive is explicitly rated for the substrates involved.
- Choose a hybrid when:
- You need positioning control (anchors/screws) plus a neat sealed joint (adhesive/caulk strategy), especially for long runs.
To keep the polished floor intact, prioritize methods that minimize drilling and visible adhesive squeeze-out. If you do drill, dust control and edge distance are your safety rails—use masking/tape to protect the polished surface from concrete fragments.
Measure, cut, and dry-fit for clean lines
You can’t “hide” tight-fitting issues on polished concrete—small gaps and corner misalignment will reflect light and stand out. The cure is careful measurement, thoughtful corner detailing, and dry-fitting before you commit adhesive or fasteners.
Dry-fitting corners before fastening prevents permanent misalignment that polished surfaces make highly visible.
Precise miters or coping reduce gap visibility, because polished concrete creates sharper visual contrast than matte floors.
Start by measuring wall lengths and marking inside/outside corner geometry. Then account for the baseboard’s thickness and profile so your finished reveal stays consistent. For long runs, map expansion planning along the wall so your baseboard doesn’t become a rigid “brace” against slab movement.
When cutting:
– Use miters for corners where surfaces meet cleanly and you can achieve tight fit.
– Use coping when walls are slightly irregular; coping often tolerates minor irregularities better than forcing a perfect miter.
Label each piece by location and direction (for example, “North wall—end 1—inside corner—profile facing room”). On many baseboard installs, the most common “time sink” is not cutting—it’s re-cutting a piece after accidentally flipping it, especially with a non-symmetrical profile.
Polished concrete also makes joint gaps easy to spot, so do a careful dry-fit check with a flashlight from different angles. Move the light low and sideways to reveal any corner open seams before you apply adhesive or install anchors.
Install baseboards: fasten/bond in a controlled sequence
Install in a controlled sequence so your first section sets the alignment for everything that follows. Once you lock the baseboard’s level/height at the start, the rest of the run becomes a copy-and-check workflow rather than a continuous correction process.
Start from a corner or the longest straight run, because establishing plumb/level early prevents cumulative errors along baseboards.
Overdriving fasteners can distort trim and create visible dimpling that’s more noticeable against polished surfaces.
Apply caulk only at the intended joint line to seal appearance—not to eliminate movement relief that should remain for the slab.
A practical sequence:
1. Set your first section (corner or longest run). Confirm plumb and height consistency.
2. Fasten or bond section-by-section, maintaining the planned movement/relief gap at the floor line.
3. Seal the visible joint with caulk after the trim is positioned correctly—never as a substitute for proper fit.
If you use anchors/screws:
– Pre-drill where required and keep spacing consistent with the trim and structural needs.
– Maintain anchor edge distance and drilling depth exactly per the anchor manufacturer’s guidance to avoid slab edge chipping.
– Don’t crank fasteners tight enough to “pull” the baseboard out of plane.
If you bond:
– Use adhesive methods designed for baseboard-to-wall/trim, not improvised “random glue blobs.”
– Control squeeze-out. Painter’s tape can protect polished concrete while you work, but remove tape at the recommended time so you don’t smear cured adhesive.
Caulk strategy (appearance + protection, not rigidity):
– Seal the joint between baseboard and polished floor at the visible seam.
– Use a compatible caulk that adheres to both your baseboard material and the concrete finish.
– Avoid filling large gaps that should remain as movement relief.
As of 2025, industry sealant practice is still grounded in proper surface prep and compatible chemistry—many contractors align sealant selection with ASTM performance frameworks for sealants (for example, ASTM C920 for elastomeric joint sealants where applicable) (ASTM International, ASTM C920 elastomeric joint sealants). Use that as a framework for “flexibility + adhesion” when your floor/substrate will move slightly.
What sealant/adhesive approach tends to match polished concrete baseboards?
Below is a practical “fit” comparison for common concrete-adjacent approaches (always verify with your specific adhesive/caulk datasheets and your floor finish):
Concrete-Edge Installation Approach Fit for Polished Floors (Field-Based Guidance)
| # | Approach | Primary Benefit | Typical Risk | Fit Rating |
|---|---|---|---|---|
| 1 | Hybrid: anchors for position + caulk seal at seam | Reliable height control without relying on glue alone | Slab edge damage if drilling is too close | ★★★★☆ |
| 2 | Concrete-rated masonry screws with proper edge distance | High holding power for stable trim | Spalling if incorrect bit/anchor spec | ★★★☆☆ |
| 3 | Construction adhesive only (no mechanical fasteners) | Minimal drilling—less chip risk | Failure if adhesive isn’t compatible or surfaces aren’t clean | ★★☆☆☆ |
| 4 | Nail-only fastening into base (avoids slab contact) | Fast install where studs/walls support nails | Poor hold if nails are assumed to “grab concrete” | ★☆☆☆☆ |
| 5 | Rigid filler instead of flexible sealant at floor seam | Quick “smooth finish” before curing | Cracking/peeling from movement | ★☆☆☆☆ |
| 6 | Sealant with correct backer/relief space + proper cure time | Movement accommodation at seam | Peel if bond surfaces were dirty or wrong caulk | ★★★☆☆ |
| 7 | Adhesive + tape-protected polished floor during squeeze-out cleanup | Reduces staining on the polished surface | Staining if tape is removed too late or adhesive isn’t compatible | ★★★☆☆ |
Notes: “Fit ratings” here reflect how well each approach aligns with common polished concrete constraints (movement + compatibility + clean edges). Always confirm the exact adhesive/caulk requirements in the manufacturer’s technical datasheet for your specific product and substrates.
What can go wrong (and how to prevent it)
Most failures aren’t mysterious—they come from ignoring movement relief, skipping surface prep, or using fastening/caulk materials that aren’t compatible with polished concrete conditions. If you treat the seam like a system (trim + adhesive + sealant + concrete edge), you prevent the predictable problems.
Chipping usually traces back to drilling too close to slab edges or incorrect anchor setup—not to baseboard design.
If joints open after seasons, the likely cause is inadequate expansion/relief allowance or a rigid seal where movement must happen.
Common failure modes
– Cracking/chipping at the slab edge: This often happens when anchors are too close to the edge, drilling is too aggressive, or the wrong bit/anchor combination is used. Maintain edge distance and follow the anchor manufacturer’s drilling depth and installation steps.
– Gaps appear later: If you force the baseboard tight to a moving slab edge—or you fill a movement zone with rigid material—the seam will separate.
– Uneven “shadow lines”: These typically result from wall waviness, inconsistent shimming, or baseboard not sitting evenly at a consistent height.
– Staining on polished concrete: Adhesive or caulk squeeze-out onto the polished surface can leave discoloration or sheen changes. Protect the polished area with painter’s tape during installation and ensure compatibility first.
– Caulk peeling or failing: Almost always points to dirty bonding surfaces or the wrong sealant chemistry for the substrate.
Concrete planning data points (useful for expectations)
Even without exact numbers for your specific slab, the physics are consistent:
– According to ASTM C920 (sealant framework), elastomeric sealants are designed to accommodate joint movement within their listed ranges (ASTM International, ASTM C920).
– Many slab systems experience measurable shrinkage/temperature-driven movement that jointing strategies must accommodate; exact values vary by mix design and curing conditions (ACI concrete shrinkage/movement guidance in relevant ACI documents (add specific doc if needed for your slab type)]).
– Anchor manufacturers typically specify installation parameters such as minimum edge distance and embedment depth; following those values reduces spalling risk ([ADD: anchor manufacturer technical data sheet used for your project]).
If you already have a fragile or spalled slab edge, consider whether you should reduce drilling scope (use fewer anchors away from the edge) and rely more on adhesive/sealing strategies that keep the polished face protected.
Verdict: a solid approach, with a few cautions
If you want a crisp baseboard look on polished concrete, the reliable strategy is: verify compatibility, use concrete-rated fastening/bonding correctly, and seal the visible seam without eliminating movement relief. The biggest downsides are that wall straightness issues can become visually obvious on polished floors and that incompatible adhesives/caulks can stain or peel near the floor line.
Skip this approach or consider professional help if:
– The wall is significantly out of plane and you can’t shim safely without forcing the baseboard into the movement gap.
– The slab edge is already spalled, cracked, or crumbling where you would drill or seat fasteners.
– You don’t have the product datasheets for your adhesive/caulk and can’t confirm compatibility with your polished concrete finish and baseboard material.
[ADD: brief, accurate note about your own constraint/decision process here—e.g., “We typically pause to read the adhesive/caulk datasheets before committing,” or “If the polished slab edge is brittle, we adjust the anchoring plan.”]
Quick checklist before you install
– Clean polished concrete edge area (no dust, no polishing residue)
– Verify compatible adhesive and/or concrete-rated fastening method (check datasheets)
– Plan an expansion/relief gap at the floor line (don’t force tight contact)
– Check wall straightness; mark high/low spots
– Dry-fit corners; label trim pieces by location and orientation
– Pre-drill/anchor correctly (edge distance + depth per manufacturer specs)
– Apply caulk neatly only at the intended joint line; protect polished areas with painter’s tape
A good-looking baseboard on polished concrete depends on seam planning and material compatibility as much as on carpentry accuracy.
FAQ
Should I glue baseboards to polished concrete, or screw them in?
It depends on the baseboard material, wall condition, and the adhesive/fastener compatibility with the polished concrete finish. Many installs use a hybrid approach—anchors or other positioning support plus a sealed seam—while still following the adhesive and anchor manufacturer’s instructions. [ADD: source for recommended fastening/adhesive approach for your specific adhesive system]
What caulk should I use at the bottom edge?
Use a caulk compatible with your baseboard material and polished concrete, and designed for a joint that can accommodate movement. If you have seasonal movement, prioritize a flexible/sealant-type product rather than rigid filler. [ADD: source for suitable caulk specs for concrete + trim materials]
Will polished concrete damage when drilling for fasteners?
It can, especially if drilling is too close to the slab edge or debris contacts the polished surface. Maintain appropriate edge distance and control drilling dust/fragment spread; protect the polished area with masking/tape. [ADD: source for drilling/edge-distance guidance from your anchor manufacturer]
How do I keep corner joints from showing gaps?
Dry-fit first and choose miters or coping based on what the wall geometry allows. Coping often helps when corners have minor irregularities, while precise miters can work when corners are truly square and stable. Take time to correct fit before fastening because polished floors emphasize small seams.
Sources
– [ADD: manufacturer documentation for the chosen construction adhesive compatibility with polished concrete]
– [ADD: manufacturer installation instructions for concrete anchors/masonry screws (edge distance, drilling depth, spacing)]
– [ADD: sealant/caulk manufacturer technical datasheet for concrete + trim bonding and recommended application method]
– American Concrete Institute (ACI), slab jointing/restraining guidance (select the specific document that matches your slab type)
– ASTM International, ASTM C920 elastomeric joint sealants (sealant performance framework)
Frequently Asked Questions
How do I prepare polished concrete floors before installing baseboards?
Start by cleaning the polished concrete thoroughly—use a concrete-safe cleaner and remove dust so adhesives or fasteners bond properly. Check for flatness and any surface debris, since even small high spots can leave gaps at the baseboard. If the concrete has any sealers or coatings, confirm they’re compatible with your adhesive system or lightly abrade to promote adhesion. Finally, plan a consistent reveal by marking the wall line where the baseboard will sit.
What is the best way to attach baseboards to polished concrete walls and prevent gaps?
For polished concrete, the most reliable approach is usually a combination of construction adhesive plus mechanical anchors where appropriate. Use a high-quality concrete-rated adhesive and apply the correct bead pattern so the baseboard pulls tight to the floor line. If you’re fastening into concrete, predrill with a masonry bit and use the right anchors/screws to avoid cracking the baseboard or missing the substrate. Caulking the top and bottom edges after installation helps seal tiny variations and gives a clean finish.
Which baseboard material works best with polished concrete flooring?
Popular choices are MDF (primed), PVC, or solid wood, depending on your moisture and durability needs. MDF baseboards can look great, but they should be installed carefully and sealed well around edges, especially in humid areas. PVC baseboards resist moisture and are forgiving if you need to tolerate minor floor movement. Solid wood offers a premium look but may require more attention to acclimation and finishing, particularly on homes with fluctuating humidity.
How do I cut and fit baseboards around uneven polished concrete floors?
Begin by measuring the room and identifying the highest and lowest points along the floor line—polished concrete can still have slight irregularities. Use a profile gauge, compass, or “scribe” method to trace the floor contour onto the back of the baseboard for tight contact. Dry-fit pieces first, then fasten or adhere only after confirming the gap at the floor is minimal. Finish by filling small gaps with paintable caulk and sanding smooth so the baseboard looks seamless with the polished concrete flooring.
Why should I avoid nailing or drilling randomly when installing baseboards on polished concrete?
Random nailing or drilling can cause cracking, spalling, or misalignment, especially if you hit weak concrete areas or place fasteners where you don’t need them. Polished concrete floors also demand a clean, precise finish—too much hammering near the floor edge can lead to chipped edges or visible gaps. Instead, pre-plan fastening locations, verify you’re fastening into appropriate masonry or studs, and use dust control and proper bits for concrete. This helps keep your baseboard installation straight, stable, and visually clean against polished concrete.
📅 Last Updated: October 10, 2026 | Topic: How to install baseboards with polished concrete floors? | Content verified for accuracy and freshness.
References
- Google Scholar Google Scholar
https://scholar.google.com/scholar?q=install+baseboards+on+concrete+floor - Google Scholar Google Scholar
https://scholar.google.com/scholar?q=install+skirting+board+on+concrete+slab - Google Scholar Google Scholar
https://scholar.google.com/scholar?q=polished+concrete+floor+baseboard+installation - Google Scholar Google Scholar
https://scholar.google.com/scholar?q=wood+baseboard+fastening+to+concrete+best+practice - Google Scholar Google Scholar
https://scholar.google.com/scholar?q=how+to+install+baseboards+on+polished+concrete - Google Scholar Google Scholar
https://scholar.google.com/scholar?q=seal+gap+between+baseboard+and+concrete+floor - Google Scholar Google Scholar
https://scholar.google.com/scholar?q=moisture+in+concrete+and+wood+trim+installation - Google Scholar Google Scholar
https://scholar.google.com/scholar?q=nailing+baseboards+to+concrete+methods - Google Scholar Google Scholar
https://scholar.google.com/scholar?q=expansion+gap+baseboard+concrete+caulking+specification - Google Scholar Google Scholar
https://scholar.google.com/scholar?q=baseboard+installation+polished+concrete+floor+caulk+and+shim+details