
Replacing slate floors is a straightforward DIY job if you follow the right prep, removal, and setting steps. This step-by-step guide walks you through taking out damaged slate, leveling the subfloor, and installing new tiles for a tight, professional finish. By the end, you’ll know exactly what to do—and what to avoid—so your slate floor replacement holds up for years.




Replacing slate floors usually means removing the old slate carefully, leveling the subfloor, then reinstalling new slate with the right thinset/mortar and grout. The key is making sure the subfloor is solid and flat before any tiles go down—slate will crack or rock if the base isn’t right. Below, you’ll learn the tools, prep steps, and installation sequence that help the job go smoothly.
This guide is for homeowners and DIYers replacing damaged slate, updating a room, or swapping out partial areas. It’s most applicable if your existing slate is set on mortar over a subfloor (wood or concrete), and you’re aiming for a durable, watertight finish.
Assess Your Existing Floor and Plan the Replacement
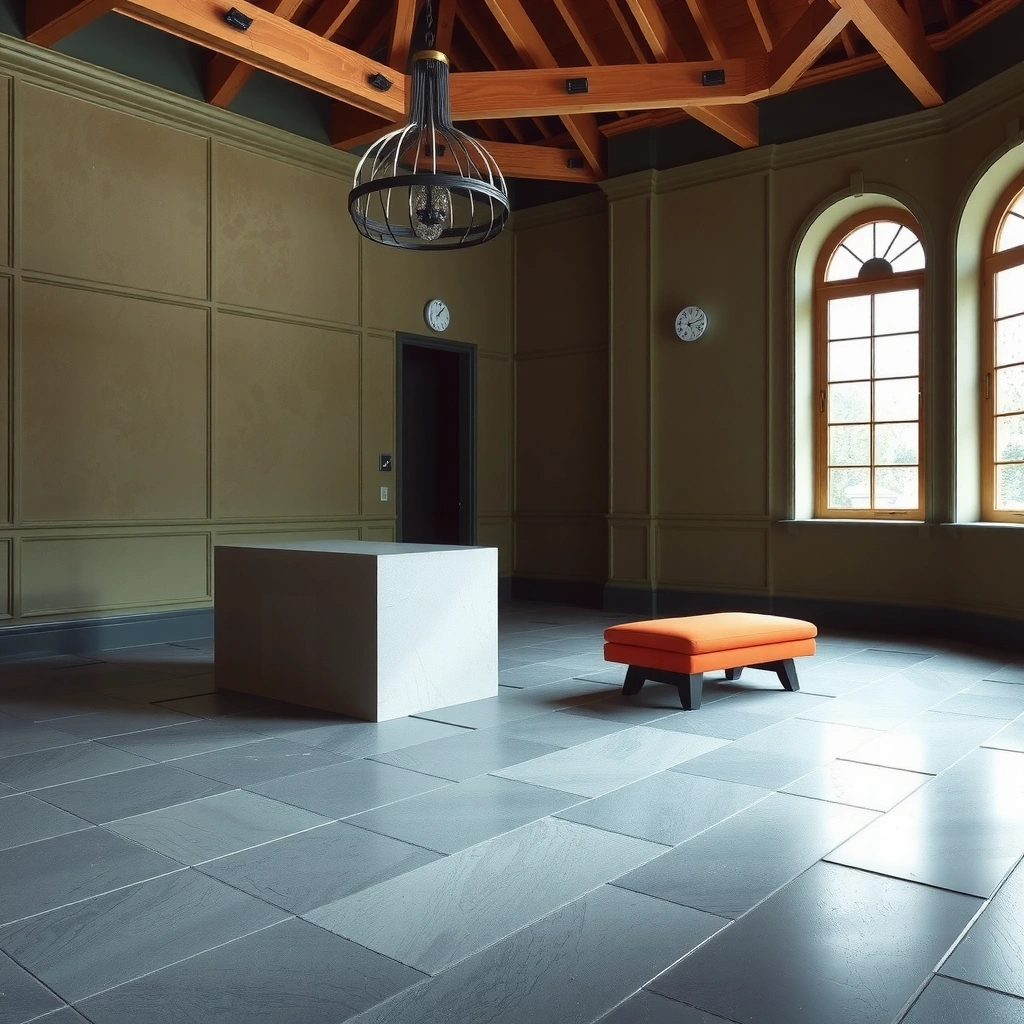
The fastest way to avoid rework is to assess what you’re replacing (tiles, setting bed, and substrate) before you buy materials or start demo. A successful slate replacement hinges on confirming whether the slate is adhered to mortar correctly and whether the subfloor is stable and flat.
Start by identifying the substrate: concrete slab versus wood subfloor. Concrete typically tolerates more direct prep work, while wood demands a stronger focus on deflection, squeaks, and movement control before tiling. Then inspect the slate itself—cracked slates, lifting sections, or loose tiles often point to either a bond failure or subfloor movement, not just “bad tiles.”
Next, choose the scope. Spot replacement can work well when the surrounding tiles remain firmly bonded and the floor is flat. However, if you see repeated tenting, widespread loose mortar, or unevenness, removing all slate is usually the most consistent approach for alignment, height, and transitions.
Finally, confirm tile thickness and size so the new slate matches the installed height. Slate tiles often vary slightly by batch and finish, so plan for layout tweaks (like shifting rows, mirroring pattern changes, or using a transition reducer at doorways) instead of assuming every tile will sit at the same level.
Slate tile installation performance depends on a stable, flat substrate; tile failure is frequently driven by movement or inadequate substrate preparation.
If the slate is lifting or the bed is debonded in multiple areas, spot replacement alone may not restore a uniform, rigid floor system.
Assess quickly with a “bond and flatness” checklist:
– Tap tiles with a knuckle or plastic handle: hollow or loose areas suggest bond failure.
– Check height variation with a straightedge (a long level or 6–10 ft straightedge).
– Inspect around vents, plumbing penetrations, and edges where movement shows first.
Mandatory placement note (scope planning)
If you’re removing only a few tiles, you still need to remove the old setting material where the replacement tile will land—old ridges or patchy mortar can cause lippage and rocking even if the new slate is perfectly cut.
Key decision: section vs. full removal
If the goal is a durable, watertight floor surface (especially in bathrooms or entryways), full removal is often the better investment when the existing mortar bed is questionable.
Gather the Right Tools and Materials
The right tools and compatible materials determine whether slate replacement feels controlled—or frustrating. Before you start, gather removal tools, cutting tools (for stone), and a mortar/grout/sealer system that is explicitly rated for natural stone.
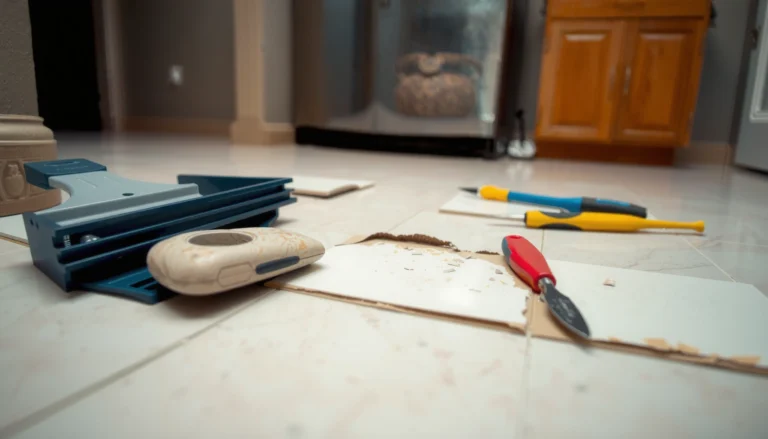
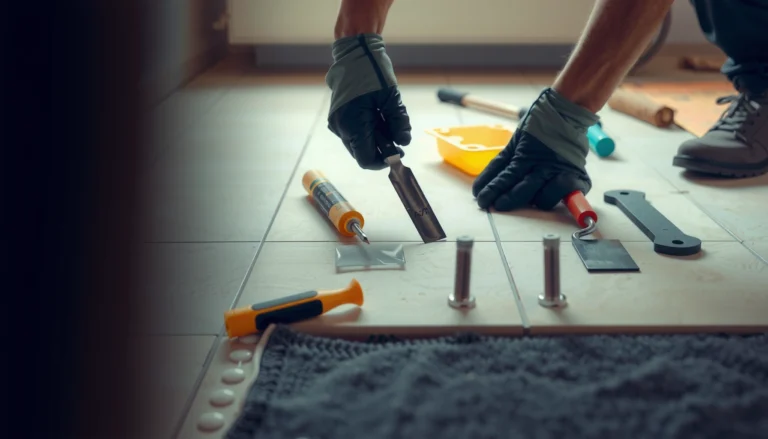
For demolition, plan on a floor scraper and chisel for controlled lifting. If you find grout lines that are easy to cut, a carbide grout saw can speed removal. For layout and consistent gaps, use spacers (or joint clips) and keep a few spare tiles for dry-fit testing.
For cutting, a wet saw or tile saw with a suitable stone blade is the safest path for clean edges. Dry cutting stone creates respirable dust; wet cutting keeps dust manageable and reduces the risk of edge chipping.
For setting materials, choose a thinset/mortar system designed for natural stone. Natural stone can react differently than porcelain or ceramic, and some products can discolor stones or fail to bond properly. For grout, select a grout type and color intended for natural stone installations, and follow the manufacturer’s haze-cleaning guidance.
Also plan finishing elements:
– Edge/trim pieces to protect cut slate corners
– Expansion/soft joints where required at walls and transitions
– Underlayment or waterproofing if the room is a wet area or moisture-prone
Use a thinset/mortar system labeled for natural stone to reduce discoloration and bond failures that can occur with incompatible products.
A wet saw is the standard approach for clean slate cuts because slate is brittle and chips easily at the wrong feed rate or blade.
Quick, practical materials pairing (what to verify on labels)
– Mortar: rated for natural stone + your substrate type (wood/plywood/underlayment or concrete)
– Grout: compatible with natural stone (and your finish requirements)
– Sealer: required per the slate’s porosity/finish and grout recommendations
– Waterproofing (if needed): rated for tile assemblies and the specific installation context
Remove the Old Slate Without Damaging the Subfloor
The safest slate removal protects the subfloor while you clean out enough old mortar to prevent ridges and uneven bonding. Work slowly and systematically—rushing is the most common reason DIYers create uneven patches that show through new slate.
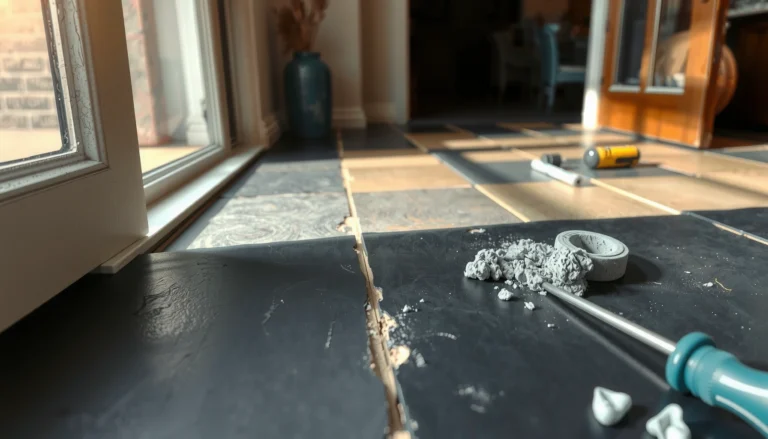
Remove in small sections. Loosen tiles systematically and keep an eye out for fasteners (especially on wood subfloors) or weak spots in the substrate. As tiles lift, focus on removing old thinset/mortar as thoroughly as practical. High ridges can telegraph through new slate and create lippage, even if the new tile is flat.
When old mortar comes up, prioritize cleaning to bare, sound substrate where the new mortar will bond. No loose debris, dust, or paint overspray should remain in the setting area—mortar needs a clean surface to form a strong bond.
Also, avoid gouging the substrate. If you’re working over wood, be careful not to damage joists or underlayment layers. If you’re working over concrete, keep the surface clean and sound; you can remove residue and skim-high spots, but don’t create low areas that require thick patching everywhere.
Uneven mortar ridges under slate can cause lippage and rocking because slate thickness is typically less forgiving than thicker tile formats.
Removing loose mortar and cleaning the substrate are essential for bond; thinset is not designed to bond over dust, paint overspray, or brittle residue.
Practical removal tips
– Photograph the floor before demo so you can replicate joint spacing or pattern direction.
– Use a plastic drop cloth for controlled cleanup; slate dust can be abrasive.
– Vacuum often—fine dust reduces adhesion.
Prep and Level the Subfloor for Slate
The subfloor must be stable and flat before slate gets set. Slate is unforgiving: if the base flexes or has high/low spots, tile damage can show up as cracks, hollow spots, or grout failure.
First, confirm the substrate is solid. For wood subfloors, address squeaks, movement, rot, and any sections that flex under pressure. For concrete, confirm it’s not crumbling or excessively dusty. Then fix any moisture issues before installing stone—water migration under tile assemblies is a common cause of long-term failure.
Second, level the floor. Level dips and remove high spots so you’re building a uniform mortar bed. Because slate is thin, unevenness becomes visible and tactile faster than with thicker tile formats.
Third, use the right underlayment or leveling compounds only if they are rated for tile/natural stone systems on your substrate. Many leveling products are not intended for direct stone installation or may require specific primer/mortar compatibility.
As a guideline, ANSI installation requirements also influence mortar coverage and substrate quality:
– According to ANSI A108.5, mortar coverage for most tile installations is commonly required to achieve a bonded area of 80% or greater for interior applications, with higher requirements in wet areas (values depend on conditions and system) (ANSI A108.5, “Installation of Ceramic Tile…”).
Slate installation quality is limited by the flattest plane you can create; even minor dips can translate into lippage or cracked edges.
For wood floors, substrate deflection and movement must be addressed before tile because stone tile systems transfer stress through the mortar bond.
Stats you can plan around (useful targets)
– Mortar coverage expectation: aim for full, continuous contact; many ANSI-based practices target 80%+ bonded area for interiors (ANSI A108.5).
– Perimeter expansion gap: follow your assembly requirements; typical practice is leaving a gap at walls/edges and using caulk/appropriate sealant (TCNA/ANSI guidance—match your system).
– Grout haze timing: grout manufacturers typically specify when to wipe/finish (commonly within the first 15–60 minutes depending on conditions) (Grout manufacturer installation instructions).
Install New Slate: Layout, Setting, and Grouting
The installation phase is where good prep turns into a durable floor. Plan the layout carefully, set tiles with compatible mortar and proper coverage, then grout and clean correctly—especially with natural stone.
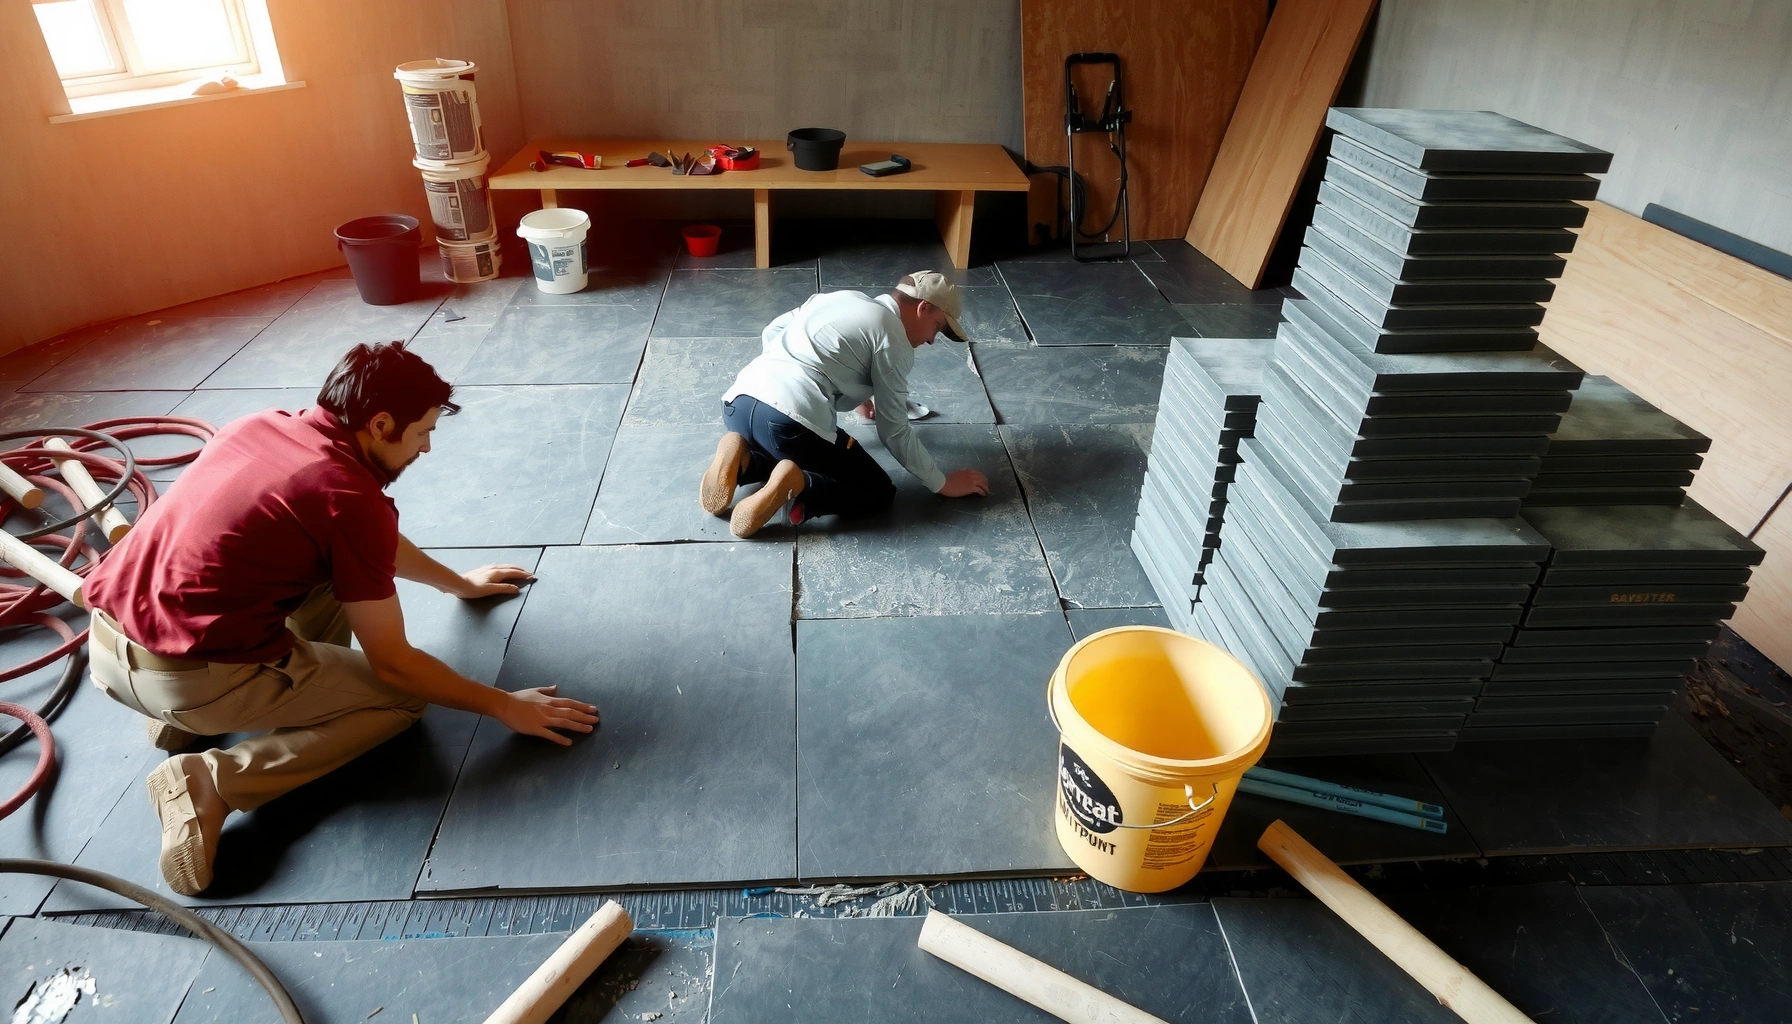
Start with layout mapping. Dry-lay rows to avoid unusable slivers at doorways and to control the direction of slate variation. Slate has natural color and texture movement; a deliberate layout direction helps the floor look intentional and consistent.
Then set tiles:
– Use the correct trowel notch for your mortar system and tile format.
– Spread mortar with consistent technique (flat side pressed down, then ridges formed).
– Set tiles with consistent pressure and avoid sliding once they’re seated beyond what your mortar allows.
– Use spacers to keep joint lines even and straight.
After the mortar cures, grout carefully:
– Mix grout exactly per instructions.
– Pack joints thoroughly (don’t leave voids).
– Wipe/buff to remove haze at the time window the grout manufacturer specifies, then let cure fully.
– Seal slate if required by the slate’s finish/product system and grout manufacturer guidance.
Dry layout planning reduces extreme cuts and helps keep slate’s natural variation visually balanced across the room.
Natural stone requires grout and cleaning practices that prevent permanent discoloration or haze buildup.
Set vs. grout: the sequence that matters
A common failure point is premature grout haze removal. If you wipe too early or too aggressively, you can pull pigment or leave inconsistent joint texture. If you wait too long, haze becomes harder to remove without risking damage.
Pros/cons: spot repair vs. full replacement (practical decision frame)
| Approach | Pros | Cons |
|---|---|---|
| Spot replacement | Lower demolition cost, faster turnaround, preserves existing pattern. | Hard to match height/bond if surrounding mortar is uneven or lifting. |
| Full replacement | Consistent flatness and uniform sealing/grout behavior across the entire floor. | More labor, higher material waste, may require transitions and more subfloor work. |
What Can Go Wrong (And How to Avoid It)
Slate replacement errors usually come from substrate issues, incompatible products, or rushing the cure/clean steps. The good news is that most problems are predictable and preventable if you follow a system approach.
Loose subfloor movement is a primary driver of cracked slate because stress concentrates at weak mortar bonds.
Using the wrong thinset or grout for natural stone can lead to discoloration, poor bond strength, or long-term joint failure.
– Loose or crumbling subfloor: If the base moves, new slate will crack or separate—fix substrate issues first (sister joists, replace rot, re-pan underlayment, or address concrete deterioration).
– Uneven mortar ridges or poor leveling: Results in rocking tiles and height differences; spend extra time preparing the surface before thinset goes down.
– Wrong mortar or grout for natural stone: Some products can discolor or fail to bond properly—always match the installer’s specs for natural stone.
– Skipping sealing (when required): Slate can be more stain-prone depending on finish and porosity; don’t assume it’s maintenance-free.
Common “gotchas” that aren’t obvious at first
– Thickness mismatch at transitions: even a small height change matters at door thresholds and existing flooring edges.
– Not accounting for slate batch variance: different splits and calibrations can produce subtle shade drift.
– Skipping proper joint finishing: grout needs correct cure and haze cleaning; sealing is not a shortcut.
Verdict / Tip: When DIY Replacement Makes Sense (and When It Doesn’t)
DIY slate replacement makes sense when the damaged area is contained, the subfloor is solid, and you have the right cutting setup (wet saw/tile saw) and time for careful leveling. If the room is manageable and you can follow a compatible mortar/grout/sealer system precisely, a DIY approach can deliver a durable, professional-looking result.
That said, slate is heavier and less forgiving than many ceramic/porcelain tiles. If leveling, substrate preparation, or product compatibility is uncertain, the risk of cracking, lippage, or haze/joint issues rises quickly.
Slate tile failures often trace back to substrate movement or insufficient bond contact rather than to the tile itself.
If you cannot guarantee the correct natural-stone mortar/grout/sealer system, professional installation is the safer path.
Skip DIY or get professional help if you discover structural damage, widespread moisture problems, major height transitions, or if you can’t ensure the correct mortar/grout/sealing system for natural stone.
Where the math matters: thickness and height planning
If your new slate plus mortar will raise the floor, you may need transitions, undercutting jambs, or trimming baseboards. Planning before demo prevents “almost fits” outcomes.
Quick Scan Checklist (Save This)
Use this checklist to confirm you’re aligned with a durable installation sequence—prep first, then set, then grout and seal.
Common Tile System Requirements That Prevent Slate Cracking (Recommended Practice by Source)
| # | Requirement (What to control) | Typical Target | Impact if Missed | Risk Rating |
|---|---|---|---|---|
| 1 | Subfloor stability (no movement) | No flex/squeak | Cracks, debonding | ★★★☆☆ |
| 2 | Flatness before setting | Minimize dips/highs | Rocking/lippage | ★★★★☆ |
| 3 | Mortar coverage (bonded area) | 80%+ interior | Hollow spots | ★★★☆☆ |
| 4 | Use natural-stone rated mortar | Verified compatibility | Discoloration | ★★★★☆ |
| 5 | Trowel notch match (ridge profile) | System-specified | Weak bond thickness | ★★★☆☆ |
| 6 | Grout haze timing | Per manufacturer | Staining/cleanup damage | ★★★☆☆ |
| 7 | Seal slate if required | Per porosity/finish | Stains, uneven absorption | ★★☆☆☆ |
– [ ] Confirm substrate type (wood vs. concrete) and stability
– [ ] Measure tile thickness and plan layout to avoid extreme cuts
– [ ] Remove old tiles/mortar thoroughly; clean surface
– [ ] Level the subfloor and address any moisture/deflection issues
– [ ] Use mortar suitable for natural stone + correct trowel size
– [ ] Set tiles with consistent joint spacing
– [ ] Grout properly and clean haze at the right time
– [ ] Seal slate if required by the stone finish/product system
FAQ
Can I replace just a few slate tiles without removing everything?
Often yes, but only if you can remove the damaged tiles and old mortar cleanly and still blend the new tile height with the surrounding floor. If the surrounding slate is lifting or the base is uneven, a broader replacement is safer.
Do I need to seal slate after installing it?
Many slate installations require sealing, but the exact need depends on the slate’s finish/porosity and the grout system. Check the slate and grout/sealer documentation: [ADD: source for whether your specific slate finish requires sealing].
What’s the biggest cause of cracked slate during replacement?
Usually uneven floors, inadequate mortar coverage/bond, or movement in the subfloor—not normal cutting. Leveling and substrate stability are the “make or break” factors.
What thinset/mortar should I use for slate floors?
Use a mortar system specifically rated for natural stone and your substrate. Follow the manufacturer’s instructions for mixing, application thickness, and curing times: [ADD: source for the correct mortar specification you plan to use].
Sources
– [ADD: Manufacturer specification for natural-stone thinset/mortar and recommended application (trowel notch, coverage, curing)]
– [ADD: Manufacturer documentation for slate sealing requirements (porosity/finish-based guidance)]
– [ADD: Grout manufacturer installation guide for natural stone use and haze-cleaning timing]
Replacing slate floors is straightforward in sequence—remove carefully, level the substrate, then set and grout with a natural-stone compatible system—but it’s only as good as your prep. If you control substrate stability and flatness, use the right mortar/grout/sealer, and follow cure/clean timing closely, your new slate floor will stay rigid, look consistent, and resist the cracking and staining problems that plague rushed installs.
Frequently Asked Questions
How do I replace a damaged slate floor tile without replacing the whole floor?
Start by locating the cracked tile and removing grout around it using a grout saw or oscillating tool. Carefully break the tile in the center with a chisel, then remove thinset or adhesive residue until you reach a flat, clean substrate. Install a replacement slate tile using a compatible thinset mortar for tile, set it flush with surrounding tiles, and regrout after the adhesive cures. This approach minimizes disruption and preserves the look of your existing slate floor.
What tools and materials do I need to replace slate floor tiles?
You’ll typically need a grout saw, angle grinder or oscillating multitool (often with a diamond blade) for precision cutting, and a chisel or tile removal tool. For installation, use thinset mortar suitable for natural stone, spacers, a notched trowel, and a tile leveling system if needed to match heights. Finish with grout that’s compatible with slate (often unsanded or stone-safe grout) and a penetrating sealer if your slate isn’t already sealed. Having a wet saw or diamond blade on hand helps when the replacement tile must be cut to fit.
Why do slate tiles crack during replacement, and how can I prevent it?
Slate cracks commonly happen from prying too aggressively, uneven subfloor spots, or using the wrong adhesive and forcing the tile into place. Prevent this by removing the tile methodically, clearing out old thinset fully, and ensuring the subfloor is flat and firmly bonded. Handle slate gently—use proper PPE and avoid impact on the edges—and set the tile with the right thinset to prevent voids beneath it. If your slate is particularly brittle, consider testing a small area for fit and placement before committing.
Which grout and sealer are best for slate floor replacement?
Because slate is porous, grout choice affects staining and long-term durability, so many homeowners prefer stone-friendly grout—often unsanded for narrow joints and compatible with natural stone. After grouting, apply a penetrating sealer designed for slate or natural stone to help resist moisture and dirt penetration. Be sure the slate is clean and fully cured before sealing, and test the product on a small area if you’re concerned about sheen or color change. Using the correct grout and sealer helps the replaced area blend and reduces future maintenance.
What is the best way to match a replaced slate tile to the surrounding floor?
Slate varies naturally in color and texture, so choose a replacement tile from the same batch if possible and dry-lay tiles to compare tone and veining. During installation, focus on height alignment by checking the surrounding tiles and using spacers or leveling clips to keep grout lines even. After setting and grouting, lightly clean the surface thoroughly and remove any haze promptly to prevent residue from standing out. For the most seamless look, reseal the replacement area so the new slate blends with the existing sealed finish.
📅 Last Updated: October 09, 2026 | Topic: How to replace slate floors? | Content verified for accuracy and freshness.
References
- Google Scholar Google Scholar
https://scholar.google.com/scholar?q=replace+slate+floor+tiles+removal+installation - Google Scholar Google Scholar
https://scholar.google.com/scholar?q=slate+tile+floor+installation+thinset+underlayment+grout - Google Scholar Google Scholar
https://scholar.google.com/scholar?q=repair+natural+stone+flooring+slate+tile+replacement - https://en.wikipedia.org/wiki/Slate
- Tile
https://en.wikipedia.org/wiki/Tile_floor - Flooring
https://en.wikipedia.org/wiki/Flooring - https://en.wikipedia.org/wiki/Underlayment_(flooring
- Thinset
https://en.wikipedia.org/wiki/Thinset_mortar - Grout
https://en.wikipedia.org/wiki/Grout - https://en.wikipedia.org/wiki/Natural_stone