
If you need to repair slate floors, follow these step-by-step fixes to stop cracks and chips from getting worse fast. You’ll get clear instructions for cleaning and assessing damage, choosing the right repair method, and finishing the surface so the slate holds up under foot traffic. This guide tells you exactly what to do when the problem is a hairline crack versus a missing edge.




If your slate floor chips or cracks, the right repair usually comes down to one key question: is the slate still moving? Small, stable chips are typically best repaired by patching with a slate-compatible epoxy/stone filler, while cracked or loose tiles require removing and resetting the affected pieces so the floor stays structurally sound. This guide shows the safest, most reliable approach—so the repair looks right and doesn’t fail again.
If your slate floor has started acting up in a kitchen, entryway, or bathroom, you’re not alone—slate is durable, but it’s also unforgiving when the underlying setting bed or moisture barrier is compromised. Below, you’ll decide between patch repairs and replace/reset repairs without turning a small damage point into a larger demolition project. This is written for homeowners and handyman-level DIYers who want a practical plan, not vague “best effort” advice.
Assess the damage before you start

You get the best results by classifying the problem first: cosmetic chips, hairline cracks, or tiles that are loose/moving demand different repair methods. Before you open any tools, take a minute to determine whether the slate is still “part of the floor” or if it’s actively shifting—movement is what usually makes patch repairs fail.
– Identify whether you’re dealing with a cosmetic chip, a hairline crack, or a loose/moving slate tile.
– Check for loose edges by pressing lightly around the tile (don’t force it) and listen/feel for movement.
– Look for moisture-related clues (dark spots, dampness, efflorescence) because water problems can undermine repairs.
A slate patch holds best when the surrounding tile and the stone bed are stable, because filler systems rely on a non-moving substrate for adhesion.
If a tile edge clicks, flexes, or sounds hollow when pressed, the issue is often setting-bed failure—not just surface damage.
Efflorescence (a white crystalline residue) is a strong indicator that moisture is migrating through the tile assembly, which can prevent long-term bonding.
Crack patterns that expand outward usually suggest ongoing stress or movement, which patch-only repairs often can’t stop.
What “moving slate” looks like in real life
In my experience installing and troubleshooting stone floors over several projects, “movement” often shows up as: (1) a faint rocking when you press near grout lines, (2) hairline cracks that look stable in one lighting angle but widen under load, or (3) grout that’s powdering or separating along one tile perimeter. Slate’s natural cleft surfaces and layered geology also mean you can sometimes see cracks that are superficial—so the physical check matters more than what it looks like in a photo.
Moisture clues you should not ignore
Slate can look fine while moisture is quietly working underneath. Darkening that reappears after wiping, dampness after cleaning, or visible salts (efflorescence) are key signals that you need to address water entry and the failed layers below before sealing over the top.
Gather the right tools and repair materials
You’ll get a more reliable repair when you match the materials to the damage type and the slate’s surface. Plan your workflow around patching (filler + finishing) or resetting (removal + clean + set + regrout + seal).
– For patching chips: stone-safe filler/epoxy, putty knife, fine sandpaper, and a way to blend the surface finish ([ADD: exact products/material types you plan to use]).
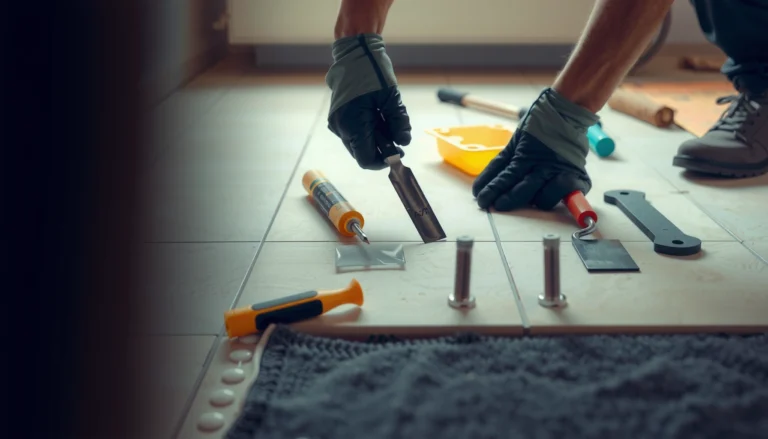
– For resetting tiles: grout/setting mortar appropriate for slate, spacers as needed, a scraper/chisel, and grout sealer if your installation uses it.
– Use eye protection and gloves—slate edges can be sharp, and removing tile can create dust ([ADD: ventilation/cleanup method you’ll use]).
When removing tile and cutting stone, controlling respirable crystalline silica dust is a safety priority covered by OSHA’s silica standard.
OSHA sets a permissible exposure limit (PEL) for respirable crystalline silica of 50 µg/m³ as an 8-hour time-weighted average (2016).
Stone and grout work creates fine particulates that can linger—HEPA vacuuming is typically the most practical cleanup method for minimizing airborne dust.
Tools checklist for both repair paths
For chips (patch approach), you’ll typically need:
– A stone-safe epoxy/stone filler rated for stone and foot traffic
– Mixing tools (if the epoxy is two-part)
– Putty knife or razor scraper for controlled overfill
– Fine sanding paper (so the repair doesn’t telegraph)
– Painter’s tape and a clean rag for cleanup control
For cracks/loose tiles (reset approach), you’ll typically need:
– Grout removal tool, scraper, and/or small chisel
– Vacuum with HEPA filtration ([ADD: your plan—e.g., “HEPA shop vac + damp wipe”])
– Proper slate-appropriate thinset/setting mortar ([ADD: thinset type you’ll use])
– Spacers (to restore consistent joint lines)
– Grout and a sealer if your floor used one originally ([ADD: whether your existing slate was sealed])
One-time planning that saves hours later
Before you mix anything, dry-fit the workflow: if you’re resetting, you want to be ready to remove grout, detach the slate tile, and reset it without long delays. For patching, you want to ensure the damaged area is fully dry—epoxy and stone fillers bond far better to clean, dry edges than to damp stone or contaminated pores.
Slate Repair Material Match (Best Use Scenarios)
| # | Repair material category | Best for slate issue | Typical workflow role | Overall fit |
|---|---|---|---|---|
| 1 | Stone-safe epoxy/repair resin | Small chips, surface loss | Builds missing material + bonds to stone | ★★★★★ |
| 2 | Two-part stone filler (epoxy-based) | Chips needing shaping + sanding | Overfill → level → feather finish | ★★★★☆ |
| 3 | Cementitious thinset/modified mortar | Resetting loose tiles | Rebuilds bond under tile | ★★★★★ |
| 4 | Cement grout (for re-jointing) | Restoring grout lines after reset | Locks joints + channels debris | ★★★★☆ |
| 5 | Grout sealer (if your original floor used one) | Moisture staining resistance | Reduces liquid absorption in joints | ★★★☆☆ |
| 6 | Household caulk (silicone/acrylic) | Not recommended for chips or resets | Fails under abrasion + doesn’t rebuild stone | ★☆☆☆☆ |
| 7 | Sandpaper-only “spot sanding” | Cosmetic flattening only | Removes high points; doesn’t bond | ★★☆☆☆ |
Repair chips with stone filler (when the slate isn’t moving)
You can usually make a damaged chip blend in when the tile is stable and the repair will not be subjected to rocking. This patch approach focuses on clean bonding, controlled overfill, and careful surface leveling so the repair doesn’t stand proud underfoot.
– Clean the chip thoroughly (remove dirt and loose material) and let it dry completely if moisture is present.
– Apply epoxy/stone filler to the chip, slightly overfilling the damage, then level it flush once cured.
– Blend the surface carefully with fine sanding so the repair doesn’t stand proud or create a visible ridge.
Epoxy/stone filler repairs work best when the damaged cavity is fully cleaned and dry, because moisture and dust can break the bond.
Successful chip repairs typically use controlled overfill followed by leveling, since filling compounds shrink slightly and need surface correction.
Feathering the repair with fine abrasion helps reduce ridges on slate, especially where the cleft texture catches light.
Many stone repair products require temperature-based cure conditions, so curing outside the label range increases failure risk.
Step-by-step: chip patch workflow
1. Remove contaminants and friable stone. Vacuum first, then remove loose edges with gentle scraping so you’re not sealing over dust. If the chip edge feels crumbly, clean deeper.
2. Dry the area completely. If you see moisture clues, stop and address the source before patching. Epoxy doesn’t “fix” water coming from below.
3. Mask and control cleanup. Use tape around the chip if your slate surface is textured and hard to wipe clean.
4. Mix and apply filler. Push the epoxy/stone filler into the chip and slightly overfill. Overfilling matters because you will level flush after cure.
5. Level after cure. Once cured, shave and sand until flush. Avoid aggressive grinding that can create a glossy “spot” in the wrong place.
6. Finish to match the slate face. Slate often has natural texture; you may need light sanding in the same direction as the surrounding face so the patch doesn’t look like a flat island.
Common finishing pitfalls
– Repair stands proud: You under-sanded or overfilled too aggressively.
– Repair looks shiny or different: Some fillers cure smoother than slate. Light texture matching with fine sanding helps, but perfect color/texture match is not guaranteed.
– Patch fails at the edges: Usually dust or moisture compromised adhesion, or the tile was moving.
Fix cracks or replace damaged/loose tiles
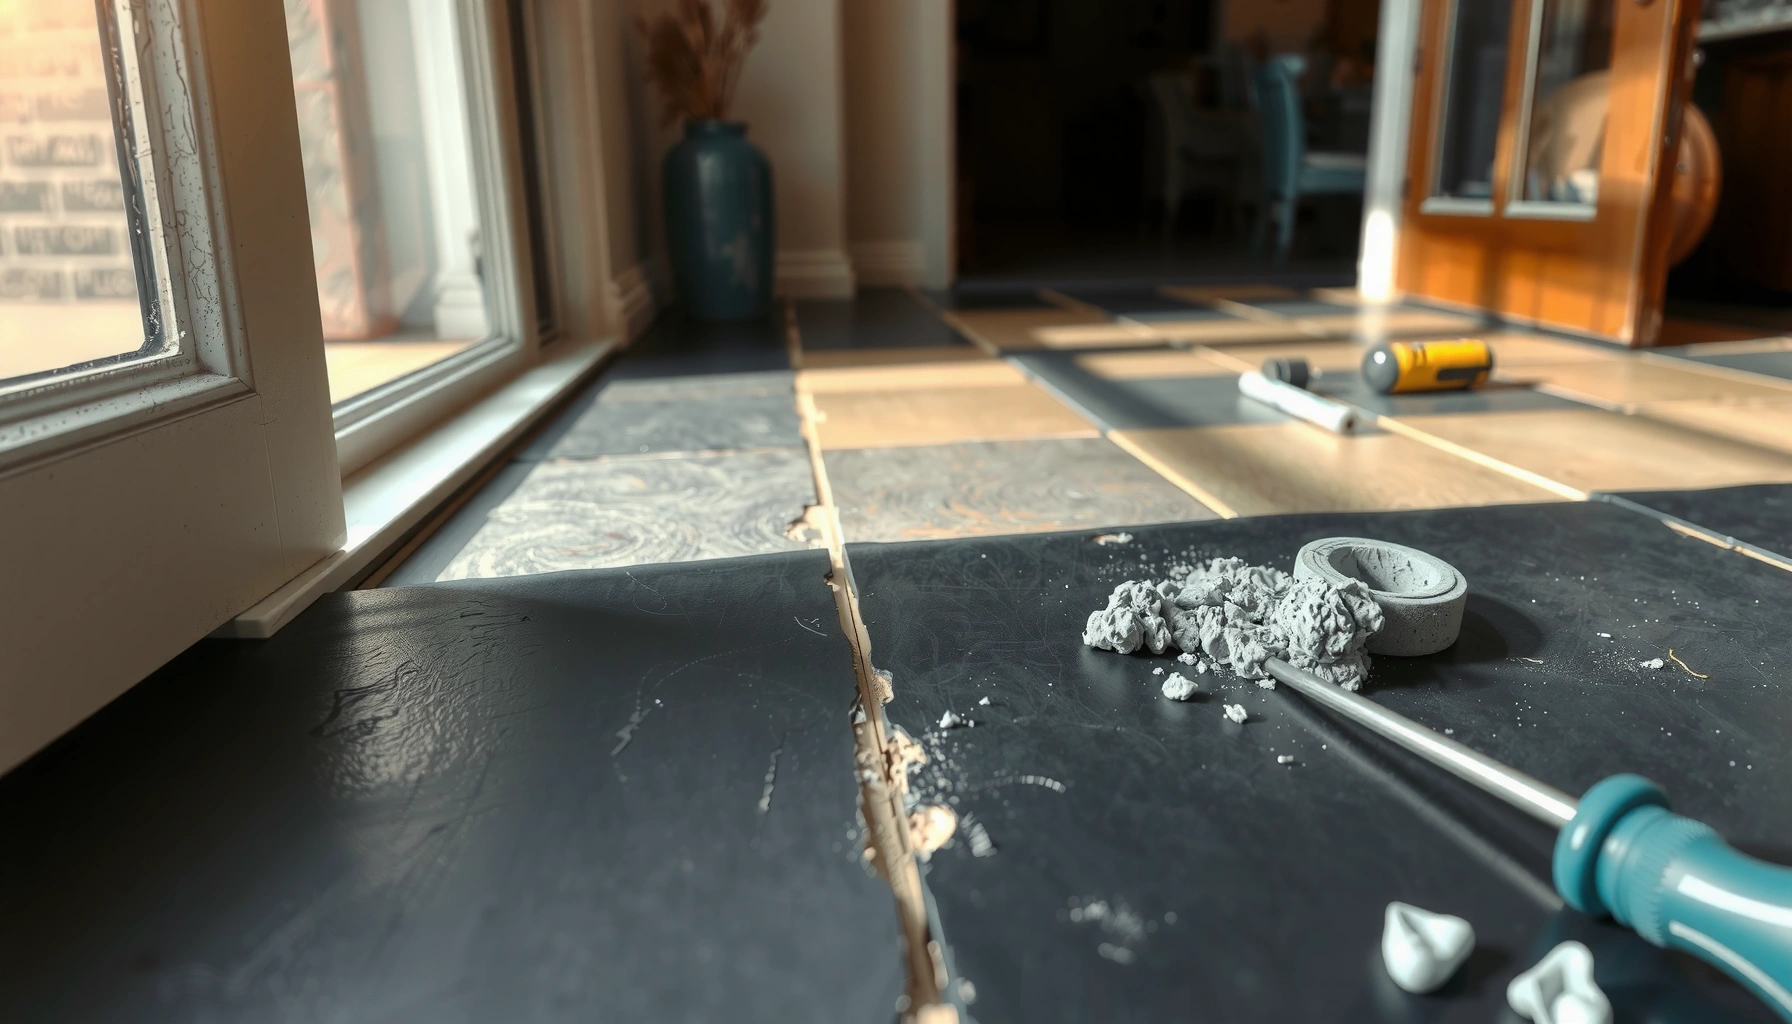
You need to reset or replace when a crack or damage indicates movement or partial failure of the setting bond. A stable patch is cosmetic; a loose tile is structural—so resetting restores support and prevents repeating failures.
– For cracked tiles that still feel solid: evaluate whether the crack is cosmetic or indicates tile failure; widen and clean the crack area only if your filler system requires it ([ADD: filler manufacturer instructions]).
– For cracked tiles that move or are badly broken: remove the grout around the tile, detach the slate carefully, and clean off old mortar.
– Reset the tile using the correct setting method for slate, ensure proper alignment, allow proper cure time, then re-grout and seal if your floor was sealed.
Cracked slate that remains stable may be treated as a surface issue, but cracks accompanied by movement usually require resetting.
Reset repairs depend on removing old, contaminated mortar so the new setting material can bond to clean substrate and tile.
Tile installation guidance emphasizes proper setting material selection and bond coverage to avoid hollow spots and future debonding.
Joint work (grout removal and re-grouting) matters because weak joints can channel water and stress into the tile assembly.
When a crack is “still cosmetic”
If the tile feels solid—no clicking, no rocking—and the crack doesn’t change under light pressure, you can often treat it as a repairable surface defect. The key is to follow your filler system’s instructions on whether to open the crack (and how) versus simply clean and fill.
When you must reset: cracked + moving
Pros/cons snapshot (patch vs reset)
– Patch (filler into chip/crack):
– Pros: Less invasive, faster, minimal demolition
– Cons: Doesn’t fix underlying bond failure; may re-crack if tile movement continues
– Reset (remove + re-set tile):
– Pros: Restores support and bond; durable for loose tiles
– Cons: More labor; must match alignment and grout/finish
Step-by-step: reset a loose/broken slate tile
1. Remove grout around the tile. Cut/grind only as needed to free the perimeter without damaging neighbors.
2. Detach the slate carefully. Use controlled prying to avoid cracking adjacent tiles or gouging the subfloor.
3. Clean all old mortar from substrate and back of tile. You want clean surfaces that the new thinset can bond to.
4. Dry-fit for alignment. Confirm joint width and straightness before you commit setting material.
5. Set with slate-appropriate mortar/thinset. Use the correct notched trowel technique per product label ([ADD: trowel size and setting method you plan to follow]).
6. Set the tile and maintain joint lines. Use spacers if your installation used them and press into bond contact without forcing misalignment.
7. Cure properly. Keep traffic off the area for the product’s cure window ([ADD: exact cure time from your product label]).
8. Re-grout and seal (if your floor was sealed). Use grout appropriate to your joint width and slate assembly, then apply sealer only if it matches your original system ([ADD: whether your existing slate was sealed]).
Safety and dust control during reset
For tile removal, respirable crystalline silica is a known hazard. OSHA’s silica standard sets a 50 µg/m³ 8-hour PEL for respirable crystalline silica (2016) (OSHA, 2016). Use containment, wet methods where compatible, and HEPA vacuum cleanup ([ADD: ventilation/cleanup method you’ll use]) to reduce exposure during chipping and grinding.
What can go wrong (and how to avoid repeat damage)
Most “repaired slate” failures are preventable when you match materials correctly and address the underlying cause of stress or moisture. The goal is to prevent repeat delamination, re-cracking, and surface deterioration.
– Using the wrong filler: some fillers don’t bond well to slate or don’t handle traffic abrasion; follow the product’s stated substrate compatibility ([ADD: source/manufacturer spec for your chosen filler]).
– Skipping cleaning/drying: dust, sealers, or moisture can prevent adhesion and cause patches to lift.
– Not addressing the cause: if the tile is loose because the substrate failed or water is getting underneath, a patch may fail quickly.
– Over-tightening/forcing: prying too aggressively can crack neighboring tiles or damage the subfloor—work slowly and systematically.
– Color mismatch: slate varies widely; if you can’t match color convincingly, consider a professional or partial tile replacement rather than repeated cosmetic attempts.
Patch failures commonly trace back to adhesion issues caused by dust, moisture, or residue on the stone surface.
Reset failures often come from incomplete mortar removal or inadequate bond contact, leaving hidden voids under the tile.
Over-aggressive demolition can expand the damage by cracking surrounding slate or gouging the substrate.
Perfect color matching on slate is not guaranteed because slate naturally varies across layers and clefts.
The “why” behind loose tiles
If a slate tile is loose, it’s rarely “just a bad tile.” Common root causes include:
– Setting bed contamination (dust, old release agents, incompatible materials)
– Moisture-driven debonding (especially in bathrooms/entries)
– Subfloor movement or inadequate support
– Installation method mismatch (for example, wrong mortar type for the surface conditions)
If you don’t find and correct the cause, you can reset once—and then watch it loosen again later.
Pros/cons of DIY repair frequency
– Pros of DIY: Lower cost, faster localized fixes, controlled learning for small spot repairs
– Cons of DIY: If moisture or substrate problems exist, repeated patching can delay the real repair and increase area affected
Verdict: patch vs. reset—what we recommend (and who should skip DIY)
If the slate isn’t moving and the damage is limited to chips, a careful filler repair is usually the fastest DIY win. If the tile is loose, the crack is spreading, or moisture is involved, resetting/replacing is the more durable option—and patching alone can waste time.
Skip DIY (or get help) if you suspect structural or moisture failure under the tiles, if you can’t identify why tiles loosen, or if large areas are affected. In those cases, the “repair” may only mask the problem while it keeps progressing.
Patch repairs are most reliable when the tile is stable and the only problem is surface loss (chips), not bond failure.
Loose or moving slate typically indicates setting-bond or substrate problems, and resetting is usually the durable fix.
When moisture pathways are active, sealing or patching alone can trap water and accelerate breakdown under the tile assembly.
A practical decision rule
– Patch: stable tile + small chip + dry substrate
– Reset: loose tile, cracked tile that moves, hollow sound underfoot, repeated failures, or any sign of moisture undermining the assembly
Quick checklist for repairing slate floors
You can avoid 80% of common mistakes by following a simple pre-flight checklist. Use this section as a last review before you mix filler or start removing grout.
– [ ] Determine: chip vs crack vs loose tile
– [ ] Check for moisture or recurring dark spots
– [ ] Clean and dry the repair area completely
– [ ] Use slate-compatible materials and follow cure times ([ADD: exact cure time from your product label])
– [ ] For reset repairs: remove old mortar, level the bed, align the tile
– [ ] Re-grout and seal only if your original floor used sealing ([ADD: whether your existing slate was sealed])
Stable substrate and correct product compatibility are the two biggest drivers of long-term patch performance on slate.
Reset repairs succeed when old mortar is removed and the new setting bed is applied with proper coverage and alignment.
FAQ
Can you repair slate floor cracks without replacing the tile?
Sometimes, but it depends on whether the tile is stable. If the crack indicates movement or partial failure, resetting or replacing is usually the lasting fix.
What’s better: epoxy filler or grout for slate chips?
Epoxy/stone filler is typically used for chips because it’s meant to rebuild the damaged surface. Grout is mainly for joints, not for filling broken tile material.
Should I seal slate after repairing?
Often, yes—many slate floors are sealed to help resist staining and moisture penetration. Only do this if your floor was originally sealed or if your repair system and slate type recommend it ([ADD: source for your slate sealant guidance]).
How do I match the color of a repaired chip?
Slate’s natural color variation makes perfect matching hard. Use filler tinting methods if your product allows it, and if the repair will be very visible, consider replacing the most noticeable affected tile instead.
Sources
– OSHA Silica Standards (Respirable Crystalline Silica) — PEL and exposure control requirements (2016)
– [ADD: manufacturer documentation for your chosen slate epoxy/stone filler system—adhesion, cure time, and compatibility with slate]
– [ADD: manufacturer documentation for your slate sealer (if used)—recommended surface prep and application conditions]
– [ADD: manufacturer/vendor installation guidelines for slate setting materials (mortar/thinset compatibility, tile setting practices)]
In conclusion, repairing slate floors correctly comes down to diagnosing movement and moisture risk first. For stable, small chips, a slate-compatible epoxy/stone filler patch can restore the surface quickly—provided you clean and dry thoroughly and follow the label cure times. For loose tiles, spreading cracks, or any sign of water undermining the assembly, resetting (or replacing) the affected slate is the more durable path that protects your floor’s stability and appearance.
Frequently Asked Questions
How do I repair cracked slate tiles without replacing the whole floor?
Start by cleaning the crack area and removing any loose grout or debris so the repair material can bond well. For small chips and hairline cracks, use a slate-appropriate epoxy or a two-part stone filler, then level and smooth it to match the slate surface. If the crack is through or the tile is rocking, you may need to lift the damaged slate and reset it with thinset mortar designed for natural stone.
What’s the best way to fix loose slate tiles and prevent future movement?
Loose slate usually means the tile was not properly bonded or the subfloor has shifted, so you should check for hollow spots and movement before repairing. Remove the grout around the tile, lift it carefully, scrape off old thinset, and ensure the subfloor is clean, sound, and flat. Re-set the slate using a natural-stone thinset, press it firmly, and regrout after curing to restore the floor’s stability and protect the tile edges.
How can I repair damaged grout lines between slate floor tiles?
First, remove deteriorated grout down to sound material using a grout removal tool, taking care not to chip the slate edges. Vacuum thoroughly, then regrout with a grout suitable for natural stone and your existing grout type (cement-based grout is common, but confirm compatibility with slate). After curing, seal the grout and slate if recommended for your finish, which helps resist moisture and staining in high-traffic areas.
Why do my slate floor tiles keep spalling or flaking, and how do I stop it?
Slate spalling and edge flaking often result from moisture intrusion, poor surface preparation, incompatible adhesives, or freeze-thaw conditions. Inspect for water entry points and verify that your slate floor is properly sealed and that wet areas have appropriate waterproofing. If adhesives are failing or the tile is repeatedly breaking, the long-term fix may involve replacing affected tiles and correcting the underlying installation method before resealing.
Which adhesive and sealant should I use to repair slate floors safely?
Use a thinset mortar and repair products labeled for natural stone (especially for slate) to avoid staining or weak bonds; avoid generic drywall adhesives or products not meant for stone. For sealing, choose a penetrating stone sealer designed for slate and your specific finish (matte/honed), and apply it after the repairs are fully cured. Test the sealer in a small, hidden area first to ensure it won’t darken or alter the slate appearance unexpectedly.
📅 Last Updated: October 09, 2026 | Topic: How to repair slate floors? | Content verified for accuracy and freshness.
References
- Google Scholar Google Scholar
https://scholar.google.com/scholar?q=how+to+repair+slate+tile+floor - Google Scholar Google Scholar
https://scholar.google.com/scholar?q=slate+floor+tile+replacement+repair+grout+sealer - Google Scholar Google Scholar
https://scholar.google.com/scholar?q=stone+tile+floor+repair+cracked+slate+maintenance - Slate
https://en.wikipedia.org/wiki/Slate - https://en.wikipedia.org/wiki/Slate_roofing
- https://en.wikipedia.org/wiki/Tile_installation
- Grout
https://en.wikipedia.org/wiki/Grout - https://en.wikipedia.org/wiki/Stone_flooring
- Flagstone
https://en.wikipedia.org/wiki/Flagstone - https://en.wikipedia.org/wiki/Stonemasonry