
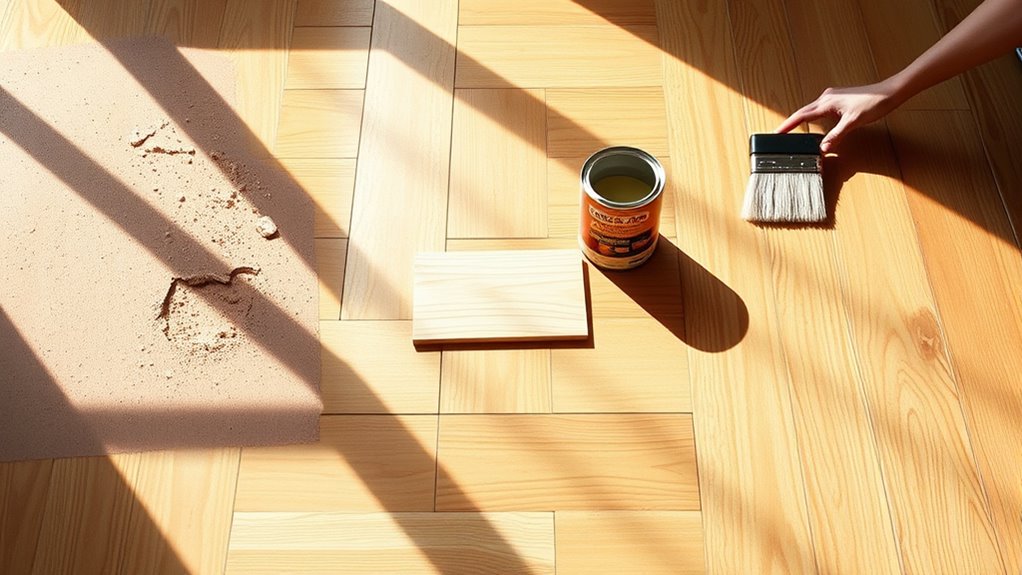

To patch a wood floor in three steps, first inspect and clean the damaged area, removing debris and sanding edges smooth for good adhesion. Next, select a wood filler suited to your floor type and damage depth, then apply it with a putty knife, slightly overfilling the spot. Finally, sand the dried filler progressively for a flush finish and apply a compatible topcoat. Follow these steps for solid repairs, and you’ll gain confidence in maintaining your floor’s durability and appearance.




Assess and Prepare the Damaged Area
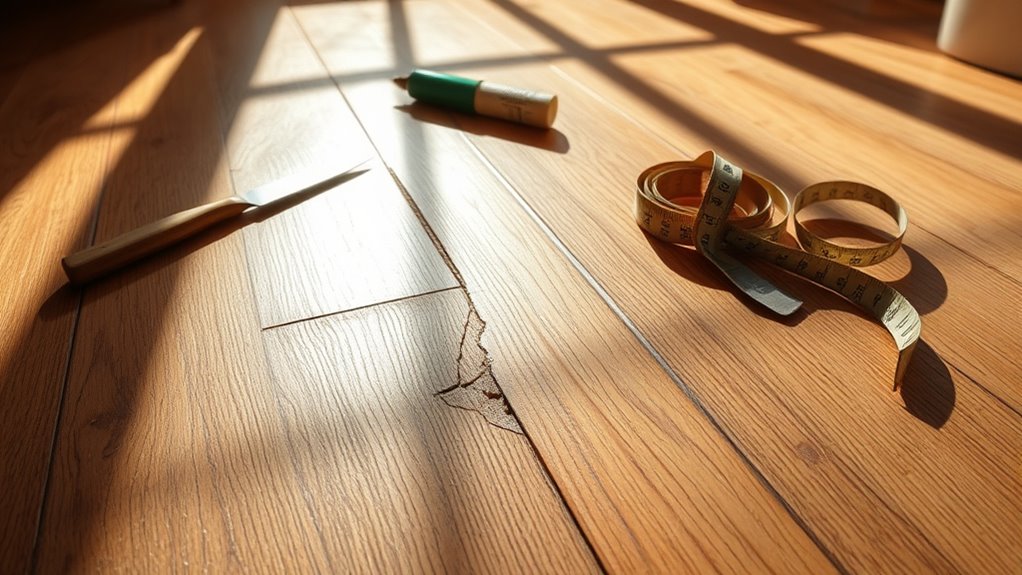
Before you begin patching, carefully assess the damaged area to determine the extent of the wear or injury to the wood floor. Conduct a thorough damage evaluation by inspecting for cracks, gouges, or rot. Use a flashlight at an angle to reveal surface irregularities and check if the damage extends beneath the surface. Accurate damage evaluation guarantees you target only compromised wood, preserving as much original flooring as possible. Next, apply preparation techniques vital for ideal adhesion. Clean the area by removing dirt, debris, and loose fibers with a vacuum or brush. Sand the edges of the damaged area to create a smooth shift between damaged and intact wood. This precise preparation enables a seamless patch and durable repair, giving you the freedom to restore your floor efficiently.
Choose and Apply the Right Wood Filler
Selecting the right wood filler is essential for a durable and visually consistent repair. You’ll want to match the wood filler types to your floor’s material and damage size to guarantee longevity and aesthetics. Here’s how to proceed:
Choosing the right wood filler ensures durable, seamless repairs tailored to your floor’s material and damage size.
- Choose the filler: Use water-based fillers for small cracks, epoxy-based for deep gouges, and solvent-based for hardwood floors requiring a strong bond.
- Prepare the area: Clean dust and debris thoroughly; a clean surface improves adhesion.
- Apply precisely: Use a putty knife to press filler into the damaged area, slightly overfilling to allow for sanding. Smooth the surface with consistent pressure to avoid air pockets.
Mastering these application techniques guarantees a solid, nearly invisible patch, giving you the freedom to maintain your wood floor confidently.
Sand and Finish for a Seamless Repair
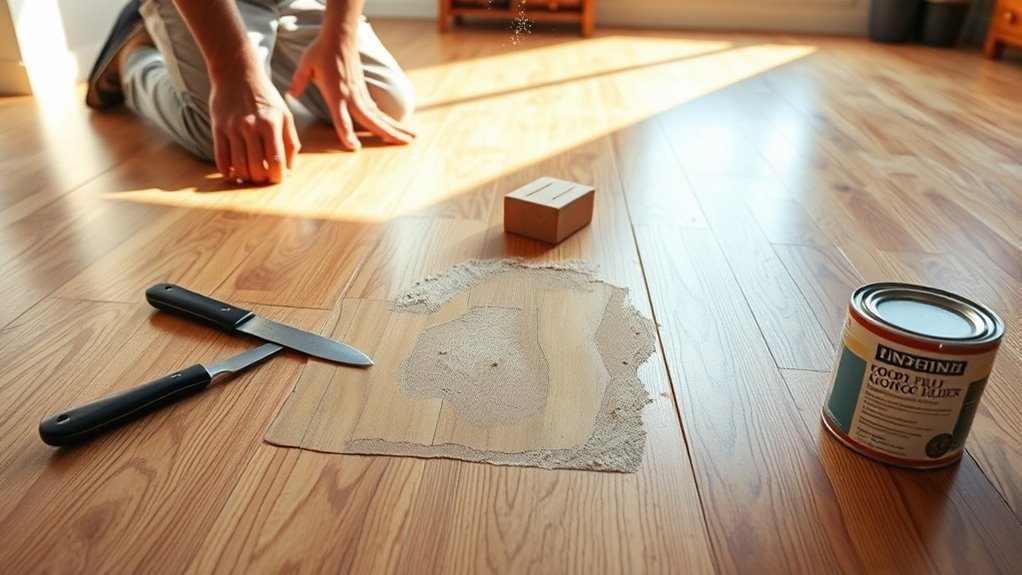
Once the wood filler has fully dried, sanding is your next step to confirm the patched area blends seamlessly with the surrounding floor. Begin with medium-grit sandpaper (around 120-grit) using a sanding block or orbital sander to level the filler with the wood surface. Progress to fine-grit sandpaper (220-grit) to smooth the area, eliminating scratches and guaranteeing an even texture. Proper sanding techniques prevent visible shifts and prepare the patch for finishing. After sanding, clean the dust thoroughly. Choose finishing options compatible with your floor’s original finish—such as polyurethane for durability or tung oil for natural appearance. Apply thin, even coats, allowing proper drying time between layers. This precise approach guarantees a seamless repair, restoring your floor’s integrity and preserving your freedom to walk confidently on a flawless surface.



[…] on hardwood floors, step by step. You’ll learn why the finish or top layer lifts, how to prep the damaged area, and how to sand and recoat so the repair blends and lasts. Follow these instructions and you’ll […]
[…] sheet vinyl repairs succeed when the damaged area is cleaned and dried thoroughly, then bonded with an adhesive designed specifically for resilient […]
[…] is key for a seamless repair on sheet vinyl, especially if the scratch has exposed a different layer. Choose a vinyl repair kit […]
[…] step-by-step guide shows exactly how to fix them. You’ll learn the fastest way to prepare the damaged area, choose the right vinyl repair compound, and seal the crack so it holds up under normal foot […]
[…] by cleaning the damaged area and inspecting the plank edges to see whether the click system is affected. Minor chipping can […]
[…] guide walks you through the exact diagnosis steps, then the correct peel-and-repair workflow so the damaged area stops lifting and blends back cleanly. If you want to know what to do right now to restore your SPC […]
[…] has cracks, the best fix is usually to remove the cause (moisture/movement) and then repair the damaged area with the right filler for the crack type. For small hairline gaps, you can often use matching […]
[…] Scrub the damaged area with a non-oily stone-safe […]
[…] with the correct prep and mortar. This guide walks you through diagnosing the cause, repairing the damaged area, and preventing it from coming […]
[…] you exactly how to do it. You’ll learn how to assess the depth and cause of the dent, prep the damaged area, and apply the correct concrete patch so the surface is level and durable. By the end, you’ll […]