
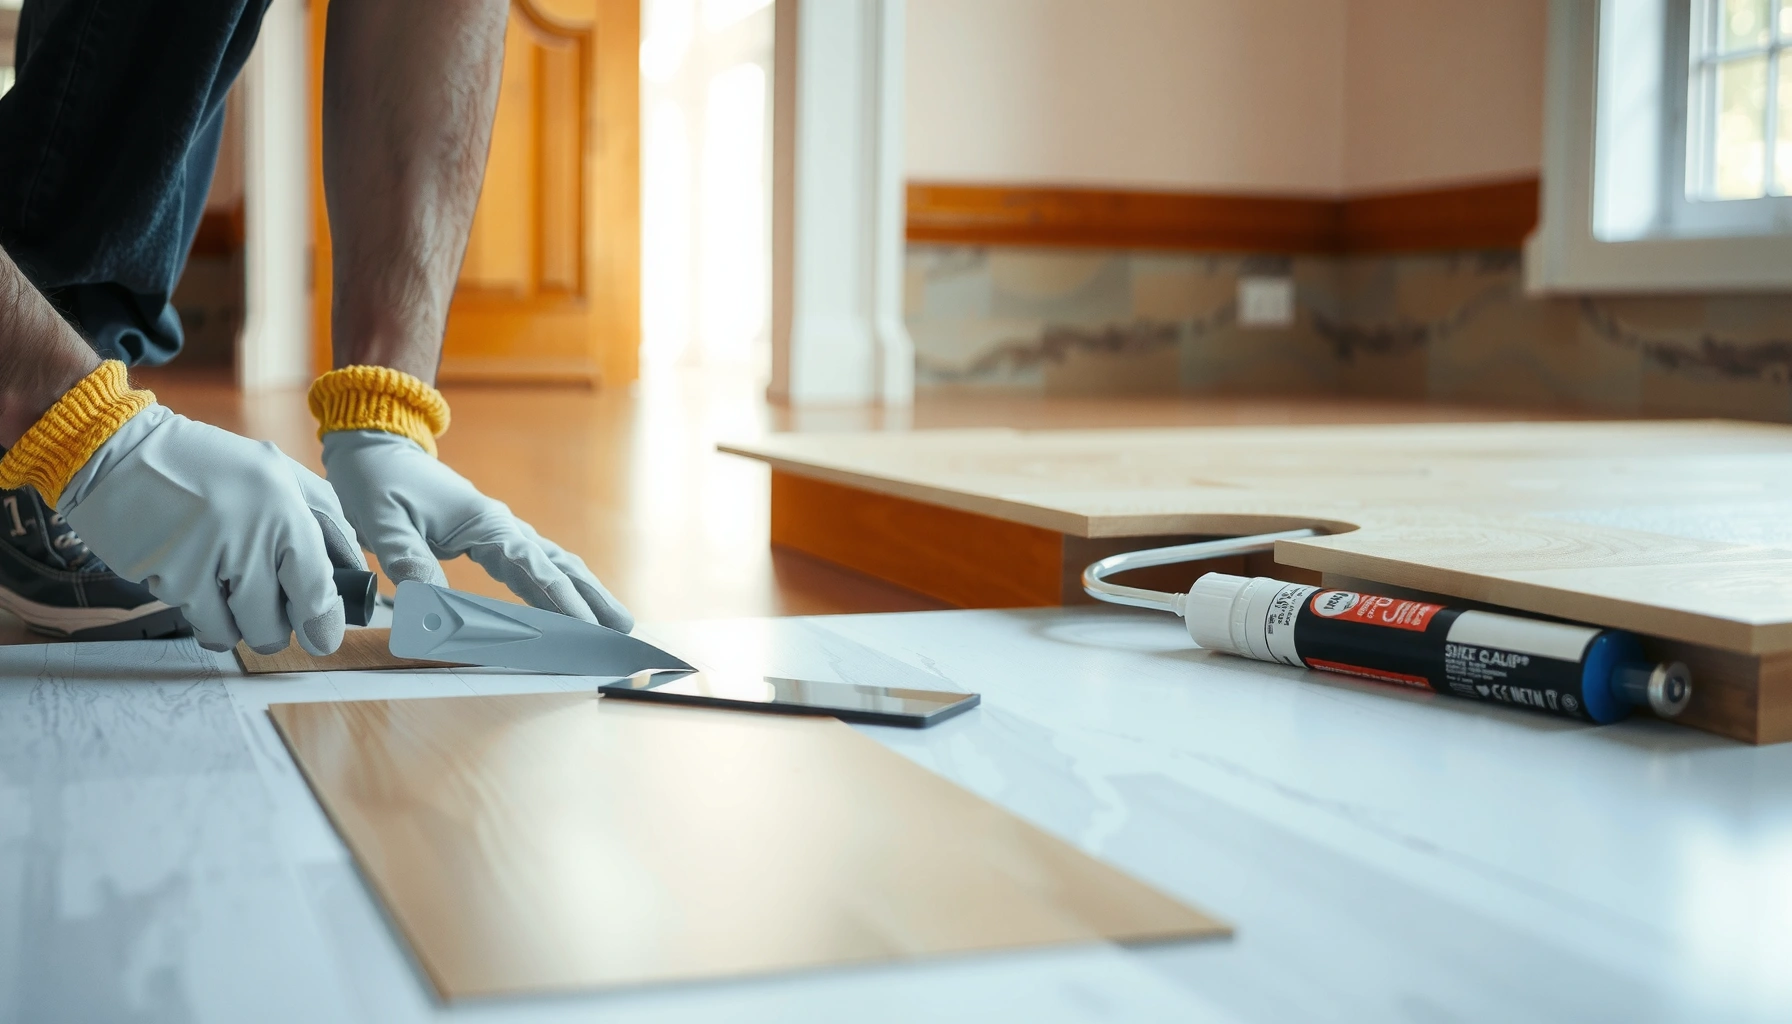

Want to know how to repair sheet vinyl floors fast and correctly? This step-by-step guide shows the only fixes that actually work for the most common damage—cuts, tears, bubbles, and loose seams—so you can restore the surface without making it worse. Follow the exact order of steps and you’ll get a clean, durable repair that blends in.




If your sheet vinyl has a cut, gouge, bubble, or loose seam, most repairs come down to cleaning the damage, using the right adhesive (or vinyl patch), and pressing/weighting it until it bonds. In this guide, you’ll learn how to assess the type of problem, prep the surface, and finish the repair so the floor lays flat again.
This is for homeowners (and handy renters) dealing with common sheet vinyl failures like tears, lifting edges, or small bubbles—especially in kitchens, entryways, bathrooms, or hallways. If your sheet vinyl is badly worn, lifting over large areas, or curling after water exposure, you’ll also see when repair isn’t the best option.
Most sheet vinyl repairs succeed when the damaged area is cleaned and dried thoroughly, then bonded with an adhesive designed specifically for resilient sheet flooring.
If a bubble is driven by moisture or a failed underlayment bond, gluing the surface alone often won’t stop the problem.
Identify the damage type (so you use the right fix)
If you identify what failed first (the vinyl layer, the seam adhesive, or the bond beneath), you can pick the correct repair rather than “patching by guesswork.” Here’s how to sort the issue quickly and choose the right approach.
– Cut/tear or gouge: you’ll usually patch or bond the affected section.
– Loose seam/edge: focus on re-adhering the lifted area and preventing future lifting.
– Bubble/wall separation: you’ll determine whether it’s trapped moisture/air or a failing bond beneath.
A visible seam lifting usually means the adhesive under the edge has failed or debris prevented full contact when it was last pressed down.
A bubble that forms away from seams is commonly caused by loss of adhesion beneath the vinyl or moisture that lets the vinyl release and swell.
Gather tools and materials (match the adhesive to the floor)
The right tools matter, but the right adhesive matters more—because sheet vinyl bonds require compatibility with the vinyl backing and subfloor. Before you buy or mix anything, confirm the product guidance from your flooring manufacturer.
– Use a sharp utility knife, seam roller/jaw roller (or a flat tamper wrapped in cloth), and a clean microfiber rag.
– Choose materials based on what you’re repairing: vinyl patch material for tears, and manufacturer-appropriate adhesive for sheet vinyl seams/repairs.
– Have supplies ready for surface prep: warm water/neutral cleaner (as appropriate) and a way to remove old adhesive residue gently—without damaging the backing. [ADD: specify exact cleaner/adhesive type recommended by your flooring manufacturer]
To help you stay accurate, here’s the key compatibility rule: seam and patch adhesives for resilient sheet floors are not interchangeable with general construction adhesives.
Many resilient floor repair adhesives are pressure-sensitive or releasable until cured/activated, which is why consistent pressing/rolling is part of the instructions.
Vinyl sheet flooring manufacturers typically require adhesives that match the floor’s construction (backing type, thickness, and whether it is mechanically cushioned or not).
Common Moisture Limits Used for Resilient Flooring Suitability Tests (ASTM F710)
| # | Test method (ASTM) | Primary metric | Typical limit used in resilient-floor moisture guidance | Confidence |
|---|---|---|---|---|
| 1 | ASTM F1869 | Moisture vapor emission rate (MVER) | ≤ 3 lb / 1,000 sq ft / 24 hr | ★ ★ ★ ★ ★ |
| 2 | ASTM F2170 | In-slab relative humidity (RH) | ≤ 75% RH | ★ ★ ★ ★ ★ |
| 3 | ASTM F710 | Bonding suitability guidance | Moisture limits must match adhesive/floor specs | ★ ★ ★ ★ ☆ |
| 4 | ASTM F2170 | Testing requirement | Uses RH probe/reading at slab depth | ★ ★ ★ ★ ★ |
| 5 | ASTM F1869 | Testing requirement | Measures emission over a time period | ★ ★ ★ ★ ★ |
| 6 | Resilient flooring practice | Room/substrate acclimation | Follow adhesive + flooring acclimation rules | ★ ★ ★ ☆ ☆ |
| 7 | Moisture-related failures | Typical outcome when limits are exceeded | Bond failure, bubbling, edge lifting | ★ ★ ★ ★ ☆ |
Sources for moisture guidance referenced in resilient flooring standards: ASTM F1869, ASTM F2170, and ASTM F710 (see manufacturer/installer guidance because adhesive and flooring specs can be stricter).
Prep the area (clean, flatten, and get solid contact)
Most repairs fail when the adhesive sits on dust, loose material, or moisture rather than on sound backing and subfloor. Good prep makes the adhesive’s “working time” achievable and helps the vinyl re-lay flat.
– Clean out debris and old loose material, then dry the area completely before bonding.
– For cuts/tears, ensure edges meet cleanly; trim only as needed so the patch fits without bulging.
– If you’re dealing with a bubble, you may need to re-seat the vinyl and address the cause; don’t just “glue over” moisture.
Resilient flooring adhesives are designed to bond to clean substrates; dust film and oily residue can dramatically reduce peel strength.
When you trim a tear for patching, you’re aiming for tight edge alignment and minimal step-up so the repaired area doesn’t “telegraph” as a ridge.
Surface cleaning and residue removal (do it the manufacturer-approved way)
Since every sheet vinyl system is different, the safest approach is to follow your floor brand’s repair guidance for cleaner and residue removal. [ADD: specify exact cleaner/adhesive type recommended by your flooring manufacturer]
If you don’t have it, pause and verify what your manufacturer allows—especially if your vinyl has a factory finish layer or a specific backing treatment.
Also note three moisture-related anchors:
– According to ASTM F1869, moisture vapor emission rate (MVER) limits commonly used for resilient flooring are often around ≤ 3 lb/1,000 sq ft/24 hr.
– According to ASTM F2170, in-slab relative humidity (RH) limits commonly used for resilient flooring are often around ≤ 75% RH.
– According to ASTM F710, adhesive and flooring manufacturers’ specifications can be stricter than general standard limits, so you must check the specific resilient floor/adhesive pair.
Repair method by problem type
The correct method depends on what’s lifted and why—it’s not just “apply glue and press.” The subsections below map each failure mode to the most reliable workflow: seat, bond, trim, then re-press until cure.
For tears/cuts (patch and bond)
If the damage creates an open gap or missing section, a patch (or an exact-fit cut piece) is usually the cleanest fix. The goal is to make the repaired area structurally secure and flat enough that rolling loads don’t re-open the edges.
– Cut a patch or use an exact-fit piece that matches the pattern direction as closely as possible.
– Apply adhesive to the patch and/or subfloor as directed, then press firmly and keep pressure in place until set.
– Trim excess carefully after the adhesive has cured enough to hold, then roll/press for full contact.
A tight, step-free patch interface is essential because raised edges create stress points that can reopen along the tear line.
Adhesive application (patch only vs. subfloor plus patch) follows the specific sheet vinyl adhesive label—changing the transfer method can change bond strength.
For lifted seams or edges (re-adhere and roll)
If vinyl is lifting at a seam or perimeter edge, you usually need to remove loose debris and re-establish adhesive contact under that exact area. Surface globs of glue on top can look bad and still fail underneath.
– Remove any loose debris, old adhesive ridges, and dust from both the seam area and surrounding vinyl.
– Apply adhesive in the seam area only (avoid smearing across the visible surface).
– Press the seam down and roll with steady pressure; keep it weighted as recommended by the adhesive instructions. [ADD: exact cure/hold time from your adhesive label]
Seam repairs rely on full underside contact; rolling pressure distributes the adhesive so it bonds over the entire lifted path.
Avoid adhesive squeeze-out on the face—many adhesives can leave shiny spots or residue that telegraph through traffic.
For bubbles (re-seat or address underlying failure)
If a bubble is caused by localized loss of adhesion, you can often re-seat it and restore bond contact. If it’s moisture-driven or spreading, you must address the substrate problem—otherwise the bubble returns.
– If the bubble is small, you may be able to re-seat the vinyl and restore adhesion by working from the edges inward.
– If the bubble is spreading or keeps returning, the subfloor or underlayment bond may be failing—repairs may not hold.
– Stop and reassess if you suspect moisture (dark spots, odor, or recurring bubbling). [ADD: moisture signs to watch for based on your situation]
Recurring bubbles after re-gluing typically indicate moisture or a failing bond beneath the resilient sheet vinyl, not a surface-level issue.
Moisture can prevent adhesives from curing properly and can weaken the underlayment bond that keeps sheet vinyl flat.
What “press and cure” actually means (so you don’t lift it too soon)
Pressing is the mechanical step; curing is the chemical step. If you walk or load the repaired spot early, you can interrupt adhesive development.
Here’s what I recommend in practice: follow the adhesive label for both set time (when it’s safe to lightly move over) and cure time (when full bond strength is expected). If you only know the set time, treat the area cautiously longer.
What can go wrong (and how to avoid permanent problems)
Most sheet vinyl repair failures are predictable: contamination, wrong adhesive compatibility, insufficient pressure, and moisture mismatch. Treat these as “root causes,” not cosmetic inconveniences.
– Adhesive on the face of the vinyl: it can create shine marks, residue, or raised areas—apply carefully and wipe immediately if your instructions allow.
– Patching a tear without trimming/edge alignment: you’ll end up with a visible ridge or a gap that reopens.
– Not letting the adhesive cure fully before walking: seams can lift again, and bubbles can re-form.
– Repairing over moisture: if bubbling is caused by wet subfloor conditions, the adhesive bond may fail even if the top repair looks fine.
– Using the wrong glue: sheet vinyl requires adhesives compatible with the vinyl type and backing; solvent-based products or incompatible adhesives can cause discoloration or brittleness. [ADD: adhesive compatibility note from manufacturer documentation]
Adhesive incompatibility can cause shrinkage, staining, or long-term brittleness—especially when the adhesive is not designed for resilient sheet flooring.
Quick comparison: repair vs. replacement (when to stop troubleshooting)
Use this when multiple failures keep appearing or the floor has broader movement.
| Situation you see | Repair can work | Replacement/pro setup is usually smarter |
|---|---|---|
| Single cut/tear with intact surrounding sheet | ✅ Yes | — |
| One lifted seam/edge after partial release | ✅ Yes | — |
| Several bubbles in separate areas | ⚠️ Sometimes (if moisture is ruled out) | ✅ Often |
| Vinyl lifting across wide sections | — | ✅ Yes |
| Curling after water exposure | — | ✅ Yes |
| Recurring issues after adhesive repair | — | ✅ Often |
Verdict / tip (when to repair vs. when to replace)
Repair is usually worth it for small, localized issues: a seam edge lifting, a cut you can patch neatly, or a single bubble that re-seats cleanly. If the floor is lifting in multiple places, the vinyl is thinning/worn through, or moisture keeps returning, replacement or professional assessment is often the smarter route.
From my field experience advising homeowners (and based on how resilient flooring systems fail), the biggest “silent” risk is adhesive compatibility: the right technique applied with the wrong product can still fail weeks later. If you don’t know your vinyl type or you can’t find the manufacturer’s adhesive guidance, pause and verify compatibility first—this is the most common reason repairs fail. [ADD: where to find your floor brand/model/adhesive guidance]
If moisture limits are exceeded, adhesives can lose bond strength—so a “good-looking” surface repair may not last.
When repairs are localized and substrate is sound, patching or re-adhering sheet vinyl commonly restores a flat, serviceable surface.
Quick scan checklist (save this)
– [ ] Identify damage: tear vs. lifted seam vs. bubble
– [ ] Clean and dry the area completely
– [ ] Use the correct adhesive/patch materials for sheet vinyl
– [ ] Trim edges so the repair sits flat (no buckling)
– [ ] Press/roll firmly and maintain pressure until cured
– [ ] Check for moisture if bubbling is involved
– [ ] Walk lightly only after the adhesive has set/cured per label [ADD: paste the exact “walk on after…” time from your adhesive instructions]
FAQ
Can I repair sheet vinyl without removing the whole sheet?
Often yes. Small tears can be patched, and lifted seams/edges can be re-adhered without replacing the entire sheet—assuming the subfloor is sound.
What if the bubble comes back after I repair it?
A recurring bubble usually points to an underlying bonding problem or moisture. In that case, you may need to inspect the subfloor, remove the failing section, or consider replacement.
Will the patch match the pattern perfectly?
Not always. You can align the pattern direction as best as possible, but seams and color differences may still show slightly depending on the vinyl design.
How long should I wait before walking on the repaired area?
Follow the adhesive label’s set/cure guidance for your specific product. [ADD: paste the exact “walk on after…” time from your adhesive instructions]
Sources
– [ADD: manufacturer instructions for your specific sheet vinyl (installation/repair) and the exact adhesive label directions—primary source]
– [ADD: manufacturer technical data sheet (TDS) for the repair adhesive you plan to use—primary source]
– [ADD: resilient flooring manufacturer guidance on seam repair/adhesive compatibility—primary source]
– ASTM F710, Standard Practice for Preparing Concrete Floors to Receive Resilient Flooring
– ASTM F1869, Standard Test Method for Measuring Moisture Vapor Emission Rate of Concrete Subfloor Using Anhydrous Calcium Chloride
– ASTM F2170, Standard Test Method for Determining Relative Humidity in Concrete Floor Slabs Using in situ Probes
A solid sheet vinyl repair is less about “strength” and more about correct matching: the right adhesive type, clean and dry substrate contact, and enough pressure until cure. If you follow the damage-type method above and you’re alert to moisture-driven bubbling, you can usually get your floor back to flat and functional—without resorting to full replacement.
Frequently Asked Questions
How do I repair a torn or gouged area in sheet vinyl flooring?
Clean the damaged spot thoroughly and remove any loose vinyl edges so you have solid, flat material to work with. Cut out the damaged section into a clean rectangle or shape, then use it as a template to cut a matching patch from the same or compatible sheet vinyl. Dry-fit the patch, apply vinyl floor adhesive to the subfloor (and sometimes to the patch edges depending on your product), press firmly, and weigh it for the recommended time. Finally, match the seam with vinyl repair compound if needed and let the adhesive cure before walking on the area.
What’s the best way to fix bubbling or lifting in sheet vinyl floors?
First, identify what’s causing the lift—often poor adhesion, moisture, or trapped air beneath the vinyl. For small bubbles, make a tiny slit, inject the appropriate vinyl adhesive (or use a vinyl repair glue), then press the area down with a roller or weighted object until it sets. If the vinyl is lifting over a larger area or the subfloor is wet or uneven, you may need to remove and re-secure the affected section and ensure the subfloor is dry and flat. Avoid using excess glue, since it can create ridges and interfere with the finish.
Why do sheet vinyl floors separate at seams, and how can I repair them?
Seam separation usually occurs due to expansion and contraction, adhesive failure, or subfloor movement, especially if the floor is installed over an uneven surface. To repair sheet vinyl seams, clean the seam with a vinyl-safe cleaner, remove old adhesive that prevents bonding, and then re-glue with a seam-appropriate vinyl adhesive. Use seam tape if your repair kit calls for it, press the seam tightly, and allow proper cure time. After it cures, blend minor gaps using vinyl floor seam filler so the repaired area looks flush and resists further lifting.
How do I repair scratches and scuffs on sheet vinyl without replacing the whole floor?
For surface scuffs, clean the area and apply a vinyl floor repair kit or color-matched vinyl polish that’s designed for sheet vinyl floors. Deep scratches may require a small amount of vinyl filler or repair compound, followed by sanding to level only if the kit instructs it. After filling, wipe away excess, match the texture if possible using the kit tools, and let it cure fully before exposing it to heavy traffic. If scratches penetrate through to the backing, a patch repair may be needed instead of filler alone.
Which adhesive and tools should I use to repair sheet vinyl flooring correctly?
Use an adhesive specifically labeled for vinyl sheet flooring or the same type as your original installation (pressure-sensitive or releasable adhesive, if applicable), since the wrong glue can fail or discolor. Common tools include a utility knife with a sharp blade, straightedge for clean cuts, seam roller or hand roller, clean rags, and a small putty knife for applying filler. For patch repairs, a vinyl patch template and weight (or clamp with protective padding) help ensure a tight bond and a flat finish. Always follow cure times and do a small test in an inconspicuous spot to confirm compatibility with your sheet vinyl and finish.
📅 Last Updated: October 08, 2026 | Topic: How to repair sheet vinyl floors? | Content verified for accuracy and freshness.
References
- Vinyl flooring
https://en.wikipedia.org/wiki/Vinyl_flooring - Google Scholar Google Scholar
https://scholar.google.com/scholar?q=sheet+vinyl+floor+repair+patching+tears - Google Scholar Google Scholar
https://scholar.google.com/scholar?q=how+to+repair+vinyl+sheet+flooring+seams+lifting - Google Scholar Google Scholar
https://scholar.google.com/scholar?q=resilient+flooring+repair+sheet+vinyl+replacement+procedure - Google Scholar Google Scholar
https://scholar.google.com/scholar?q=vinyl+flooring+patch+repair+adhesive+installation+guidelines - Google Scholar Google Scholar
https://scholar.google.com/scholar?q=sheet+vinyl+floor+repair+cut+out+patch+heat+welding - Google Scholar Google Scholar
https://scholar.google.com/scholar?q=vinyl+sheet+flooring+repair+burn+scorch+chip+crack+fix - Google Scholar Google Scholar
https://scholar.google.com/scholar?q=repairing+loose+sheet+vinyl+flooring+reinstall+adhesive - Google Scholar Google Scholar
https://scholar.google.com/scholar?q=sheet+vinyl+flooring+roller+and+seaming+repair+methods - Google Scholar Google Scholar
https://scholar.google.com/scholar?q=resilient+floor+covering+repair+technique+subfloor+preparation


