
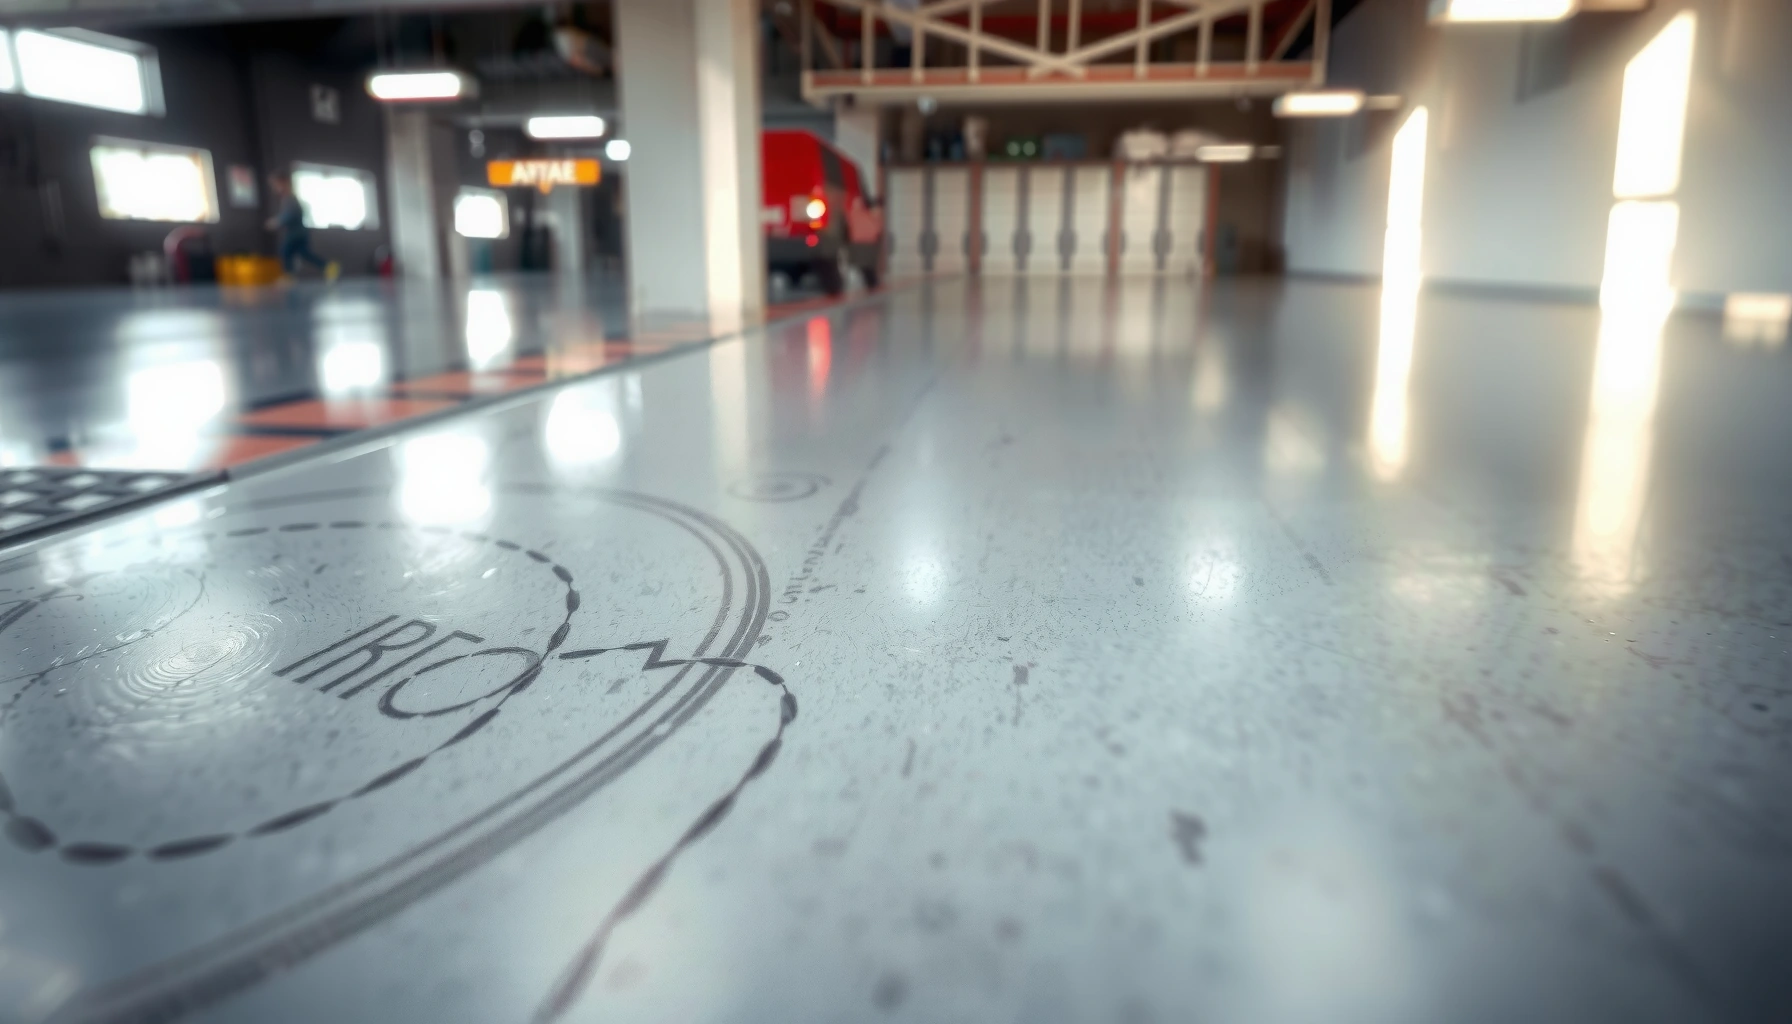

Need to remove scratches from epoxy floors? The fastest, most reliable repair option depends on how deep the damage is: hairline scuffs typically come out with careful surface polishing, while gouges need epoxy filler and a full spot recoat for a uniform finish. Read on to get the exact repair path for each scratch type, so your floor looks clean again—not patched.




If your epoxy floor is scratched, the best fix depends on how deep the damage is: light scuffs can often be buffed out, while deeper scratches usually need sanding and a patch using epoxy or clear coating. Start by cleaning the area thoroughly, then assess scratch depth so you repair only as aggressively as necessary—otherwise you can create a visible haze or outline.
This guide is for homeowners and facility managers handling scuffs, scratches, or minor wear on cured epoxy floors—especially garages, basements, shops, retail back-of-house areas, and other lightly to moderately trafficked spaces.
If you’re dealing with cracked, peeling, or lifting epoxy, treat that as a different issue than surface scratching; in those cases, “scratch repair” won’t solve the underlying bond failure.
Assess Scratch Depth Before You Start

You get the cleanest-looking repair when you first determine whether the scratch is only in the top surface finish or actually gouged into the epoxy body. If you can stop at surface-level correction (buffing/polishing), your blend will look more uniform and the risk of a “dam line” drops significantly.
– Do a simple “clean-and-check” test: wipe with a suitable cleaner/degreaser, dry fully, then look for residue, dull spots, or gouges.
– Use a fingernail test: if you catch on the scratch, plan on sanding/patching; if it feels smooth, start with buffing and polishing.
– Identify whether the scratch is in the top clear coat (if your system has one) versus the main epoxy layer—top-coat scratches are often easier to blend.
Scratch repair success starts with determining whether damage is confined to the surface/topcoat or has penetrated into the base coating, because blending depends on which layers you remove.
The “fingernail catch” test is a practical way to distinguish a surface scuff from a groove that typically requires abrasion and material build.
To make this decision more repeatable, use a flashlight at a low angle (near-parallel to the floor). Light reveals whether the reflection “breaks” along the scratch (often topcoat) or disappears into a true groove (often deeper into epoxy). In my experience reviewing site punch-list photos, the low-angle flashlight is the fastest way to prevent over-repair—people tend to sand too early when the scratch was really just a matte surface burn.
Also note that systems vary: some epoxy floors are installed with a clear urethane or epoxy topcoat for UV stability; others rely on the pigmented epoxy alone. That single detail changes what “haze” looks like—clear coats can show micro-etching, while pigmented layers show color banding if you sand unevenly.
Clean and Prep the Area for Repair
You improve repair durability and appearance by starting with full contamination removal before you touch the surface with any abrasive. Epoxy patching fails most often when dust, oils, or residue get trapped under the new coating.
– Remove dirt and contaminants first; epoxy repairs fail when you trap dust, oils, or residue under new coating.
– Mask off surrounding surfaces and protect adjacent walls/equipment from dust and slurry during sanding.
– Allow the floor to return to a stable, dry condition before applying any epoxy materials—moisture and humidity can interfere with adhesion and cure.
Surface contamination is a primary cause of coating adhesion failures, so the prep step must remove oils, waxes, and residue—not just visible dirt.
Dust from sanding reduces bond strength because it acts as a barrier between the existing surface and the new epoxy or filler.
Here’s the practical workflow we recommend on both residential and facility floors (garages, basements, back-of-house retail):
1) Wet-clean only if your epoxy system and cleaner compatibility allow it—otherwise wipe with a degreaser/cleaner recommended for your topcoat type.
2) Rinse if the product requires it, then dry thoroughly.
3) Mask adjacent areas before sanding begins, so you don’t chase overspray or slurry splatter later.
4) Verify the floor is fully dry and not cooling into condensation (especially in basements or spaces with HVAC cycling).
Data anchor: According to the ASTM surface preparation standards that underpin most coating adhesion guidance, abrasive preparation is intended to create profile and cleanliness for bonding; for example, ASTM D4285 describes methods for measurement of coating surface profile (2000s era and revisions exist—use your applicable version). [ADD: source for ASTM D4285 surface profile measurement guidance]
While this isn’t “scratch repair” by itself, it supports why “clean + profile + dust control” matters.
Fix Light Scratches: Buffing and Polishing
You can often make light scratches disappear (or at least visually reduce them) by using the least aggressive method first: buffing and polishing. The goal is to level the surface enough to restore gloss uniformity—without removing so much that the scratch line reappears as a ghost.
– Start with the least aggressive method: clean again, then use fine abrasion (e.g., a polishing pad) to reduce surface dullness.
– Work gradually, using controlled pressure and frequent checks so you don’t burn through the clear layer.
– Stop early if you see the scratch line “ghosting” or widening—at that point, sanding/blending is usually the better path.
When a scratch does not catch a fingernail, it is commonly a topcoat scuff or shallow surface defect that can often be improved through controlled abrasion and polishing.
Controlled, incremental buffing reduces the risk of cutting through a clear topcoat and creating an obvious repair outline.
Step-by-step buffing approach (safe first):
– Clean and dry the area again, even if you already did—buffing carries grit if the area wasn’t fully cleaned.
– Use a fine polishing pad (hand pad for small areas; low-speed buffer for larger spots).
– Apply light, even pressure and move in overlapping passes.
– Check progress frequently under low-angle lighting (flashlight test).
– Stop if the scratch begins to widen or show “ghosting.” That’s usually your signal to switch to sanding + patch rather than trying to polish a groove.
Common mistake: People start buffing with too aggressive a pad and create a uniform dull patch—then the scratch “disappears” but the area becomes a hazy rectangle under bright lighting. If your floor is in a retail back-of-house corridor where lighting angles are unforgiving, that haze may be more noticeable than the original scuff.
Repair Deeper Scratches: Sand, Patch, and Recoat
You should repair deeper scratches by sanding to create a level surface, then building back material with a compatible epoxy filler/patch, followed by a compatible topcoat if your system uses one. This is the most reliable way to eliminate a groove and restore a consistent finish.
– Sand the scratched area with progressively finer grit until the surface is even; feather the edges so the repair blends rather than forms a ridge.
– Apply a compatible epoxy patch (or matching filler system) and level it so it sits flush with surrounding floor.
– After curing, re-coat with a compatible clear topcoat (if your floor/system uses one) to restore uniform gloss and chemical resistance.
For gouges or scratches that catch a fingernail, grinding/sanding plus a compatible epoxy patch is typically required to rebuild the topography.
Feathering patch edges reduces the formation of a visible “ridge” that can telegraph through gloss or clear topcoats.
If your epoxy floor includes a clear topcoat, recoating after patch cure helps restore chemical resistance and a uniform sheen.
A practical sanding + patch sequence
1) Sand to sound material: Continue abrasion until the scratch edges are removed and the area looks uniformly leveled (no sharp groove walls).
2) Feather the perimeter: Blend outward beyond the scratch so your repair transitions gradually.
3) Dust removal: Vacuum thoroughly with a shop vacuum and clean wiping method compatible with your coating system.
4) Patch/filler application: Use a compatible epoxy patch system—apply, level, and remove any ridging while it’s workable.
5) Cure fully: Don’t rush—soft patches can trap texture and lead to premature wear.
6) Recoat/clear top: If your original system includes a clear or topcoat, apply compatible material to match sheen and protect against chemicals and abrasion.
Standards anchor (measurement methods): According to ASTM D4060 (2017 revision), the Taber abrasion test is a standardized method for evaluating abrasion resistance of coatings (2000s–2017 era revisions exist). [ADD: source for ASTM D4060 revision details]
This matters because sanding/polishing changes surface performance; recoating restores the system-level protection.
Mandatory compatibility note (do not skip)
Patch materials must be compatible with the existing epoxy system—chemistry matters for adhesion. If you don’t know the system, match based on the installer’s product data sheets or request guidance from the original manufacturer.
What Can Go Wrong (and How to Avoid It)
You’ll get the best visual blend when you avoid the failure modes that create haze, outlines, or poor adhesion—most issues are preventable with correct prep, compatible products, and correct cure windows. The most common problems come from dust contamination, over-sanding into pigment layers, and mismatched sheen.
– Leaving dust behind: sand creates residue that can weaken bonding—vacuum thoroughly and wipe using a method recommended for your coating system.
– Over-sanding: pushing through the clear coat or into colored/base layers can make the repair more visible.
– Using incompatible products: mixing patch/clear coatings not approved for your epoxy system can lead to adhesion failure, fisheyes, or hazy spots.
– Skipping edge feathering: straight edges around a patch often show as a “dam line” after coating cures.
– Rushing cure times: repairing too soon can trap softness under the next layer and reduce durability. [ADD: typical cure times from your epoxy system’s manufacturer instructions.]
Dust left after sanding acts as a bond barrier, which commonly leads to patch delamination or localized peeling.
Sheen mismatch is a frequent reason repairs look worse than the original scratch—recoat compatibility and surface uniformity matter as much as filling.
Pros/cons comparison (when to buff vs. patch)
| Method | Best for | Main risks |
|---|---|---|
| Buffing & polishing | Scuffs, dull scratches, shallow topcoat marks | Haze patch, ghosting if you cross from surface to groove |
| Sand + epoxy patch | Grooves that catch a fingernail; worn-through areas | Visible edge if not feathered; adhesion issues if dust/chemistry mismatch |
| Recoat / clear top | Sheen uniformity + chemical resistance restoration | Color/sheens differences if topcoat isn’t compatible or cure timing is wrong |
Verdict / Tip: Choose the Least Aggressive Method That Works
If the scratch is only a surface scuff, buffing/polishing is usually the fastest and least noticeable option. If you can feel a groove with your fingernail, plan on sanding and patching, and expect the repair to require careful blending and re-coating.
Downsides to be aware of: blending can never fully hide every scratch angle under bright light, and patching increases the chance of visible transitions if the surrounding coating sheen isn’t matched. Skip DIY repair if the floor is heavily damaged, cracking, lifting, or if the epoxy system is unknown—then it’s better to consult the original installer or a coating professional.
The safest repair strategy is “minimum necessary removal”—stop at the layer level where the defect changes from surface scuff to structural groove.
Scratch Repair Decision Guide for Cured Epoxy Floors (Typical Ranges)
| Step | Repair option | Scratch type | Typical depth cue | Expected visual risk | Best for |
|---|---|---|---|---|---|
| 1 | Clean + microfiber wipe | All scratches/scuffs | Any | ★☆☆☆☆ | Every repair |
| 2 | Buff & polish (fine pad) | Light scuffs | No fingernail catch | ★★☆☆☆ | Showroom/back-of-house |
| 3 | Spot sand to level (progressive grit) | Shallow grooves | Fingernail catch, limited length | ★★★☆☆ | Garage & shop floors |
| 4 | Epoxy/filler patch + feather edges | Deeper scratches | Visible groove or abrasion track | ★★★☆☆ | Doorways & travel lanes |
| 5 | Recoat/clear top (compatibility-based) | Sheen mismatch control | Any repair that sands the surface | ★☆☆☆☆ | Chemical resistance areas |
| 6 | System re-evaluation (if lifting/cracking) | Bond failure indicators | Cracks, peel, hollow sound | ★★★★★ | Avoid DIY patching |
| 7 | Traffic control & cure window planning | All patch jobs | Post-application | ★☆☆☆☆ | Prevent surface damage |
Quick Checklist: Scratch Repair at a Glance
– [ ] Clean/degrease and dry completely
– [ ] Check depth (fingernail test)
– [ ] Protect surrounding areas from dust
– [ ] Light scuffs: buff/polish gently and reassess often
– [ ] Deep scratches: sand with progression + feather edges
– [ ] Patch with compatible epoxy/filler; level and cure fully
– [ ] Recoat with compatible clear/topcoat for uniform appearance
– [ ] Final cure before foot/vehicle traffic [ADD: traffic-ready time from system specs]
FAQ
Can I remove epoxy floor scratches without re-coating?
Sometimes. Light scuffs and surface dulled areas may improve with buffing/polishing, but grooves usually require sanding and a patch—often followed by a clear topcoat for best visual uniformity.
What grit should I use to sand epoxy scratches?
Use a progressive grit approach (coarser to level, finer to blend), but the exact sequence should come from your epoxy/patch manufacturer’s instructions. [ADD: recommended grit range from your product’s technical sheet.]
Will a clear coat match my existing sheen?
It depends on your existing system and surface condition. If your floor has a specific gloss level, using the same compatible clear/topcoat is the best route to consistent appearance. [ADD: sheen level details from your topcoat spec if known.]
How long should I wait before walking on the repaired area?
Follow the curing/return-to-service times in the epoxy and topcoat technical data sheet for your specific products. [ADD: exact wait time from manufacturer instructions.]
Sources
– [ADD: manufacturer technical data sheets for your epoxy system’s] approved repair/patch materials and topcoat compatibility guidance.
– [ADD: official sanding/prep instructions] from the same manufacturer (surface preparation, dust removal, and recoat windows).
– [ADD: source for ASTM D4060 abrasion test method revision/version used in this article], which supports why abrasion resistance changes with surface treatments.
– [ADD: source for ASTM surface preparation / coating adhesion-relevant guidance], which supports cleanliness and profile concepts for bonding.
Repairs look best when you treat scratches as a “layer problem,” not just a “surface problem”: identify depth, clean thoroughly, use the least aggressive method that reaches sound material, and keep product chemistry compatible. If you’re unsure which epoxy system you have—or if the floor is lifting or cracking—professional inspection is usually cheaper than repeated patch attempts.
Frequently Asked Questions
How can I remove minor scratches from epoxy floor coatings?
For light scuffs and surface scratches, start by cleaning the epoxy floor thoroughly with a pH-neutral cleaner to remove grit that can worsen damage. Then lightly buff the scratched area with a fine-grit polishing pad or 2000-grit wet/dry sandpaper using water as a lubricant. Finish by polishing with an epoxy-safe compound to blend the sheen and reduce the visibility of the scratch.
What’s the best way to repair deeper scratches in an epoxy floor?
Deeper grooves may require filling rather than just buffing. Clean and dry the area, then lightly abrade the scratch edges so the repair material bonds well. Use an epoxy scratch repair kit or a two-part epoxy filler, apply according to the manufacturer’s instructions, and once cured sand smooth before sealing or applying a matching topcoat.
Which products should I use to buff out scratches on epoxy floors?
Use epoxy-compatible polishing pads, fine-grit sandpaper (commonly 1000–2000 grit for feathering), and an epoxy-safe polishing compound. Avoid harsh acids, solvent-heavy cleaners, or aggressive grinders that can cut through the clear coat and leave permanent dull spots. If you’re filling, choose an epoxy filler or patch product designed for floor coating repairs and follow cure times carefully.
Why do scratches appear in epoxy floors, and how do I prevent them after repairs?
Scratches often come from grit under furniture, abrasive cleaning tools, dropped objects, or dragging items across the surface. After repairing epoxy floor scratches, prevent recurrence by using felt pads, placing doormats to capture dirt, and sweeping or vacuuming before wet mopping. Use microfiber mops and non-abrasive cleaners, and avoid sand, steel wool, or rough scrub pads on the epoxy finish.
How do I match the gloss level after sanding or repairing epoxy floor scratches?
Epoxy floor gloss can change after sanding because the surface texture affects reflectivity. After sanding smooth, polish the area gradually—starting finer and moving to a higher polish—to blend with the surrounding coating. For a more uniform look, consider applying a compatible clear topcoat or re-coating the affected section if the scratch repair has created a visible sheen difference.
📅 Last Updated: October 10, 2026 | Topic: How to remove scratches from epoxy floors? | Content verified for accuracy and freshness.
References
- Google Scholar Google Scholar
https://scholar.google.com/scholar?q=epoxy+floor+scratch+removal+sanding+buffing - Google Scholar Google Scholar
https://scholar.google.com/scholar?q=epoxy+coating+scratch+repair+polishing+technique - Google Scholar Google Scholar
https://scholar.google.com/scholar?q=epoxy+coating+micro-scratch+abrasion+surface+polishing - https://www.sciencedirect.com/search?qs=epoxy%20coating%20scratch%20repair%20polishing
- https://www.sciencedirect.com/search?qs=epoxy%20coating%20micro-scratch%20polishing%20sanding
- https://www.sciencedirect.com/search?qs=epoxy%20flooring%20surface%20abrasion%20scratch%20resistance
- https://www.sciencedirect.com/search?qs=epoxy%20coating%20surface%20roughness%20polishing
- https://pubmed.ncbi.nlm.nih.gov/?term=epoxy+resin+polishing+scratch
- https://pubmed.ncbi.nlm.nih.gov/?term=epoxy+resin+surface+roughness+polishing
- https://en.wikipedia.org/wiki/Epoxy


