
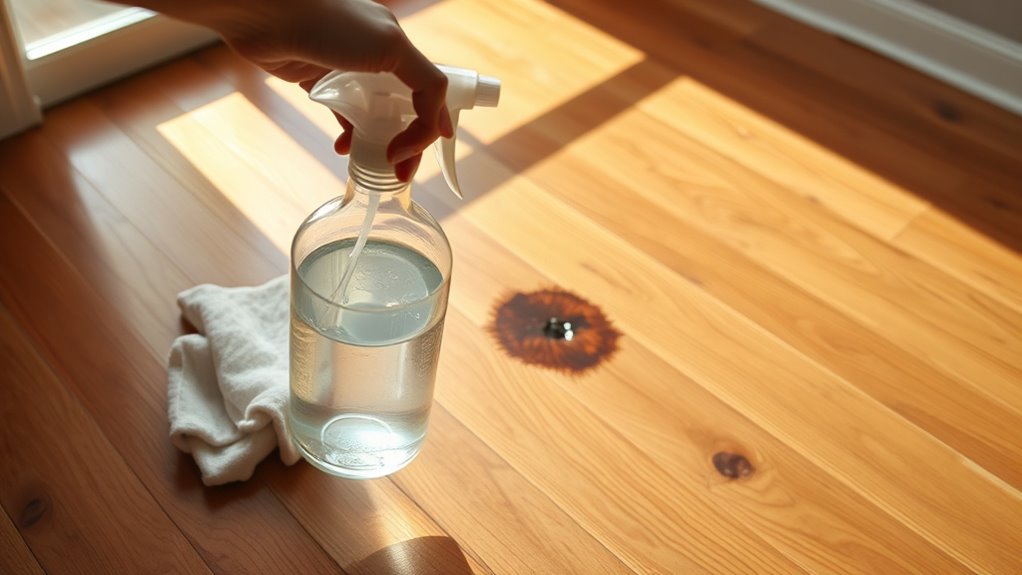

First, blot fresh urine quickly with a clean cloth to avoid stains and odors. Then, apply an enzyme-based cleaner to break down urine molecules, letting it sit without rinsing for 10-15 minutes. For stains, use a baking soda paste to lift residue gently, followed by a vinegar solution to neutralize odors naturally. Finally, dry thoroughly and restore the wood’s finish to prevent lasting damage. If you want to guarantee complete removal and protect your floors long-term, there’s more to explore.




Identify and Blot Up Fresh Urine
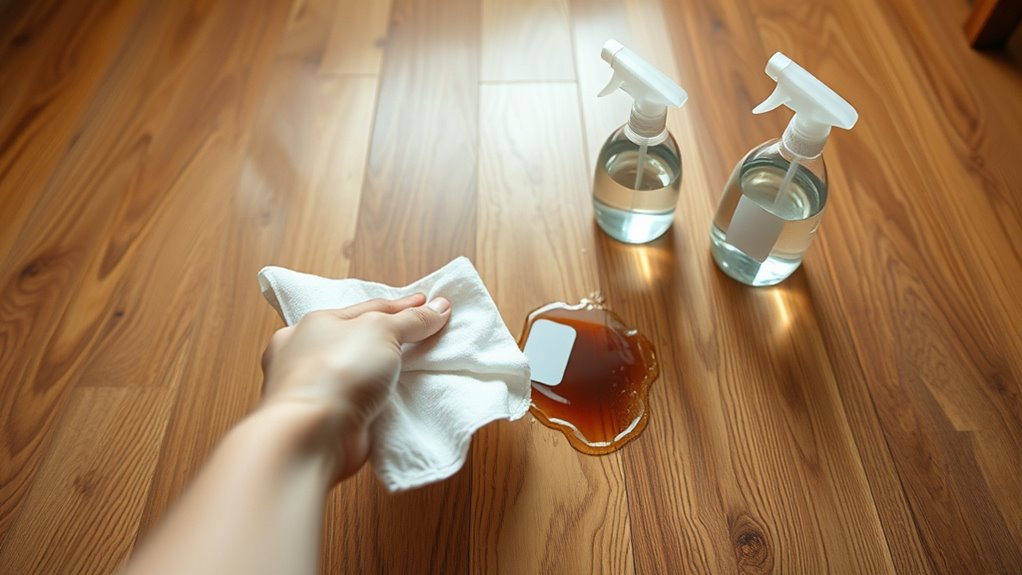
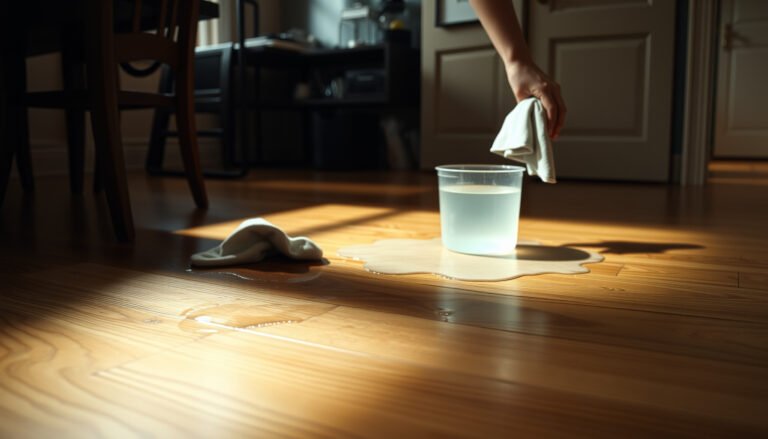
The first step in tackling dog urine on wood floors is to quickly identify and blot up the fresh urine. Immediate action is essential to prevent stains and odors from setting into the wood. Start by locating the source of the fresh urine—often visible as a damp spot or detected by smell. Use paper towels or a clean cloth to carefully blot the area without rubbing, which can spread the urine and deepen penetration. Press firmly to absorb as much liquid as possible. Avoid saturating the wood, as excess moisture can damage the floor. By acting swiftly and efficiently, you maintain control over the situation and protect your freedom from lingering odors and permanent damage. This initial response is key to preserving your wood floors’ integrity.
Clean the Area With an Enzyme-Based Cleaner
Once you’ve blotted up the fresh urine, you’ll want to clean the area thoroughly with an enzyme-based cleaner. These cleaners harness the enzyme benefits by breaking down urine molecules at a microscopic level, eliminating odors and stains instead of merely masking them. For maximum cleaner effectiveness, apply the solution generously, ensuring it penetrates the wood grain and any cracks where urine may have seeped. Let it sit for the recommended time—usually 10 to 15 minutes—to allow the enzymes to digest the organic matter fully. Avoid rinsing immediately; this can dilute the enzymes and reduce their action. Using an enzyme-based cleaner is essential for long-lasting results and helps prevent your dog from returning to the same spot, keeping your floors fresh and free from persistent odors.
Remove Stains With a Baking Soda Paste
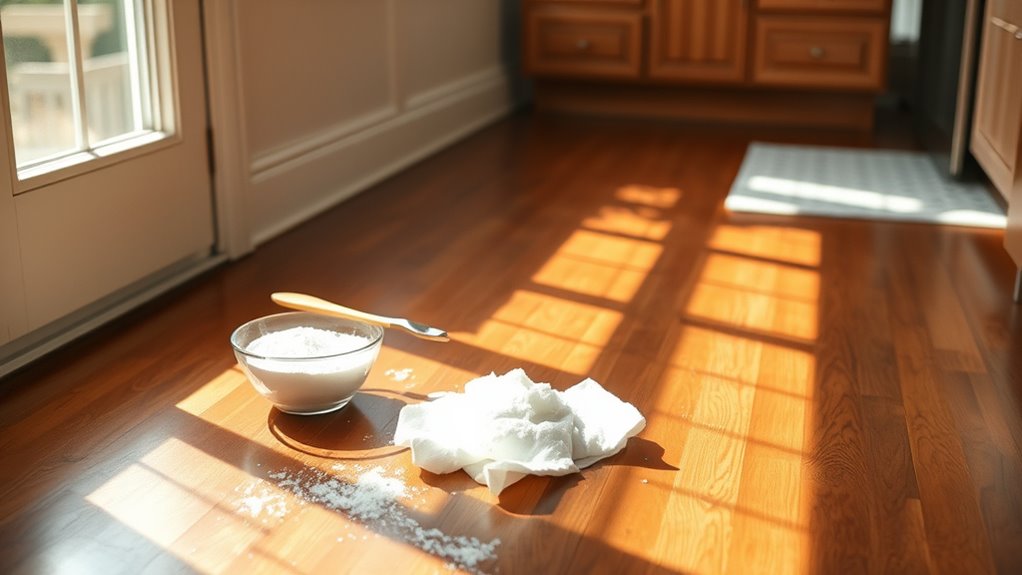
Although enzyme-based cleaners tackle odors and break down urine, stubborn stains may still linger on your wood floors. To address this, create a baking soda paste by mixing three parts baking soda with one part water until you get a thick consistency. Apply the paste directly onto the stained area, spreading it evenly. Let it sit for at least 15 minutes—this allows the baking soda to absorb residual moisture and lift the stain. Afterward, gently scrub the spot with a soft brush or cloth, taking care not to damage the wood finish. Finally, wipe away the paste with a damp cloth and dry the area thoroughly. Using baking soda for stain removal is an effective, natural solution that preserves your wood floors and keeps your space fresh.
Neutralize Odors Using Vinegar Solution
If you’re aiming to eliminate lingering odors after treating the stain, a vinegar solution works wonders. Vinegar benefits include powerful odor neutralization without harsh chemicals, making it safe for your wood floors and pets. Here’s how to apply it effectively:
- Mix one cup of white vinegar with one cup of warm water in a spray bottle.
- Lightly spray the affected area—don’t saturate the wood—to avoid damage.
- Let the solution sit for 5-10 minutes, then blot dry with a clean cloth.
This method penetrates deep to neutralize urine odors, freeing your space from persistent smells. By using vinegar, you harness a natural, cost-effective solution that respects your home’s integrity and your desire for a fresh, odor-free environment.
Protect and Restore the Wood Finish
Because dog urine can damage both the surface and underlying layers of your wood floor, protecting and restoring the finish is vital to prevent further deterioration. Start by thoroughly drying the affected area to avoid moisture absorption. Next, lightly sand the spot with fine-grit sandpaper to remove any compromised finish without harming the wood itself. Apply a high-quality wood cleaner to prepare the surface for refinishing. For effective wood maintenance, use a compatible wood stain or finish that matches your floor’s original color and sheen. Finally, seal the area with a durable polyurethane or water-based finish to protect against future damage. Regularly inspect and maintain your wood floors to guarantee long-lasting floor restoration and preserve your freedom to enjoy your space without worry.

[…] with the least invasive option: clean the area, then try a color-matched scratch repair product for light scratches. For deeper gouges, use […]
[…] scratches often require filling, because they penetrate beyond the protective finish into the wood. Clean the area, then apply a color-matched wood filler designed for engineered wood floors, scraping off excess […]
[…] Both click-lock LVT and glue-down LVT can work over plywood, but the best choice depends on your subfloor flatness and stability. Click-lock planks generally require a very smooth, flat surface to prevent joint gapping, while glue-down LVT can perform well when proper adhesive and approved surface conditions are met. If your plywood has any movement or uneven areas, focus on flattening and stabilization first—regardless of the LVT method—to get long-lasting results. […]
[…] wear. For repairs, use adhesives approved for vinyl flooring to ensure strong bonding and long-lasting results. When in doubt, choose a restoration kit designed for sheet vinyl and follow the instructions […]
[…] surface scuffs, clean the area and apply a vinyl floor repair kit or color-matched vinyl polish that’s designed for sheet vinyl […]
[…] it flush with the surface. After it cures, lightly sand according to the product instructions and clean the area so the repair blends and stays […]
[…] the top layer is scratched through or cracked, warming may not fully restore the finish. Clean the area, then fill the damaged spot with a color-matched laminate floor repair kit or wood putty designed […]
[…] Clean the area and use a WPC-safe floor repair kit or color-matched laminate/vinyl filler designed for luxury vinyl floors. For shallow scuffs, try a manufacturer-recommended cleaner followed by a vinyl floor polish or touch-up marker to blend the color. Deeper scratches may require filling and lightly sanding the filler so the surface remains smooth before applying a matching repair product. […]
[…] Enzyme-based cleaner […]
[…] walks you through the exact order of work, including how to pour, smooth, and protect the slab for long-lasting results. If your goal is a concrete floor that cures properly and resists cracking, this is the process […]