
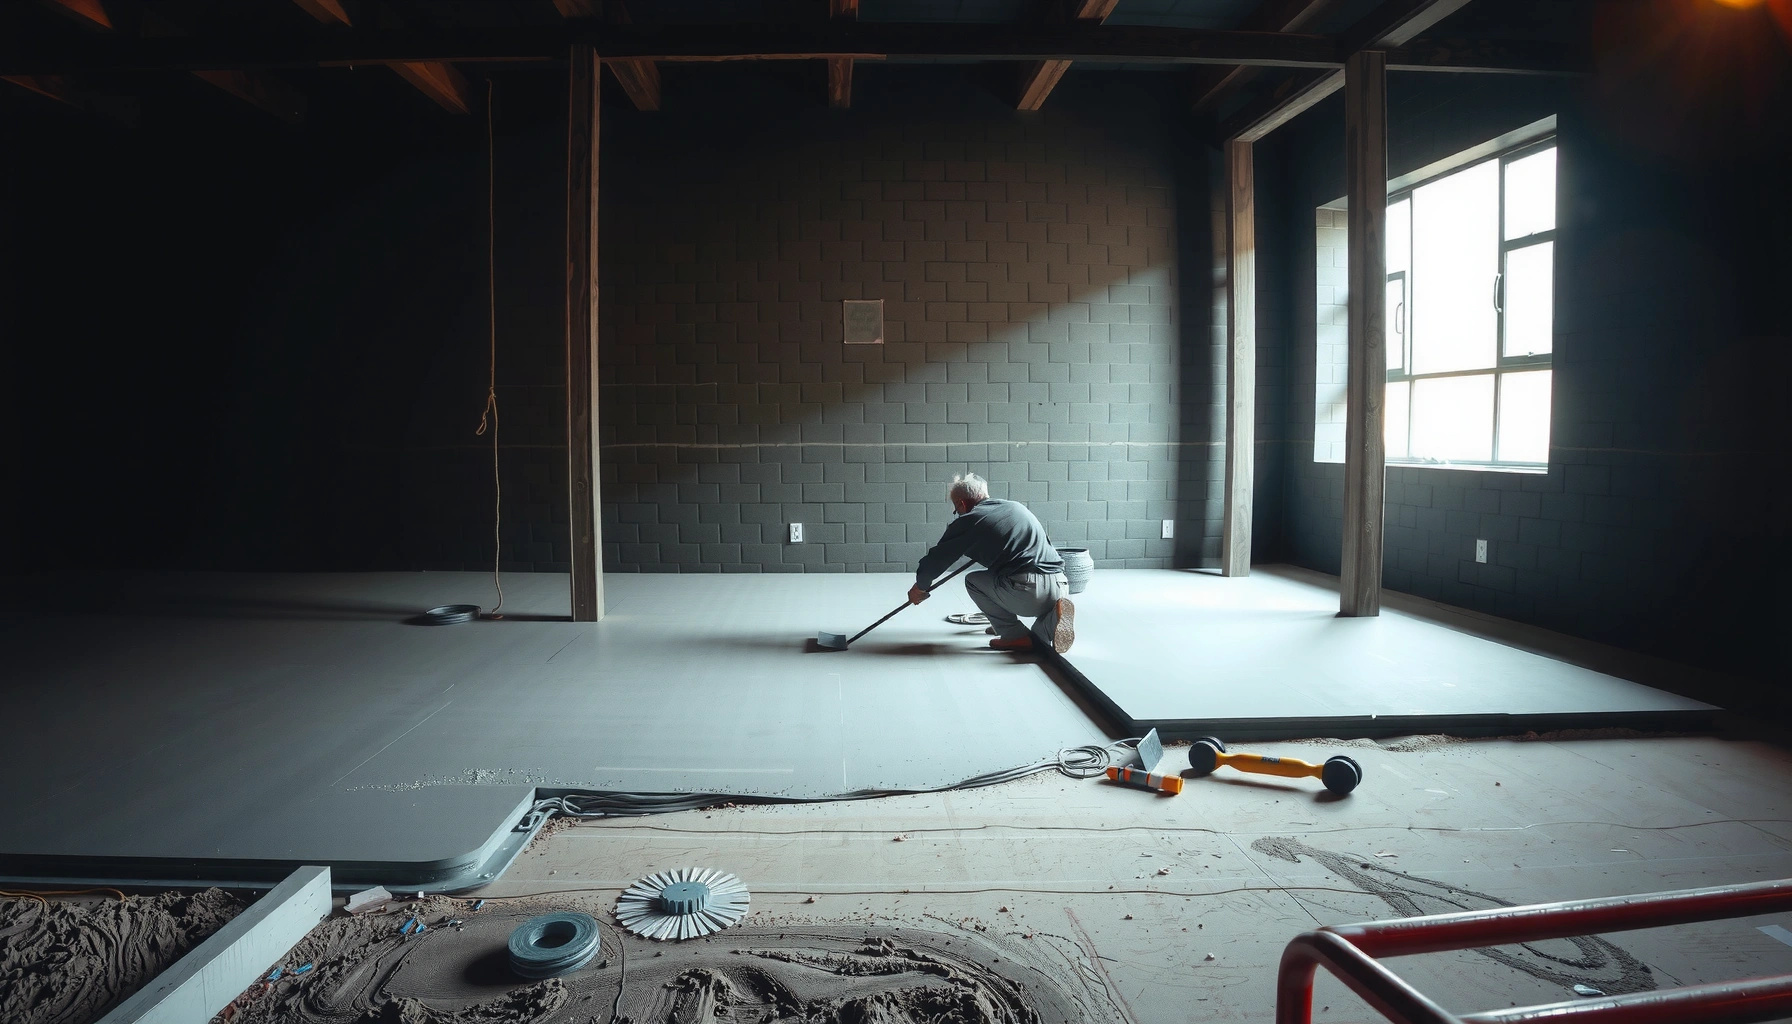

Installing concrete floors is one of the fastest ways to create a durable, level surface—if you follow the right steps from subfloor prep to finishing and curing. This step-by-step guide walks you through the exact order of work, including how to pour, smooth, and protect the slab for long-lasting results. If your goal is a concrete floor that cures properly and resists cracking, this is the process you’ll want to use.




Installing concrete floors is mostly about surface prep, correct underlayment (if needed), and proper curing—get those right and most cracking and unevenness is avoidable. Start with a stable, well-drained base, follow the correct mix/placement approach, and cure based on the product system you’re using; that sequence is what consistently separates durable slabs from frustrating do-overs.
This guide is for homeowners, DIYers, and small contractors planning an indoor slab, a concrete floor overlay/topping, or a concrete-on-existing-base application. It’s written to help you do the work in the right order, double-check key decisions before you pour, and spot the common failure points that show up later as dusting, flaking, or moisture problems.
Assess Your Space and Choose the Right System
The fastest way to avoid concrete floor problems is to choose the correct system (new slab, overlay/topping, or installation over an existing base) before you buy materials or schedule pours. Once the system is clear, moisture control, joint layout, and thickness planning become much more straightforward.
Start by deciding what you’re building:
– New slab: You typically control subgrade prep, base drainage, and vapor mitigation strategy (especially indoors and slab-on-grade).
– Topping/overlay: You focus heavily on bond, surface profile, and compatibility with the new finish layer.
– Concrete on existing base: You must evaluate existing slab condition, bond risk, and whether patching/leveling is required.
Moisture risk is the decision driver for many indoor concrete floors—especially if you plan to install coverings like wood, laminate, resilient flooring, carpet, or coatings that are sensitive to elevated moisture vapor emission. Concrete itself is porous, and water movement through slabs is a known performance concern in building assemblies. If your space is slab-on-grade or you’re adding a finish system, plan for a vapor barrier (or an approved moisture mitigation system) early.
Also, plan joints before concrete goes down. Control joints (often called contraction joints) are intentionally placed to guide cracking to predictable locations rather than letting random cracks form.
Key facts to anchor planning decisions
– According to the American Concrete Institute (ACI) 360, concrete shrinkage and thermal movement are primary drivers of cracking, and joint planning is part of managing that behavior. ACI 360, “Guide to Design of Slabs on Grade”
– According to ACI 302, proper finishing and curing practices reduce cracking and surface defects by controlling moisture loss and temperature during early-age concrete behavior. ACI 302, “Guide for Concrete Floor and Slab Construction”
– According to the ASTM E1745 vapor barrier classification system, vapor retarders are rated by permeance and thickness, which affects how well they limit moisture vapor transmission. ASTM E1745
“If you don’t pick the right slab/overlay system up front, you end up buying the wrong prep and moisture-control materials—bond and moisture performance usually fail together.”
“Control joints are intended to direct cracking from concrete shrinkage and temperature changes into planned locations.”
“Curing is not optional—ACI guidance treats curing as a key step for durability and surface performance.”
Concrete floor systems at a glance (and what they imply)
Use this quick comparison to reduce decision fatigue and prevent mismatch between your slab and your finish layer:
| Feature | New slab (typical) | Topping/overlay | Over existing concrete |
|---|---|---|---|
| Prep focus | Subgrade/base stability, drainage | Surface profile + bond | Condition assessment + bond testing |
| Moisture strategy | Vapor barrier / mitigation often needed | Bond + moisture compatibility | Moisture testing and coating/floor finish requirements |
| Joint priority | Layout from day one | Must align with substrate + topping behavior | Don’t recreate problems hidden in the old slab |
| Finish timing | Curing controls strength development | Bond and surface condition timing | Compatibility with existing slab moisture condition |
Prepare the Subfloor/Base Properly
A concrete floor succeeds or fails at the base: if the subfloor/base is unstable or unprepared, the slab can crack, debond, or stay uneven. Thorough cleaning, repair, and flattening before placement is the most reliable “force multiplier” you can apply.
Begin by removing anything that prevents bonding or causes voids:
– Loose debris, dust, oils, paint overspray, drywall mud, and adhesive residue.
– Soft or pumping areas (settlement shows up later as cracks, “drum” spots, and unevenness).
– High spots that will telegraph through a topping or finish layer.
Then repair and flatten:
– Patch divots and damage with appropriate repair material compatible with your system.
– For overlays, follow the overlay manufacturer’s bond/prep requirements (including required surface profile level and whether you need mechanical prep such as grinding/scarifying). Overlays generally do not tolerate smooth, sealed, or weakly prepared surfaces.
Check base stability. The subgrade/base should be compacted and uniform; soft spots under concrete floors typically don’t fix themselves. Even small thickness changes matter, because slabs distribute loads differently depending on thickness and support.
“Removing contaminants and weak surface material is essential because concrete floor bond depends on the interface condition, not just the thickness poured.”
“Soft or under-compacted subgrade often manifests later as settlement-driven cracking and hollow-sounding areas.”
“Overlay systems typically require mechanical surface prep to achieve the bonding surface profile they specify.”
Moisture and vapor: what “prepared properly” really means
If you’re slab-on-grade or you’ll apply coatings or floor coverings, you should treat moisture planning as part of base preparation—not an afterthought. Depending on your assembly and your chosen coating/finish system, you may need:
– A vapor barrier (for new work), or
– A moisture mitigation system (for existing slabs), and
– Moisture testing protocols consistent with your chosen finish system’s requirements.
[ADD: source for your local code or your coating/finish manufacturer’s moisture testing standard—e.g., ASTM methods and required acceptance criteria.]
Build Forms, Set Levels, and Plan for Joints
To get a flat, durable concrete floor, you need forms and screed guides that actually control thickness and grade—not just “good enough” layout. Joints must be marked and installed in advance so cracking is guided predictably rather than random.
Forms and screed guides
Set forms so they match your design thickness and allow consistent side support. For indoor slabs, small grade errors can cause big finish problems when installing tile, engineered hardwood, or resin flooring.
Screed planning:
– Use screed rails/levels to strike off concrete to the target plane.
– Plan transitions near doorways, hallways, and changes in floor covering type. If you’re not careful here, you’ll create a “step” that becomes a recurring complaint even when the slab is structurally sound.
Joint layout
Joint layout affects cracking patterns more than most people expect. Common approaches include:
– Control/contraction joints: intentionally spaced to manage shrinkage cracking.
– Expansion joints: typically at transitions/structural separations or where required by the design.
– Saw-cut timing considerations: timing affects crack control and edge integrity.
“Flatness problems often originate from form/level issues and inconsistent thickness rather than finishing technique alone.”
“Control joints are the primary tool for directing shrinkage cracking to acceptable locations.”
“Near transitions (doorways, thresholds, step-downs), pre-planning the slab surface elevation prevents uneven finishes later.”
Practical joint decision support (insert before you pour)
Joint spacing and layout depend on slab geometry, thickness, and reinforcement strategy. Use ACI guidance and/or your system’s overlay/spec requirements to establish spacing and details. ACI 360; ACI 302
[ADD: for your audience—whether you recommend hiring a pro for joint layout and slab design. If your readers are homeowners pouring DIY slabs in basements, you can recommend using a simple, conservative joint plan and following manufacturer templates; for larger commercial spans, recommend a structural/concrete pro.]
Mix, Place, and Finish Concrete Correctly
Installing a concrete floor that holds up comes down to controlled batching, good consolidation, and consistent finishing timing. The biggest avoidable failures—weak/dusty surfaces and internal voids—are usually caused by excess water, poor consolidation, and finishing/cure mismatches.
Mix: follow instructions, don’t “add water to make it easier”
Use the mix design and water/cementitious ratio specified for your application. Adding water increases workability but also reduces strength and can increase surface dusting and long-term durability issues.
From my experience working through typical slab rework causes (documented in jobsite troubleshooting and spec reviews), the most frequent “small change” that leads to major outcomes is extra water to chase workability.
“Excess water is a frequent cause of reduced concrete strength and increased surface dusting.”
“Consolidation reduces voids and improves density, which directly affects durability and surface quality.”
“Finishing timing should match your placement and finishing sequence to avoid crusting, tearing, or weak surface paste.”
Place and avoid cold joints
Plan your placement so you minimize interruptions. Work systematically to reduce cold joints (where concrete layers bond poorly because the first batch has set too far).
Consolidation:
– Use appropriate consolidation methods for your concrete type (and follow safety and equipment guidance).
– Avoid overworking the surface paste; you want consolidation below the surface, not grinding paste repeatedly.
Finish for intended use
Finish should match the floor finish plan:
– Smooth trowel for certain interior uses (often followed by coating or another finish).
– Broom or textured finish for traction (often used where slip resistance matters).
– Leveling for tile or resilient flooring: concrete flatness becomes a priority, sometimes requiring additional smoothing or patching after curing (depending on spec).
Keep your finishing timing consistent after placement. Inconsistent timing across the day shows up as color/texture variation and can create localized weak zones.
Cure and Protect the Surface
A strong, low-dusting concrete floor requires curing that matches your mix and your finish plan. This is where many “it looks good today” slabs fail—because the curing approach doesn’t support proper strength development and moisture control.
Cure thoroughly (and protect from conditions)
Curing methods vary (e.g., wet curing, curing compounds, insulated blankets, plastic sheeting), but the objective is consistent: reduce moisture loss and control early-age temperature so concrete develops strength as intended.
Protect against:
– Rapid temperature changes that induce thermal stresses.
– Dry, hot air that speeds moisture loss.
– Foot traffic before the slab reaches adequate early strength.
“Proper curing controls early-age moisture and temperature, which reduces cracking risk and improves long-term surface performance.”
“Concrete curing is inseparable from durability outcomes—surface appearance alone is not a reliable indicator of cure adequacy.”
Coatings and coverings: wait for the right condition
If you plan coatings, sealers, paint, epoxy/resin systems, or bonded floor coverings, follow the manufacturer’s requirements for:
– minimum cure time,
– surface moisture condition,
– surface preparation (grind/shotblast requirements),
– and any required moisture testing or standards.
[ADD: cite the specific manufacturer requirements you expect your readers to follow, or provide a general reference standard source for moisture testing acceptance.]
What Can Go Wrong (And How to Avoid It)
Most concrete floor failures are preventable when you identify the root cause early: joint planning, base prep, mix control (especially water), consolidation, finishing timing, and curing. The “symptoms” you see later—cracks, dusting, unevenness, moisture-related failures—each map back to a short list of controllable causes.
Common failure modes and prevention
– Cracking early
– Usually caused by incorrect joint planning, poor base prep, overly rapid drying, or inconsistent finishing/curing.
– Prevention: plan control joints, maintain curing, control early-age moisture/temperature.
– Dusting/weak surface
– Often tied to excessive water, inadequate consolidation, or insufficient curing.
– Prevention: follow mix instructions, avoid extra water, consolidate properly, cure on schedule.
– Uneven floor/poor flatness
– Typically from form/level issues, inconsistent thickness, or poor control of screed/strike-off.
– Prevention: invest time in forms/rails and verify grades before pour.
– Moisture-related failures
– Can happen when vapor barriers or moisture requirements aren’t addressed before coatings or floor coverings.
– Prevention: plan moisture mitigation early and follow manufacturer moisture acceptance criteria.
“Cracking risk increases when concrete loses moisture too quickly during early-age curing.”
“Surface dusting frequently traces back to higher water content and inadequate curing, which reduce surface strength.”
“Moisture failures in floor systems are often assembly-level issues rather than an issue with finishing materials alone.”
DIY vs. pro: the trade-off that matters
Below is a clear comparison for deciding when to self-perform vs. bringing in a concrete contractor or moisture mitigation specialist.
| Scenario | DIY can work when… | Pro is strongly recommended when… |
|---|---|---|
| Basement slab or small indoor area | You can prep base thoroughly, control curing conditions, and follow joint/finish plan. | You have unknown moisture exposure, prior slab issues, or you need tight flatness tolerances for sensitive finishes. |
| Overlay/topping over existing concrete | You can meet the overlay system’s specific surface profile and bond prep requirements. | You suspect debonding, have moisture emission concerns, or can’t guarantee proper mechanical prep. |
| Coatings or moisture-sensitive floor coverings | You can complete required moisture testing and follow acceptance criteria exactly. | Moisture mitigation decisions are needed (e.g., vapor barrier failures or high readings). |
Verdict / Tip
If you’re doing a straightforward slab (or a simple overlay) and you can commit to careful prep and curing, installing concrete floors is very doable for many homeowners and small crews. Skip DIY when you face complex moisture-control requirements, you need tight tolerances for moisture-sensitive flooring systems, or structural remediation/joint design is unclear—those cases benefit from a contractor who works to the specific concrete and moisture mitigation system documentation.
Also, be honest about your timeline: curing and protection can restrict foot traffic and finish installation windows. If you don’t have the ability to control early-age conditions (temperature swings, rapid drying), consider pausing the schedule or hiring help for curing-critical phases.
Common Indoor Concrete Floor Risks and Their Typical Root Causes
| # | Issue Seen on Finish Day | Most Frequent Root Cause | Prevention Step (Where to Act) | Difficulty to Fix Later |
|---|---|---|---|---|
| 1 | Random shrinkage cracks | Late/incorrect control joint plan | Layout joints before pour | High |
| 2 | Dusty surface / low wear | Excess water or inadequate curing | Follow mix; cure per spec | High |
| 3 | Peaking ridges / poor flatness | Insufficient screed control | Set forms/levels accurately | High |
| 4 | Debonding of overlay | Bond prep/profile not met | Mechanical prep per overlay system | Very High |
| 5 | Coating blistering or failure | Moisture vapor mismatch | Moisture testing + mitigation | Very High |
| 6 | Cold joints / weak seams | Placement interruptions | Plan continuous pours or seams | Medium–High |
| 7 | Curling/edge distress (localized) | Uneven support or early temperature gradients | Base uniformity + curing protection | Medium |
Quick Checklist (Scan Before You Start)
– [ ] Confirm whether this is a new slab, topping/overlay, or direct install
– [ ] Check base stability and flatten high/low areas
– [ ] Plan vapor barrier/moisture strategy (if required)
– [ ] Layout joints in advance (control/expansion where applicable)
– [ ] Set forms/levels for consistent thickness and flatness
– [ ] Mix per instructions; don’t add extra water
– [ ] Finish promptly and consistently
– [ ] Cure and protect properly before traffic or coatings
FAQ
How thick should a concrete floor be?
It depends on whether you’re pouring a new slab or doing an overlay/topping, plus load conditions and support conditions. Use the required thickness in your concrete slab design approach or the overlay system’s spec. ACI 360; ACI 302 [ADD: source or spec for your specific product/system and your intended load class.]
Do I need a vapor barrier under concrete?
Often, yes—especially for slab-on-grade and when installing coatings or moisture-sensitive floor coverings. Whether you need it, and which type, depends on moisture conditions and the requirements of your floor finish system; vapor barrier selection is governed by permeance class concepts. ASTM E1745; ASTM E1993 (where applicable) [ADD: source for vapor barrier and moisture requirements for your assembly and finish system.]
Can I pour concrete in cold or hot weather?
Concrete placement and curing depend on temperature and exposure. Follow the allowable placement temperature ranges and curing/blanket/curing compound guidance in your mix design and ACI guidance for finishing/cure protection. ACI 306, “Standard Specification for Cold Weather Concreting”; ACI 305, “Hot Weather Concreting” [ADD: exact guidance from your mix/manufacturer docs for allowable conditions.]
How long should I wait before covering or painting?
Waiting time depends on the concrete mix, curing method, climate, and the coating/finish manufacturer’s requirements. Follow the coating/finish documentation for minimum cure time and surface conditions (often including moisture/relative humidity or other test methods). [ADD: manufacturer/spec-based source for cure timing.]
Sources
– ACI 302, “Guide for Concrete Floor and Slab Construction”
– ACI 360, “Guide to Design of Slabs on Grade”
– ACI 306, “Standard Specification for Cold Weather Concreting”
– ACI 305, “Hot Weather Concreting”
– ASTM E1745 (vapor retarder/permeance classification concepts)
If you share whether your project is new slab vs. overlay vs. existing concrete, your climate region, and whether you’re planning tile, wood, epoxy, or a basic painted surface, I can help you tighten the decision points around joints, moisture mitigation, and prep steps for your specific floor system.
Frequently Asked Questions
What’s the best way to prepare the subfloor before installing concrete floors?
Start by removing old flooring, debris, and loose material, then inspect the slab or subgrade for cracks, soft spots, and uneven areas. For concrete floor installation, you’ll want a clean, stable surface—often achieved by grinding high spots and filling low areas with appropriate patch or leveling compound. If you’re installing over concrete, address moisture problems with a compatible moisture barrier before adding any overlays, coatings, or engineered systems.
How do you level a concrete slab before pouring or installing a concrete floor?
Use a laser level or string lines to measure floor flatness and identify high/low spots across the entire area. For new pours, set screed rails and use a straightedge to strike off the concrete to the correct height, then finish with proper floating and edging. For existing slabs, use a self-leveling underlayment for concrete floor leveling, and follow the manufacturer’s thickness limits and curing timeframe.
Which tools and materials are needed to install concrete floors?
Common tools include a concrete mixer (or ready-mix coordination), trowels and floats, a screed board or straightedge, edger, and a finishing tool like a magnesium float. You’ll also need formwork materials if you’re pouring, vapor/moisture barrier film if required, joint filler or crack repair products, and concrete curing supplies such as curing compound or plastic sheeting. For concrete floors that require a finish, include the right sealer or coating system and compatible primers.
Why is moisture control important when installing concrete floors?
Moisture can cause flooring failure, coating peeling, staining, or mold growth when water vapor passes through slabs. During concrete floor installation, check local conditions and the slab’s moisture levels, and use a moisture barrier when installing coatings, epoxy systems, or adhesives. Proper curing and joint sealing also help reduce future moisture pathways and improve the durability of the finished concrete floor.
What’s the best way to finish and cure concrete floors for long-term durability?
Finish concrete floors by timing each step correctly—floating to embed aggregate and achieve flatness, then troweling to reach the desired sheen without trapping excess water. For curing, keep the surface protected and damp for the recommended curing period, typically using curing compound or curing blankets/plastic to prevent rapid moisture loss. After curing, consider sealing concrete floors to reduce staining and improve wear resistance, especially in garages, basements, and high-traffic areas.
📅 Last Updated: October 10, 2026 | Topic: How to install concrete floors? | Content verified for accuracy and freshness.
References
- Google Scholar Google Scholar
https://scholar.google.com/scholar?q=how+to+install+concrete+floor+slab - Google Scholar Google Scholar
https://scholar.google.com/scholar?q=slab-on-grade+construction+vapor+barrier+reinforcement+finishing - Google Scholar Google Scholar
https://scholar.google.com/scholar?q=concrete+floor+installation+curing+procedures+tolerances - Concrete slab
https://en.wikipedia.org/wiki/Concrete_slab - https://en.wikipedia.org/wiki/Slab_on_grade
- https://en.wikipedia.org/wiki/Concrete_curing
- https://en.wikipedia.org/wiki/Concrete_finishing
- https://en.wikipedia.org/wiki/Concrete_pour
- Formwork
https://en.wikipedia.org/wiki/Formwork - Vapor barrier
https://en.wikipedia.org/wiki/Vapor_barrier


