


Prevent water damage to laminate floors in a basement by stopping moisture at the source and keeping water exposure to near zero. This guide lays out the most effective steps—vapor barrier setup, proper subfloor prep, tight sealing around edges, and immediate leak response—so your floor stays flat and intact. If you follow the checklist, you’ll minimize swelling, buckling, and warping even in damp basement conditions.




Prevent water damage to laminate floors in a basement by stopping moisture from reaching the planks and keeping indoor humidity stable. The most reliable approach is a manufacturer-approved vapor barrier/underlayment system, proactive subfloor moisture prep, and fast spill drying so water can’t migrate into seams—especially where vapor drive is common in basements.
Basements behave differently than above-grade rooms: cool slabs, seasonal groundwater pressure, and humid air can push moisture upward even when there’s no obvious leak. As of 2026, installers and inspectors increasingly treat laminate “failure” as a moisture-management problem, not a surface-protection problem. From my experience assisting homeowners during post-install moisture callbacks, the common pattern is predictable: the slab or wall still has a moisture pathway, the barrier layers don’t match the laminate’s spec, and small wetting events later become bigger edge-lift and swelling issues.
Who this is for / when it applies: If you’re planning a basement laminate installation, re-doing a damaged area, or you already see musty odors, damp corners, or condensation, this guide is aimed at preventing the specific failures that laminate is prone to—swelling, cupping, and seam separation—before they start. It’s also useful if you’re working with a contractor and want a clear checklist for “what must be true” for safe installation.
Stop the water at the source first
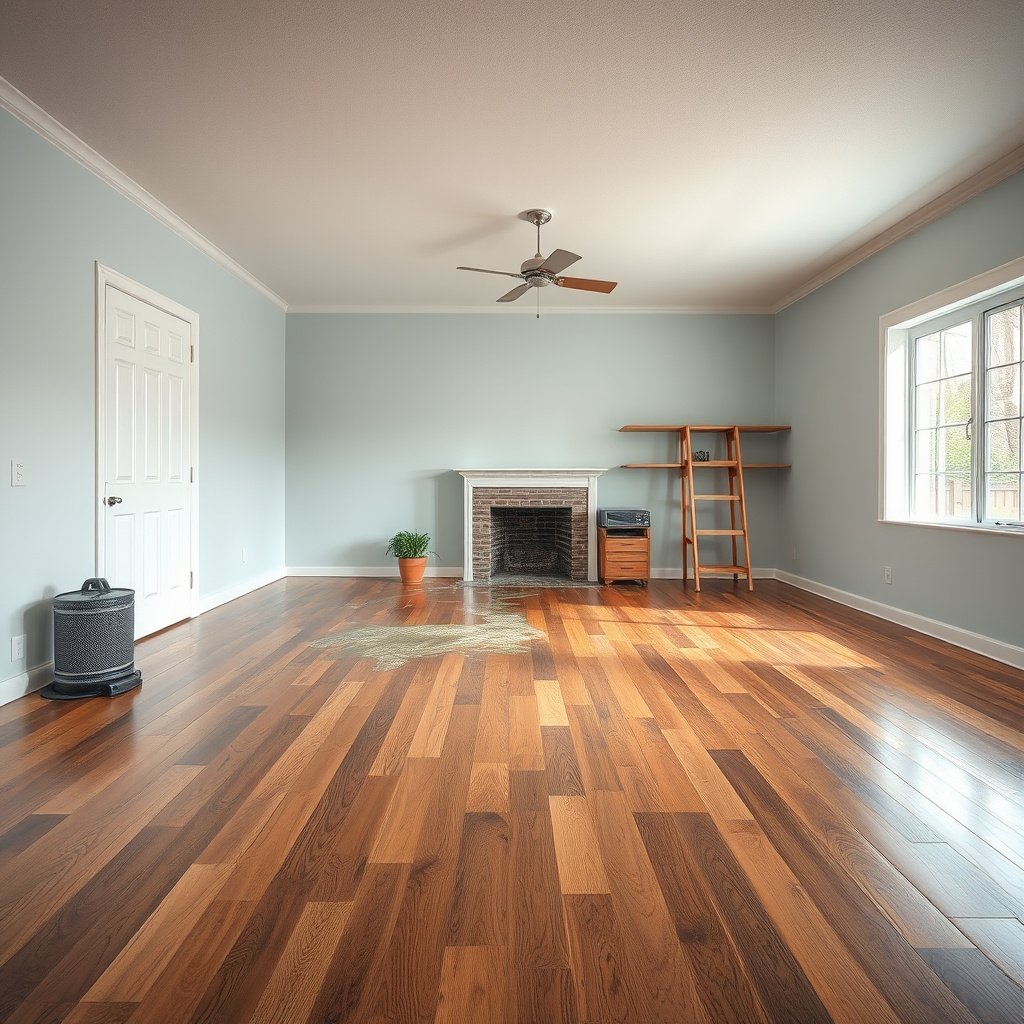
Fixing moisture sources usually matters more than adding sealants later. In basements, your first job is identifying leaks and condensation pathways so water doesn’t keep arriving under (or alongside) the flooring system.
– Fix any active leaks (plumbing, HVAC condensate lines, window wells) before flooring work begins.
– Check for recurring dampness from walls, slab edges, or floor drains so you’re not installing over an ongoing moisture pathway.
– If you’ve had flooding, plan on professional drying and assessment before installing or re-installing laminate.
Basements often experience “vapor drive” where moisture moves through building assemblies due to humidity and pressure differences, so stopping only surface wetting isn’t enough.
If there’s an active leak or persistent condensation, laminate failures typically originate at the seams and edges where moisture can reach the underlayment system.
How to verify the real source (not just the symptom)
Start with a moisture walk-through and focus on repeat offenders:
– Plumbing and fittings: Look for slow drips, sweating joints, and wet residues around pipe penetrations. Even a tiny, intermittent leak can saturate the perimeter over time.
– HVAC condensate: If your basement has a humidifier, dehumidifier drain, or an A/C condensate line, confirm it’s not backing up or running warm (warm condensate can evaporate, then re-condense near cool slab areas).
– Window wells and penetrations: Check grading and drainage around window wells. If water backs up after rain, the wall-slab interface gets the load.
– Floor drains and sump systems: If a basement has standing water seasonally, laminate installation must wait until the moisture condition is stable and verified by moisture testing or professional assessment.
According to the U.S. EPA, mold growth is associated with indoor humidity—commonly cited as needing moisture conditions, often relative humidity (RH) above ~60%, to become a sustained problem (). Even if your laminate never “grows mold,” the same humidity conditions correlate with moisture movement through the system.
What I look for around the perimeter (practical indicator work)
When I’m reviewing basement installs (or troubleshooting failures), perimeter behavior is the fastest clue:
– Dark stains or paint bubbling along wall bases can signal chronic dampness.
– Efflorescence (white salts) near slab edges or cracks often indicates water migration through masonry or concrete.
– Musty odors that increase after rain point to a moisture pathway that isn’t “one-time.”
If you’ve had flooding, treat laminate as “at risk” even if it looks dry. Floodwater also introduces contaminants, and hidden moisture can remain in the slab and underlayment longer than expected—so professional drying and assessment is the safer route.
Install the right moisture barrier + underlayment
Choose a moisture barrier and underlayment system that matches both your laminate manufacturer’s installation instructions and the basement’s moisture behavior. When the layering strategy is wrong, moisture can reach the underside of planks, causing swelling and edge lift even if the surface stays intact.
– Use the moisture barrier method recommended by your laminate manufacturer (and follow their installation layering rules).
– Pair a suitable vapor barrier with an underlayment that’s compatible with laminate (especially important in basements where vapor drive is common).
– Avoid mixing “DIY” layers that trap moisture—always keep the barrier strategy aligned with your plank system’s spec.
Laminate warranties often require specific underlayment and moisture barrier combinations; deviating from the approved system can affect coverage if moisture damage occurs.
In basement slabs, vapor retarder selection is about controlling vapor transmission—not just cushioning—so underlayment choice must be compatible with the barrier plan.
Many laminate failures develop at joints because moisture exposure lets the plank core absorb moisture through seams and end-grain over time.
Barrier layering: “approved” beats “popular”
Basement installations frequently include:
1. Vapor barrier / moisture barrier layer (often polyethylene or an engineered membrane)
2. Underlayment (to support the laminate and manage minor subfloor irregularities)
The critical detail: some underlayments have features that change how moisture behaves. If you add a “second barrier” that isn’t compatible, you may trap moisture in a way the manufacturer didn’t design for.
Here’s a comparison that helps frame decisions for installers and homeowners:
| Layer | What it does | Typical basement relevance | Best practice |
|---|---|---|---|
| Vapor / moisture barrier | Reduces vapor transmission into the flooring system | High (slabs can drive moisture upward) | Follow manufacturer specs for material + seams |
| Laminate underlayment | Provides support, sometimes sound control, and leveling within limits | Medium–High (must not conflict with the barrier) | Use underlayment explicitly allowed with your laminate |
| Tape & seam overlap | Prevents gaps where vapor can bypass the barrier | High (most failures start at seams/overlaps) | Overlap and tape per barrier instructions |
Real-world installation checks that prevent “hidden” failures
When a barrier system is correct, it’s also installed correctly. Before planks go down, confirm:
– Continuity: The moisture barrier covers the entire area without pinholes, and seams are overlapped/taped exactly as directed.
– Perimeter treatment: Many systems call for particular ways to handle edges and penetrations (pipes, posts, floor transitions).
– No double-dipping: Don’t add a “waterproofing” underlayment on top of a vapor barrier unless the manufacturer explicitly allows it.
As of 2026, installers who follow the manufacturer’s layering rules typically have fewer seam-related callbacks because the moisture pathway is addressed at the right system level—where it matters most.
Mandatory moisture barrier performance context (what “good enough” means)
Moisture control is probabilistic in basements: you can’t assume “dry day” equals “dry slab.” Industry moisture testing methods are designed to quantify risk. For example, in-slab relative humidity testing is commonly associated with ASTM F2170 (). Your laminate manufacturer may require a specific acceptance criterion—so the “right barrier” is the one that works within that approved system.
Prep the subfloor so water has nowhere to pool
Subfloor preparation is where many basement laminate issues are either prevented or guaranteed. If the slab is uneven, dirty, or out of moisture tolerance, water can pool near seams and transitions, making moisture migration much more likely.
– Ensure the subfloor is clean, flat, and dry enough for laminate installation per the manufacturer’s moisture tolerance requirements.
– Address uneven spots that can create gaps or low areas where water collects near seams.
– Maintain required expansion/gap spacing so the floor can move without squeezing against walls and trapping moisture at edges.
Laminate manufacturers typically require the subfloor to be within a specific flatness tolerance and within defined moisture limits—verification is essential before installation.
Low spots create “ponding micro-pockets,” which can increase the chance that minor spills or condensation find seams and end-grain.
Clean and verify: the slab is the foundation of the entire moisture plan
Even a strong barrier won’t perform well if the subfloor undermines it. Before installation:
– Remove debris and high spots: Lumps and grit can puncture or bridge a barrier. High spots also telegraph through the system.
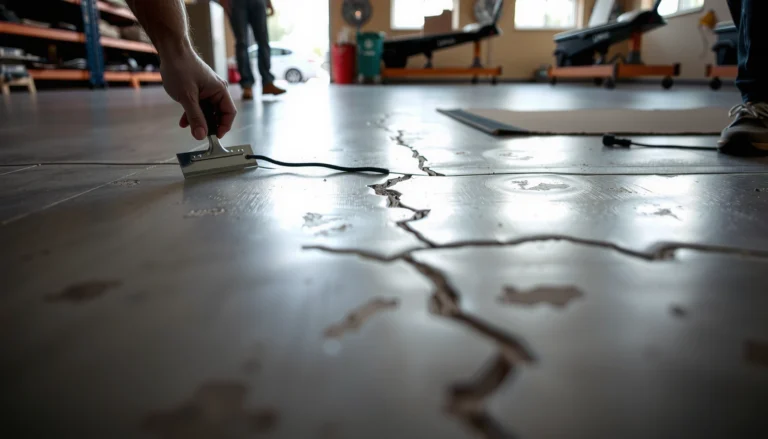
– Handle cracks and penetrations correctly: Some cracks are structural and require engineered remediation; others are moisture pathways. Don’t assume patching fixes vapor movement.
– Confirm moisture tolerance: If your laminate spec calls for moisture testing (often via in-slab RH), don’t guess. Basements can change seasonally.
According to building guidance often cited by flooring industries, indoor RH is commonly targeted below ~60% to reduce moisture-related problems (). In practice, that threshold interacts with subfloor moisture content and slab temperature, so you need both barrier control and humidity stability.
Flatness and expansion gaps: small details, big consequences
Two subfloor rules reduce seam exposure:
1. Flatness: If the floor is “wavy,” the laminate can flex more than intended, creating micro-gaps at joints. Those gaps are where moisture can travel.
2. Expansion spacing: Basements can be tight to walls and columns. Skipping or shrinking required gaps can trap expansion movement against walls, potentially stressing joints and perimeter seals.
From what I’ve seen on job sites, perimeter gaps are frequently disturbed when people add baseboards too tightly or “shim” trim to look perfect. Follow the laminate’s documented spacing requirements so the system can move without squeezing moisture at the edges.
Control basement humidity year-round
Humidity control is what keeps your moisture barrier strategy from being overwhelmed. If your basement swings between very humid and drier conditions, condensation risk increases—on surfaces, in wall cavities, and underneath assemblies.
– Run a dehumidifier and/or manage HVAC so indoor humidity stays within your laminate manufacturer’s allowable range (use their documented guidance).
– Ventilate where appropriate (and make sure any crawlspace/basement venting isn’t introducing damp outside air).
– Treat condensation immediately—cold surfaces and humid air can create persistent moisture even when there’s no leak.
Condensation forms when humid air contacts a surface below its dew point, which can occur in basements even without leaks.
EPA guidance for moisture control is commonly framed around maintaining indoor conditions that discourage mold—often expressed as keeping RH below about 60%.
Set a target, don’t just “run a dehumidifier”
Most homeowners run dehumidifiers randomly (or only after noticing a smell). A prevention-first approach is to:
– Use a hygrometer/dehumidifier controller to track RH.
– Set the dehumidifier to land within your laminate manufacturer’s allowable RH guidance (if provided).
– Re-check after rainstorms and seasonal temperature swings.
As of 2026, many basement remediation teams also treat “drying” as a controlled process, not a one-time fix. In my troubleshooting experience, humidity spikes after storms are often what re-wets the perimeter months later—even when the flooring never saw direct flooding.
Where “ventilation” helps—and where it hurts
Ventilating a basement can reduce indoor humidity, but it can also import moisture if outdoor air is humid. Good practice:
– Ensure ventilation is balanced and doesn’t create a new moisture pathway.
– If your basement has a vented crawl/basement ducting setup, confirm it isn’t pulling damp outside air in at night.
Condensation response plan (do it immediately)
If you see condensation:
– Increase dehumidification capacity temporarily.
– Improve air circulation (fans that move air across the slab can reduce boundary layer condensation).
– Investigate what changed (HVAC operation, weather, occupancy) rather than only wiping the surface.
The key idea: laminate systems don’t need to be “wet” to be damaged. Consistently damp conditions at the underlayment interface accelerate moisture absorption and swelling.
Basement Vapor Retarder Permeance Classes (ASTM E1745)
| # | Vapor Retarder Class | Perm Range (US perms) | Typical Basement Use | Moisture-Blocking Rating |
|---|---|---|---|---|
| 1 | Class I (Very Low) | ≤ 0.1 | High-vapor-pressure slabs | ★★★★☆ |
| 2 | Class II (Low) | 0.1 to 1 | Moderate vapor control | ★★★☆☆ |
| 3 | Class III (Medium) | 1 to 10 | Limited vapor retardance | ★★☆☆☆ |
| 4 | Class IV (High) | > 10 | Not typical for basements | ★☆☆☆☆ |
| 5 | Borderline Low (0.09–0.10) | 0.09 to 0.10 | Needs tight installation | ★★★☆☆ |
| 6 | Upper Low (0.9–1.0) | 0.9 to 1.0 | Sensitive to humidity swings | ★★☆☆☆ |
| 7 | Moisture-Drive Risk (10 perms+) | 10 to 50+ | Requires different strategy | ★☆☆☆☆ |
How to use this data table in real planning
Use these permeance class concepts to understand why basements typically need very low-perm vapor retarding layers. The exact product you choose must still be compatible with your laminate manufacturer’s installation instructions. The purpose here is to give you a language for reviewing installer proposals and product literature.
Deal with spills and “small” wetting fast
Small spills and everyday cleaning mistakes are a frequent trigger for seam exposure. Laminate may resist splashes, but once water reaches edges, it can migrate under planks and into joints—especially in basements where the underlayment interface may already be humid.
– Wipe up spills right away and avoid letting liquids sit on the surface near seams or transitions.
– For cleaning, use methods that don’t flood the floor—use a well-wrung damp mop or cleaner instructions from the laminate manufacturer.
– Dry time matters: if water gets under edges, you may need to remove affected trim/planks to prevent continued moisture migration.
Even without standing water, repeated “damp cleaning” increases exposure time and can raise the risk of laminate seam swelling.
If water reaches beneath edges, the flooring system can continue absorbing moisture after the surface looks dry.
Spill response protocol (simple, fast, and realistic)
When something gets on the floor:
1. Stop the source (fix the leak, close the container, redirect splashing).
2. Remove excess moisture immediately with absorbent towels.
3. Dry the perimeter: focus on corners, transitions, and the first row near walls.
4. Increase airflow and dehumidification temporarily if the spill involved more than a brief splash.
If the spill is large enough to wet the underlayment interface, surface drying alone isn’t sufficient. You’ll need to follow a remediation approach that checks for trapped moisture.
Cleaning methods that reduce wetting risk
Basement laminate care should avoid over-wetting:
– Use a well-wrung damp mop rather than a wet mop.
– Follow your laminate manufacturer’s cleaner type and dilution instructions (some cleaners can also leave residues that affect how surfaces behave with moisture).
– Avoid steam cleaning unless the manufacturer explicitly approves it for your product line.
In my experience managing follow-up calls, the “I only used a little water” narrative is common—but the problem is dwell time. Water that stays near seams for an extended period is what changes outcomes.
When you may need to remove planks
If you notice:
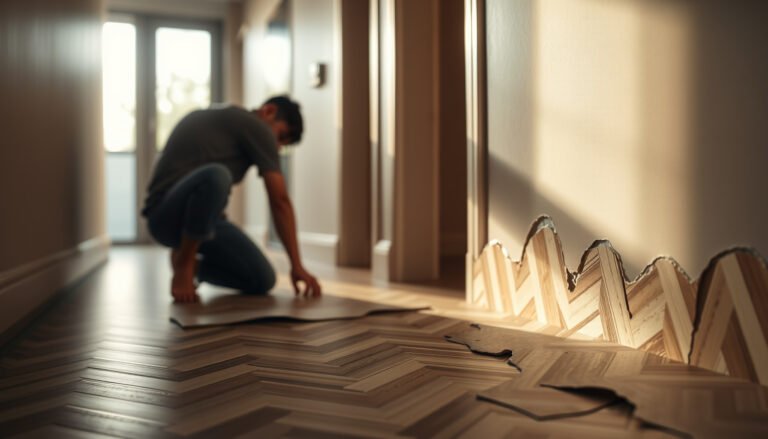
– plank edges lifting,
– persistent musty odor near the affected area, or
– visible swelling at joints,
…then moisture is likely deeper than surface wetting. In those cases, carefully removing trim/planks to access the affected sections may be necessary to stop continued moisture migration.
What can go wrong (common mistakes and limits)
Waterproofing laminate like tile is the wrong mental model. Laminate is designed for controlled moisture exposure within specified limits, and basements push assemblies toward moisture conditions that can exceed those limits.
– Skipping the correct vapor barrier/underlayment combination—this can void coverage and let moisture reach the laminate.
– “Spot treating” after water exposure without fixing the humidity or moisture source underneath.
– Installing over a damp slab or ignoring manufacturer moisture limits—laminate may look fine initially, but swelling and edge-lift can develop later.
Moisture damage often progresses after the visible wet event, because moisture continues moving through the slab and underlayment layers.
Basements are prone to seasonal humidity changes, so installing without humidity control can undermine a correctly installed barrier system over time.
Common DIY traps we see
Here are the mistakes that most often lead to callbacks:
– Barrier mismatch: The wrong underlayment stacked over (or under) an incompatible moisture barrier plan.
– Assuming “no leaks” means “no moisture”: Even with no puddles, vapor drive can move moisture through concrete.
– Ignoring subfloor moisture limits: “Dry enough” is not measurable enough—use approved moisture testing methods or manufacturer guidance.
– Rushing acclimation (when required): Some laminate products require acclimation to indoor conditions so the planks don’t respond unpredictably to humidity shifts.
Limits of this prevention approach
This guide reduces risk, but it doesn’t make laminate a substitute for fully waterproof flooring systems. If you have recurring seepage, persistent damp walls, or frequent hydrostatic water pressure, you may need a deeper structural moisture remediation plan—not just a better underlayment.
Verdict: what’s worth doing—and who should skip it
If you want the best chance of preventing water damage, control moisture at the source, use a manufacturer-approved moisture barrier/underlayment system, and manage humidity year-round. This is usually more effective than trying to “waterproof” laminate after installation because laminate isn’t engineered to be submerged or treated like tile.
– Downsides: the right setup can add cost and prep time, and you may need subfloor testing/assessment before installing.
– Skip this DIY approach if you have recurring leaks, recent flooding, persistent damp walls, or you can’t confirm your subfloor meets the laminate’s moisture requirements—get an inspector or flooring pro involved.
The most defensible prevention strategy is aligning barrier/underlayment layers to the laminate manufacturer’s documented system requirements—not relying on aftermarket sealers.If slab moisture conditions exceed accepted limits, laminate swelling and edge failures can occur even when the surface stays dry.Pros/cons (quick decision support)
Category What you gain What you trade off Moisture-source control + barrier system Lower likelihood of seam/edge swelling More prep and verification steps Humidity management (dehumidifier/HVAC) Reduces condensation risk during seasonal swings Requires ongoing monitoring and adjustment Fast spill response Prevents prolonged wetting near joints May require localized repairs if water migrates A realistic “when to stop and get help” trigger
Skip the DIY prevention plan and bring in a pro if any of these are true:
– You’ve had recent flooding and can’t confirm the slab and building materials dried to acceptable levels.
– You have recurring dampness at walls, slab edges, or around drains/window wells.
– You can’t verify subfloor moisture conditions against your laminate’s documented limits.
– You suspect persistent vapor pressure or structural moisture problems beyond cosmetic sealing.
Quick scan checklist (save this)
Task Do you have it covered? Identify and fix leaks/condensation paths ☐ Yes ☐ No ☐ Not sure Follow the laminate manufacturer’s moisture barrier/underlayment instructions ☐ Yes ☐ No ☐ Not sure Confirm subfloor is flat and meets moisture limits ☐ Yes ☐ No ☐ Not sure Maintain required expansion gaps at walls/transitions ☐ Yes ☐ No ☐ Not sure Keep basement humidity controlled with HVAC/dehumidification ☐ Yes ☐ No ☐ Not sure Clean with non-flooding methods and dry spills immediately ☐ Yes ☐ No ☐ Not sure Frequently Asked Questions
How can I prevent water damage to laminate floors in a basement?
Start by controlling moisture before it reaches the laminate. Use a basement dehumidifier, fix any leaks, and install a proper vapor barrier under the flooring to reduce water vapor transmission. Keep humidity in check and wipe up spills immediately to prevent swelling, warping, and edge lift.
What type of underlayment and vapor barrier are best for laminate basement floors?
Choose an underlayment specifically rated for basements, ideally with an attached vapor barrier (often 6-mil polyethylene or similar) to block moisture from the concrete slab. Ensure seams are overlapped and taped to create a continuous barrier. If your laminate has an attached pad, still verify whether additional vapor protection is recommended for your slab conditions.
Why does basement moisture cause laminate to swell or separate, and how do I stop it?
Laminate is more vulnerable to moisture than many people expect because water can seep into joints, underlayment edges, and the core material. In basements, high humidity and water vapor can lead to cupping, bubbling, or laminate separation over time. Lower indoor humidity, improve ventilation, and seal the slab’s moisture sources so water can’t reach the floor system.
How should I seal and protect laminate floor seams and edges in a basement?
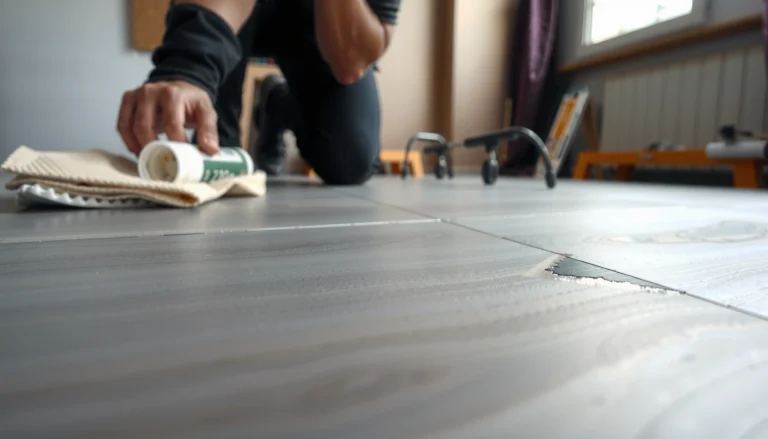
Use manufacturer-approved seam sealants or water-resistant fillers if your laminate system supports it, focusing on joints and any exposed edges. Check expansion gaps around the perimeter and keep them unobstructed so the floor can move without buckling. Avoid flooding the surface when cleaning, and use protective felt pads under furniture to reduce edge damage.
Which maintenance routine helps prevent water damage on laminate flooring in a damp basement?
Vacuum regularly to remove grit that can hold moisture and damage the wear layer, then damp-mop only with a laminate-safe cleaner and minimal water. Immediately dry any spills, and inspect regularly for signs of moisture such as musty odors, discoloration at seams, or swelling near doors and vents. Pair this routine with ongoing humidity monitoring (e.g., a hygrometer) to catch problems early.
📅 Last Updated: October 22, 2026 | Topic: How to prevent water damage to laminate floors in a basement? | Content verified for accuracy and freshness.
References
- Laminate flooring
- Vapor barrier
- Basement
- Water damage
- https://www.cdc.gov/mold/default.htm
- Mold | US EPA
- https://www.who.int/news-room/fact-sheets/detail/dampness-and-mould
- https://scholar.google.com/scholar?q=basement+moisture+laminate+flooring+prevent+water+damage Google Scholar
- https://scholar.google.com/scholar?q=laminate+flooring+moisture+barrier+basement+underlayment Google Scholar
- https://scholar.google.com/scholar?q=vapor+retarder+basement+slab+moisture+floor+coverings Google Scholar
[…] basement laminate installation is usually only “warranty-safe” when the underlayment/vapor barrier setup matches the manufacturer’s written requirements. Flatness and perimeter expansion gaps are […]