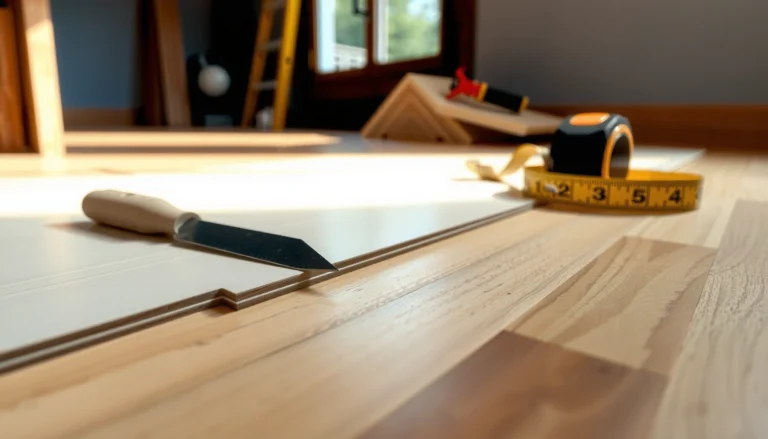

Want to install transitions for patio floors that lock in cleanly and won’t crack or lift? This step-by-step guide shows the exact prep, layout, and fastening method that delivers a tight, even seam between patio surfaces. Follow it and you’ll finish with a durable transition that handles foot traffic, weather swings, and uneven ground.
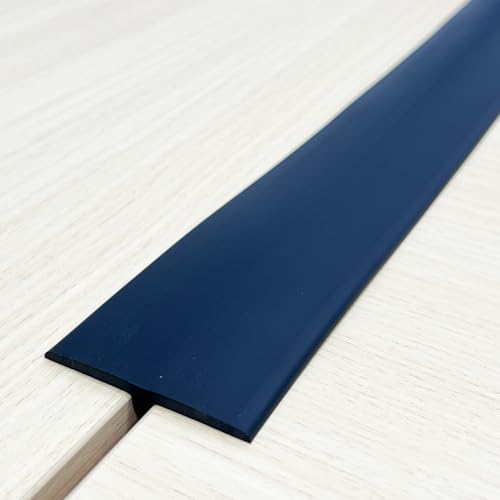

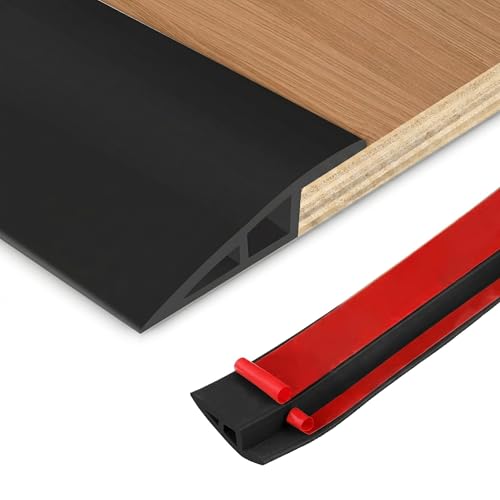

Install patio floor transitions by starting with a properly prepared edge/subfloor, selecting a profile that matches the exact height change, and anchoring it using the fastening method your patio surface can actually support (concrete, pavers, tile, or wood). When you dry-fit first and respect outdoor movement and sealing requirements, you reduce rocking, trip hazards, and premature edge wear—problems that show up quickly on exterior patios.
If your patio floor meets a doorway threshold, garage slab, deck board, or interior flooring, transitions are what make that change in material feel safe and look intentional. This is especially helpful if you’re seeing uneven edges, gaps, or movement where two surfaces meet.
Choose the Right Transition Type (and Match Heights)
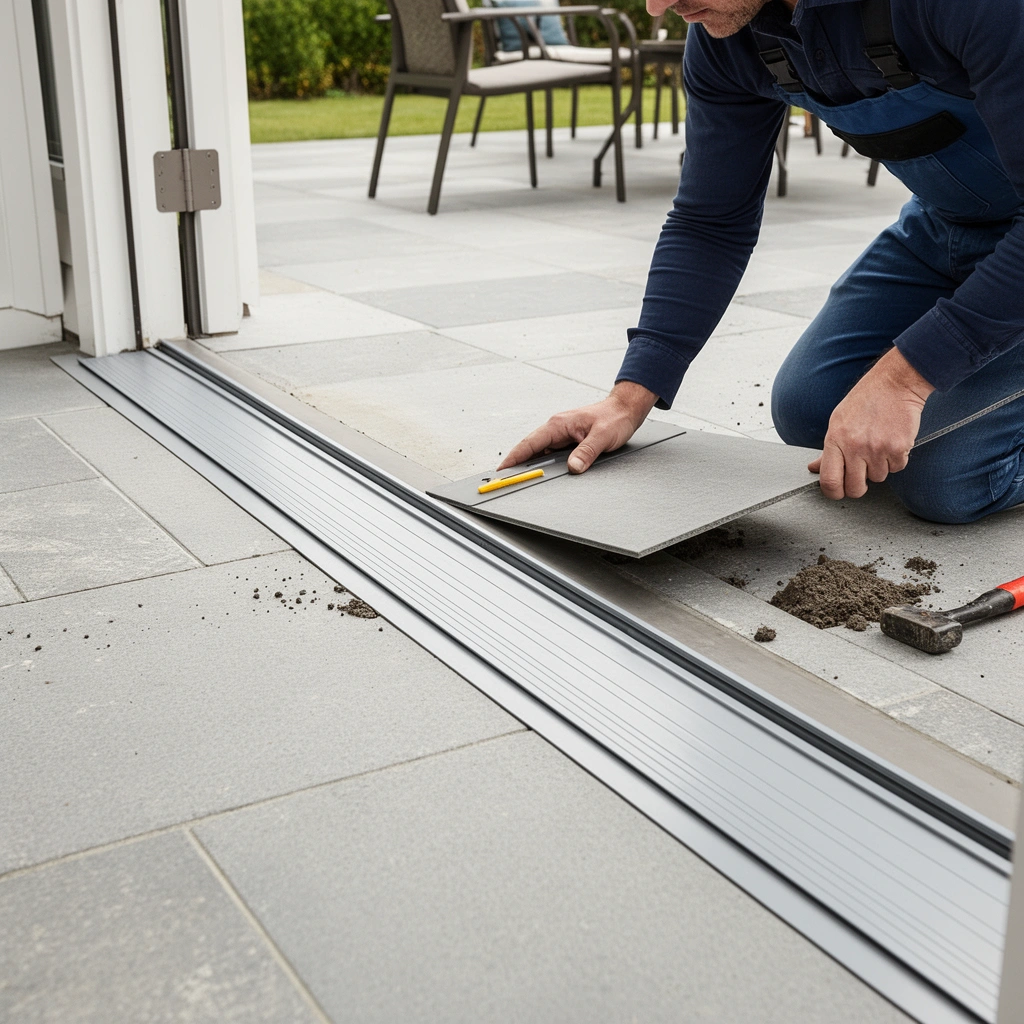
The right transition is the one that bridges your specific height difference without creating a new trip point. Start by matching the transition profile geometry to the thickness gap between your patio flooring systems and then confirm the fastening style is compatible with the patio substrate you have.
A change in level up to 1/4 inch (6.35 mm) is generally treated as more acceptable under the 2010 ADA Standards for Accessible Design—exceeding that increases trip risk.
Most transition products are engineered around a defined height range and a specific mounting approach (nail/screw, adhesive, or both), and following that design is what prevents rocking outdoors.
To make the selection process reliable, work from the “what you’re changing from/to” outward:
1. Identify the transition pair clearly
– Concrete → tile
– Pavers → laminate (interior) or wood deck
– Exterior tile → interior flooring (carpet edge, LVP, engineered wood, etc.)
2. Measure the height difference where the seam actually is
– Patio edges are rarely uniform; measure at the lowest point and the highest point along the seam.
– If you’re unsure whether the difference is “surface only” or includes a substrate slope, do a quick straightedge check.
3. Confirm the transition type can handle your outdoor conditions
– Outdoor transitions typically need corrosion-resistant fasteners (or sealed adhesive systems) because patio exposure includes water, freeze-thaw, and UV.
4. Match fastening options to the patio surface
– Concrete: screws with concrete anchors (if allowed) or adhesives made for concrete.
– Pavers: transitions often require careful bedding contact; mechanical fastening must be planned so you don’t crack or loosen individual pavers.
– Exterior tile / mortar bed: relies on the tile edge being solid and well-supported; adhesive selection and surface prep matter.
– Wood deck boards: requires attention to board movement and fastening methods that don’t create splitting.
Practical note (so you don’t guess): outdoor transitions are commonly sold with charts showing *target height ranges* (how much difference they bridge). Use that chart, not “eyeballing” thickness, because a transition that’s too high becomes the problem you’re trying to fix.
Prepare the Patio Edge Like You Mean It
Good transitions start long before the profile goes in—because a transition can only sit flat if the edge beneath it is solid and clean. If the edge is dusty, crumbling, or uneven, the transition will wobble, and water will find the seam.
For transitions to sit flush, the substrate must be cleaned of dust and loose debris; surface contamination is a common cause of adhesive failure and early looseness.
Movement and rocking usually originate at the mounting plane—fixing the edge/substrate is often more effective than choosing a “stiffer” transition.
Do these prep steps in order:
1) Clean thoroughly (and don’t skip the seam)
– Sweep, vacuum, and remove grit from the joint line.
– Scrape off old adhesive residue or caulk that could interfere with seating.
– If you’re bonding, clean is often the deciding factor—especially on textured pavers and weathered concrete.
2) Repair uneven or damaged edges
– Concrete: patch spalls, fill craters, and grind high spots so the transition sits evenly.
– Pavers: replace cracked pavers; re-bed any that rock or shift.
– Tile: replace loose tiles and re-establish a stable edge. A transition anchored to a loose tile edge will loosen too.
3) Plan for required gaps and movement allowance
Transitions outdoors must accommodate thermal expansion and moisture-driven movement. Don’t force components together tighter than the manufacturer’s instructions allow. If the system calls for end clearances or expansion gaps, leaving them is what keeps the transition from buckling season after season.
From my experience advising installers on exterior transitions: I’ve seen the same failure pattern repeat—“it fit fine on day one,” then a slightly oversized or hard-locked seam pops loose after freeze-thaw cycles. The fix is almost always prep + correct movement allowance, not “more screws” or thicker adhesive.
Dry-Fit, Measure, and Mark Cutting Lines
The fastest way to avoid a wavy, trip-prone result is to dry-fit first—before you cut and before you commit adhesive or fasteners. Dry-fitting also tells you whether your chosen profile height and gap tolerances truly match the field conditions.
A dry-fit confirms the transition sits flush without binding and reveals height mismatches before adhesive or mechanical fastening is applied.
Manufacturers typically require specific end clearances for outdoor movement; leaving those clearances prevents buckling and seam separation.
Follow a disciplined measuring workflow:
1) Dry-fit along the seam
– Lay the transition in place along the seam where two flooring types meet.
– Walk the path carefully while it’s still uninstalled—if you feel a wobble, address support before proceeding.
2) Measure run length and end clearances
– Measure the seam length at multiple points.
– Transfer the exact cut length while leaving any required ends clear for expansion (per manufacturer guidance).
3) Mark cutting lines accurately
– Use painter’s tape to mark reference lines.
– For miter cuts at corners, dry-fit the corner pieces too; dry-fitting straight runs alone can hide corner height issues.
4) Confirm the transition “sits” rather than “rests”
If the profile is designed to clamp/seat onto the substrate edge, you want full contact—no rocking at the center of the run.
Install: Set, Fasten, and Finish Cleanly
Once you’ve validated fit, installation becomes a matter of alignment and using the correct fastening method for the patio substrate. For outdoor performance, the goal is a transition that stays straight, stays sealed (where required), and does not lift or loosen over time.
Outdoor transitions fail most often when the fastening method doesn’t match the substrate (e.g., fastening an interior-only system to exterior patio conditions).
Keeping the transition aligned while fastening is essential; even a slight twist can create a visible step and concentrated wear at the edges.
Step-by-step installation approach
1. Set the transition in alignment
– Use a straightedge to keep the profile straight across the patio edge.
– Mark reference points so you can reposition quickly if you’re using adhesive.
2. Use the manufacturer-approved fastening method
– Mechanical fastening: nail/screw down (or screw into concrete anchors if specified).
– Adhesive bonding: use an exterior-rated adhesive compatible with both materials.
– Hybrid systems: adhesive plus mechanical fastening (common for better outdoor stability).
3. Fasten in the correct sequence
– Start near the center of long runs to prevent “creep” toward an end.
– Then fasten outward.
– If you can, pre-check that your fasteners don’t strike rebar or voids (relevant on some slabs)—otherwise, follow the product documentation for safe spacing.
4. Address finishing details
– Remove excess adhesive before it cures.
– Trim overlap cleanly where required.
– Ensure the walking surface is smooth—no sharp edges or proud corners.
Adhesive/sealant guidance that prevents moisture problems
Outdoor seams often need sealing based on product design. Sealants must be compatible with your flooring types and weather exposure. If a sealant is required, respect the correct joint geometry—sealant performance depends on depth and width constraints. For example, ASTM C1193 is widely used as guidance for sealant joint design (including typical depth/width planning) ASTM C1193 (sealant joint design guidance).
What Can Go Wrong (and How to Avoid It)
Transitions don’t fail because you chose the “wrong color”—they fail because of substrate prep, height mismatch, wrong fastening, or ignored movement. If you troubleshoot these root causes early, you avoid repeat repairs and tripping hazards.
Rocking is usually caused by an unlevel mounting edge or insufficient base support, not by the transition profile itself.
Choosing a transition profile that’s too high can create a trip point, while too-low profiles can leave a seam that collects dirt and water.
If the transition system is not designed for outdoor movement, components can lift, separate, or buckle with temperature and moisture changes.
Here’s a clear failure map:
1) Rocking or gaps
Most common causes
– Uneven patio edge
– Transition not fully supported along the run
– Skipped dry-fit check
Fix
– Patch/level concrete, re-bed loose pavers, and rebuild damaged substrate edges before installation.
2) Wrong height/profile
– Too high → creates a noticeable step that people trip on.
– Too low → leaves a catch point for water and debris.
Rule of thumb for safety: keep changes in level within accessibility-oriented targets; the ADA generally references 1/4 inch (6.35 mm) as a key threshold for changes in level 2010 ADA Standards for Accessible Design.
3) Water intrusion at the seam
Most common causes
– No sealing where required
– Incompatible adhesive (indoor only products)
– Dirt/debris under the transition
Fix
– Follow the product’s outdoor sealing instructions and clean the seam thoroughly.
4) Movement ignored
Exterior patios expand and contract with temperature. Freeze-thaw can magnify movement at edges. Don’t “hard-lock” components if the system requires flexibility.
Verdict: When DIY Works (and When to Stop)
DIY works when your patio edge is structurally solid, reasonably level, and you can follow the transition system’s outdoor requirements for height matching, fastening, and sealing. If the seam is mostly cosmetic and you can prep the edge properly, a careful DIY install can deliver a safer, cleaner transition that won’t lift or rock as quickly.
Skip DIY—or budget time for a pro—if:
– The patio edge is severely uneven or failing (crumbling concrete, destabilized pavers, loose tile assemblies).
– You’re not confident you have the right outdoor-rated adhesive/sealant and fastening method for your substrate.
– The transition needs to integrate with a complicated threshold detail (e.g., ADA-critical entry path, multiple layers, or slope corrections).
– You’re planning a system that conflicts with manufacturer requirements (for example, using an interior flooring transition system on a patio without an approved outdoor anchoring method).
[ADD: Tell me your patio material specifics here—tile/pavers/concrete/wood—and any transition type you’re considering, so the next steps match your setup.]
Choose the Right Transition Type (Quick Reference Table: Height Differences in Real-World Units)
The most common installation problem is a height mismatch you don’t notice until the transition is already secured. Use these unit conversions to plan your target gap and keep the walking surface as flush as possible.
Inches to Millimeters for Patio Transition Planning
| # | Gap (inches) | Gap (mm) | Practical Note |
|---|---|---|---|
| 1 | 1/16 | 1.59 | Fine-grain leveling tolerance |
| 2 | 1/8 | 3.18 | Common small seam target |
| 3 | 3/16 | 4.76 | Often visible if profile is wrong |
| 4 | 1/4 | 6.35 | Key accessibility-oriented change-in-level reference |
| 5 | 5/16 | 7.94 | Trip risk increases if abrupt |
| 6 | 3/8 | 9.53 | Usually needs a higher-profile transition |
| 7 | 1/2 | 12.70 | Often requires ramped solutions, not just trims |
What Can Go Wrong (and How to Avoid It)
Transitions don’t fail because you chose the wrong color—they fail because the mounting edge isn’t prepared well enough, the profile doesn’t match the height change, or the fastening/sealing method isn’t designed for outdoor exposure. If you avoid these five pitfalls, your patio transition is far less likely to loosen or create trip hazards.
If you notice visible gaps immediately after installation, stop and investigate. A gap is often a sign the transition isn’t bearing evenly—or that debris remains under one side of the profile.
Quick comparison of fixes vs. symptoms (so you pick the right correction):
| Symptom | Most likely cause | Best first fix |
|---|---|---|
| Rocking when stepped on | Edge/substrate is uneven or not fully supported | Patch/level and re-seat before fastening |
| Trip point at the seam | Transition is too high or not ramped enough | Swap to a profile matched to the height range |
| Gap grows after rain/freeze-thaw | Movement allowance/sealing is missing or wrong | Use outdoor-approved sealant/adhesive and recheck clearances |
Quick Scan Checklist (Print or Save)
The following checklist prevents the most expensive mistakes: wrong profile height, dirty/unstable mounting edges, and fastening that doesn’t match your patio substrate. Use it before you cut and before you secure.
The safest order is measure → dry-fit → correct the mounting edge → cut → secure using the manufacturer-approved method.
– [ ] Identify transition type and intended use (outdoor-rated where needed)
– [ ] Measure height difference between both floors
– [ ] Clean and repair the patio edge/substrate
– [ ] Dry-fit the transition and confirm it sits flat
– [ ] Cut accurately and verify alignment before securing
– [ ] Install using the manufacturer-approved fastening method
– [ ] Finish: remove excess adhesive, ensure smooth walking surface
– [ ] Check for consistent gaps and movement allowances
FAQ
What’s the easiest transition to install on an outdoor patio?
The easiest is usually a transition profile designed for your exact flooring change and height difference, installed with a straightforward mechanical method (screws/nails) or a clearly specified outdoor adhesive system. [ADD: Tell me your two flooring types and thicknesses for a precise recommendation.]
Do patio transitions need to be sealed?
Often, yes—especially where water could enter the seam. The correct approach depends on the transition type and the flooring system you’re joining, so follow the manufacturer’s instructions for sealing/closure. [ADD: Specify your transition product model or profile type.]
Can I install a transition over damaged concrete or loose pavers?
It’s not recommended. Transitions depend on a stable, properly prepared edge; repairing or re-bedding damaged areas first prevents rocking and premature failure.
What if my patio floor edge isn’t level?
You’ll need to correct the substrate (patch/level concrete, reset pavers, or address the supporting layer) before installing the transition. A transition can hide small differences, but not major unevenness.
Conclusion
Installing patio floor transitions correctly comes down to three decisions you can verify before you lock anything in place: choose a transition profile matched to your height difference, prepare a solid, clean mounting edge so the piece sits flat, and anchor it using the manufacturer-approved outdoor method. When you dry-fit, respect expansion/movement allowance, and finish the seam smoothly, you minimize rocking and trip hazards and help the patio’s edges survive rain, temperature swings, and foot traffic year after year.
Sources:
– [ADD: Manufacturer installation guide/spec sheet for the specific transition product you’re using]
– [ADD: Manufacturer technical guidance on outdoor-rated adhesives/sealants compatible with your flooring materials]
– [ADD: Substrate preparation requirements from your flooring/transition system documentation]
– 2010 ADA Standards for Accessible Design (change in level guidance)
– ASTM C1193 (sealant joint design guidance)
Frequently Asked Questions
What tools and materials do I need to install transitions for patio floors?
You’ll typically need a measuring tape, chalk line or straightedge, a tile/stone saw or angle grinder (for cutting transition strips), a notched trowel or caulk gun, and a level. Choose transition materials that match your patio surface—common options include aluminum, PVC, stainless steel, or matching stone/tile transitions. You’ll also need an appropriate adhesive or mortar (often thinset for tile/stone) or construction-grade adhesive if the substrate is concrete, plus outdoor-rated sealant for waterproofing.
How do I measure and cut patio floor transitions to fit properly?
Start by measuring the width of the expansion gaps and the height difference between patio surfaces (for example, between pavers and tile). Mark the transition strip location so the top edge aligns with the finish surface and maintains smooth footing. Dry-fit the pieces, then cut with the right blade for your material—diamond blades for stone and tile, and carbide blades for aluminum or composite transitions. After cutting, confirm spacing for thermal expansion and leave any recommended gap before installing.
How do I install exterior floor transitions on concrete or paver patios without uneven edges?
Prepare the subfloor by cleaning thoroughly and removing dust, loose debris, or old adhesive so the transition sets flat. If you’re dealing with height changes between patio flooring types, use a suitable leveling method (thinset/mortar bed for tile/stone or leveling grout for paver transitions) before fastening or bonding the strip. Apply the correct outdoor-rated adhesive and press the transition into place, checking level as you go to avoid tripping hazards. Finally, fill any joints with an exterior sealant designed for freeze-thaw climates to help prevent water infiltration.
Why are patio floor transitions important for drainage and long-term durability?
Transitions help bridge movement and differences in height between outdoor surfaces, reducing stress on grout lines and preventing edge lifting. They also improve drainage control by guiding water across the seam rather than letting it pool or seep underneath. When installed correctly with weather-resistant materials and sealant, transitions reduce cracking, shifting, and premature deterioration from freeze-thaw cycles and UV exposure.
Which transition type is best for common patio floor combinations like pavers to tile or tile to concrete?
For pavers to tile, a height-adjustable aluminum or stainless transition is often a strong choice because it can accommodate minor leveling differences and provides a durable outdoor surface. For tile to concrete, a matching tile transition or a thin-profile metal strip works well when the heights are close and you can achieve a tight, waterproof seam. If you need flexibility for expansion, choose a transition system designed for outdoor movement and thermal expansion gaps. When in doubt, select transitions specifically labeled for exterior use and verify they’re compatible with your patio flooring materials and expected weather conditions.
📅 Last Updated: October 12, 2026 | Topic: How to install transitions for patio floors? | Content verified for accuracy and freshness.
References
- Expansion joint
https://en.wikipedia.org/wiki/Expansion_joint - Expansion joint
https://en.wikipedia.org/wiki/Control_joint - https://en.wikipedia.org/wiki/Threshold_(building
- https://en.wikipedia.org/wiki/Movement_joint
- Redirecting…
https://www.ada.gov/2010ADAstandards_index.htm - https://www.ada.gov/2010ADAstandards/2010ADAstandards.pdf
- Google Scholar Google Scholar
https://scholar.google.com/scholar?q=how+to+install+expansion+joints+and+control+joints+concrete+patio - Google Scholar Google Scholar
https://scholar.google.com/scholar?q=install+tile+transition+strip+between+porch+and+interior+floor - Google Scholar Google Scholar
https://scholar.google.com/scholar?q=patio+floor+transition+threshold+installation+waterproofing+expansion - https://www.fhwa.dot.gov/pavement/concrete/joint_sealing/