
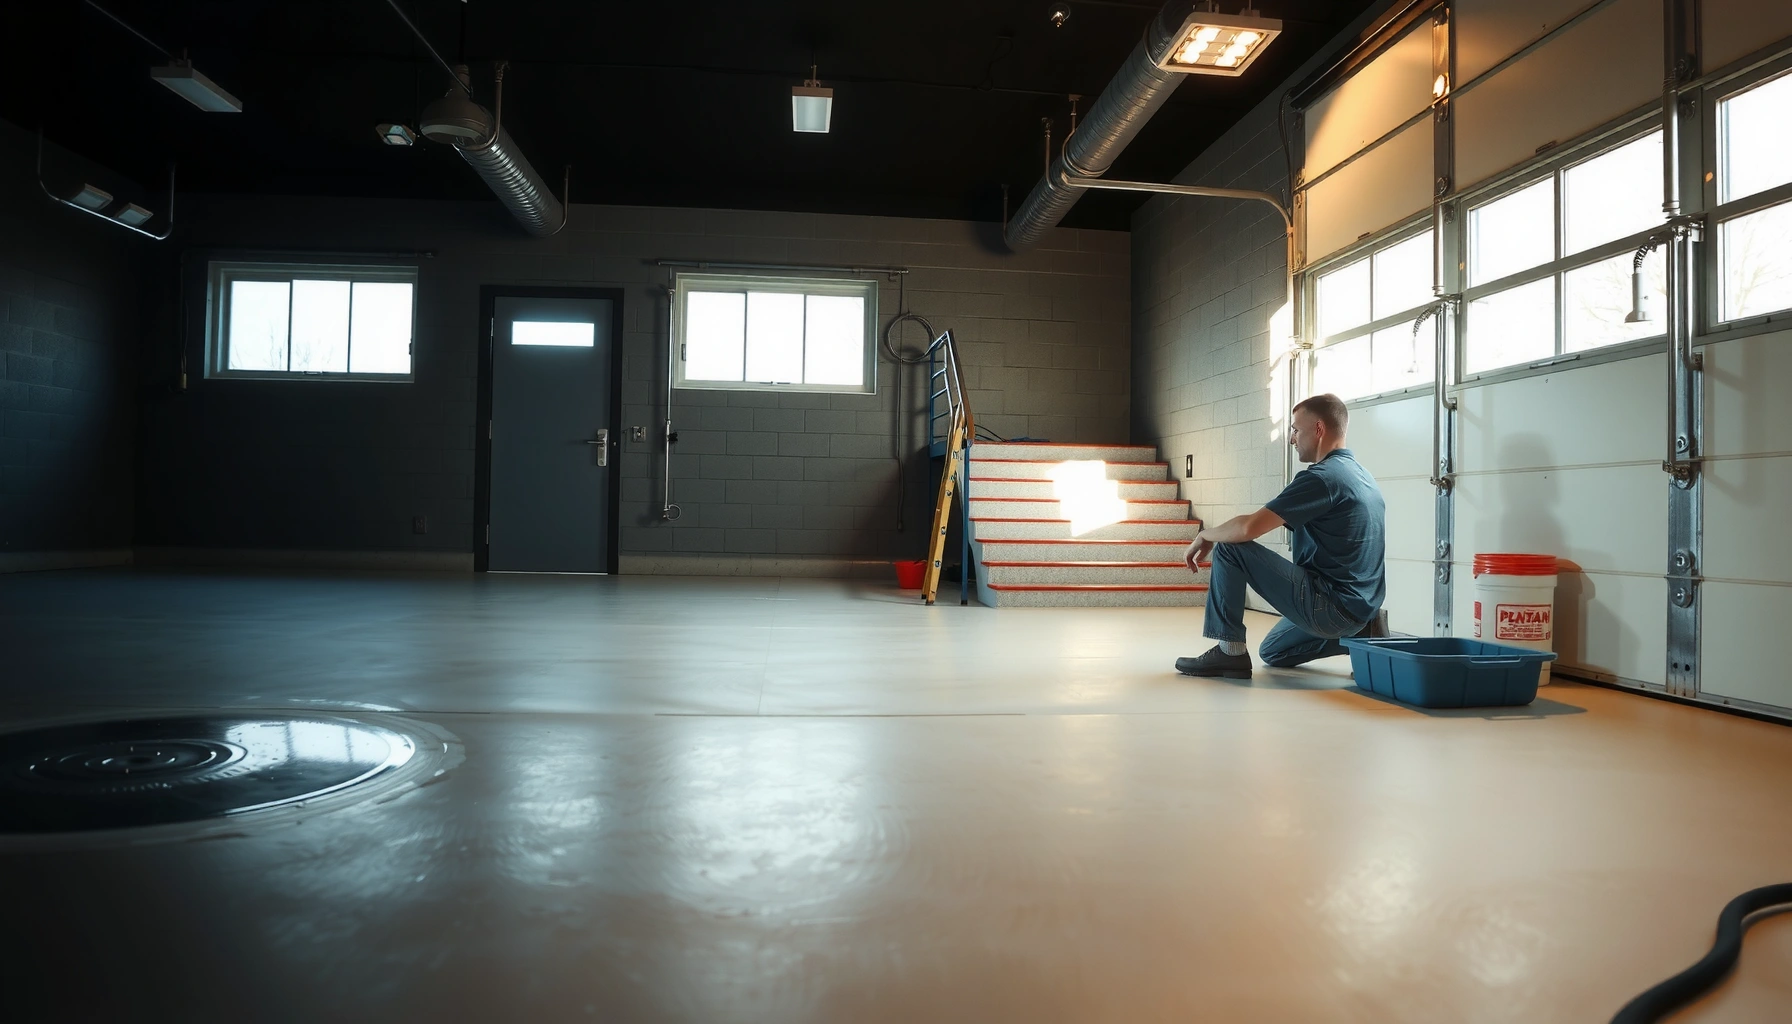

You can install garage floor around stairs with far less hassle by following a clear, step-by-step sequence that prioritizes prep, proper edging, and tight cuts. This guide answers how to handle the irregular stair transitions cleanly, from measuring and subfloor prep to installing and finishing the coverage so it holds up under vehicles. If you want a durable, professional-looking result without guesswork, start here.




Around stairs, you’ll need a tight layout and flexible edge finishing so the floor transitions cleanly without cracking or gaps. Plan your cuts to follow the stair stringer/edges, use the right underlayment (or none, depending on your system), and seal/finish every perimeter. In this guide, you’ll learn how to measure, cut, and install flooring safely in the awkward “around-the-steps” areas and what to watch for.
This is for homeowners and DIYers installing garage flooring (typically tile, LVP/LVT, epoxy flooring, or other modular systems) where the floor pattern must wrap around interior steps or stair structures. If your stair area includes uneven concrete or moving parts, you’ll want to read the “What can go wrong” section before you cut anything.
Plan the layout before you start cutting
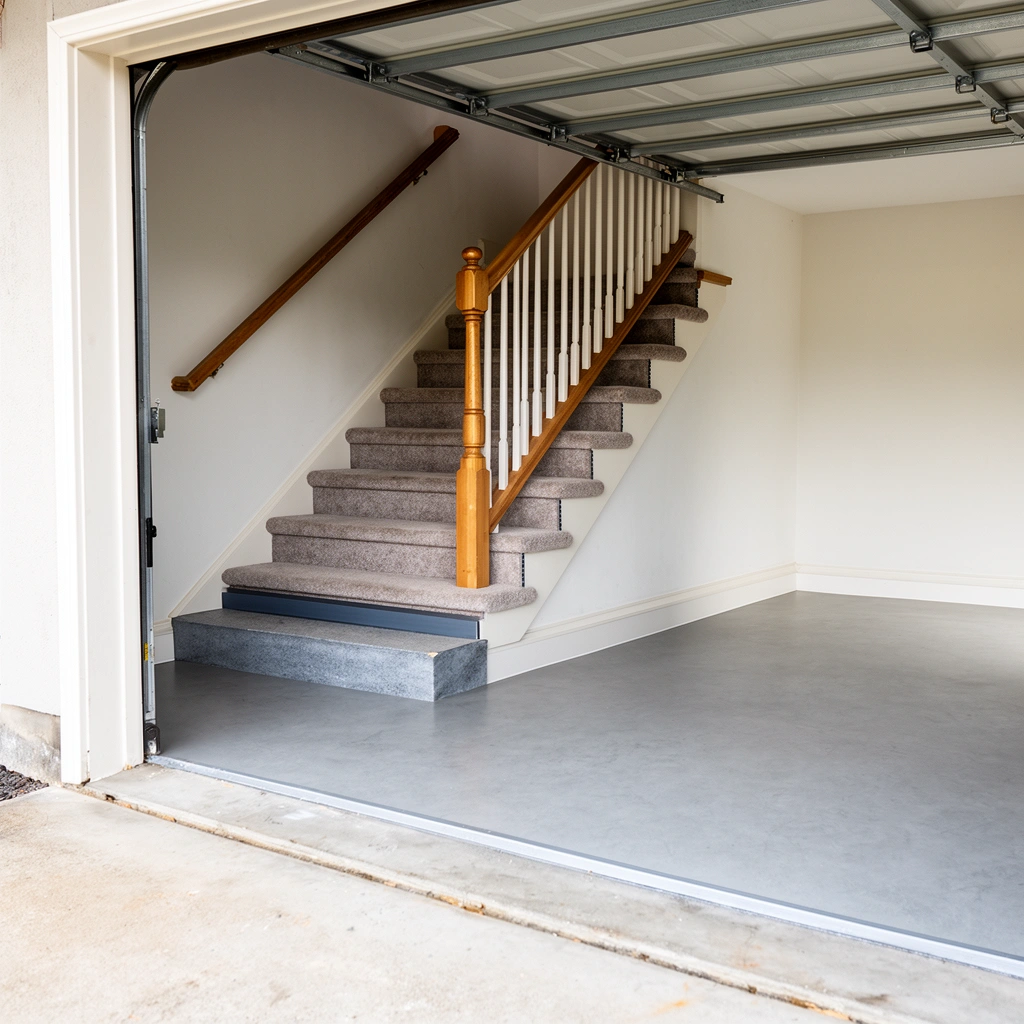
You can avoid most around-stairs failures by deciding the transition approach and mapping the stair geometry before you touch a saw blade. The goal is simple: ensure every piece either stops cleanly at a movement line (per your flooring system) or wraps in a way that respects expansion and edge support.
Start by treating the “stair-adjacent zone” like its own micro-install: the stringer lines and tread/risers introduce direction changes that shift stress into corners. From the beginning, plan for consistent perimeter behavior so your joints don’t become weak points later.
For floating/“click” vinyl and similar systems, many industry guidelines call for perimeter expansion space on the order of about 1/4 in (≈6 mm), though exact values depend on the specific product.
For tile, movement is handled through proper joint placement (including movement joints where required by the tile system and tile industry standards), not by “forcing” tile to behave like a floating floor.
Around stair structures, the most reliable results come from marking cut lines from the actual stair edges rather than trusting drawings or printed measurements.
– Identify the exact stair geometry: stringer shape, tread height, and where the stair meets the garage slab.
– Decide your transition strategy early (stop the floor at the stair line vs. wrap continuously) based on your product’s instructions.
– Mark cut lines with painter’s tape or chalk and confirm measurements against the actual stair edges—don’t trust printed dimensions.
Key measurements that matter most (even more than room size):
1) The distance from the stair stringer to your first “full” tile/plank, at multiple points (because stair edges and slab edges can be slightly off).
2) The narrowest gap you can achieve for transitions (so you don’t end up with a sliver piece that can’t be properly supported or fastened).
3) The perimeter behavior required by your product—floating systems typically need consistent clearance to move, while glued-down tile systems need correct joint planning for stress relief.
From a planning perspective, I recommend drawing your layout twice: once to show where full pieces land, and again to show where you expect seams/cuts near the stair. That second pass usually reveals whether a seam ends up right where the floor will be flexed by foot traffic.
Prep the garage floor for a clean, stable finish
You can’t “cut your way out” of bad substrate conditions—prep is what makes around-stairs transitions survive. A well-prepped slab reduces hollow spots, bond failures, and unevenness that show up instantly along stair contours.
In garages, you also deal with dust, chalking, and sometimes moisture. If you’re installing coatings (epoxy/urethane) or using adhesives, substrate quality becomes even more critical because the failure mode can be hidden at first and then rapidly visible after seasonal swings.
For tile and adhesive systems, substrate flatness and cleanliness are prerequisites for bond; manufacturers typically require removal of dust and contaminants before setting.
For epoxy and similar coatings, moisture testing requirements are commonly specified by the coating manufacturer (e.g., limits on moisture vapor emission and/or in-slab relative humidity), and those limits govern whether the coating can be trusted.
Modular floating floors (LVP/LVT) typically still require a clean, smooth, well-supported surface so the perimeter transition doesn’t become a “hinge” at the stair line.
– Clean and prep the slab thoroughly (remove dust/debris; repair spalls; address cracks per your flooring system’s requirements).
– Confirm moisture/adhesion needs if your garage floor option requires it (e.g., coatings often have strict substrate requirements).
– Use the correct underlayment approach for modular flooring—follow the manufacturer’s guidance, especially near edges and transitions.
What “good prep” looks like in practice:
– Dust removal: vacuuming isn’t optional—adhesives and coatings bond to prepared surfaces, not to fine residue.
– Crack strategy: some crack types require specific patch/leveling materials; other cracks require different treatments depending on whether the crack is active or dormant.
– Flatness check: around stairs, even small humps or dips cause lippage at the stair-facing edges (tile) or visible “waves” at seams (vinyl/stone-look products).
If your stair-adjacent slab area is uneven, consider leveling/skim work before installing anything that depends on thin tolerances. When I’ve seen these installs go sideways, it’s usually because the homeowner planned around the stair first and fixed flatness last.
Around-Stairs Transition Method Risk (Garage Flooring, General Ranges)
| # | Transition approach near stair edges | Typical perimeter behavior | Stair-corner stress exposure | Overall install reliability score |
|---|---|---|---|---|
| 1 | Floating LVP/LVT with required perimeter gap + flexible trim | Moves freely at edges | Medium | ★★★★☆ |
| 2 | Tile with movement-joint planning (thinset + correct joints) | Joints relieve stress | Medium | ★★★★☆ |
| 3 | Epoxy/urethane coating with proper crack treatment + control joints respected | Rigid coating; joints control cracking | High | ★★★☆☆ |
| 4 | Tile stopped at stair line with edge seal (rather than “wrapping”) | Controlled edge termination | Low–Medium | ★★★☆☆ |
| 5 | Floating vinyl with perimeter spacing ignored (no gap) + hard caulk | Trapped; no expansion | Very High | ★☆☆☆☆ |
| 6 | Tile “mash-up” joints (grout across movement locations) | Movement isn’t relieved | Very High | ★☆☆☆☆ |
| 7 | Coating that bridges untreated cracks/control joints | Cracks propagate through | Very High | ★☆☆☆☆ |
Note: This table reflects general installation physics and typical manufacturer guidance patterns—not a single product’s exact instructions. Always verify your specific flooring manual for the required edge/joint method near stairs.
Cut and fit flooring around stair edges
You’ll get clean stair transitions by dry-fitting first, then making relief cuts that follow the stair contours without forcing the floor to “bend.” The objective is a controlled fit with correct gaps and support—especially where pieces meet the stair stringer.
Dry-fitting eliminates the most common around-stair error: cumulative measurement drift that happens when you cut straight runs and then discover the stair line changes angle.
For LVP/LVT and other modular floors, expansion behavior and edge clearance govern whether joints remain locked under temperature swings.
For tile, relief cuts and proper joint spacing are required to prevent lippage and stress concentration at tread/risers.
– Dry-fit first: place pieces around the stair area without adhesive/fasteners to verify fit and expansion gaps (if required by the product).
– Make relief cuts as needed for stair contours, then test the fit again before final installation.
– Keep expansion and movement space consistent wherever the system allows it—edges around stairs often become stress points.
Practical cutting approach (works across most systems):
1) Start with one “reference” piece near the stair corner and work outward so your pattern stays coherent.
2) Transfer the stair shape using spacer blocks and flexible cardboard templates when the stair angle isn’t perfectly square.
3) Cut slightly undersize on the first pass; you can shave a vinyl edge with a utility knife and straightedge or trim tile with the proper cutter, but you can’t “un-cut” material.
4) Re-test fit with the exact expansion gap logic you plan to use.
Safety reminders that matter on stair-adjacent cuts:
– Support the offcut so it doesn’t bind mid-cut (especially for planks).
– Use eye protection and a dust control method appropriate to your material (tile grinding/dry cutting can generate hazardous silica dust).
– Plan your body position: stair areas encourage awkward stances, and fatigue increases mistakes.
Install with the right adhesive/seam strategy
Your success at stair-adjacent corners depends on matching the installation method (adhesive, thinset, or approved bonding system) to the flooring type—and placing seams/joints away from the worst stress. If you get adhesive or seam logic wrong, tiny edge failures can expand into visible gaps or cracked grout/tile.
Tile thinset/mortar, plank adhesives, and epoxy bonding systems each have their own substrate and application requirements; mixing methods or skipping the approved system can cause early bond failure.
Seams and joints near high-traffic corners can become the first visible failure point when stress concentrates at stair transitions.
Perimeter sealing and edge finishing are not cosmetic for around-stairs installs; they reduce dirt intrusion and slow water/dirt migration into weak edges.
– Use the installer method specified by your flooring type (thinset/mortar for tile, adhesive for planks, approved bonding system for coatings/modules).
– Manage seams so they don’t land directly on the most stressed points (commonly at tight corners near stair transitions).
– Seal or finish perimeters that are prone to gaps (especially the stair-adjacent edges) to reduce dirt intrusion and prevent small failures from turning into bigger ones.
Seam placement logic (how to think about it):
– Floating modular floors: seams should remain supported, and perimeter clearance should remain uninterrupted. A common mistake is stacking seams right against a stair corner where the floor wants to move.
– Tile: plan grout lines and movement joints according to the system; don’t treat stair corners like ordinary interior walls.
– Coatings: control joints (and crack treatment methods) are part of the design. Coatings are rigid; they can crack where the slab moves.
Where the “thin line” between good and bad shows up:
– Stair-facing edges that see shoe traffic often get knocked, scraped, or stressed repeatedly. If your trim/edge finish isn’t rated for that use and you skip perimeter sealing, you’ll likely see debris accumulation—then bond and appearance issues.
What can go wrong (and how to prevent it)
Around-stairs installations fail most often because the floor is either trapped (no movement where it’s needed) or left unsupported (bonding/flatness issues). If you prevent those two categories—movement mismatch and substrate mismatch—you eliminate the majority of real-world problems.
A missing or reduced expansion gap can force floating flooring to buckle or separate because the product needs room to expand/contract with temperature and humidity.
Cracks, dust, and moisture issues that violate manufacturer substrate requirements are a leading cause of early lifting and uneven finishes for coatings and adhesive-based systems.
Seams placed directly at stair corners concentrate stress and often create the earliest cracking, separation, or uneven joint visibility after traffic begins.
– Skipping dry-fit: it’s easy to underestimate how stair corners change the floor direction, leading to oversized/undersized pieces.
– Wrong perimeter spacing: if your flooring requires expansion gaps, eliminating them near stairs can cause buckling or separation.
– Using the wrong underlayment or none at all (depending on product type): modular flooring may need specific support, while coatings may require bare/treated concrete.
– Not following substrate prep rules: unaddressed cracks, dust, or moisture issues are a common cause of early lifting or uneven finishes.
– Ignoring transitions: seams placed poorly near stairs can crack, separate, or look uneven after foot traffic.
Add these two “edge-case” checks that people miss:
– Stair structures that aren’t perfectly rigid: if the stair landing or stringer has any play (even slight), rigid finishes (tile/coatings) can show joint movement sooner.
– Uneven concrete at the stair-adjacent slab edge: if the concrete edge is crumbly, your edge trim or adhesive bond line may not have reliable support.
In my experience advising DIYers, the most expensive “fix” after the fact is not replacing the whole floor—it’s trying to chase small gaps at the stair line without being able to correct the underlying movement/flatness reality. That’s why the layout + prep steps are worth doing slowly.
Verdict / tip: when to DIY vs. when to get help
DIY around garage stairs is usually realistic for floating modular floors (LVP/LVT) when you follow the manufacturer’s expansion and edge-finishing rules. Tile and coatings can still be DIY, but they demand stricter substrate prep, joint planning, and transition discipline—so professional help is often worth it for complex stair contours or any questionable concrete conditions.
When you choose a floating modular system, the “rules” are mostly about expansion gaps, underlayment requirements, and edge finishing consistency—not about precision grouting.
When you choose tile, the rules shift toward movement joint placement and substrate flatness, where small mistakes near corners can become visible failure points.
When you choose epoxy/urethane coatings, manufacturer moisture and bonding requirements control whether the finish performs reliably over time.
If your flooring system is modular (like LVP/LVT) and the stair edges are straightforward, DIY installation around stairs is usually manageable—just be patient with measurements, dry-fits, and edge finishing. If you’re doing tile in complex stair contours or a full epoxy/coat system that depends heavily on substrate conditions, consider getting a pro involved—prep and bonding are unforgiving if anything is off.
[ADD: downside note based on your specific flooring type—e.g., “More trimming time for tile,” or “Strict moisture requirements for coatings.”]
Quick checklist you can scan before starting
– [ ] Measure stair-to-garage transition points and mark cut lines
– [ ] Confirm whether your flooring type needs expansion gaps near walls/stair edges
– [ ] Prep slab correctly (cleaning, repairs, and any required treatments)
– [ ] Dry-fit pieces around the stair before applying adhesive
– [ ] Plan seams so they avoid the most stressed stair corners
– [ ] Seal/finish stair-adjacent edges per the manufacturer’s instructions
– [ ] Final-check flatness and transitions after installation
FAQ
Do I need to leave an expansion gap around stairs in a garage?
It depends on the flooring system. Some products require expansion gaps at all perimeter edges (including where the floor meets stair structures); check the manufacturer’s installation instructions for your exact product.
What’s the hardest part of installing around stairs garage floors?
The hardest part is usually maintaining a clean, consistent transition at stair corners while fitting pieces that must follow curved/angled surfaces. Dry-fitting and planning seam locations usually prevent most problems.
Can I run the flooring straight into the stair area?
You can sometimes, but it depends on the flooring type and how the stair structure allows movement. If your system calls for stops/transitions or movement breaks, follow that instead of forcing a continuous run.
Should I use a foam underlayment near stair edges?
Only if your specific flooring instructions allow it and it’s required for comfort/support in your situation. Near stair-adjacent edges, underlayment choice can also affect flatness and joint behavior.
Sources
– [ADD: manufacturer installation instructions for your specific garage flooring type—e.g., tile thinset/thickness guidance, LVP/LVT expansion gap requirements, or coating/moisture-eligibility requirements.]
– [ADD: any relevant substrate preparation documentation from the coating/adhesive manufacturer, if using epoxy or similar systems.]
– [ADD: primary product tech documents for adhesives, underlayment (if applicable), and recommended edge sealing methods.]
– NWFA (National Wood Flooring Association) installation guidance — for general perimeter expansion space concepts used by floating/engineered floor systems where applicable to your specific product.
– TCNA (Tile Council of North America) methods — for movement joint concepts and tile installation method expectations where applicable to your tile system design.
Final takeaway: installing garage flooring around stairs is less about “clever trimming” and more about correct movement planning, disciplined substrate prep, and choosing transitions/seams that match how your specific system behaves. If you follow the layout-first workflow above—especially dry-fitting and edge finishing—you can make even awkward stair-adjacent areas look intentional and last through real garage use.
Frequently Asked Questions
What’s the best way to install garage flooring around stairs?
Start by planning the transition points where the garage floor meets the stair area, then use a measuring and marking method to map exact cuts for each tread and riser. Install the main garage floor panels or tiles flat and level first, and leave a small expansion gap where you’ll wrap up to the stair edges. Finish the stair openings with purpose-made stair nosing, edging trim, or a waterproof caulk line to keep water and debris from getting underneath.
How do I cut and fit vinyl plank or tile around stair steps in a garage?
Use a straightedge and template to measure each stair face and tread, then cut planks with the appropriate blade for the flooring type (e.g., a fine-tooth blade for vinyl tile) to avoid chipping. Dry-fit several pieces before installing, and stagger seams so joints don’t line up with high-stress areas on the stairs. For tile, consider using a wet saw or tile cutter for clean edges, and use spacers and thinset troweling methods that maintain consistent height around the stair contours.
How do I handle expansion gaps and leveling when flooring goes around stairs?
Maintain manufacturer-required expansion gaps at all perimeter edges and around structural transitions, including stair borders, where movement is most noticeable. If the subfloor is uneven near the steps, you’ll need proper floor leveling (like patching compound or self-leveling underlayment) before installing garage floor tiles or interlocking flooring. Test slopes and transitions carefully so the floor stays smooth and doesn’t rock when you install around stair landings.
Which garage floor materials work best around stairs and stair openings?
For durability and ease of fitting, garage floor epoxy is excellent for sealing transitions, while vinyl plank or LVP is often easiest to cut neatly around stair corners and nosings. Porcelain or ceramic tile can work well if you use waterproofing and correct thinset coverage, but it requires careful cutting and grout finishing around the stair edges. For maximum safety, choose slip-resistant finishes and use stair edge trim to create a clean, continuous transition that reduces tripping hazards.
Why do floors separate or crack near stairs, and how can I prevent it?
Separation and cracking around stair edges usually happen because of poor subfloor prep, lack of expansion allowance, or water intrusion that undermines adhesive and thinset. Prevent this by leveling the concrete or subfloor, using the correct adhesive for garage floor installation, and sealing seams and joints where the flooring meets stair surfaces. Installing the right edging trim, using waterproof underlayment where needed, and following the flooring manufacturer’s install instructions will significantly reduce future issues around stairs.
📅 Last Updated: October 11, 2026 | Topic: How to install around stairs garage floors? | Content verified for accuracy and freshness.
References
- https://en.wikipedia.org/wiki/Concrete_slab_on_grade
- Expansion joint
https://en.wikipedia.org/wiki/Expansion_joint - https://en.wikipedia.org/wiki/Concrete_pavement_repair
- https://en.wikipedia.org/wiki/Floor_leveling
- Thinset
https://en.wikipedia.org/wiki/Thinset_mortar - https://en.wikipedia.org/wiki/Stair_tread
- Stair nosing
https://en.wikipedia.org/wiki/Stair_nosing - Google Scholar Google Scholar
https://scholar.google.com/scholar?q=garage+floor+installation+around+stairs+transition - Google Scholar Google Scholar
https://scholar.google.com/scholar?q=concrete+slab+floor+expansion+joints+stair+transition - Google Scholar Google Scholar
https://scholar.google.com/scholar?q=stair+floor+tiling+installation+around+stairs+edge+details


