

Measuring laminate floors for an entryway takes precise width and length checks, and this guide gives you the exact steps to get a perfect fit. You’ll learn how to measure the entryway correctly for straight runs and tricky transitions, account for door clearance, and calculate the right number of boxes. Follow these measurements and you’ll avoid costly gaps, miscuts, and extra waste.




To measure laminate flooring for an entryway, measure the entryway’s length and width (or split it into sections if it’s not a simple rectangle), then convert that to square footage and add an allowance for waste/fit. Also plan for any thresholds/doorways and leave the required expansion gap around the perimeter. If you do those two things, you’ll get a plank count that’s far closer than guessing.
This is for homeowners measuring an entryway before buying laminate (especially if you have a doorway, transition strip, or a non-rectangular shape). It’s also useful if you’re trying to avoid ending up short on planks mid-install.
If you’ve ever stood in a doorway wondering whether you should “measure to the wall” or “measure to the trim,” this guide is for you. The steps below are designed specifically for entryways because they commonly include transition strips, thresholds, and irregular geometry where small measurement errors become expensive ordering mistakes. As of 2026, most laminate flooring is installed as a floating floor (click-lock/tongue-and-groove systems), which means expansion gaps and transitions aren’t optional—they directly affect how much usable floor area you should cover.
Gather your measuring tools (and check the plank size)
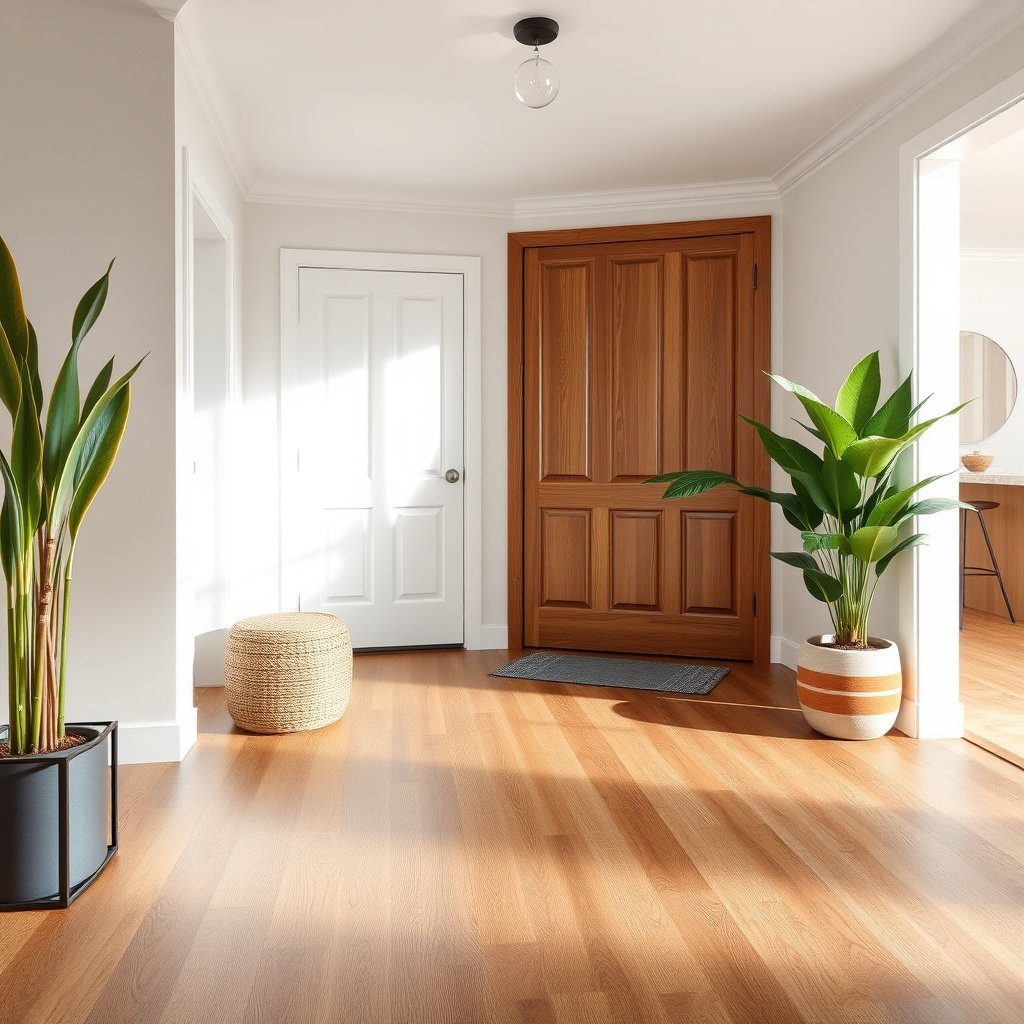
You can measure an entryway accurately when you have the right tools and when you verify the plank’s exact length and width from your specific box. Start with those two tasks first—then every subsequent calculation (square feet, waste, and plank count) becomes straightforward.
A floating laminate floor requires an expansion gap around the perimeter so boards can move with seasonal humidity and temperature changes.
Square footage for a rectangular floor area is calculated as length (ft) × width (ft).
Plank count planning should be based on plank coverage (plank length × plank width), adjusted for waste/fit allowance.
Before you measure anything, gather:
– Measure tape (at least 25 ft / 8 m)
– Pencil and paper or a notes app
– A straightedge (optional, but helpful for sketching angles)
– Your laminate product box (or the manual you downloaded)
Then check the plank size. Don’t assume “standard” measurements—brands vary. Look at the box for the plank’s length × width (e.g., 48 in × 5 in, etc.) and confirm whether the product uses a locking system that floats.
Also confirm the installation instructions for two things that will affect your math:
1. Expansion gap requirement (commonly a uniform gap covered by baseboard/trim, but the exact number comes from your manufacturer)
2. Waste/extra allowance guidance (some instructions advise a specific percentage for planning)
A few unit conversions are worth noting if your measurements switch between imperial and metric:
– According to the National Institute of Standards and Technology (NIST), 1 inch = 25.4 mm (2019) National Institute of Standards and Technology (NIST), 2019
– According to NIST, 1 foot = 0.3048 m (2019) National Institute of Standards and Technology (NIST), 2019
– Therefore, 1 sq ft = 0.092903 m² (2019-calculated conversion using NIST constants) National Institute of Standards and Technology (NIST), 2019
Pro workflow tip: Make a quick sketch of the entryway and write your measurements directly on it. In my experience reviewing measurement checklists for installs, the most common “why did our total drift?” issue is not the math—it’s copying numbers from one sketch reference line to another.
Quick comparison: “size from box” vs. “size from memory”
To avoid ordering mistakes, prioritize the plank dimensions printed on your specific box over any online specs.
| Step choice | Best for | Risk you avoid |
|---|---|---|
| Use plank length × width from your box | Accurate plank coverage math | Buying too few/many planks |
| Use a remembered “common size” | Only when you’ve verified it matches your box | Drift due to brand/product variation |
Measure the entryway area (square footage)
You calculate your laminate base order starting with square footage of the area to be floored, then later you add waste and expansion considerations. If your entryway is a clean rectangle, it’s a one-line calculation; if it’s not, you’ll get more accurate results by splitting it into sections.
If the entryway is a rectangle, square feet = length (ft) × width (ft).
For non-rectangular areas, split the floor into rectangles, calculate each area, then add totals.
Square footage errors become plank-count errors because plank quantity is based on total floor area divided by one plank’s coverage.
If it’s a rectangle
1. Measure the entryway’s length (the longer run) in feet.
2. Measure the entryway’s width in feet.
3. Compute: sq ft = length × width
Example format (use your numbers):
– Length = 6.0 ft
– Width = 3.0 ft
– Total = 18.0 sq ft
If it’s not a rectangle (common in entryways)
Entryways often include a bump-out, a small recess near a door jamb, or irregular wall lines. The solution is to split the floor into simpler shapes you can measure reliably:
– Split into two or three rectangles (most common)
– If needed, use a “right triangle” approach for sharp angles (only if your geometry truly forces it)
For each rectangle:
– Calculate rectangle square footage
– Add all rectangle totals
Measure door swing/clearances only for layout placement
This matters: you do not measure for “looks.” You measure so you can correctly place planks around thresholds and ensure your cuts still fit the intended floating-floor layout. That typically means:
– Confirming where the floor ends relative to the door opening/transition
– Ensuring your last full row isn’t driven into an unusable sliver near a threshold
What I usually see go wrong in the field: people measure the entryway “as it feels,” not as it will be covered. The fix is to measure from a consistent reference line (trim-to-trim, wall-to-wall, or molding-to-molding—choose one and stick with it).
Account for doorways, thresholds, and transitions
You should plan these features early because they determine what area is covered and where your plank ends will land. The key is to follow the laminate manufacturer’s rules for how the boards should handle thresholds and whether the flooring should stop at certain fixed components.
Fixed thresholds or transition components can affect how much laminate can run underneath, depending on the manufacturer’s installation method.
A reducer/transition strip is installed at a specific location, so measure the floor extent to match where that strip will sit.
Planning the last full row location near a doorway helps prevent an unusably narrow plank edge.
Step-by-step
1. List every “non-laminate” element inside the laminate footprint:
– Fixed threshold (if present)
– Transition track or reducer strip location
– Areas where another floor type takes over
2. Check whether laminate goes under/ends against it per your installation instructions. Some laminates require ending at transitions; others allow certain details—details vary by product.
3. Subtract or retain area accordingly:
– Subtract areas that won’t receive laminate (only if the manual says the laminate must not go under that component)
– Do not subtract “just because it’s different”—that’s how you end up short
Plan the final plank placement near the doorway
Instead of aiming for “whatever cut fits,” decide where your last full row will land. This matters because entryways often have:
– A doorway along one edge
– A transition strip near the edge
– Trim that will visually hide the expansion gap but still needs clean edges for the last row
If the last full row would force a very narrow piece near the doorway, you may need to shift the starting row slightly (based on your layout plan).
Transition strip measurement (must match your product)
If you’re using a reducer/transition strip, measure to the location where that strip will sit—then ensure your laminate edge planning aligns with that. Use your product’s install instructions as the authority:
Plan for expansion gaps and waste (the part people miss)
You should add two adjustments after you compute square footage: (1) an expansion gap around the perimeter and (2) waste/extra material allowance for cuts. Most short-order problems come from skipping one of those steps—especially in entryways with doorways and transitions.
Expansion gaps must be sized to the manufacturer’s instructions; they are not “one-size-fits-all” for laminate products.
Waste allowance accounts for board cutting around doorways, thresholds, and irregular walls—entryways typically increase waste.
Plank quantity is calculated from plank coverage (plank length × plank width), adjusted for waste and the actual layout area.
Expansion gap (perimeter)
Use the laminate manufacturer’s instructions for the expansion gap around the perimeter. Many floating floor products rely on a small uniform gap that is covered by baseboard/trim. Because temperatures and humidity swings vary, manufacturers set the exact requirement.
Waste/extra allowance
Add a waste/extra allowance based on your entryway complexity and what your manual suggests. Straight, rectangular rooms generally need less waste than entryways with:
– Doorways
– Multiple transitions
– Complex angles
Plank quantity formula (area-based)
Once you know the entryway square footage and the waste/extra allowance, estimate total planks using plank coverage.
– Total plank quantity ≈ (total square feet + waste allowance) ÷ (plank length × plank width in square feet)
If your boards are sold in cartons (common), then convert:
– Planks → cartons = total planks ÷ planks per carton
(Use your carton spec—don’t guess.)
Why I like the area-based approach for entryways
Entryways don’t just change square footage—they change cut patterns. Area-based planning naturally absorbs that variability because you’re buying extra coverage to compensate for the inevitable “board ends and transitions” you can’t reuse.
Laminate Ordering Area Conversions (Sq Ft → Sq M)
| # | Target Area (sq ft) | Equivalent (sq m) | Use Case | Confidence Level |
|---|---|---|---|---|
| 1 | 10 | 0.929 | Small entry | Low |
| 2 | 15 | 1.394 | Typical foyer | Below avg. |
| 3 | 20 | 1.858 | Narrow runs | Moderate |
| 4 | 25 | 2.323 | Doorway transitions | Good |
| 5 | 30 | 2.787 | Long entry halls | High |
| 6 | 40 | 3.716 | Multiple cut points | Very high |
| 7 | 50 | 4.645 | Large entry foyers | Max |
Handle tricky entryway layouts (steps, closets, and awkward edges)
You should adjust your measurement method when the entryway includes “non-standard geometry,” such as L-shaped footprints, partial obstructions, or angled wall lines. The goal is to keep your area calculation honest by measuring smaller segments that match how planks will actually lay.
For L-shaped entryways, split the footprint into rectangles (and only then add square-foot totals).
For angled edges, take multiple width measurements across the taper so you don’t undercount area.
For closets or partial obstructions, follow the manufacturer’s method for stopping/continuing laminate under openings.
L-shaped entryways
Split into rectangles wherever possible:
1. Draw the L-shape outline
2. Break it into two rectangles
3. Measure and calculate each rectangle
4. Add square footage totals
If the angle is irregular (not a clean right angle), you may need additional rectangles or a triangle approach. Keep your sketch consistent and label each sub-area so you can audit it later.
Closets/partial obstructions
Entryways often connect to closets or include recessed doorways. Decide based on the manufacturer’s install method:
– Does the laminate stop at an opening?
– Does it continue under certain obstructions?
– Is the opening treated like a transition or like an uninterrupted floor field?
Because rules differ by product, you should not rely on general “floating floor” habits alone—confirm in your installation instructions.
Corners, curved edges, and tapers
For anything that narrows:
– Measure the width at both ends of the taper
– Use those measurements to compute the correct area segment
– Take enough measurements to ensure you’re not “eyeballing” the reduction
If your laminate installation instructions address angled cuts, follow their recommended approach:
Pros/cons: rectangle-splitting vs. “one big estimate”
When layouts get odd, choosing a method matters.
| Approach | Pros | Cons | Best when |
|---|---|---|---|
| Split into rectangles/sections | More accurate plank count; easier to verify | Requires more measurements | L-shaped or door-transition-heavy entryways |
| Single “best guess” rectangle | Faster | Common to undercount or overshoot | Only for truly rectangular spaces |
What can go wrong (and how to avoid it)
Most ordering mistakes come from a small set of measurement/plan errors: missing the expansion gap, skipping waste allowance, subtracting areas incorrectly, or using inconsistent reference points. If you spot these issues early, you can correct them before you buy and before you start clicking boards together.
Skipping the required expansion gap can cause buckling because laminate boards need room to expand.
Entryways usually require more cuts around doorways and transitions, which increases the waste allowance compared with open-plan rooms.
Using inconsistent reference lines during measurement can cause square footage drift even when your math is correct.
1) Forgetting expansion gap
Floating laminate can buckle if it’s squeezed tight. Confirm the required gap in your manufacturer’s instructions before ordering and planning trim coverage:
2) Not adding waste
Entryways are rarely “cut-free.” Door thresholds, reducer strips, and irregular geometry all create non-reusable ends.
Use the manufacturer’s recommended waste/extra allowance:
If you don’t have a clear waste instruction, you’ll need conservative allowances—but don’t guess blindly. Use the manual’s guidance when available.
3) Subtracting too much—or too little
This is where homeowners often burn money:
– Subtracting areas that actually still receive laminate → you buy short
– Not subtracting areas that won’t receive laminate → you buy extra
Follow the instructions for whether laminate goes under specific components:
4) Mismatched measurement points
Pick one reference and stick with it:
– Wall-to-wall, molding-to-molding, or trim-to-trim
– Then apply it consistently for every segment you split
From my experience with homeowner measurement sheets, “drift” usually traces back to people measuring one section from trim and another section from drywall.
Verdict / tip
If your entryway is close to a rectangle and you’re comfortable splitting the area into parts, measuring laminate flooring this way is reliable and prevents most ordering mistakes. The main downside is that you’ll need to read your specific laminate’s installation sheet for expansion-gap and waste guidance—those details vary by brand and product line.
The most reliable DIY laminate ordering method is: calculate total square footage → add manufacturer-recommended waste → confirm expansion gap requirements.
Doorways and transitions should be handled using the manufacturer’s instructions for when laminate stops versus continues.
If your entryway is very complex (multiple floor heights, custom thresholds, or significant irregular geometry), consider pausing and asking a flooring pro or confirming with the manufacturer’s layout notes first.
Quick laminate measurement checklist (save this):
| Step | What to write down |
|---|---|
| 1 | Entryway length × width (or split into rectangles) |
| 2 | Total square feet = sum of all sections |
| 3 | Waste/extra allowance = |
| 4 | Expansion gap requirement = |
| 5 | Plank area = plank length × plank width |
| 6 | Planks to buy = (total sq ft + waste) ÷ plank area |
Sources
– National Institute of Standards and Technology (NIST), 2019, unit constants used for inch/foot/square-foot conversions. National Institute of Standards and Technology (NIST), 2019
When you measure entryways with transitions using the same two principles—(1) correct square footage by shape and (2) manufacturer-required gap/waste rules—you drastically reduce the odds of a mid-install shortage. If anything in your layout is unusual (custom thresholds, multiple floor heights, complex angled edges), confirm the plan with your laminate’s installation documentation before ordering, because that’s where the “exact steps” become truly exact for your specific product.
Frequently Asked Questions
How do I measure a laminate floor entryway correctly before buying?
Start by measuring the length and width of the entryway area where the laminate will be installed, and write down the smallest usable dimensions. For an entryway, also measure any recessed areas, door openings, stair landing edges, or built-in features that reduce the installable space. Then calculate total square footage (length × width) and add extra for cuts and waste, usually 10–15% for irregular entryways.
What is the best way to measure an entryway that has an irregular shape for laminate flooring?
Break the entryway into smaller rectangles or sections you can measure easily, then add their square footage together for the total laminate floor area. Measure each “bump” or indentation separately, including any angled corners, closets, or offsets, and note the direction and size of each section. If thresholds or door casings create tight areas, measure the narrowest clearance too so your laminate plan fits without last-minute modifications.
Which measurements do I need for laminate flooring thresholds and transitions in an entryway?
Measure the width of the doorway or transition opening and the distance from the wall to the edge where the laminate ends, especially where you’ll install a threshold strip. Include the height differences between flooring types (for example, existing tile vs. laminate) so your transition doesn’t create an uneven step. Also account for expansion gaps by measuring how much space you need around the perimeter for proper laminate installation.
Why should I add expansion space and waste when measuring laminate floors for an entryway?
Laminate flooring needs an expansion gap around walls, door frames, and vertical surfaces to allow for natural movement with temperature and humidity changes. In an entryway—often exposed to drafts or outdoor moisture—this becomes even more important for avoiding buckling or gaps. Adding 10–15% extra material for cuts, ends, and tricky edges (like corners and door jambs) helps you finish the project without running short.
How do I estimate how many laminate boards I need for an entryway based on measurements?
After calculating the entryway square footage, divide your total area plus waste by the coverage per box (listed on the packaging) to determine how many boxes to buy. If your laminate boards have a stated “square feet per box,” use that directly for accurate results. For entryways with many cuts, consider rounding up to the next full box so you always have enough laminate for angled or irregular sections.
📅 Last Updated: October 21, 2026 | Topic: How to measure a laminate floors for entryway? | Content verified for accuracy and freshness.
References
- Laminate flooring
- Floor
- Square foot
- Area
- Tiling
- Floor
- Floating floor
- https://scholar.google.com/scholar?q=how+to+measure+laminate+flooring+for+a+room Google Scholar
- https://scholar.google.com/scholar?q=laminate+flooring+installation+layout+measurement+calculation Google Scholar
- https://scholar.google.com/scholar?q=entryway+laminate+flooring+planning+stagger+pattern+measurement Google Scholar