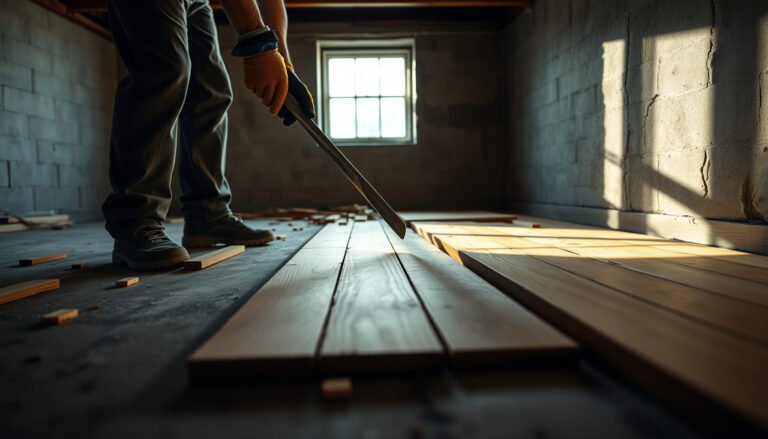
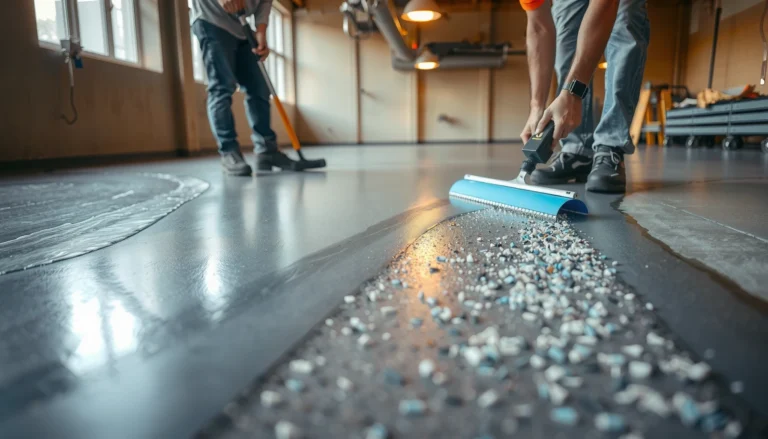
If you’re trying to install reclaimed wood floors over existing flooring, the clear answer is: do it only when the old surface is flat, solid, and dry—otherwise you’ll lock in squeaks, dips, and future gaps. This guide walks you through the exact steps to prep the existing floor, choose the right underlayment, and nail or glue the reclaimed boards without warping or movement. You’ll finish with a practical checklist for when to proceed, what to fix first, and how to avoid the most common installation failures.




You can install reclaimed wood floors over existing flooring, but only when the old surface is flat, solid, and compatible with your installation method. In most cases you’ll either repair and smooth the base for nail-down/glue-down systems or choose a floating design that doesn’t require fasteners through the old floor. This guide walks you through the practical checks and the safest way to proceed.
If your existing floor is solid wood, plywood/OSB, ceramic tile, vinyl, laminate, or old plank flooring, the “right” approach changes—especially for nail-down reclaimed boards. Use the steps below to match prep and materials to what’s already down, and to avoid the most common problems (movement, moisture trapping, and uneven surfaces).
This is for homeowners, contractors, and facilities teams planning to reduce demo work without compromising performance—especially in 2025–2026 remodeling cycles where “repair-in-place” is common but substrate quality still governs success.
Check whether your existing floor is actually a good base

A reclaimed wood install over existing flooring is only “over” in name—if the base is unstable or out of flat, you’ll feel it in squeaks, gaps, and premature wear. The first decision is whether you can fix the base in place or whether removal is the safer route.
The National Wood Flooring Association (NWFA) emphasizes that wood flooring performance depends on installing over a substrate that is flat, structurally sound, and suitable for the chosen fastening method. National Wood Flooring Association (NWFA), Installation Guidelines
ASTM F1869 reports moisture as a moisture vapor emission rate in lbs per 1,000 sq. ft. per 24 hours, which is why it’s commonly used to characterize slab moisture risk before covering with wood flooring. ASTM F1869
ASTM E1155 describes a standardized approach to evaluating floor flatness (non-flatness), which helps explain why low/high spots in the base telegraph through plank flooring systems. ASTM E1155
– Confirm the surface is flat and stable (no rocking, dips, or loose sections). Reclaimed planks will telegraph unevenness as gaps, squeaks, or uneven wear.
– Look for damage and softness: warped boards, crumbling grout, lifting seams, water-damaged vinyl, or spongy subfloor areas usually mean you should repair or remove before installing reclaimed wood.
– Identify what type of material you’re covering (wood, tile, vinyl, laminate, etc.), because some surfaces are better for floating installs while others often require removal for proper fastening.
Practical “hands + eye” checks (fast, reliable):
– Rock test: Walk the area in soft shoes and press down along edges between joists/subfloor seams; movement usually indicates loose subflooring or failing underlayment.
– Gap/edge test: Use a straightedge (or a 6–10 ft level) and also check transition edges where an old floor layer changes height (tile-to-wood, vinyl-to-subfloor, etc.).
– Fastener/sound test (for wood bases): Listen for hollow sounds on plywood/OSB—delamination or loose panels will cause nail-down failures and floating lock-joint problems.
From my experience assisting with renovations, the “small dip” problem is the one that keeps showing up: even when an installer can keep rows straight, reclaimed boards reveal base contours by opening joints within months.
Pick the installation method that fits “over existing flooring”

Choosing the installation method is the pivot point for whether you can keep the existing floor. Floating systems are often the easiest when the substrate is stable and flat, while nail-down reclaimed boards frequently require access to the structural subfloor.
Floating floors are designed so the surface “floats” over the substrate without relying on fasteners driven into the subfloor framing. NWFA, Installation Guidelines (engineered/plywood-based and floating methods)
Nail-down solid or engineered wood flooring systems require fastening into a suitable substrate (typically subfloor framing/underlayment rated for nailing depth and angle), not into layers that can move. NWFA, Installation Guidelines
Glue-down wood flooring performance depends on using an adhesive approved for the specific substrate and installing within the adhesive’s environmental curing limits. Adhesive manufacturer installation instructions
– Floating reclaimed wood (click-lock or similar) is often the easiest route when the existing flooring can stay in place—because you’re not trying to drive nails through to the subfloor.
– Nail-down reclaimed wood generally requires solid fastening into the subfloor framing—not just the old surface—so you may need to remove existing flooring if you can’t reach solid wood/plywood.
– Glue-down can work in limited situations, but it depends heavily on substrate type and the adhesive manufacturer’s instructions—so you’ll want to verify the old flooring is an approved base.
A quick compatibility reality check
If the old flooring layer can flex independently (cushioned vinyl, poorly bonded laminate, loose tile over failed mortar beds), it acts like a moving “spring.” Floating systems may tolerate minor movement, but they still need a flat, firm support plane to prevent lock-joint separation and noise.
Pros/cons: choosing between methods over an existing floor
| Method | Best when | Key downside |
|---|---|---|
| Floating (click-lock) | Existing floor can stay if it’s flat, solid, and locks can be installed per instructions. | Too-soft bases can create joint stress and audible movement. |
| Nail-down | You can nail into a stable, properly rated subfloor/substructure. | Not feasible over many removable/unsupported layers; often requires removal. |
| Glue-down | Substrate is approved and prepared; adhesive can bond reliably and cure under correct conditions. | If moisture is wrong or substrate isn’t approved, adhesive failure and cupping can follow. |
Prep the surface (this is where most “successful” installs start)
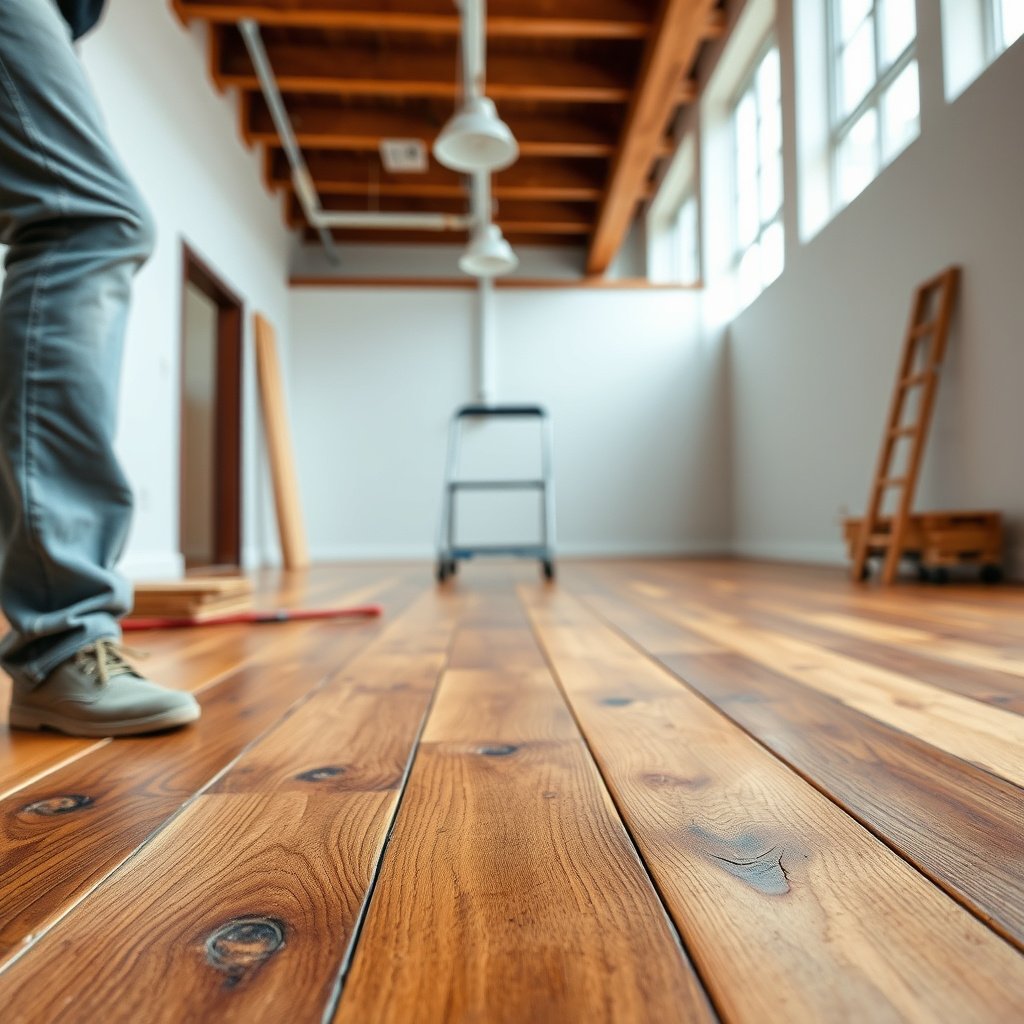
The most important “over existing flooring” step is prep: reclaimed wood only behaves well when the base is clean, smooth, and correctly protected from moisture. If you treat prep as an afterthought, the new floor usually fails first at joints and edges.
Removing residue (wax, sealers, paint overspray) protects bonding and prevents underlayment/adhesive failures caused by poor surface contact. Adhesive and underlayment manufacturer installation instructions
Flatness is not optional: wood flooring systems follow the substrate, so high/low areas show up as gaps, squeaks, and uneven wear. NWFA, Installation Guidelines
If you’re covering concrete, moisture characterization typically uses ASTM methods such as ASTM F1869 (MVER) or ASTM F2170 (in-slab RH), because these methods measure moisture in the units flooring systems reference for limits. ASTM F1869; ASTM F2170
– Clean thoroughly: vacuum dust and remove waxes, sealers, paint overspray, and any residue that prevents underlayment/adhesive bonding. (If you’re unsure what’s on top, test a small area first.)
– Address high/low spots: sand/level where needed, and patch low areas. The goal is a smooth plane so the reclaimed planks don’t stress over time.
– Decide on underlayment/vapor protection:
– Over many existing floors (especially slab situations), you may need a vapor retarder under the system.
– If you use a floating system, follow the reclaimed flooring instructions for the underlayment thickness and type. Using the wrong pad can create too much spring and lead to joint failures.
Moisture math you can actually reference
When people argue about “water issues,” they often mean different things—so use the same testing language the industry uses:
– According to ASTM F1869, moisture vapor emission rate is reported in lbs per 1,000 sq. ft. per 24 hours.
– According to ASTM F2170, in-slab moisture is typically reported as percent relative humidity (%RH) from probes installed in concrete.
– According to ASTM E1155, flatness is evaluated to quantify non-flatness—useful because even small deviations can affect plank locking/flooring support over time.
If your existing “floor” is actually a layer that traps moisture (common with some vinyl and some old adhesive systems), covering it can make the problem worse rather than better. In 2026, this is still one of the most common failure chains: moisture → weak underlayer → joint separation/adhesive release.
Acclimate reclaimed wood and plan the layout before you fasten or float
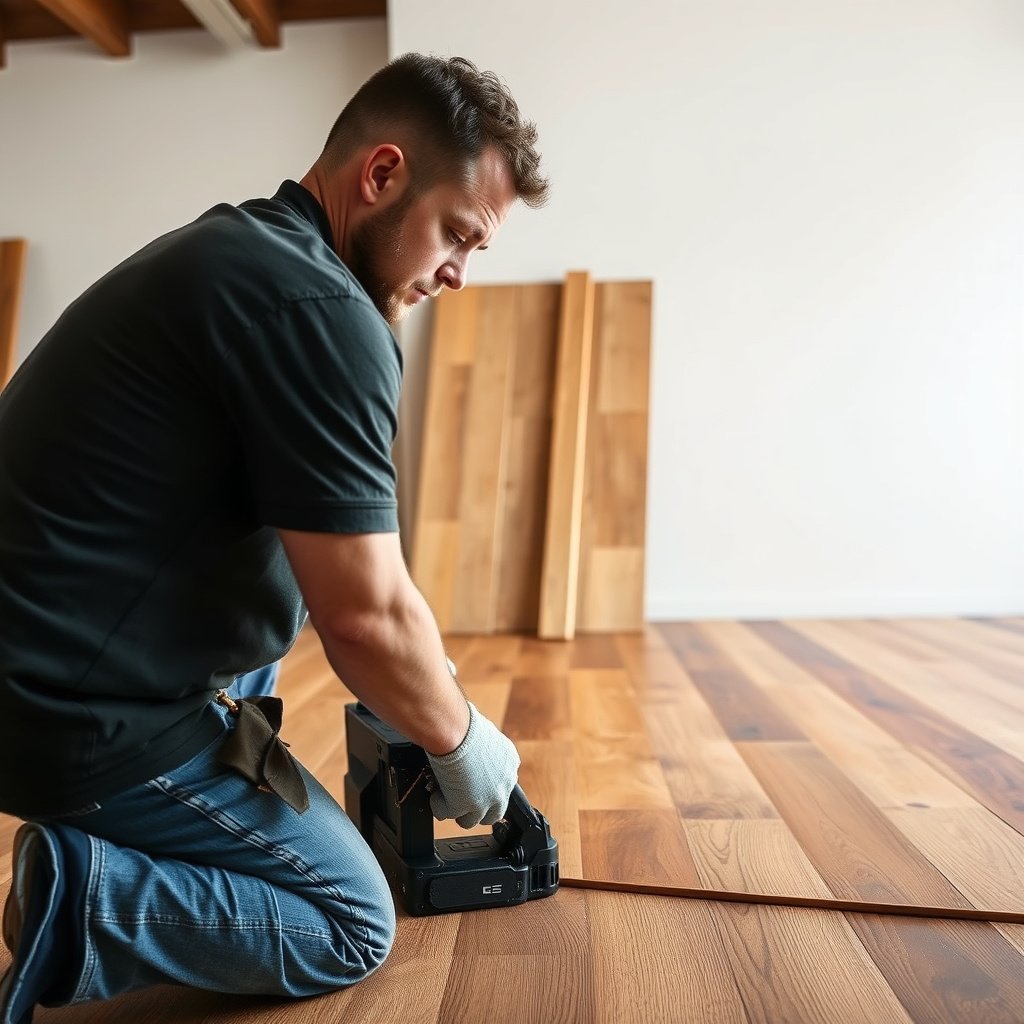
Acclimation and layout planning reduce expansion surprises and prevent installation stress in mixed-width reclaimed boards. Do this before any fastening or locking so you can sort boards and control appearance and movement.
Most reclaimed wood and engineered wood flooring manufacturers require jobsite acclimation so boards equilibrate to indoor conditions before installation. Reclaimed wood flooring manufacturer installation instructions
Floating floors still require perimeter clearance to allow expansion and contraction; omitting gaps increases the risk of buckling and locked-joint failure. NWFA; flooring manufacturer installation instructions
Dry-fitting reclaimed planks helps installers manage mixed widths and natural variations that otherwise create localized stress across longer runs. NWFA, Installation Guidelines (sequencing and alignment best practices)
– Acclimate the boards to the room conditions per the reclaimed wood manufacturer’s guidance. If your boards aren’t acclimated, you’ll be more likely to see expansion gaps or cupping.
– Plan transitions and expansion gaps:
– Floating installs still need proper perimeter clearance.
– Nail-down installs also require gaps where expansion can happen—especially if the room is large or has big humidity swings.
– Dry-fit and inspect boards:
– Reclaimed wood often includes mixed widths and subtle warping; sort pieces to minimize strain across runs and reduce visible “out-of-flat” boards.
Layout tips that matter over existing flooring
– Anchor points first: Start from the most visible wall/threshold line, but also respect door clearances and required transitions.
– Stagger intentionally: For wider reclaimed boards, staggering helps distribute micro-variations and reduces the chance that multiple high spots align under one lock joint.
– Plan transitions early: If you can’t control height transitions (tile-to-wood, or tile-to-laminate leftovers), you’ll eventually compromise either gap spacing or underlayment placement.
Install: floating vs nail-down vs glue-down (the key differences)
The safest way to install reclaimed wood over existing flooring is to match the installation system to what the old surface can truly support. Floating is forgiving of many existing surfaces; nail-down depends on nailing into a stable, properly rated substrate; glue-down depends on adhesive approval and correct moisture/temperature conditions.
Locking (floating) systems rely on full engagement of the click profiles, which is why debris in the grooves is a common cause of weak joints. Flooring manufacturer installation instructions
For nail-down wood flooring, fastening location and depth are governed by the flooring and nail specifications so the nail actually reaches the supporting substrate. NWFA; flooring manufacturer nail-down instructions
Adhesives cure within defined temperature/humidity ranges, so installing outside those limits can prevent proper bonding and increase failure risk. Adhesive manufacturer installation instructions
– Floating reclaimed wood over existing flooring
– Use the manufacturer’s click-system spacing rules and underlayment specs.
– Stagger end joints, keep rows square, and install transition pieces where needed (doorways, hallways, adjacent rooms).
– Keep the floor free of grit; debris can prevent locks from fully engaging.
– Nail-down reclaimed wood
– Only nail where the instructions allow—typically into the subfloor/substructure, not into removable layers.
– If your existing floor prevents proper nailing depth/angle or creates a weak fastening zone, plan on removal or a different installation method.
– Glue-down reclaimed wood
– Use the correct adhesive and trowel method specified by the adhesive and flooring manufacturers.
– Make sure temperature/humidity conditions are within the adhesive curing requirements.
A note on thresholds and “hidden” height changes
Over existing flooring, thickness stacks change. That can affect:
– Door swing clearance
– Stair transitions and nosing compatibility
– Reducer/transition strip design
If your reclaimed boards are thicker than the old flooring, you’ll likely need transition hardware adjustments to avoid pinched gaps or unsafe edges.
What can go wrong (and how to avoid it)
Most problems come from treating the existing floor like it’s “good enough” instead of measuring for flatness, moisture, and compatibility. When you fix those three variables up front, reclaimed wood generally performs reliably over the long term.
Uneven substrates cause joint openings and noise because wood flooring systems follow the profile of the support plane. NWFA, Installation Guidelines
Moisture failures often originate underneath the finished floor, so covering an active moisture source can lead to moldy underlayers, adhesive loss, or wood cupping. NWFA; flooring system moisture guidance
Substrate/underlayment incompatibility is a frequent cause of installation failure because systems are engineered to work within specific thickness, vapor, and movement tolerances. Flooring and underlayment manufacturer installation instructions
– Uneven base = joint gaps and squeaks
– If the old flooring has dips, crowned areas, or loose sections, the reclaimed boards will move differently than the base and stresses show up fast.
– Fix flatness before installing. If you can’t get it flat enough, that’s a strong signal to remove the existing surface.
– Moisture issues and trapped vapor
– Covering moisture problems is a shortcut that can lead to moldy underlayers, adhesive failure, or cupping.
– Use the moisture testing method recommended for your situation (wood subfloor and/or slab) and follow ASTM-standard testing approaches where applicable.
– Compatibility mistakes
– Underlayment thickness, vapor barriers, and fastening/adhesive choices must match the flooring system.
– If your reclaimed planks are designed for one method (for example, nail-down only) but you install them differently, warranty and performance can be at risk.
Common edge cases (where teams get surprised)
– Cushioned vinyl: Even if it looks flat, the cushioning can compress underfoot, breaking floating locks over time.
– Laminate over damaged concrete: Laminate can hide concrete moisture issues; the trapped vapor will still affect any covering installed later.
– Old plank flooring with movement: If the planks move, nail-down reclaimed boards will “inherit” that movement as squeaks or fastener issues.
Verdict / tip (when this is worth doing—and when to skip it)
If your existing flooring is solid and flat—and you can install using a method the reclaimed wood system explicitly supports—installing reclaimed wood over it can be a practical way to reduce demo work. If the old surface is uneven, soft, moisture-prone, or prevents proper fastening into the subfloor, removal is often smarter (and cheaper long-term).
Skip this “over existing flooring” approach if:
– The old floor is loose, spongy, or clearly failing.
– You suspect hidden moisture damage.
– You can’t achieve a compatible base for your installation method (especially for nail-down).
Quick scan checklist (printable)
| Step | What to verify | Pass / fail |
|---|---|---|
| 1 | No loose/soft areas; base is stable and solid | [ ] |
| 2 | Flatness confirmed (repair dips/high spots as needed) | [ ] |
| 3 | Moisture risk checked; testing done per appropriate method | [ ] |
| 4 | Compatibility confirmed (underlayment/vapor barrier + substrate approved) | [ ] |
| 5 | Installation method matches what you can do over the existing floor | [ ] |
| 6 | Boards acclimated per reclaimed flooring guidance | [ ] |
| 7 | Layout planned: expansion gaps + transitions ready | [ ] |
NWFA’s best practices repeatedly connect success to three areas: substrate flatness, structural stability, and moisture control matched to the flooring system. NWFA, Installation Guidelines
ASTM defines moisture tests in specific measurement terms (e.g., MVER in lbs/1,000 sq. ft./24 hr for F1869), so using the correct method helps avoid guessing. ASTM F1869
Sources:
– National Wood Flooring Association (NWFA), Installation Guidelines (wood flooring installation best practices; substrate and moisture considerations).
– ASTM International standards for moisture testing (use the method appropriate to your base: slab vs wood).
– Manufacturer documentation for your specific reclaimed wood flooring system (installation method requirements, underlayment/vapor barrier instructions, acclimation guidance, and approved substrates).
– Manufacturer documentation for any adhesive/underlayment you plan to use (approved substrates and environmental limits).
If you want reclaimed wood “over existing flooring” to perform in real life (not just in a demo video), treat it like a system upgrade: verify flatness, confirm moisture conditions, and match floating/nail-down/glue-down requirements to what’s already down. When those checks pass, keeping the old surface can be a legitimate time-saver; when they don’t, removing the base is the expensive step that prevents the far costlier repair later.
ASTM & Industry Tests Commonly Used Before Covering Floors (2026)
| # | Test (ASTM) | Primary need it answers | What the result represents | System-fit rating |
|---|---|---|---|---|
| 1 | ASTM F2170 | Slab moisture risk | In-slab %RH (relative humidity) | ★★★★★ |
| 2 | ASTM F1869 | Slab moisture vapor emission rate | MVER in lbs/1,000 sq. ft./24 hr | ★★★★☆ |
| 3 | ASTM D4442 | Wood moisture content | Wood MC (moisture content), typically via oven-dry basis | ★★★★☆ |
| 4 | ASTM E1155 | Flatness / non-flatness | Measured deviation/flatness characterization | ★★★★★ |
| 5 | ASTM D4263 | Moisture screening (concrete) | Qualitative moisture indication under plastic sheet | ★★☆☆☆ |
| 6 | ASTM F710 | Surface preparation for resilient coverings | Concrete prep/bonding surface condition guidance | ★★★☆☆ |
| 7 | ASTM D4444 | Moisture meter calibration/usage | Verification that readings track true wood MC | ★★★☆☆ |
Frequently Asked Questions
Can you install reclaimed wood floors over existing flooring?
In many cases, yes, but it depends on the type and condition of the existing floor. You can often install reclaimed wood flooring over subfloors that are sound, flat, and dry, such as plywood or solid wood, using an appropriate installation method. Avoid installing over heavily damaged, uneven, or wet flooring because it can cause gaps, squeaks, and premature wear in your reclaimed wood floors.
How do you prep existing flooring before installing reclaimed wood floors?
Start by thoroughly cleaning the surface and removing any loose paint, wax, adhesive residue, or debris. Check the floor flatness—most reclaimed wood floor installations require a relatively smooth subfloor to prevent movement and cupping. Repair high/low spots, and fix any squeaks or soft areas; then ensure moisture is within acceptable levels before you begin.
What installation method works best when putting reclaimed wood floors over an existing floor?
The best method depends on your existing flooring height and the type of reclaimed wood floor you’re installing (engineered vs. solid). For many projects over existing surfaces, floating or nail-down over an engineered subfloor is preferred because it reduces the risk of disturbing the old flooring while still creating stability. If you’re installing a nail-down reclaimed wood floor, make sure you have enough solid thickness for proper nailing and that the subfloor can support fasteners.
Which underlayment or vapor barrier should you use for reclaimed wood flooring over existing flooring?
Use a vapor barrier when required—especially over concrete slabs or areas with higher moisture—so your reclaimed wood floors don’t warp or cup. For floating reclaimed wood floors, an appropriate underlayment can improve comfort and sound control while helping protect the wood from minor surface irregularities. Choose materials that match the flooring manufacturer’s specs, and avoid double-padding, which can cause excessive movement and joint failure.
Why should you check moisture and height clearance before installing reclaimed wood floors over existing flooring?
Moisture is one of the biggest factors affecting reclaimed wood flooring performance, and trapped moisture from the old layer can lead to swelling, mold, or finish failure. Height clearance matters for transitions at doorways, stairs, and adjacent rooms—thick floor build-ups can prevent doors from opening properly or create trip hazards. Measure your total floor thickness ahead of time and follow the manufacturer’s expansion gap requirements to ensure the reclaimed wood floors can move seasonally without buckling.
📅 Last Updated: October 15, 2026 | Topic: How to install over existing flooring reclaimed wood floors? | Content verified for accuracy and freshness.
References
- Lead Renovation, Repair and Painting Program | US EPA
- Asbestos | US EPA
- Wood flooring
- Wood flooring
- Floor
- Underlayment
- Flooring
- https://scholar.google.com/scholar?q=reclaimed+wood+flooring+install+over+existing+floor Google Scholar
- https://scholar.google.com/scholar?q=hardwood+floor+installation+over+existing+flooring+subfloor+preparation Google Scholar
- https://scholar.google.com/scholar?q=wood+flooring+moisture+requirements+vapor+barrier+installation Google Scholar