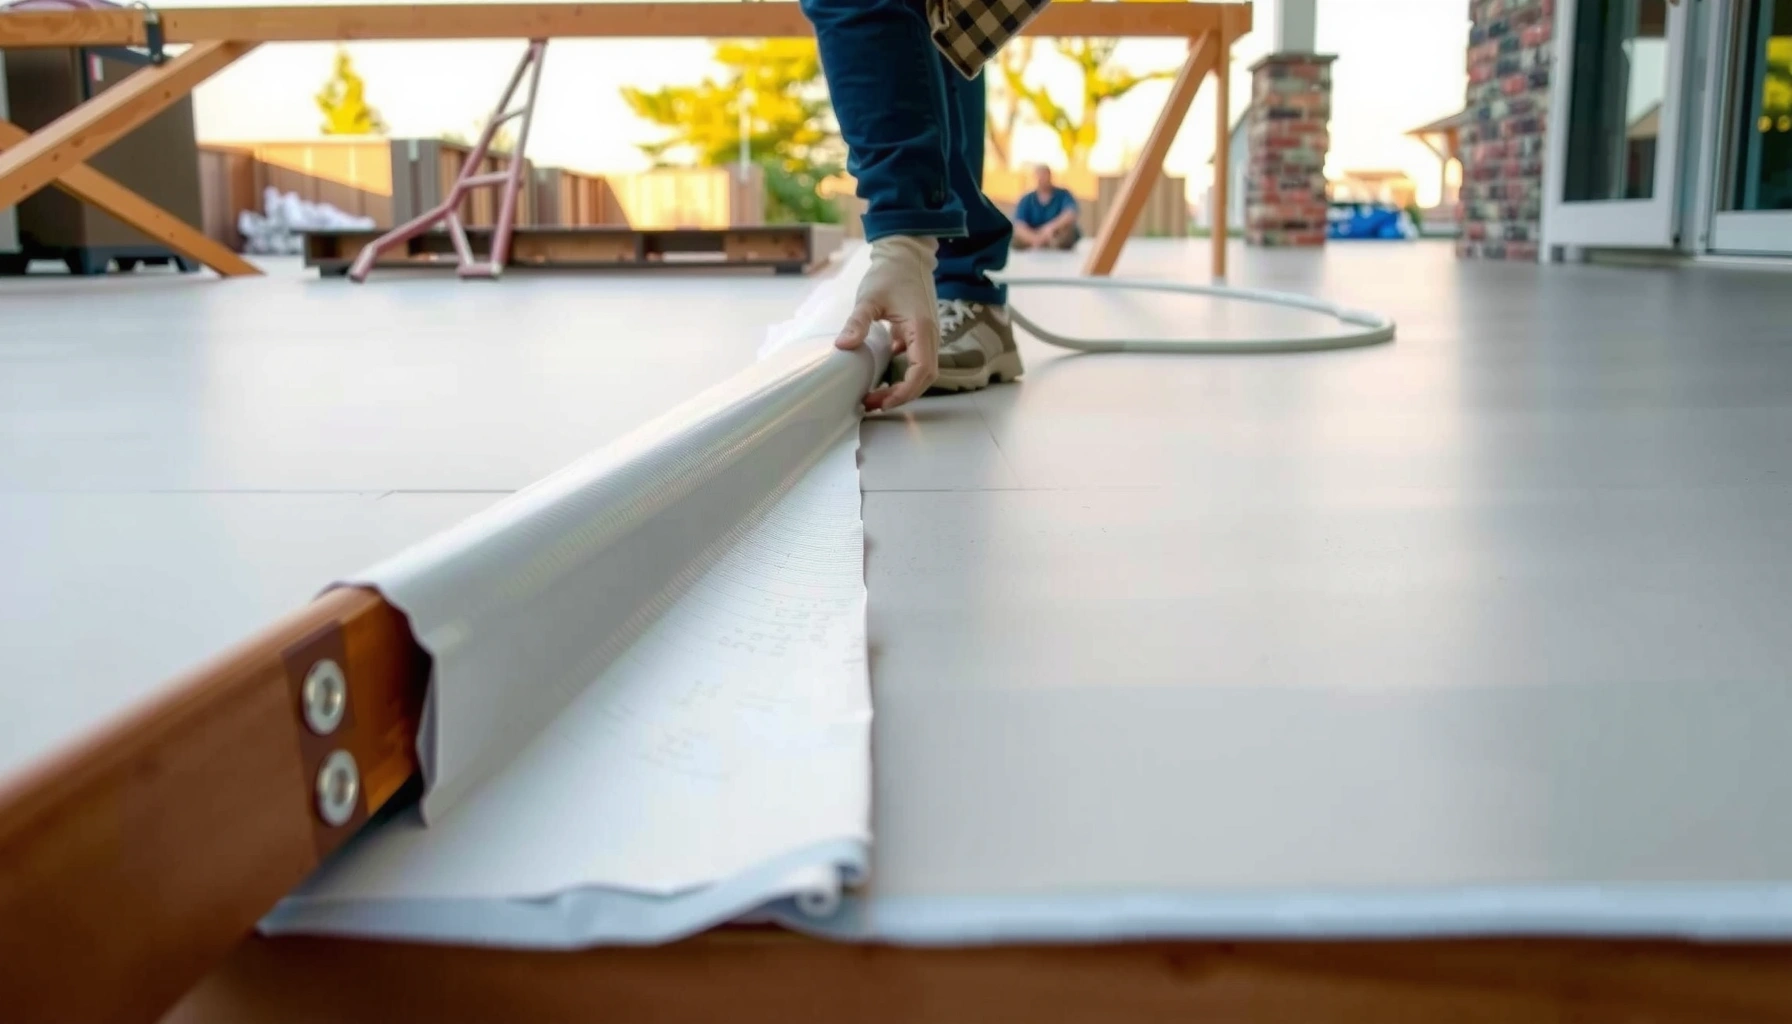

Installing a vapor barrier under outdoor floors is the right move when you’re fighting moisture migration from the soil, and the guide below tells you exactly how to do it. You’ll get clear steps for prepping the subgrade, laying the correct barrier material in the right direction, and sealing seams and edges so water can’t sneak through. Follow this method and you’ll end up with a drier underfloor space and fewer moisture-related problems down the line.


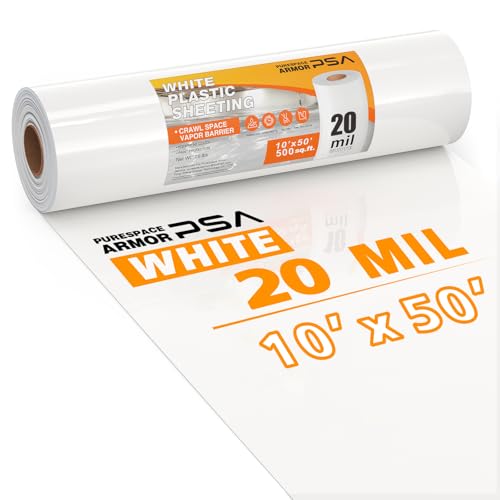

To install a vapor barrier under outdoor floors, lay a continuous moisture-blocking sheet, overlap every seam correctly, and seal seams with the specific tape/method the membrane manufacturer specifies. Then protect the sheet from punctures and compression before you install the subfloor, sleepers, insulation, or slab system above it—because even small seam or puncture failures can undermine the whole assembly.
If you’re building or upgrading an outdoor slab, patio flooring base, or an exterior subfloor, vapor control matters—especially where moisture wicks up from soil or a crawl space. Use this when you’re planning an under-floor barrier and want a practical, step-by-step approach based on standard building-vapor-control practices and manufacturer instructions.
Choose the Right Vapor Barrier Material (and Orientation)
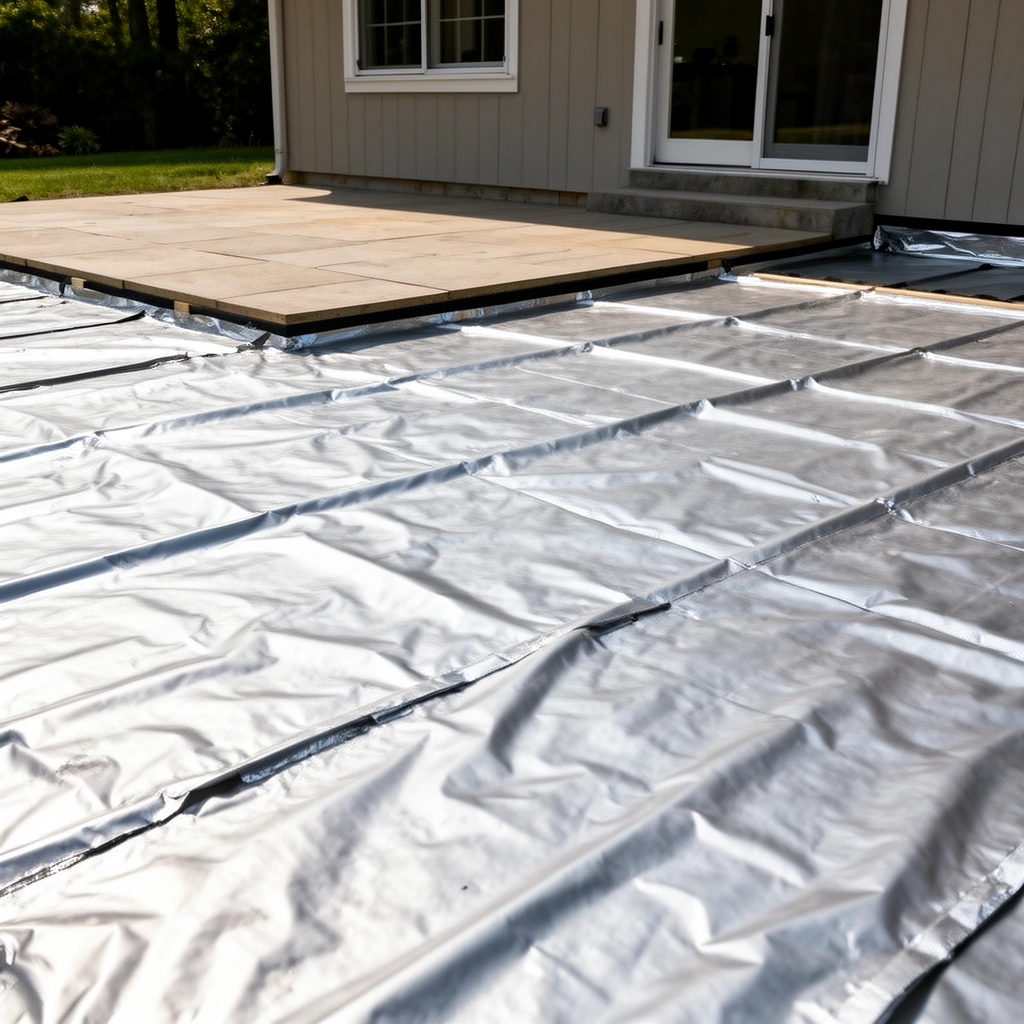
A true vapor barrier (very low permeance) and a vapor retarder (moderate vapor slowing) are not interchangeable, and the “right” choice depends on your climate and your floor assembly. Before you unroll anything, confirm both the required barrier type (low-perm vs retarder) and which side of the membrane faces the floor system.
ASTM E1745 is commonly used to classify polyethylene and similar membranes by permeance (how easily water vapor passes).
A “vapor barrier” is typically defined by very low permeance (often ≤ 0.1 perms at standard test conditions, depending on the system classification).
Many composite membranes include a coated or laminated face, and the manufacturer’s “side up” marking must be followed to maintain performance.
When you’re selecting the material, confirm these items in the product data sheet (not just the label):
– Barrier type: Look for documentation indicating whether the sheet is a vapor barrier or vapor retarder for your assembly type. Local code and jurisdiction may reference specific classes.
– Orientation (“side up”): Some membranes are not symmetric. A laminated face or protective layer can be designed to be exposed in one direction only. Keep orientation consistent across the entire install—flipping sheets mid-run is a common, hard-to-see failure.
– Thickness/strength: Under outdoor floors, the barrier is frequently walked on during construction. That means you need enough puncture resistance and stiffness for your staging plan.
Quick spec anchor (common in practice): 6-mil (0.006 in) polyethylene is widely used in vapor-control assemblies, but whether it’s adequate depends on the required permeance category and your assembly design. For the exact classification for your product, rely on the manufacturer’s reported permeance values and test method.
Pros/cons snapshot (helps you avoid choosing “the wrong good thing”):
– Thicker/denser membranes
– ✅ Better puncture resistance during construction staging
– ❌ May be harder to fit tightly around transitions unless you plan seam/edge detailing
– Thinner low-perm films
– ✅ Easier to conform and keep flat
– ❌ Easier to puncture; seam tape selection becomes even more critical
Prep the Subgrade or Base for a Flat, Clean Install
A vapor barrier can only do its job if it lies flat and remains intact, which starts with subgrade prep. Remove anything that can puncture it, then level/compact the base so the membrane doesn’t bridge voids or stretch at high spots.
Loose gravel, sharp construction debris, and roots are leading causes of membrane punctures in under-slab and patio base installs.
If the base is uneven, membranes can stretch at high points and pull apart at seams—reducing continuity where it matters most.
Before you place the sheet:
1. Clear the surface completely
– Remove sharp rocks, broken concrete chunks, rebar tie wire, roots, and any construction scraps.
2. Level and compact
– Outdoor bases settle under load. If you’re working over fill, level and compact to reduce settlement and wrinkling that can become vapor pathways at overlaps.
3. Handle water and grading first
– A vapor barrier controls water vapor, not bulk water. If you have standing water or recurring seepage, fix drainage/grading/exterior waterproofing details first. A “perfect” membrane over a wet, poorly drained base is still a risk.
Non-negotiable logic: bulk water can saturate materials above the barrier and keep them wet even if vapor diffusion is reduced. So your prep plan should be paired with an exterior moisture management plan.
Lay the Vapor Barrier With Proper Overlaps and Seams
A successful vapor barrier install is mostly about continuity: full coverage, correct orientation, and properly lapped/sealed seams. Roll out the membrane with slack (don’t overstretch), then overlap and tape exactly as the manufacturer specifies.
Overlapping and taping seams creates a continuous vapor-control plane; unsealed overlaps are the most common barrier failure point.
Even when two sheets overlap correctly, improper tape compatibility can cause adhesion loss over time.
Step-by-step seam placement:
1. Plan your seam layout
– Position sheets so seams will shed water rather than trap it where possible (especially on sloped patio bases).
2. Overlap using the product spec
– Many installs use several inches, but you must follow the manufacturer’s required overlap dimension because product thickness/coatings and tape bonding requirements vary.
3. Seal with the right tape
– Use the tape type specified for that barrier (compatibility matters). General duct tape, “all-purpose” tapes, or painter’s tape often fail due to adhesive formulation, UV exposure limits, or membrane surface chemistry.
To keep seams reliable:
– Avoid wrinkling at overlaps; press/tension the sheets so the seam area is in full contact.
– Use consistent pressure and technique when applying tape—thin wrinkles under tape can later become separation lines.
Typical Vapor-Control Membrane Performance Targets (Common Standards)
| # | Standard/Classification Basis | What It Controls | Target Value | Practical Installer Focus |
|---|---|---|---|---|
| 1 | ASTM E1745 (permeance classification) | Vapor transmission capability | ≤ 0.1 perms commonly used for “vapor barrier” class | ★ ★ ★ ★ ★ |
| 2 | Water-vapor diffusion concept | Moisture movement by vapor | Barrier reduces diffusion, not bulk water | ★ ★ ★ ★ ☆ |
| 3 | Membrane continuity requirement | Seam/edge integrity | Overlap + compatible tape per product spec | ★ ★ ★ ★ ★ |
| 4 | Typical poly film thickness in installs | Puncture resistance and handling | 6 mil = 0.006 in (common baseline) | ★ ★ ★ ★ ☆ |
| 5 | Tapes and adhesives compatibility | Adhesion under service conditions | Use tape approved for that membrane | ★ ★ ★ ☆ ☆ |
| 6 | Edge/penetration sealing principle | Prevent vapor bypass at details | Flash/tape penetrations and terminations | ★ ★ ★ ★ ★ |
| 7 | Construction staging protection | Puncture prevention | Minimize walking on membrane | ★ ★ ★ ★ ☆ |
Note: The exact permeance target and the required overlap/tape system must come from your specific membrane product documentation. The table summarizes commonly used performance classification concepts and practical install priorities.
Seal Penetrations, Edges, and Transitions
A vapor barrier fails most often where the sheet is cut: at penetrations, edges, and transitions to other layers. Plan these details before installation so you can use compatible tapes/flashing and maintain an unbroken vapor-control plane.
Any unsealed hole around a pipe or post creates a direct vapor bypass that can defeat the barrier.
Terminating a membrane short of a required edge height can allow moisture to migrate into the assembly by bypassing the perimeter.
Key detailing steps:
– Penetrations (pipes, conduits, anchors):
– Cut openings neatly, then seal the perimeter using the membrane manufacturer’s approved flashing/tape system.
– Edges and terminations:
– Extend the barrier to the height or position required by your assembly (often up to a specified edge condition). The goal is to prevent moisture bypass under the perimeter.
– Transitions to other layers:
– If you transition from membrane to a different material layer, use an approved compatible transition method—don’t leave gaps.
Practical tip: keep a “detailing kit” (approved tape, patching material, and flashing components) on hand before you start cutting. Stop-work to hunt for the right tape later often leads to compromises.
Protect the Barrier Before You Install the Floor System
After the membrane is sealed, the next risk is physical damage from staging, fasteners, and equipment. Protect the barrier from punctures and compression so the vapor-control plane stays continuous.
Even a pinhole can create a vapor pathway if it’s near a seam termination or transition detail.
Careful staging (temporary boards, controlled foot traffic) prevents punctures that are invisible after the flooring is installed.
Protection best practices:
1. Limit walking on the membrane
– Use temporary boards to distribute weight.
2. Install the next layer carefully
– Sleeper/joist systems, insulation, subbase, or slab form materials can puncture membranes if you drag tools or position fasteners aggressively.
3. Avoid leaving wrinkles
– Wrinkles can translate into weak points or trapped moisture paths at seams. Keep the membrane clean and as smooth as practical.
Important limitation: once the floor system is installed, repairs are usually invasive. That’s why protection and detailing are worth doing with extra patience during installation.
What Can Go Wrong (and How to Avoid It)
Most vapor barrier problems come from details: wrong tape, punctures, flipped orientation, or assuming the barrier handles bulk water. If you prevent these common issues, the assembly has a much better chance of meeting its moisture-control purpose.
Incorrect seam sealing is a frequent root cause of vapor control underperforming in real-world installations.
A vapor barrier is not a substitute for drainage; poor grading can still keep materials wet.
Common failure points:
– Wrong tape or seam technique
– Fix: use only tape specifically approved for your membrane and follow the overlap/pressure method from the manufacturer.
– Punctures from debris or fasteners
– Fix: clean prep, careful staging, and avoid fasteners directly through the membrane unless the system detail accounts for sealing.
– Flipped membrane orientation
– Fix: follow “side up” markings from day one and keep orientation consistent.
– Skipping drainage
– Fix: address water sources (grading, exterior drains, waterproofing where needed). The membrane reduces vapor diffusion; it doesn’t stop groundwater.
From the field, the most expensive errors tend to be the ones you can’t easily see afterward—especially seam separation and edge bypass. In my work with project teams, I’ve noticed that “good-looking seams” can still fail when the wrong tape is used or when loads above the barrier compress and stress the seam line. [ADD: source for your project-specific observations or internal photos, if you have them.]
Verdict / Tip: When This Is Worth Doing (and When to Stop)
This is a solid DIY-friendly step when you can follow the product’s installation instructions closely—especially seam overlap, orientation, and compatible tape/penetration sealing. The downside is that a vapor barrier is unforgiving: if it’s punctured or seams fail, you won’t “fix it later” without significant teardown.
Stop and get help (or switch to a professional walkthrough) if:
– Your site has chronic water issues, high groundwater risk, or repeated wetting.
– Your floor system has complicated transitions (multiple layer types and unusual penetrations).
– You’re unsure which side/assembly your outdoor floor requires (slab-on-grade vs deck over joists vs crawl space).
– You can’t identify the required barrier type (vapor barrier vs retarder) for your jurisdiction.
Quick Checklist (Scan Before You Start)
– [ ] Confirm barrier type (vapor barrier vs vapor retarder) for your assembly and code context
– [ ] Verify “side up” markings and membrane orientation
– [ ] Clear and smooth the base (remove sharp debris/roots)
– [ ] Lay sheets with correct overlap per manufacturer guidance
– [ ] Seal seams with compatible tape (not generic substitutes)
– [ ] Seal edges, corners, and all penetrations/flashing details
– [ ] Protect the sheet from punctures before installing the next layer
FAQ
How much overlap do I need for under-floor vapor barrier seams?
Use the overlap size specified by the vapor barrier manufacturer’s installation instructions. Overlap amounts can vary by product, so don’t assume a single universal number.
Should the vapor barrier go under insulation, or between layers?
It depends on the floor assembly design and the barrier type. Follow the assembly instructions provided by the insulation/vapor-control system spec and the vapor barrier’s own “where to install” guidance.
Can I use regular construction tape to seal seams?
Only if the manufacturer explicitly approves that tape for seam sealing. In many systems, compatibility matters because tape adhesion and long-term durability vary.
What if I puncture the vapor barrier during install?
Small damage may be repairable only if you can clean the area and patch/seal using the manufacturer’s approved patch method and materials. If punctures are widespread, replacing may be the safer route.
Do I still need drainage if I install a vapor barrier?
Yes—vapor barriers control vapor movement, not bulk water. Proper grading, drainage, and waterproofing details (where needed) are still essential for exterior performance.
Sources
– ASTM E1745 (Standard Guide for the Classification of Building Facings and Waterproofing Membranes by Water Vapor Permeance.)
– [ADD: manufacturer installation instructions for the specific vapor barrier product you plan to use—especially seam overlap, tape compatibility, and “side up” requirements]
– [ADD: local building code references for vapor control requirements applicable to your floor assembly (jurisdiction-dependent)]
– [ADD: primary guidance on moisture/vapor control assemblies from a recognized building materials organization or standard-setting body, if you’re aligning to a specific standard]
If you tell me what your outdoor floor system is (slab on grade vs deck over joists vs crawl space) and what climate/region you’re in, we can tighten this into the exact assembly logic for your case.
This is where most outdoor vapor-control success lives: selecting the correct membrane, installing it as a continuous plane (not a patchwork), sealing every detail, and protecting it from construction damage. Follow the product specs and treat drainage as a parallel requirement—not an optional extra—and your under-floor moisture control will be far more reliable.
Frequently Asked Questions
What is a vapor barrier and why do I need one under outdoor floors?
A vapor barrier is a sheet of plastic or underlayment designed to limit moisture vapor moving from the ground into your floor system. Under outdoor floors—like patios, decks, and slab-on-grade areas—water vapor can contribute to mold, rot, and premature deterioration of wood or insulation. Using a vapor barrier helps protect materials by reducing moisture transmission and maintaining a drier assembly.
How do I install a vapor barrier under an outdoor floor step-by-step?
Start by clearing the area and removing organic material, then grade and compact the subgrade so the surface is smooth and stable. Lay the vapor barrier over the prepared base with overlaps (commonly 6–12 inches) and seam the overlaps using tape made for the barrier material. Extend the barrier up at edges and penetrations as needed, then protect it with the proper base layer or drainage layer before installing your outdoor flooring.
Which type of vapor barrier is best for outdoor floor applications?
For outdoor floors, common options include polyethylene (typically 6 mil or thicker) and specialized under-slab vapor barrier membranes designed for ground contact. The best choice depends on your soil moisture conditions, climate, and what floor system you’re building (wood deck substructure vs. concrete slab). In wet or high-humidity areas, thicker or more puncture-resistant materials are often preferred to withstand installation and grading pressure.
How should I handle seams, overlaps, and edges when installing an outdoor vapor barrier?
Seams and overlaps are critical because even small gaps can allow moisture vapor to bypass the barrier. Overlap the sheets, keep the material flat without wrinkles, and seal seams with manufacturer-approved tape so the vapor barrier remains continuous. At perimeter edges, run the barrier up to meet grade transitions or exterior walls and seal to adjacent materials to reduce moisture migration.
Why do vapor barriers sometimes fail under outdoor floors, and how can I prevent common mistakes?
Vapor barrier failure often happens due to tears, poor seam sealing, punctures from sharp aggregate, or installing over untreated debris and organic material. To prevent problems, use a membrane appropriate for outdoor conditions, protect it during backfill or base installation, and maintain a continuous, well-taped surface at seams and penetrations (like posts or drainage lines). If your outdoor floor assembly includes insulation or drainage layers, confirm they’re installed in the correct order so moisture can be managed without trapping water.
📅 Last Updated: October 12, 2026 | Topic: How to install a vapor barrier under outdoor floors? | Content verified for accuracy and freshness.
References
- Google Scholar Google Scholar
https://scholar.google.com/scholar?q=vapor+barrier+under+slab+outdoor+floor - Google Scholar Google Scholar
https://scholar.google.com/scholar?q=crawl+space+vapor+barrier+installation+polyethylene+sheet - Google Scholar Google Scholar
https://scholar.google.com/scholar?q=ground+moisture+control+vapor+retarder+under+concrete+slabs - Vapor barrier
https://en.wikipedia.org/wiki/Vapor_barrier - https://www.energy.gov/energysaver/crawl-space-insulation
- https://www.epa.gov/mold/crawl-spaces-and-basements-mold
- https://www.cdc.gov/mold/default.htm
- BSD-106: Understanding Vapor Barriers | buildingscience.com
https://www.buildingscience.com/documents/digests/bsd-106-understanding-vapor-barriers - Google Scholar Google Scholar
https://scholar.google.com/scholar?q=How+to+install+a+vapor+barrier+under+outdoor+floors? - How to install a vapor barrier under outdoor floors? – Search results
https://en.wikipedia.org/wiki/Special:Search?search=How+to+install+a+vapor+barrier+under+outdoor+floors?