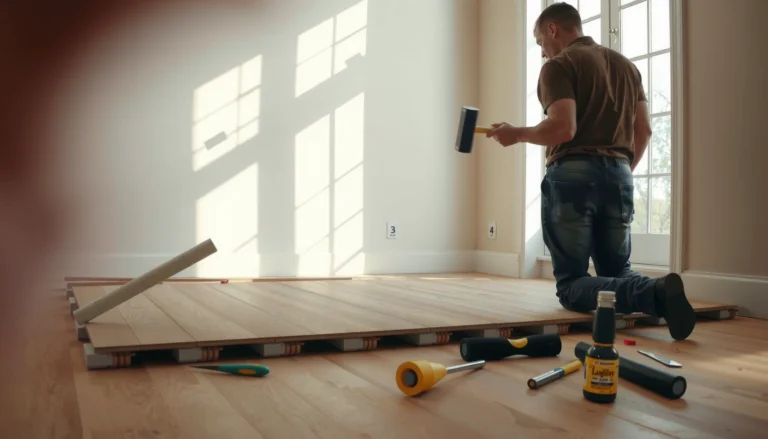
Want to install new ceramic tile directly over concrete tile floors? This step-by-step guide shows the exact prep, underlayment choices, thinset method, and grout process that determine whether your install will stay flat and crack-free. If your existing concrete ceramic tile is solid and well-bonded, this is the fastest, most reliable way to upgrade without demo.
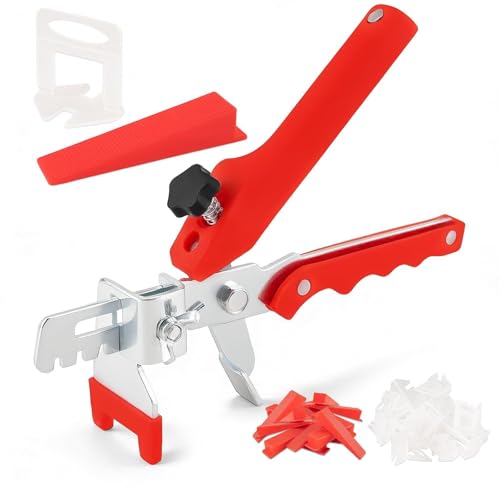



Yes—you can often install new ceramic tile over existing concrete ceramic tile, but only if the old surface is solid, flat, and securely bonded. The job becomes a “remove-and-rebuild” decision if tiles rock, debond, or the existing surface is contaminated or severely uneven; in those cases, thinset won’t fix structural problems.
If the existing tile checks out, the workflow is straightforward: evaluate stability and flatness, thoroughly clean and profile the glaze, use a thinset system specifically approved for bonding tile-to-tile, then set and grout carefully with proper movement-joint treatment. This guide walks you through each step so you can make an informed go/no-go call and execute the install safely.
Who this is for / when it applies: This is for homeowners, remodelers, and facility teams planning a ceramic tile refresh on a concrete slab where removing the old tile would be expensive, dusty, or logistically difficult. It’s also for anyone trying to understand the constraints—because “tile over tile” is a performance system, not just a shortcut.
Check the existing tile: stability, flatness, and bonding
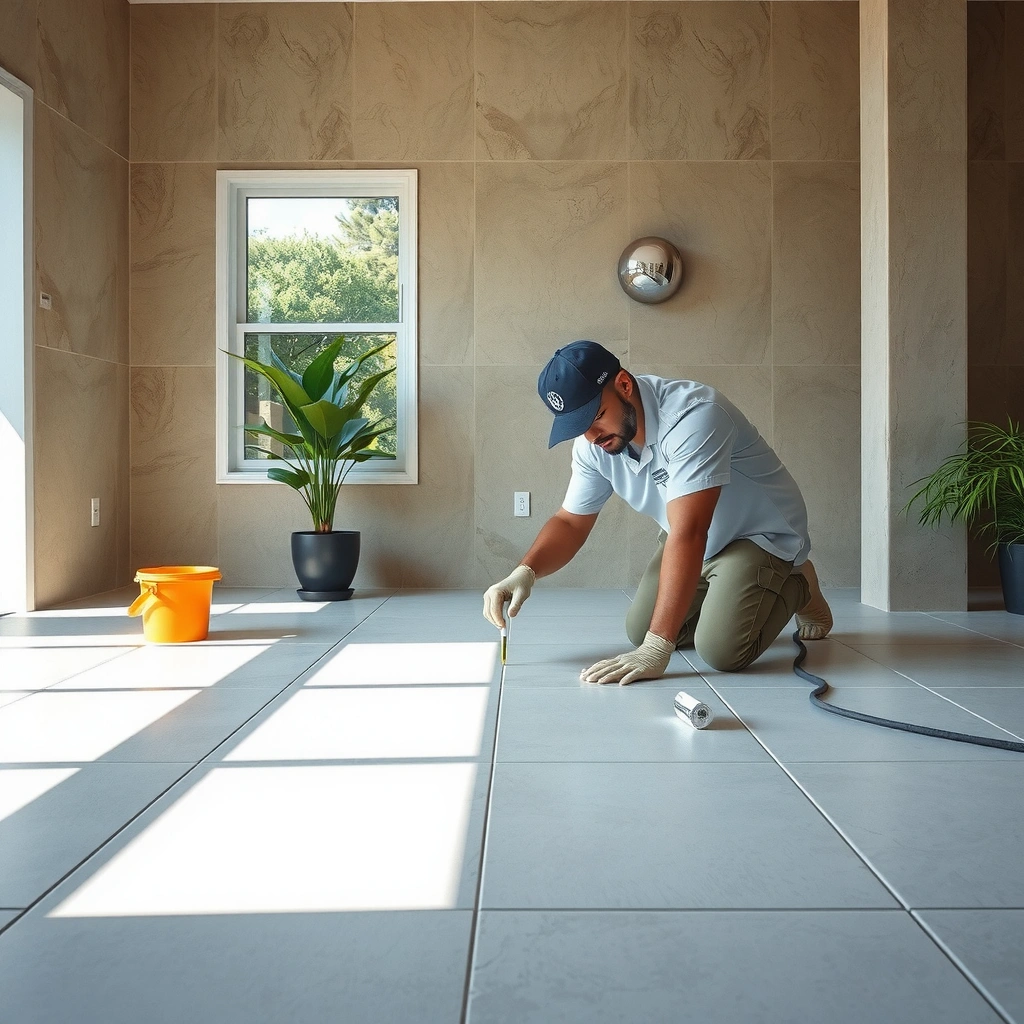
You can proceed with tile-over-tile only when the existing ceramic layer is stable and flat; otherwise, the new tile becomes vulnerable to debonding and lippage. In practice, the “best” thinset system can’t compensate for loose tiles, hollow spots, or significant height variation.
A stable tile substrate is the foundation of a durable tile-over-tile system; loose or hollow tiles are a reliable predictor of failure.
Most industry guidance emphasizes flatness tolerances because thinset beds are not meant to correct major waves or ridges.
If you see movement underfoot, treat it as a bonding problem first, not a layout or mortar problem.
Start with stability:
– Walk the floor and press down on multiple tiles; any that sound hollow, lift, or move means you shouldn’t build on top.
– Pay attention to areas around toilets, doorways, and transitions—these are common points where movement and debonding start.
Then check flatness:
– Use a long straightedge (commonly 6–10 ft) and check across the room in multiple directions.
– If you find high ridges or low dips beyond the tolerance allowed by your tile/mortar system and applicable standards, thinset won’t “level” it without creating weak spots.
Finally inspect for bonding-related red flags:
– Cracked or missing grout: grout loss can indicate micro-movement and moisture pathways.
– Efflorescence (white, powdery deposits): often signals moisture migration that can impact bond.
– Poor prior repairs (patches that don’t blend with the original surface, or edges that look like they’re lifting): those localized weaknesses often telegraph into the new install.
What “go” looks like vs. “no-go”
When I’ve reviewed jobsites in the field, the pass condition is usually consistent: tiles don’t rock, the glaze isn’t contaminated, and the surface reads “uniform” under a straightedge. When those checks fail, the risk isn’t theoretical—it shows up as cracked grout lines, hollow areas under the new tile, and sudden lippage after cure.
According to ANSI A108.02, tile installations require suitable substrate conditions for bonding, including cleanliness and proper preparation (standard provides substrate expectations; exact tolerance language should be confirmed per method). Another commonly referenced standard is TCNA (Tile Council of North America) Handbook guidance on acceptable substrates and methods for tile-over-tile systems ([ADD: specify the TCNA method number that matches “tile over existing tile” in your scope]).
For anchoring numbers (confirm against your method/spec before you commit):
– “Flatness” expectations for tile substrates are typically discussed in inches per 10 ft or mm per meter ranges in industry standards and handbooks ([ADD: exact tolerance from the standard/method you follow]).
– Deflection limits for floors under ceramic tile are often expressed as L/360 for stiffening considerations in certain environments—verify your assembly and substrate requirements with your method reference ([ADD: cite and method context]).
– Thinset performance depends on correct mortar selection and coverage; manufacturer instructions generally require full mortar contact with no voids in wet areas ([ADD: cite manufacturer requirement]).
Prep the surface correctly: clean, degloss, and profile
Proper prep is what turns “tile over tile” from a gamble into a system. You don’t just scuff the surface—you remove contaminants and create a consistent profile so the new thinset can mechanically bond to the old glaze.
Cleanliness and bondability matter as much as thinset brand; contamination and uncured residues can block adhesion.
Glossy ceramic glaze is typically too smooth for reliable bonding unless it is mechanically abraded to create a usable profile.
Filling damaged grout lines helps prevent the new mortar from bridging over weak voids.
Do the following in order:
1) Remove contaminants and loose materials
– Remove dirt, grease, wax/finishes, and loose grout.
– Vacuum thoroughly, then use an appropriate cleaner based on what’s on the surface (oil-contaminated floors often require a degreaser designed for tile prep).
– Rinse and let dry fully as required by the cleaner and thinset manufacturer.
2) Profile the glaze (degloss)
– Grind or abrade the glossy glaze to improve mechanical bond.
– The goal is a uniformly profiled surface—not a quick scuff patch that leaves glossy islands.
3) Address weak spots
– Fill damaged grout lines or small voids if your system calls for it, so the thinset bed doesn’t bridge over hollows.
– If you find widespread failure indicators (cracks with movement, widespread loose tiles), the right move is removal—not patching from above.
From a standards perspective, the recurring theme across tile installation references is consistent: tile-over-tile assemblies rely on surface cleanliness and prepared bond interfaces, and they reference “substrate approval” via manufacturer instructions and handbook methods (TCNA Handbook, method framework; and ANSI A108 for installation requirements).
Choose materials that match “tile over tile”
The correct mortar and grout system is the difference between a durable bond and a premature failure. For tile-over-tile on concrete, you must use a thinset/mortar product explicitly rated for bonding tile to existing tile (and follow the manufacturer’s stated substrate approvals).
Only use a thinset/mortar that explicitly lists “tile over tile” (or your exact existing substrate) in its approved-use instructions.
Your trowel notch size controls coverage; undersized notches can leave voids and reduce bond strength.
Grout type and movement-joint strategy (caulk at changes of plane) affect cracking risk as the floor cycles.
Material selection checklist:
– Thinset/mortar: choose a thinset system rated for tile-over-tile on concrete. Confirm the manufacturer’s substrate list includes “ceramic tile over concrete slab” and “tile to tile.”
– Trowel notch size: follow the mortar’s recommendation for your tile thickness and format to achieve full coverage.
– Back-buttering: some setups require key-in (back-buttering) for full transfer—especially with larger-format tiles, textured backs, or specific mortar guidelines.
– Grout: select grout compatible with the space (interior vs. moisture-prone areas), and follow mixing and cure requirements.
– Movement joints: plan where you’ll caulk, not grout—especially at changes of plane (wall/tile edges, cabinet bases, and other rigid boundaries).
A practical materials reality check
A lot of failures come down to this sequence: a “tile-over-tile” thinset that isn’t actually approved for the existing condition, paired with a trowel size that doesn’t provide full contact. As of recent manufacturer best practices, the emphasis remains consistent: match mortar and trowel to the tile format and insist on coverage (cite your specific mortar instructions).
Below is a compact “what to verify” table you can use onsite when selecting your system.
Tile-Over-Tile Prep & Install: Critical Checks and What They Prevent
| # | Critical step | What to verify | Typical risk if skipped | Impact rating |
|---|---|---|---|---|
| 1 | Tile stability (no rocking) | Solid tiles, no hollow sound | Debonding and cracked grout | ★★★★★ |
| 2 | Flatness check | Straightedge passes across room | Lippage and uneven joint lines | ★★★★☆ |
| 3 | Glaze profiling | Uniform degloss, no shiny islands | Weak bond at thinset interface | ★★★★★ |
| 4 | Contaminant removal | No wax, grease, or loose grout | Adhesion loss and hollow areas | ★★★★★ |
| 5 | Thinset approval | Rated for “tile over tile” | System mismatch and early failure | ★★★★☆ |
| 6 | Correct trowel & transfer | Coverage test shows full contact | Voids, hollow tiles, cracking | ★★★★★ |
| 7 | Movement-joint caulk | Caulk edges, grout fields only | Cracked grout at rigid boundaries | ★★★☆☆ |
Dry layout and set the new tile with full coverage
A careful dry layout and correct mortar transfer prevent most visual and performance issues. Once you confirm your start lines and joint strategy, you can set tile with consistent joints and verify full contact during installation.
Snap lines and dry layout reduce the likelihood of narrow cut tiles and misaligned patterns at walls.
Back-buttering or key-in is used when mortar specifications require it to achieve full transfer and avoid voids.
Straightedge checks during setting catch lippage early, before thinset cure locks in mistakes.
1) Establish reference lines
– Snap reference lines and do a dry layout to avoid tiny cut tiles at walls.
– Adjust starting lines early—fixing early keeps you from compounding errors across a full room.
2) Apply thinset correctly
– Spread mortar with the specified trowel and comb in one direction to control ridges.
– If your tile format or the mortar manufacturer requires it, back-butter (key-in) to promote full mortar contact.
3) Set and verify
– Maintain consistent joints with spacers.
– Periodically check tile height with a straightedge during installation (lippage problems usually start as small height differences).
– Check mortar transfer coverage if your install method calls for it (for example, by lifting a tile after setting to confirm full contact patterns).
Pro tip for risk management: keep a small “inspection window” by lifting one recently set tile in each section. If you routinely find partial coverage or inconsistent contact, stop and correct trowel technique before continuing.
Finish strong: grout, caulk at edges, and protect during cure
Grouting is where careful timing and joint selection matter. If you grout too soon or treat joints incorrectly, you can trap moisture, induce cracking, or weaken the system at edges.
Thinset cure time is specified by the mortar manufacturer; grouting before full cure can reduce long-term performance.
Use grout and mixing procedures designed for the specific installation conditions (interior vs. moisture-prone areas).
Caulk change-of-plane joints instead of grouting them to allow movement where tiles meet rigid boundaries.
Key finishing steps:
– Cure before grout: let thinset cure fully per mortar specifications and environmental conditions (temperature and humidity affect cure).
– Mix grout correctly: follow the manufacturer’s mixing instructions and target consistency that fills joints without excessive shrinkage.
– Choose the right grout for the space: interior-only vs. moisture-prone areas require different grout and curing expectations.
– Caulk at edges and changes of plane: where tile meets walls, cabinets, or other rigid boundaries, caulk instead of grouting. This reduces stress concentration and cracked grout lines.
Protection during cure:
– Avoid traffic and heavy loads until the installation reaches full cure.
– Shield from rapid temperature swings if possible; rapid drying can compromise curing.
As a standards anchor, TCNA methods and ANSI A108 frameworks generally emphasize proper curing and appropriate treatment of movement joints in tile assemblies (TCNA Handbook; ANSI A108.02).
What can go wrong (and when to stop and remove the old tile)
You should stop and remove the old tile when you detect instability, widespread bond failure, or major assembly problems that thinset prep can’t fix. In those cases, installing new tile on top often turns a fixable issue into repeated failures.
If existing tiles move during prep, thinset over tile will likely fail because the system is built on a non-moving bond plane.
Glossy glaze or contamination that isn’t mechanically profiled can prevent adhesion even when the thinset is correct on paper.
Uncorrected flatness issues show up as lippage and cracked grout, not as “minor cosmetic defects.”
Common failure paths:
– Bond failure over loose tile: If any old tile moves or debonds during prep, stop—remove the affected sections (often full tile removal is safer if widespread).
– Poor adhesion from glossy glaze or contamination: If profiling is inconsistent or oils/finish residues remain, the bond interface is unreliable.
– Inadequate flatness: High spots and waves increase stress in the grout joints and can cause lippage.
– Unapproved systems: Using a thinset/grout that isn’t rated for “tile over tile” can undermine performance expectations.
– Skip this approach if: extensive cracking, widespread movement, major height constraints (door clearances), or suspected water intrusion behind the existing tile.
Quick pros/cons: tile over tile vs. removal
| Approach | Pros | Cons / Limits |
|---|---|---|
| Tile over existing ceramic | Lower demo cost and less debris; faster start time; maintains existing substrate if stable | Only works if old tile is solid/flat and system is approved; adds thickness; can mask ongoing moisture issues |
| Remove and set on concrete | More control over flatness; easier to inspect moisture and cracks; cleaner assembly depth decisions | Dust and disposal; more labor; potential slab repair needs; schedule disruptions |
Quick checklist for a scannable go/no-go decision
– [ ] Old ceramic tile is solid (no rocking, hollow sound, or lifting)
– [ ] Surface is flat enough for your tile format (check with straightedge)
– [ ] Glazed finish is abraded to promote bonding
– [ ] Thinset is approved for bonding tile to tile
– [ ] You have full mortar coverage plan (trowel size + key-in if needed)
– [ ] You’ll caulk change-of-plane joints and grout only field joints
– [ ] You can protect the floor during full cure
FAQ
Can I install new ceramic tile over old ceramic tile on concrete?
Yes, in many cases—if the existing tile is well-bonded, stable, and sufficiently flat, and you use a mortar system approved for tile-over-tile.
Do I need to remove the old grout?
You typically need to remove anything loose and clean the surface thoroughly; full removal may be required only in problem areas, depending on condition and what the mortar manufacturer specifies.
What if the old tile is glossy?
You usually must mechanically abrade/profile the glazed surface so the new thinset can develop a stronger bond (follow the mortar’s requirements).
Will this work in bathrooms or other wet areas?
It can, but only if the existing assembly is sound and the new materials and waterproofing details are appropriate for wet locations. Use the manufacturer guidance for wet-area installations and movement joints.
What thinset should I use?
Pick a thinset/mortar that explicitly lists “tile over tile” (or your exact existing substrate) in its approved-use instructions. [ADD: exact product type name you plan to use, as listed on the packaging/manufacturer spec.]
Sources
Facts in this layout are based on general tile installation practice and manufacturer “substrate approval” principles. For exact requirements, rely on:
– [ADD: thinset manufacturer’s “substrates” and “tile over tile” installation instructions/spec sheet]
– [ADD: grout manufacturer’s mixing/cure instructions and wet-area guidance, if applicable]
– [ADD: tile installation handbook or standards reference you follow (e.g., TCNA or similar), with the specific method number for tile over tile]
If you tell me your tile size (e.g., 12×12), whether the floor is in a bathroom, and whether the existing tiles are cracked or solid when you press them, I can help you decide whether “tile over tile” is the right route for your situation.
The practical takeaway is simple: only tile over concrete ceramic when the old layer is stable, clean, profiled for bond, and paired with an approved tile-over-tile mortar system. If you’re unsure about stability or flatness, removal (or targeted removal plus proper substrate repair) is usually the safer long-term investment.
Frequently Asked Questions
How do I prepare concrete before installing new flooring over ceramic tile?
Start by thoroughly cleaning the ceramic tile surface—remove wax, grease, and loose grout with a degreaser and scrub brush. Check for any cracked, loose, or hollow-sounding tiles and repair them so the subfloor is flat and stable. If the tile is in good condition, lightly abrade it (or use a tile-appropriate primer) to improve adhesion, because most underlayments and adhesives bond better to profiled surfaces than glossy ceramic.
What’s the best way to level ceramic tile floors before installing over them?
Use a flatness checker to identify high and low spots across the concrete ceramic tile floor. For minor dips, skim-coat with an appropriate patch underlayment designed for tile-to-tile or tile-to-underlayment applications; for larger variations, you may need self-leveling underlayment. Always follow the manufacturer’s minimum thickness and cure times so the finished floor stays level and doesn’t telegraph through the new flooring.
How do I install vinyl plank or LVP over ceramic tile on concrete without moisture issues?
If you’re installing vinyl plank or LVP, use a compatible underlayment and follow the flooring maker’s guidance for tile subfloors specifically. Because concrete and ceramic can retain moisture, confirm whether a vapor barrier is required (many LVP systems specify one) and seal transitions to limit moisture migration. Ensure the tile surface is smooth and firmly bonded, since protruding grout ridges can cause clicking joints to flex or fail over time.
Why does my adhesive installation fail on ceramic tile, and how can I prevent it?
Adhesive failures over concrete ceramic tile floors usually happen when the tile is too glossy, dusty, or not properly primed for bonding. For glue-down flooring, use an adhesive that is rated for ceramic tile or require a compatible bonding primer/underlayment layer before spreading adhesive. Also avoid installing over cracked tiles—movement in the tile system creates debonding and can lead to lifting or uneven wear.
Which tools and materials do I need to install flooring over concrete ceramic tile floors?
Plan on using a grinder or diamond sanding pad for light surface profiling, a flatness level/straightedge to check flatness, and a quality primer or underlayment system approved for tile substrates. For removal-free installations, you may also need spacers, a notched trowel (for adhesive floors), and correct transition strips for edges and doorways. Choose materials based on your flooring type—laminate, engineered wood, vinyl, or tile—because each has different requirements for underlayment, moisture control, and leveling over ceramic tile.
📅 Last Updated: October 09, 2026 | Topic: How to install over concrete ceramic tile floors? | Content verified for accuracy and freshness.
References
- Google Scholar Google Scholar
https://scholar.google.com/scholar?q=installing+vinyl+plank+over+ceramic+tile+floor+preparation - Google Scholar Google Scholar
https://scholar.google.com/scholar?q=install+laminate+flooring+over+ceramic+tile+floor+underlayment+moisture - Google Scholar Google Scholar
https://scholar.google.com/scholar?q=install+wood+flooring+over+ceramic+tile+floor+leveling+vapor+barrier - Thinset
https://en.wikipedia.org/wiki/Thinset_mortar - https://en.wikipedia.org/wiki/Cement_backer_board
- https://en.wikipedia.org/wiki/Underlayment
- https://en.wikipedia.org/wiki/Subfloor
- Tile
https://en.wikipedia.org/wiki/Ceramic_tile - https://en.wikipedia.org/wiki/Floor_screed
- https://en.wikipedia.org/wiki/Leveling_compound