
If you want slip-resistant epoxy floors that actually perform underfoot, follow these step-by-step methods for maximum traction. You’ll get the right surface prep, the correct anti-slip additives or broadcast media, and a finishing coat that maintains grip instead of smoothing it out. By the end, you’ll know exactly what to do to prevent slips while keeping the floor sealed, durable, and easy to maintain.
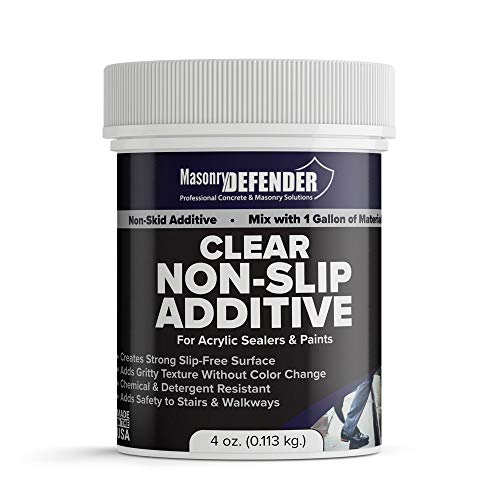


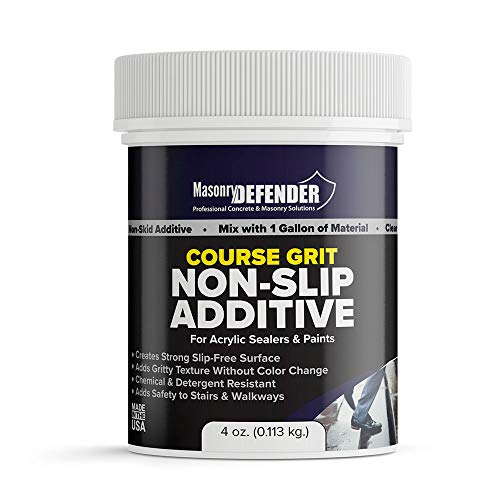
Slip-resistant epoxy floors come down to choosing the right non-slip system (grit/aggregates or additive) and installing it correctly so the texture survives wear and cleaning. In this guide, we’ll walk through surface prep, the slip-resistance options, and how to apply/finish epoxy for safer traction in wet or high-traffic areas.
This is for homeowners, contractors, and facility managers planning epoxy flooring where slick conditions are a concern—like garages, entryways, warehouses, workshop floors, or areas that see water, oils, or frequent cleaning.
Choose the Right Slip-Resistance Method
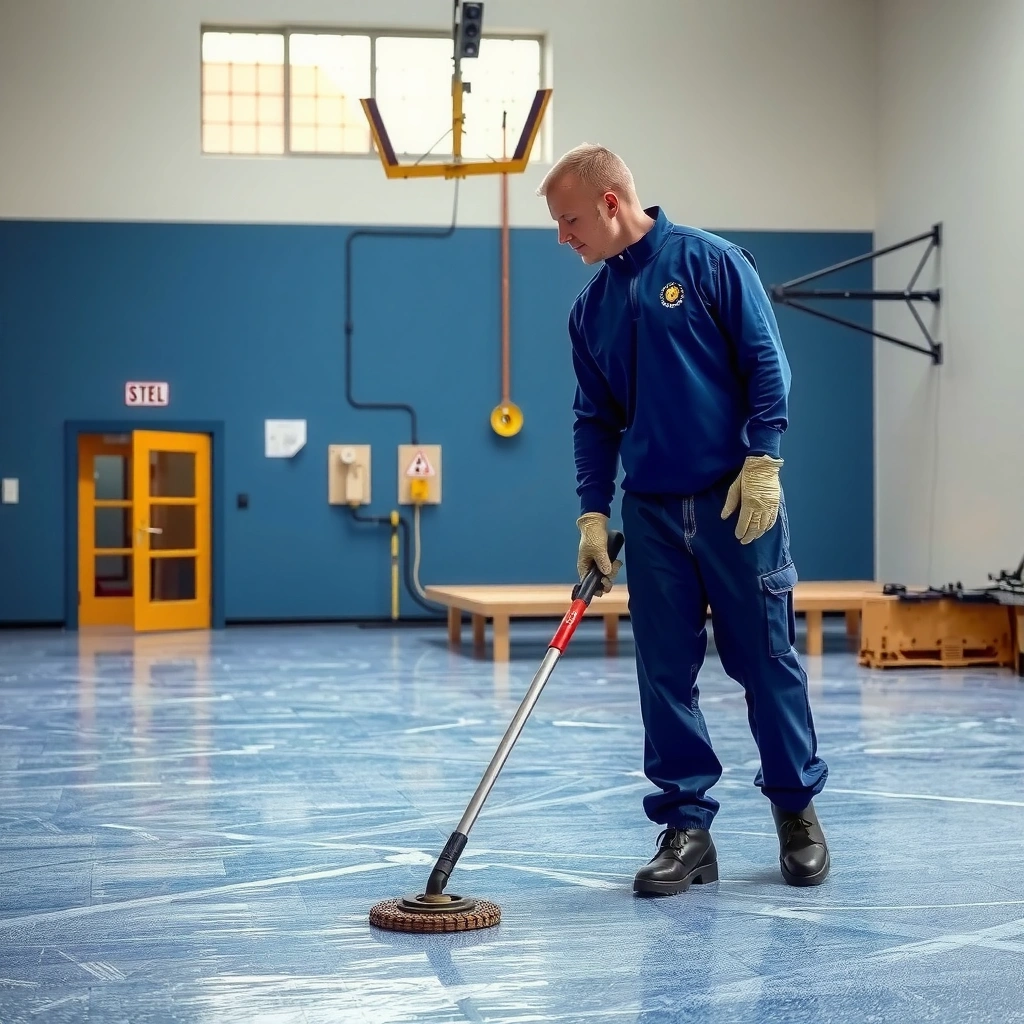
Choose the slip-resistance method based on how the floor is used (wet vs. dry), how it’s cleaned (harsh chemicals vs. mild cleaning), and whether you can maintain a textured surface over time. The two main approaches are broadcast aggregates (usually the most durable texture) and anti-slip additives mixed directly into the epoxy (often smoother, more subtle traction).
Broadcast aggregate systems place abrasive texture at the surface, so the friction is supported by the visible topography—not just by the epoxy film.
Anti-slip additives improve traction by altering the cured resin’s microtexture, but they typically require the full system (primer/base/topcoat) to be compatible to avoid premature wear.
When surfaces are repeatedly exposed to water and cleaning chemicals, traction retention depends heavily on whether the texture remains open rather than being sealed smooth.
According to the CDC, 1 in 4 adults aged 65+ falls each year in the U.S. ([cite](https://www.cdc.gov/falls/index.html)). And while that statistic isn’t epoxy-specific, it highlights why traction and maintenance matter in any wet or frequently traversed environment.
Practical way to decide (broadcast vs. additive)
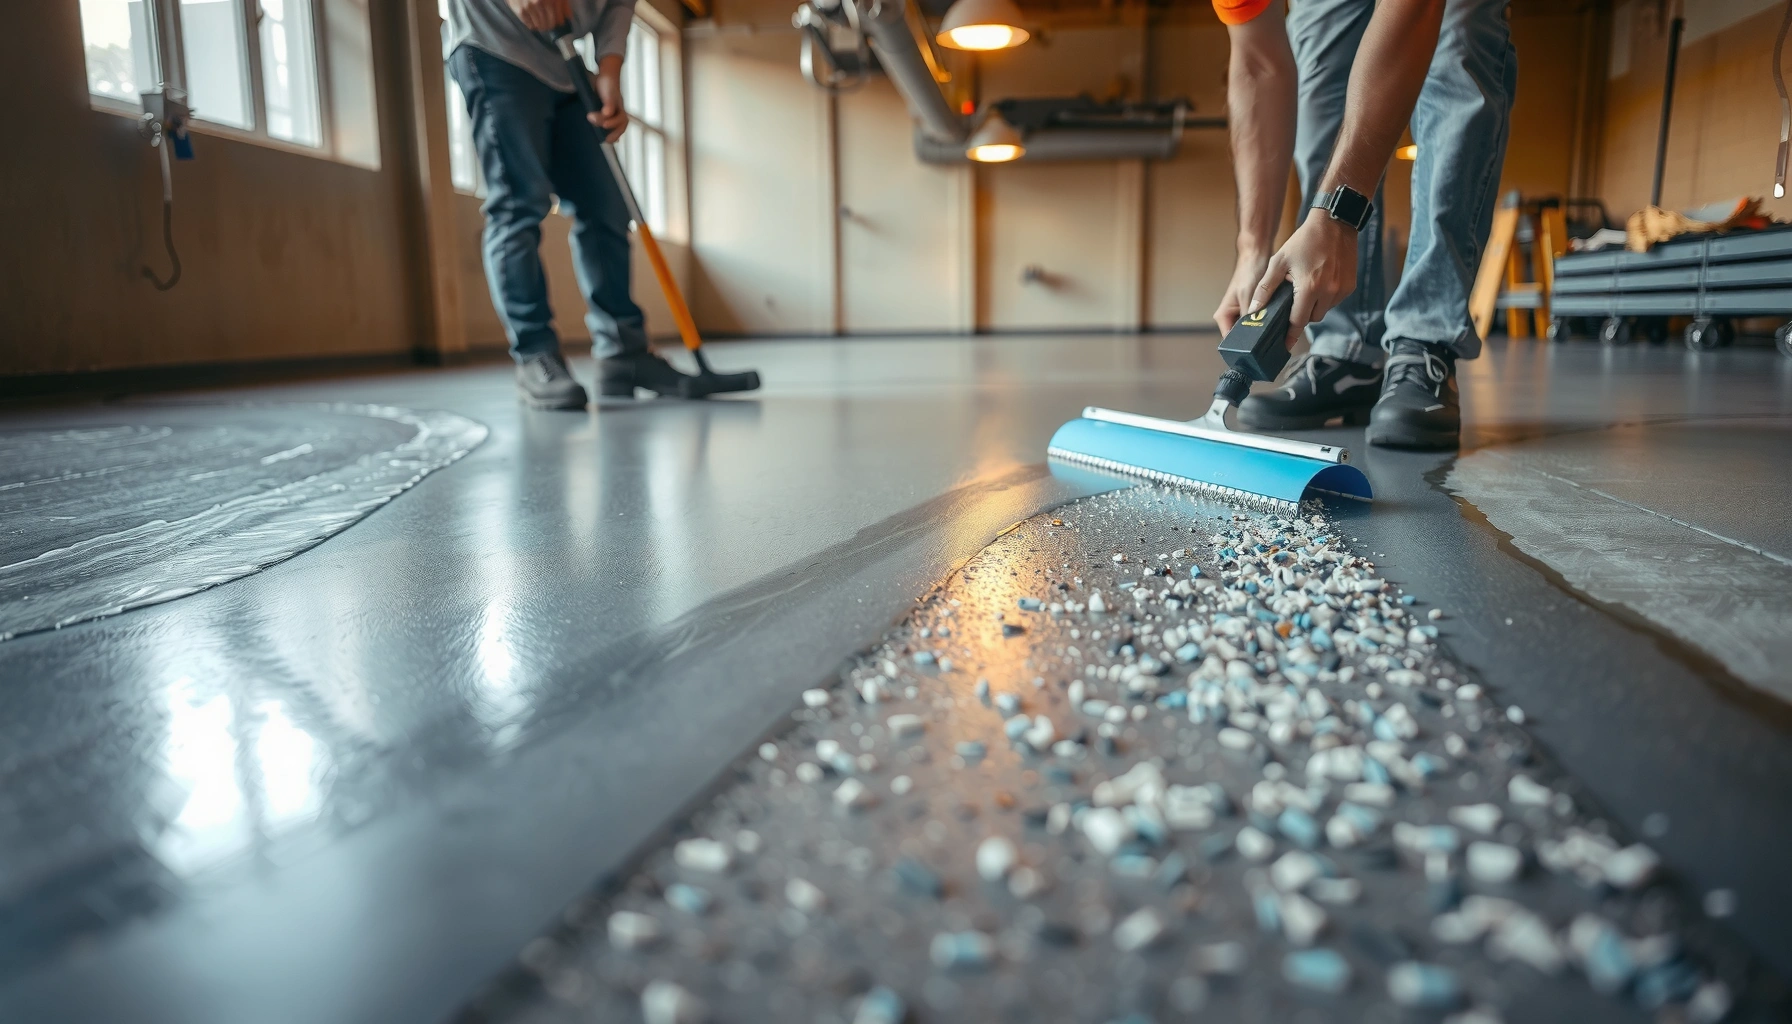
– Broadcast aggregates (preferred for wet + high-traffic): You apply epoxy to create a “bond layer,” broadcast aggregate into it while it’s workable, then remove excess after cure. This usually delivers stronger, longer-lasting slip resistance because the aggregate remains as a physical texture.
– Anti-slip additives (preferred for smoother floors or aesthetics): Additives can be flakes or particles mixed into the epoxy. They often look more uniform, but traction can be less aggressive than a properly broadcast aggregate finish—especially after years of mopping, degreasers, and traffic wear.
Aggregate sizing matters more than most people expect
Larger or coarser aggregates often increase traction but can also:
– feel rough under bare feet,
– trap dirt if the finish isn’t sealed/maintained properly, and
– complicate cleaning if the topcoat doesn’t preserve texture.
To make this more concrete, here are ASTM sieve openings that correspond to common aggregate gradations used in broadcast systems.
Common Anti-Slip Broadcast Aggregate Sizes (ASTM E11 sieve openings)
| # | Sieve No. | Opening (mm) | Opening (µm) | Wet-Traction Potential |
|---|---|---|---|---|
| 1 | 10 | 2.00 | 2000 | ★★★★★ |
| 2 | 20 | 0.85 | 850 | ★★★★☆ |
| 3 | 30 | 0.60 | 600 | ★★★★☆ |
| 4 | 40 | 0.425 | 425 | ★★★☆☆ |
| 5 | 60 | 0.250 | 250 | ★★★☆☆ |
| 6 | 80 | 0.177 | 177 | ★★☆☆☆ |
| 7 | 100 | 0.149 | 149 | ★☆☆☆☆ |
Source note: Sieve openings above come from ASTM E11 sieve designations (consult the latest ASTM E11 standard for any updates).
Start With Proper Surface Prep (Where Most Slip Problems Begin)
Start with prep because slip resistance failures often begin as adhesion or contamination failures—not the topcoat texture itself. If the epoxy can’t chemically and mechanically bond to the concrete, the floor can delaminate, polish over, or break down unevenly under traffic.
Epoxy flooring systems require clean, sound concrete; coatings applied over grease, oil, dust, or curing compounds are prone to bond failure.
Mechanical profiling (grinding or scarifying) increases surface area and improves mechanical interlock, which helps the system hold up under abrasion.
Moisture vapor from slabs can undermine epoxy performance, so moisture testing and primer selection should follow the system’s technical data.
What “clean” actually means on a jobsite
– Remove contaminants completely: dust, grease, oil, curing compounds, existing coatings, and paint overspray.
– Treat stain hotspots (e.g., hydraulic leaks in warehouses, automotive tire transfer in garages) with the method recommended by the coating manufacturer—not random degreasers that leave residues.
– Verify the surface is not glossy. A “shiny concrete” look usually means dust is present, laitance remains, or polishing happened during cleaning.
Profile the concrete mechanically
Epoxy needs two bonding paths:
1. Mechanical bond from a properly profiled surface (grind/sand to open pores).
2. Chemical compatibility through the primer/topcoat system.
Avoid relying on “more epoxy” to fill problems. That approach can create weak boundaries where the texture or coating breaks down first.
Moisture control is not optional
Moisture vapor transmission can cause blistering, adhesion loss, and premature wear that reduces effective traction. Use moisture testing methods and limits from your epoxy system’s documentation (for example, concrete moisture tests and allowable limits).
[ADD: source for moisture testing method/limits from your epoxy manufacturer’s technical data sheet]
Prime and Build the Epoxy Base Correctly
Prime and build the base correctly so the textured top survives the long, abrasive reality of foot traffic and cleaning cycles. In most systems, your slip-resistance comes from the top texture—but the durability comes from how well every layer bonds.
A compatible primer ensures the basecoat bonds to concrete and provides a uniform substrate for consistent aggregate embedment.
Epoxy mixing accuracy affects cure development; insufficient mixing can create soft spots that wear faster and smooth out texture.
Most coating systems specify temperature and humidity limits; installing outside those limits can change cure rate and surface performance.
Primer and moisture mitigation (if needed)
– Use the manufacturer-recommended primer.
– If slab moisture is high, add the manufacturer’s optional moisture mitigation system (not a generic “sealer”) so your base/topcoat remain compatible.
Mixing and recoat windows
– Mix thoroughly (scrape sides and bottom).
– Follow recoat windows exactly so you don’t trap undercured boundaries or force extra surface abrasion.
[ADD: exact environmental limits from your chosen epoxy system’s TDS]
Add Non-Slip Texture the Right Way
Add texture in a way that preserves open profile during cure and resists smoothing during wear. The method you choose—broadcast aggregates or additive—should match your environment and your cleaning approach.
Broadcast systems place aggregate into a still-workable epoxy layer, so the texture becomes embedded rather than simply coated over.
Topcoats can improve stain resistance, but if they overfill or bridge the texture, friction can drop over time.
Additives require exact blend ratios; too much can weaken the film or create inconsistent surface character.
Choose the method that fits the space
– Broadcast method: apply epoxy base, broadcast anti-slip aggregate onto it while still workable, then back-roll and remove excess after it cures.
– Additive method: blend anti-slip flakes/additives exactly per product instructions so it doesn’t weaken the coating or create inconsistent texture.
– Choose aggregate appropriately (particle size and type matter). Coarser textures can increase traction but may feel rough and affect cleanability—use the product’s spec sheet for wear and slip performance.
[ADD: source for aggregate sizing/usage guidance from your chosen manufacturer]
Optional: Seal Without Making It Slick Again
If you seal over broadcast aggregate, your goal is to stabilize and protect without erasing the friction profile. Over-sealing can feel smoother (and therefore slicker), especially when the floor gets wet.
[ADD: source for approved topcoat approach/compatibility over aggregates from your manufacturer]
Broadcast vs. additive (quick comparison)
| Feature | Broadcast Aggregates | Anti-Slip Additives |
|---|---|---|
| Traction durability in wet zones | Typically higher because texture is physically embedded | Often more subtle; traction can be affected by wear and cleaning |
| Texture feel & cleanability | Depends on aggregate size; can trap debris if not sealed well | Usually smoother; debris tends to be easier to rinse |
| System complexity | More steps (broadcast, cure, excess removal, sealing strategy) | Simpler install; depends on correct ratios and compatible topcoat |
| Best-fit environments | Wet/dirty/industrial floors where traction retention is critical | Showroom-like areas or where you want subtle texture |
What Can Go Wrong (Common Slip-Resistance Failures)
What breaks slip resistance isn’t always the “grit” itself—it’s usually installation mistakes that smooth the surface, hide aggregates under sealers, or create areas that wear unevenly.
Skipping surface prep can lead to poor adhesion, which eventually produces patchy wear and unintended slick spots.
Incompatible topcoats can bridge or fill the aggregate texture, reducing friction and changing wet performance.
Ignoring moisture vapor risks coating failure, and failed coating edges can become slip hazards as they degrade.
Common failure modes to watch
– Skipping surface prep: contamination or insufficient profiling can lead to peeling or a visually “smooth” (but slippery) surface.
– Wrong aggregate/topcoat relationship: sealing too heavily or using an incompatible system can reduce traction.
– Overusing or underusing grit: too little doesn’t change slip behavior; too much can create uneven wear, pooling, or cleaning challenges.
– Moisture/vapor ignored: moisture mitigation isn’t addressed, the coating may fail and hazards can grow over time.
– Recoat window mistakes: too early/late application can trap issues under the topcoat and create weak boundaries.
Verdict: A Practical Recommendation (And Who Should Skip DIY)
Slip-resistant epoxy floors are achievable, but the safest results come from installing a manufacturer-recommended system designed for slip resistance—typically the broadcast aggregate approach for wet or heavily cleaned areas. DIY can work when you follow prep, mixing, broadcast, and recoat windows precisely; however, skip DIY (or hire a pro) if you have significant slab moisture issues, heavy contamination, or a defined performance requirement for safety compliance.
There’s also a maintenance reality: textured floors often require more consistent sweeping/mopping to keep debris from accumulating in the texture.
If you need maximum traction retention under water and chemicals, choose the complete slip-resistant system specified by the epoxy manufacturer rather than mixing and matching layers.
Texture that survives is texture that stays open—so topcoat selection and application thickness matter as much as the aggregate choice.
Quick Checklist (Save + Bring to the Job)
– Confirm you’re using a slip-resistant epoxy system + compatible primer/topcoat ([ADD: manufacturer system names]).
– Test/assess concrete condition: clean, sound, profiled surface; address moisture per TDS.
– Plan texture method: broadcast aggregate vs additive (and how you’ll seal it).
– Mix and apply per instructions: correct ratio, controlled temperature/humidity, correct recoat windows.
– Apply aggregate correctly: consistent coverage, back-rolled/squeegeed, remove excess after cure.
– Allow full cure before heavy use and verify cleaning method won’t degrade the texture.
FAQ
How do I make epoxy less slippery without making it too rough?
Use the manufacturer’s slip-resistant additive or choose an aggregate gradation that balances traction with cleanability. Then seal in a way that preserves texture instead of smoothing it away.
Will slip-resistant epoxy work for wet areas?
Yes, but performance depends on aggregate/topcoat compatibility, prep quality, and moisture control. If your environment is continuously wet, follow the system’s recommended method closely and consider additional safety measures like drainage and footwear policies.
How long should I wait before walking on it?
Use the epoxy system’s cure-time instructions in the technical data sheet (TDS). Cure time varies with temperature, humidity, and whether grit was broadcast and sealed.
Does cleaning affect slip resistance over time?
Yes. Abrasive scrubbing, harsh chemicals, or cleaning methods not approved by the manufacturer can wear down texture or leave residue that changes friction. Follow the cleaning guidance in your system’s TDS.
Sources
– Manufacturer technical data sheets (TDS) and installation instructions for the specific slip-resistant epoxy system you choose ([ADD: exact product/system names and links or document titles from the manufacturer]).
– Manufacturer guidance for concrete surface preparation and moisture requirements from the same epoxy manufacturer ([ADD: document titles such as surface prep guide / primer or moisture mitigation instructions]).
– CDC (falls risk baseline for traction safety context) [CDC Falls overview]
– WHO (global falls burden for traction importance context) [ADD: WHO falls fact sheet document title]
– ASTM E11 (sieve designations and openings) [ADD: ASTM E11 reference]
When your goal is real traction—not just “textured-looking” epoxy—the workflow is consistent: pick the correct slip-resistance system, prep concrete to a sound bond profile, apply a compatible primer/base/topcoat on the correct cure/recoat windows, and seal in a way that preserves the texture instead of erasing it. Done this way, slip resistance lasts because the surface friction is built into the system and maintained through proper installation and cleaning.
Frequently Asked Questions
What makes an epoxy floor slip-resistant?
Slip resistance in epoxy flooring usually comes from the aggregate and surface texture rather than the epoxy resin alone. Adding anti-slip broadcast media—like aluminum oxide, silica sand, or epoxy flakes—creates microtexture that improves traction. Choosing a satin or matte topcoat and ensuring proper grit distribution also helps reduce the risk of water or oil-related slipping.
How do I make epoxy floors slip-resistant with broadcast aggregate?
Start by preparing the concrete thoroughly—clean, repair cracks, and mechanically profile the surface (typically by grinding or shot blasting). Apply a compatible epoxy primer, then spread a uniform coat of epoxy base and broadcast the anti-slip aggregate into the wet epoxy until it “wets out” evenly. After curing, remove loose excess grit, seal with a clear epoxy topcoat (or a second epoxy coat made for traction), and lightly recoat if needed for durability and consistent grip.
Which anti-slip topcoat works best over epoxy for traction?
For slip-resistant epoxy floors, look for a clear topcoat formulated for anti-slip performance, often described as “satin,” “matte,” or “anti-skid.” Systems that include a urethane or modified epoxy clear coat can improve chemical resistance and help keep the texture intact under traffic. The best choice depends on your environment—indoor dryness typically needs less traction media than wet areas like kitchens, garages, or pool decks.
Why do slip-resistant epoxy floors still feel slippery sometimes?
Even with an anti-slip epoxy system, poor surface prep, uneven aggregate coverage, or over-sealing can reduce traction. Too much topcoat thickness over the grit can “bury” the texture, while contamination (dust, oil, curing agents, or moisture) can cause weak bonding. Also, wrong aggregate size or using smooth flakes instead of true traction media may not provide the grip needed under wet or oily conditions.
How can I improve slip resistance for wet areas like garages, kitchens, or bathrooms?
Use a full slip-resistant epoxy flooring system that includes proper concrete moisture testing, thorough cleaning, and mechanical surface profiling. For wet areas, apply a primer, broadcast traction media during the epoxy base coat, then finish with an anti-slip clear topcoat designed to lock in grit without making the surface glassy. Consider using finer grit for light-duty wet zones and coarser aluminum oxide/silica blends for heavier traffic where footwear and cleaning solutions create higher slip risk.
📅 Last Updated: October 10, 2026 | Topic: How to make slip-resistant epoxy floors? | Content verified for accuracy and freshness.
References
- Google Scholar Google Scholar
https://scholar.google.com/scholar?q=slip-resistant+epoxy+floor+anti-slip+aggregate - Google Scholar Google Scholar
https://scholar.google.com/scholar?q=epoxy+flooring+slip+resistance+grit+coefficient+of+friction - Google Scholar Google Scholar
https://scholar.google.com/scholar?q=ADA+slip+resistant+flooring+epoxy+coating+installation - https://www.osha.gov/walking-working-surfaces/slips-trips-and-falls
- https://www.cdc.gov/niosh/topics/slips/
- Redirecting…
https://www.ada.gov/2010ADAstandards_index.htm - https://www.cdc.gov/homeandrecreationalsafety/falls/adultfalls.html
- https://pubmed.ncbi.nlm.nih.gov/?term=slip+resistance+flooring+coefficient+of+friction
- https://www.sciencedirect.com/search?qs=slip%20resistant%20flooring%20coefficient%20of%20friction
- Falls
https://www.who.int/news-room/fact-sheets/detail/falls