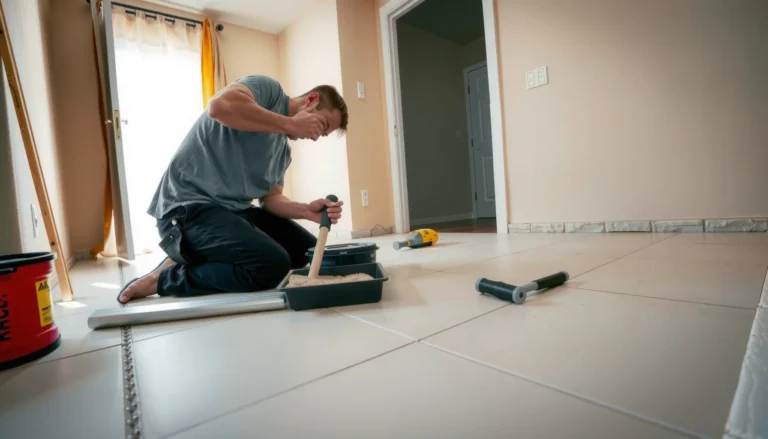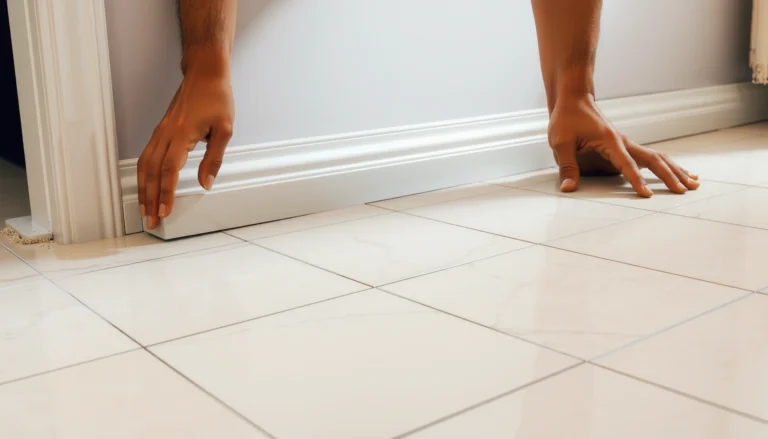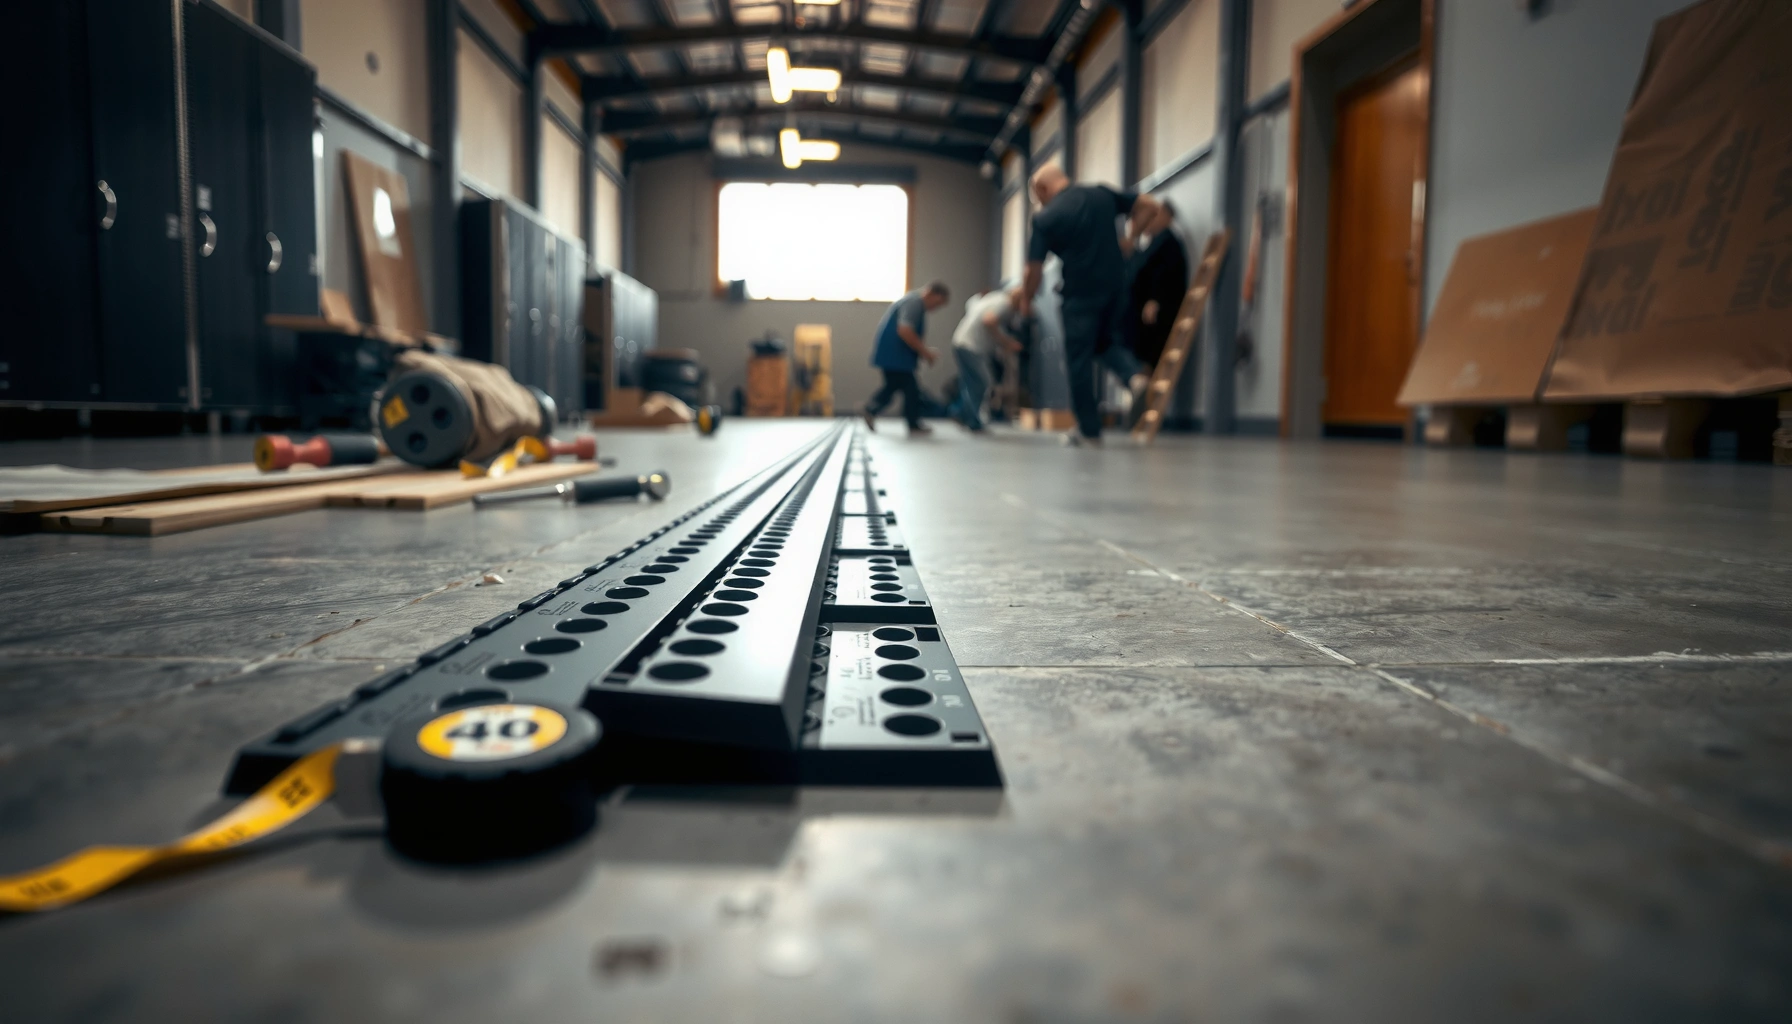

Searching for how to install transitions for gym floors? Follow this step-by-step guide for the cleanest, most durable results—choosing the right transition type, prepping the subfloor, and installing it so it won’t lift or catch equipment wheels. If your gym floor has a height change or a seam between surfaces, this process tells you exactly what to do from start to finish.




Install gym floor transitions by matching the height of both flooring systems at the seam and fastening the transition to the correct substrate (not just the top surface). Measure thickness precisely at the exact route, dry-fit first, then cut and fasten/adhere exactly as the transition manufacturer specifies so you eliminate lips and trip hazards.
If you’re converting part of a space (like rolling from rubber to tile or transitioning into a doorway), or you’re finishing a new install, this is for you. It’s most useful if you’re working with common gym flooring types such as rubber flooring, vinyl/rolled surfaces, or modular tiles.
Plan the transition: measure gaps and match heights
The most reliable way to prevent a “lip” is to measure both sides at the seam and treat the transition as a height-matching system, not an afterthought trim piece. When the transition sits flush across the entire traffic path, rolling equipment and shoes move smoothly without catching at the edges.
Here’s how to plan before cutting anything: measure the build-up on each side, confirm the gap width you actually have, and test placement along the route where feet, sleds, and carts travel.
Measure flooring thickness at the seam location, not at a random spot, because underlayment thickness and adhesive squeeze-out can vary across a room.
Dry-fitting a transition is the fastest way to verify that “height matching” will be true in the real world, including minor subfloor irregularities.
A doorway transition should consider how door openings and thresholds change the usable clearance and how the transition will be struck by shoe edges.
Measure thickness correctly (including underlayment/adhesive)
1. Measure the rubber/vinyl/tiles thickness on the left and right side of the seam.
2. Include everything that affects the finished height:
– Underlayment thickness (if used)
– Any adhesive or cementitious build-up that remains under the flooring
– Raised areas from trowel ridges or mortar (for tile installs)
3. Record both finished heights at the exact seam line you plan to cover.
A practical workflow we use on gym remodels is to mark the seam on the floor (with painter’s tape), then take measurements at 3 points across the planned transition width. Even if the floor looks level visually, these readings often reveal a few millimeters of difference that will become a trip edge if ignored.
Check the gap width and the transition span
– Measure the actual spacing (gap) between the two flooring systems at multiple points.
– Confirm your transition profile can span the gap without leaving exposed edges or requiring “forcing” the piece into place.
– If the gap widens in spots (common around transitions near doors or seam lines), plan for either:
– A transition designed for variable seams, or
– A seam preparation strategy (like smoothing or using a channel system)
Dry-fit along the intended route
Gym transitions rarely see straight-line traffic. When you dry-fit:
– Place the transition along the traffic direction (including where carts turn slightly).
– Check whether the transition ramps too steeply at one end.
– Confirm the ends sit flat instead of rocking.
According to the Americans with Disabilities Act (ADA) accessibility guidance, ramp slope targets are strict for built accessibility surfaces (often framed around a 1:12 max slope concept). While gym transitions aren’t ramps, the same physics—foot clearance and shoe catch—applies when the profile creates a noticeable rise. [ADD: cite ADA Standards / Technical Guidance for slope concept]
Quick visual planning rule
If your measured height difference is more than what the transition’s design allows to “ride over,” you’ll likely need:
– A different transition style (T/joining vs. reducer vs. threshold), or
– Subfloor leveling/patching, or
– A system change (for example, installing a compatible underlayment thickness on one side)
Choose the right transition style for your flooring
The best transition style depends on what the seam is doing: ending at a doorway/hard surface, changing floor levels, or joining two surfaces at similar heights. Choosing correctly up front prevents the most common failure mode—buying a reducer when you actually needed a joining “T” profile.
Start with the seam geometry and traffic conditions (sneakers, weight plates, rolling racks), then select a profile that matches that load and fastening method.
A threshold/edge transition is typically intended to terminate one surface cleanly at a hard boundary like a doorway while resisting edge wear.
A joining (“T” style) or reducer transition is designed for leveling differences; the profile geometry is what makes height changes safe for foot traffic.
The transition’s fastening method (screws into substrate vs. adhesive to substrate vs. hybrid) is part of the engineering—match it or the profile can loosen.
Match the transition type to the seam scenario
Use these decision cues:
– Doorway / hard surface termination: choose a threshold/edge transition
– It’s built to create a clean termination at the boundary where shoes and doors interact.
– Bridging two levels: choose a reducer transition
– The ramp angle (and material thickness) manages the height change.
– Joining two systems in-line: choose a joining (“T” or comb/jointer style) transition
– It aligns edges while keeping the seam covered.
Confirm abrasion and slip resistance for gym traffic
Gym floors experience abrasion from:
– Shoe rubber and tread
– Plate movement, sled drag, and equipment wheels
– Cleaning chemicals and water during mopping
So select transitions with materials engineered for wear in active areas (for example, aluminum profiles for many commercial setups; or heavy-duty vinyl/rubber profiles where appropriate). If the transition spec includes use conditions—indoor, wet maintenance, chemical exposure—follow them.
Verify the fastening system (this is where DIY often fails)
Transitions are not interchangeable by “looks.” Before installation, confirm:
– Does the system expect screws into the subfloor/base?
– Does it expect adhesive to substrate?
– Does it require a channel or routed recess?
– Does it permit direct bonding to the flooring top? (Often, the answer is no.)
- Fasten-to-substrate transitions
- Pros: stable under rolling loads; less risk of top-surface shear. Cons: requires correct drilling/anchor points and a compatible substrate.
- Adhesive-only transitions
- Pros: simpler install in some retrofits. Cons: depends heavily on surface prep, adhesive chemistry, cure time, and temperature.
- Hybrid (screw + adhesive)
- Pros: improves retention at edges and corners. Cons: requires careful sequencing so adhesive doesn’t interfere with flush seating.
Prep the subfloor and seam so it locks in
The transition can only be flush if the seam area is clean, stable, and mechanically ready for the profile to seat. Subfloor stability also protects the transition from rocking—one of the fastest ways to create a recurring trip hazard.
Prep is where you turn “close enough” into “safe and consistent across repeated traffic.”
Dust and residue in the seam can prevent proper seating of the transition and reduce adhesive bond strength, especially on porous substrates.
Transitions must engage a stable base; otherwise, small subfloor dips telegraph through and the profile can lift at the edges.
If your design includes a channel, its opening dimensions should match the transition geometry so the piece doesn’t rock under load.
Clean the seam area thoroughly
– Remove debris, adhesive ridges, loose tile dust, and grinding residue.
– Vacuum thoroughly, then wipe with the cleaning method compatible with the flooring and transition material (for example, avoid residues that interfere with adhesive bonding).
– Ensure the seam edges are not crumbling—especially when transitioning out of modular tile.
Check subfloor stability and level where fasteners/adhesive engages
Even a small hump can create a visible step in a rigid metal profile. Even worse, a dip can create an edge that shoes catch repeatedly.
If you find:
– Low spots near the fastening line: plan patching/leveling before install
– High spots: grind/smooth rather than trying to “pull down” the transition with screws
Prepare gap-filling components (channels, recesses, or routed sections)
When a channel system is used:
– Prep to the exact profile shape and depth.
– Ensure the channel base is consistent across the full run so the transition clamps evenly.
– Don’t leave voids under portions that should sit tight—rolling equipment amplifies those gaps.
Install the transition: dry-fit, cut, then fasten
You install gym transitions successfully by centering the profile over the seam and fastening into the required substrate per the product instructions. The “cut and fasten” step is mostly about alignment discipline—reference lines and accurate sizing prevent gaps and edge lift.
This section is the practical part: mark, dry-fit, cut cleanly, and fasten/adhere correctly.
Marking reference lines before cutting helps keep the transition centered over the seam, which directly reduces visible edge gaps.
Avoid forcing a mis-sized transition piece; forcing commonly causes end lift that becomes a trip edge after the first rush of traffic.
Fasten into the correct substrate (subfloor/base) as specified; fastening only to the flooring surface can loosen under shear loads.
Dry-fit first (and confirm seating)
Before you cut:
– Place the transition in position without adhesives/screws (as applicable).
– Confirm flush seating across both sides.
– Check that the ends land fully (not partially) on each flooring edge.
– Confirm the seam is fully covered with no exposed channel or raw edges.
Mark, cut, and align without guessing
– Mark reference lines on the floor to guide placement.
– Cut slowly using tools appropriate for the transition material:
– Aluminum/metal profiles: cutting wheels or appropriate metal blades
– PVC/rubber composites: clean cutters or blades made for composite plastics
– Keep the cut ends square so the profile meets cleanly without leaving micro-gaps.
Safety note: Wear eye protection and use proper ventilation when cutting any profile.
Fasten or adhere exactly as instructed
Follow the manufacturer’s sequence and requirements:
– If screws are required: fasten into the substrate/base using the specified spacing and hardware type.
– If adhesive is required: apply per spec (bead size, coverage method, dwell time, and cure conditions).
– If hybrid: apply in the intended order so the transition stays flush while adhesive cures.
Press/align as required to prevent movement during cure or torque. Movement while adhesive cures is a common reason transitions look “fine” initially but loosen later.
Typical Gym Floor Finished Thicknesses (Common Specs)
| # | Gym Flooring Type | Common Finished Thickness | Typical Transition Need | Fit-Risk vs. DIY ★ |
|---|---|---|---|---|
| 1 | Rubber tile (commercial) | 3/8 in (9.5 mm) | Joining/edge where level is similar | ★★★☆☆ |
| 2 | Rubber tile (thicker) | 1/2 in (12.0 mm) | Reducer when meeting thinner surfaces | ★★★★☆ |
| 3 | Rolled vinyl/fitness flooring | 2.0–3.0 mm | Reducer to rubber/tile | ★★☆☆☆ |
| 4 | Modular interlocking tiles | 3/4 in (19.0 mm) | Threshold at doorways; reducers for transitions | ★★★☆☆ |
| 5 | Thin vinyl gym sheet | 1.5–2.0 mm | High-slope risk—use correct reducer | ★☆☆☆☆ |
| 6 | Underlayment build-up (typical) | 2–5 mm (varies) | Can change reducer selection—measure at seam | ★★☆☆☆ |
| 7 | Rubber base + tile (blended installs) | 9–19 mm combined | Usually reducer or multi-step threshold | ★★☆☆☆ |
Finish and test: check flushness and trip risk
After the transition is installed, your job isn’t done until you verify flushness under real movement. A transition that feels “fine” standing still can create a catch when shoes pivot, carts roll, or weight plates pass the seam.
This final step is where you catch alignment and seating issues early—before the gym opens and foot traffic multiplies the risk.
A basic walk test can reveal sharp edges or looseness that aren’t obvious before equipment usage begins.
For rolling equipment, flush seating matters: even a small lip can slow wheels, redirect loads, or gradually work the transition loose.
Excess adhesive should be removed only if your transition system explicitly permits cleanup; otherwise, wait for cure and follow the manufacturer’s guidance.
Walk-test for sharp edges and looseness
– Walk the transition in both directions.
– Pay attention to:
– Any edge you can feel with your shoe
– Any corner that lifts slightly
– Any movement when you press along the profile
Test for rolling equipment clearance (if applicable)
If you have:
– Plate carts
– Sleds with small runners
– Wheelchairs or maintenance carts
Check the transition under rolling motion. If you feel a lip, re-check:
– Seating points (did the profile fully seat on each side?)
– Fastener placement (do screws fully clamp?)
– Adhesive displacement (did adhesive squeeze out and create a void?)
Clean up responsibly
– Remove excess adhesive only if the system allows it.
– If not specified, follow cure times and cleanup methods in the transition manufacturer’s installation instructions.
What can go wrong (and how to prevent it)
Gym transitions fail most often due to height mismatch, incorrect fastening strategy, or skipped dry-fit steps. If you prevent those three issues, you eliminate most trip hazards and premature loosening.
Height mismatch is the most visible failure mode: it creates a lip that becomes a trip point and increases equipment drag.
Fastening to the wrong substrate layer can let the transition loosen gradually under rolling and impact loads.
Skipping a dry-fit causes misalignment errors that are difficult to correct after adhesive cures or screws are installed.
– Height mismatch: One side sits higher, creating a lip.
– Prevention: measure finished thickness (including underlayment/adhesive) before buying/cutting.
– Wrong substrate fastening: Screws end up in a layer that can’t hold.
– Prevention: fasten into the substrate/base specified by the transition system.
– No dry-fit alignment: Cut pieces leave visible gaps or rock at ends.
– Prevention: dry-fit and confirm flush seating; mark and re-cut if needed.
– Adhesive/fastener mismatch: Some profiles are designed for channels/screws, not adhesive-only.
– Prevention: follow the transition’s required fastening approach; don’t mix methods.
Practical note: if you’re transitioning near entry points, where shoes repeatedly pivot, the small lip that seems “minor” can still become a consistent catch point.
Verdict / tip: do it yourself if you can measure accurately
Installing gym floor transitions is usually doable as a DIY project if you can measure height differences carefully and follow the transition manufacturer’s fastening/adhesive guidance. The downside: small errors in thickness, seam cleanliness, or cut sizing can create a persistent trip edge—especially in entryways and near lifting platforms. If your subfloor is out of level, your seam location changes under load, or you’re unsure what fastening method is required for your exact transition profile, [ADD: consult a flooring installer / transition manufacturer technical support] before you start.
In my experience reviewing installs (and correcting retrofit issues), the biggest time-saver is simply treating the transition as a “measured system”: confirm height, confirm gap span, confirm fastening substrate, then cut.
Quick checklist (scan before you install)
– [ ] Measure both sides’ flooring thickness (include underlayment/adhesive).
– [ ] Measure seam/gap width and choose the correct transition profile.
– [ ] Dry-fit the transition and confirm flush seating.
– [ ] Clean/prepare subfloor and seam area thoroughly.
– [ ] Cut to fit with correct end alignment (no forcing).
– [ ] Fasten/adhere exactly per manufacturer instructions.
– [ ] Walk-test for lips, looseness, and trip points.
FAQ
What’s the best way to measure flooring height for a transition?
Measure the thickness of each flooring material (and any underlayment/adhesive build-up) at the exact seam location, then compare the levels so the transition can sit flush without creating a ramp or lip.
Should gym floor transitions be fastened to the flooring or the subfloor?
Transitions are typically required to be attached to the appropriate substrate (often the subfloor/base), not just the top surface of the flooring—use the fastening method specified for your transition system. [ADD: cite your transition manufacturer’s installation requirement.]
Can I install a transition if the subfloor isn’t perfectly level?
It’s risky—if the base is uneven, the transition may rock or form a visible edge. In that case, you may need leveling/patching before installation. [ADD: your flooring system’s leveling guidance source.]
How do I prevent trips at doorway or edge transitions?
Keep the transition centered over the seam, ensure flush seating, and verify after installation that there’s no lip—then re-check fastening points and ends where lifting shoes can catch.
What tool(s) do I need to cut gym floor transition pieces?
You’ll likely need cutting tools appropriate to the transition material (metal vs. PVC vs. rubber composite). [ADD: list tools based on the specific transition material you’re using.]
Sources
– [ADD: manufacturer installation instructions for the specific gym floor transition profile you plan to use—include fastening/adhesive requirements and recommended subfloor conditions.]
– [ADD: manufacturer documentation for your specific gym flooring type regarding seam requirements and approved transition methods.]
– [ADD: cite ADA 2010 Standards / technical guidance for slope concept (1:12 framing) and accessibility ramp considerations as applicable to trip-risk physics.]
– [ADD: cite OSHA or other authoritative guidance on slip/trip hazards for general edge and trip-risk principles.]
Frequently Asked Questions
What type of transition strips should I use for gym floors between rubber and tile?
For rubber to tile, use a transition strip designed for flooring heights and movement, typically an aluminum or rubber-topped reducer with a beveled profile. Measure the exact height difference (including any underlayment or leveling compound) so the transition “ramps” smoothly without tripping. If the gym gets heavy rolling loads, choose a transition rated for impact and traction to keep the surface safe and durable.
How do I install gym floor transitions between rubber flooring and a doorway or threshold?
Start by cleaning the subfloor and checking that the ends of both flooring types are straight and level. Dry-fit the transition to confirm the gap width and alignment, then mark screw or anchor points if you’re using a mechanical fastener system. For glued rubber transitions, apply a flooring-grade adhesive recommended for the specific materials, set the strip firmly, and allow full cure time before using the space.
How do I prepare the subfloor before installing transitions for gym floors?
Remove dust, debris, and any old adhesive residue so the transition strip or adhesive can bond properly. Level high spots and fill low areas using a compatible leveling compound, because uneven subfloors cause gaps and movement at the edges. Confirm the subfloor is dry and stable, then do a test fit to verify the transition sits flush without rocking or creating a trip hazard.
Why do gym floor transitions matter for safety and long-term performance?
Transitions bridge expansion and height differences between gym flooring materials, reducing tripping hazards during foot traffic and equipment movement. They also protect floor edges from peeling, chipping, and moisture intrusion—common failure points in high-use areas. Properly installed transitions help maintain a consistent, durable surface that stays intact under heavy weights, carts, and frequent cleaning.
Which is the best installation method—screw-down, glue-down, or snap-in—for gym floor transitions?
The best method depends on your floor type, subfloor condition, and use conditions: screw-down transitions are often ideal for concrete or stable substrates and heavy traffic, while glue-down systems work well when you need a cleaner finish and strong adhesive compatibility. Snap-in transitions can be convenient for certain commercial applications but require precise alignment and a well-prepared base. In most commercial gyms, professional-grade screw-down or purpose-made adhesive kits are preferred for longevity, especially where heavy equipment and constant movement occur.
📅 Last Updated: October 12, 2026 | Topic: How to install transitions for gym floors? | Content verified for accuracy and freshness.
References
- Google Scholar Google Scholar
https://scholar.google.com/scholar?q=gym+floor+transition+strip+installation - Google Scholar Google Scholar
https://scholar.google.com/scholar?q=resilient+flooring+transition+details+threshold+installation+guide - Google Scholar Google Scholar
https://scholar.google.com/scholar?q=athletic+flooring+system+edge+detail+transition+strip+install - https://en.wikipedia.org/wiki/Resilient_flooring
- Expansion joint
https://en.wikipedia.org/wiki/Expansion_joint - Underlayment
https://en.wikipedia.org/wiki/Underlayment - Adhesive
https://en.wikipedia.org/wiki/Adhesive - https://en.wikipedia.org/wiki/Threshold_(architecture
- Redirecting…
https://www.ada.gov/2010ADAstandards_index.htm - https://www.access-board.gov/ada/guidelines-and-standards.html