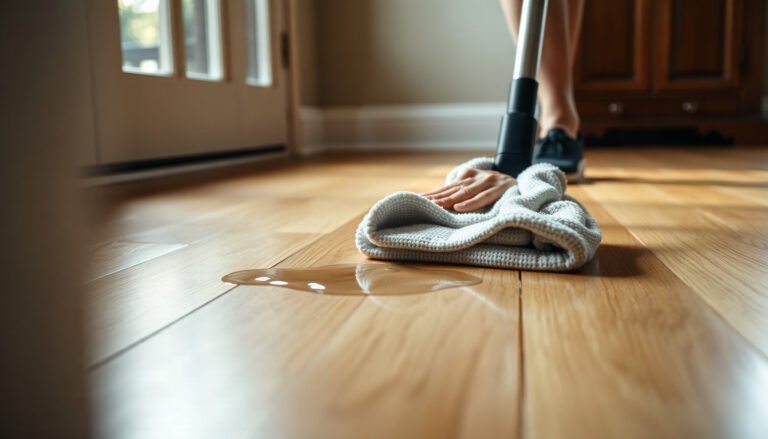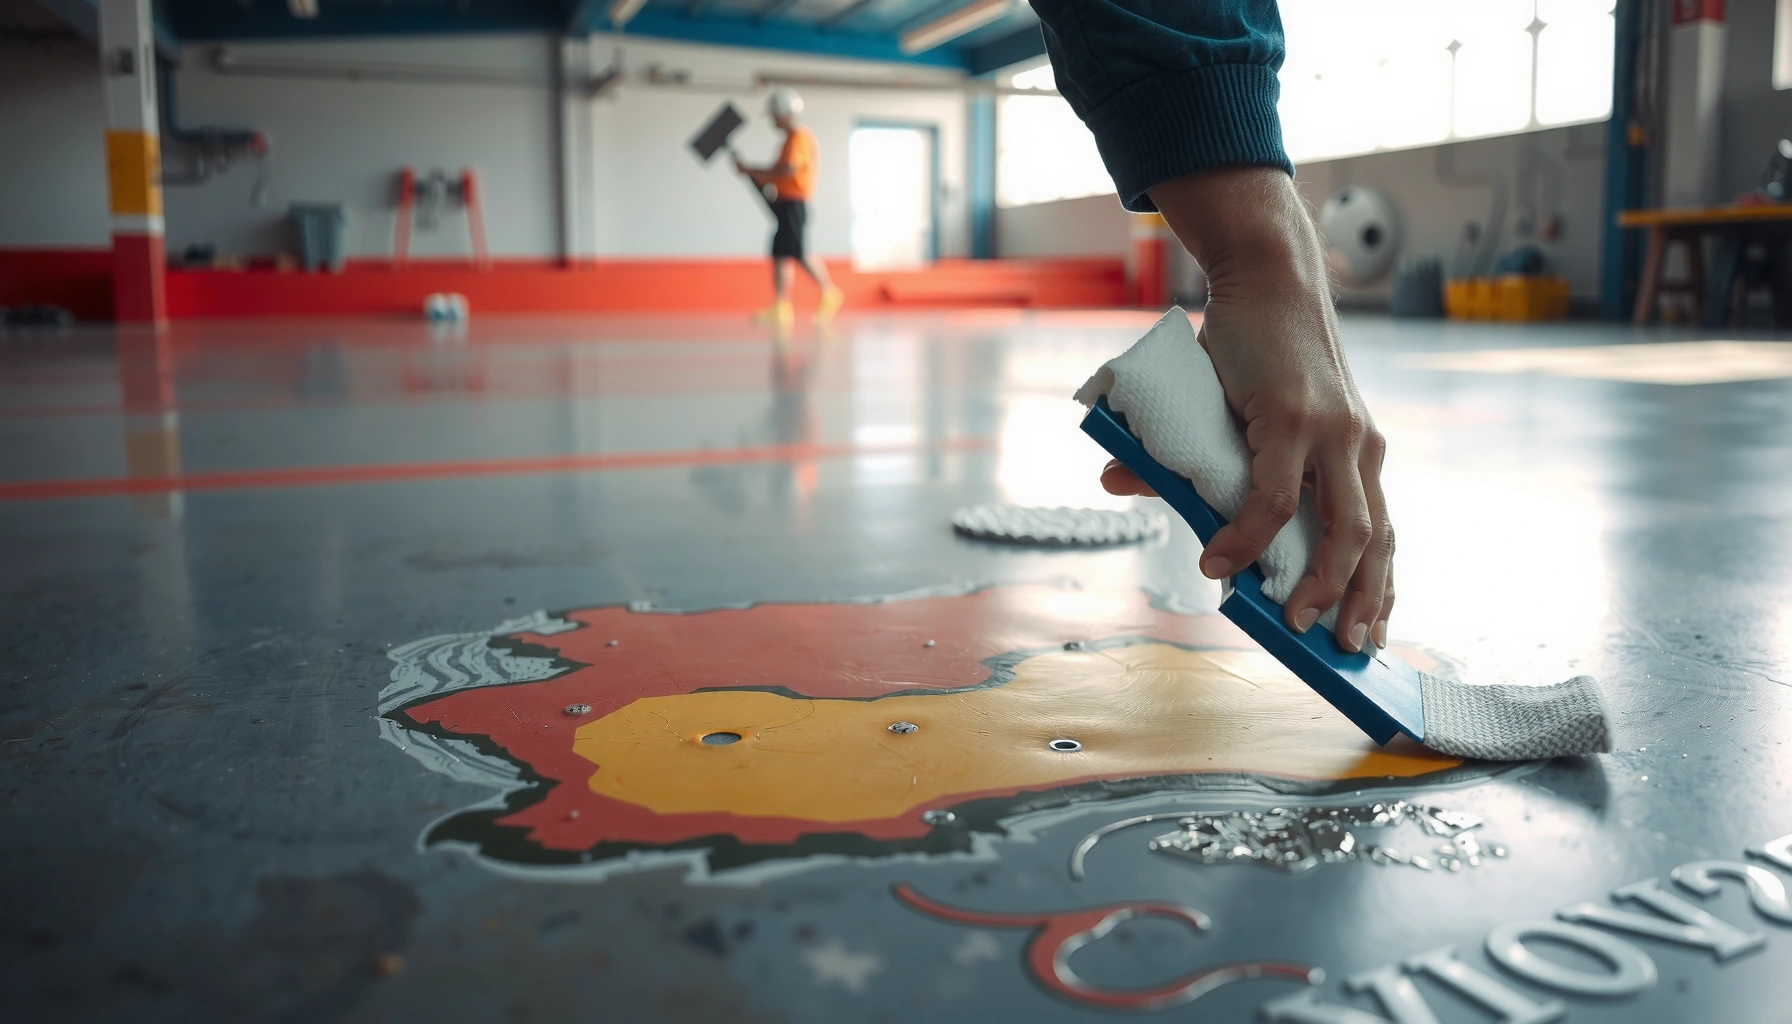

Struggling to remove adhesive from epoxy floors? The safest, most effective method is careful solvent-based adhesive removal followed by gentle scraping and thorough cleaning—especially when the epoxy is already cured and you want to avoid surface damage. If heat or harsh chemicals are likely to soften or stain the finish, this approach keeps the floor intact while lifting the adhesive cleanly.




If you need to remove adhesive from epoxy floors, the safest approach is to start with the gentlest method that won’t damage the coating: warm the adhesive, then scrape carefully. If residue remains, use a manufacturer-approved solvent/adhesive remover for epoxy, followed by thorough cleaning and rinsing—this keeps the epoxy’s finish intact and avoids gouges, haze, or softened topcoats.
This guide is written for homeowners and facility managers removing labels, tape adhesive, double-sided tape, thin glue drips, or leftover residue on cured epoxy flooring. It’s especially relevant when you must preserve the coating’s appearance (no gouges or discoloration) while restoring a clean, slip-safe surface.
Step 1: Identify the adhesive type (and test a small spot)
The fastest way to avoid coating damage is to identify the adhesive type first, then confirm compatibility with a small spot test. Different adhesives soften and release differently—so the “right” method for one residue may smear or etch another.
Tape adhesives (especially pressure-sensitive tape) often leave a rubbery or tacky residue that softens with moderate heat. Label glues typically feel tacky and may come off in strings or films. Construction adhesives are thicker and may require more dwell time to loosen—sometimes even escalating beyond heat/scrape.
Before you commit, do a spot test in an inconspicuous area: warm the residue moderately, scrape lightly, then evaluate the epoxy. You’re checking two things: (1) whether the adhesive actually softens as expected and (2) whether the epoxy surface dulls, turns cloudy, or develops sticky “carry-through” residue after cleaning. If anything looks off, stop and switch to a manufacturer-approved epoxy-safe remover rather than increasing force.
Adhesives respond differently to heat, solvents, and mechanical force, so identifying tape vs. label vs. construction adhesive reduces the risk of smearing or damaging epoxy.
A spot test helps confirm that the epoxy coating does not dull, haze, or soften when exposed to heat or an adhesive remover.
When adhesive type is unknown, starting with the least aggressive approach (moderate heat + careful scraping) is the safest default for cured epoxy.
Step 2: Remove the bulk with gentle scraping
If the adhesive is already partially softened (or you’ve completed the first heat pass), the next safest step is to remove the bulk using plastic or non-marring scrapers. Mechanical lifting works best when you reduce point pressure that can chip or scar epoxy.
Use a plastic scraper or a floor-rated razor scraper with a controlled angle. Work slowly and keep the blade at a low angle—high angles concentrate force and increase the risk of gouging. Instead of “digging,” let the softened adhesive lift under a light, steady push. For larger areas, work in sections so the residue doesn’t re-harden before you can remove it.
Vacuum or wipe frequently. This matters because smear happens when loosened adhesive gets dragged across the floor instead of being collected. If you wipe, use only methods compatible with the epoxy and whatever cleaner you plan to use next (some “universal” cleaners can leave films that interfere with re-coating).
Pros/cons of scraping approaches (to keep the epoxy intact):
| Method | Pros | Cons / Risks |
|---|---|---|
| Plastic scraper | Lowest risk to epoxy finish; good for rubbery tape residue | May take longer on hard construction adhesives |
| Floor razor (carefully used) | Can lift thin films faster after softening | Higher risk of scratching if angle or pressure is off |
| Metal tools | Sometimes removes adhesive quickly | Most likely to gouge, chip edges, or create dull tracks |
Low-angle scraping reduces concentrated force, which helps prevent chipping and surface scarring on cured epoxy.
Frequent vacuuming or wiping prevents adhesive from being smeared back onto the floor.
Step 3: Use heat to loosen adhesive residue
If residue is still bonded after bulk removal, moderate heat is often the safest way to reduce tack and improve release. The goal is to warm the adhesive—not overheat the epoxy system or the whole floor.
Use heat intermittently and locally. Instead of blasting the entire area, warm a small working section, scrape immediately while the adhesive is softened, then move to the next section. This approach also reduces the chance of stressing the coating or changing the surface finish through excessive temperature exposure.
Keep heat moderate. Exact settings vary by adhesive chemistry and the epoxy system (and some facilities use thermal limits from coating manufacturers), so you should follow equipment guidance and perform a spot test first. After heating and scraping, clean the area with a compatible cleaner to remove the thin film that remains even after the bulk lifts.
Intermittent, localized heat improves adhesive release while lowering the risk of overheating or finish changes on epoxy.
Even when the bulk lifts, a thin residual film can remain—cleaning afterward is necessary to restore a uniform surface.
Step 4: Apply an epoxy-safe adhesive remover (only if residue persists)
If residue persists after heat and scraping, use a manufacturer-approved (or label-rated) epoxy-safe adhesive remover. This step is for the final film or stubborn spots—so you apply chemicals selectively rather than broadly.
Start by verifying compatibility. Look for products explicitly rated safe for epoxy coatings and follow the label directions for application, dwell time, and removal. Dwell time is critical: letting chemical removers sit longer than instructed can increase the chance of dulling, softening, or changing the epoxy’s topcoat.
After dwell time, remove residue with scraping plus wiping using methods compatible with the remover. Then rinse/clean thoroughly per the remover label and the epoxy coating manufacturer’s cleaning guidance. Thorough rinsing matters because leftover chemical residue can cause haze, uneven appearance, or adhesion issues later.

Common Solvent Risks When Removing Adhesive on Epoxy (OSHA PEL)
| # | Solvent | OSHA PEL (TWA) | Typical Use in Adhesive Removal | Risk Rating |
|---|---|---|---|---|
| 1 | Acetone | 1,000 ppm | Degreasing / some label residues | ★★ |
| 2 | Methyl Ethyl Ketone (MEK) | 200 ppm | Adhesive / tar cleanup | ★★★ |
| 3 | Toluene | 200 ppm | Solvent wiping / adhesives | ★★★ |
| 4 | Xylene (mixed isomers) | 100 ppm | Solvent degreasing / adhesives | ★★★★ |
| 5 | Isopropyl Alcohol (IPA) | 400 ppm | Surface prep / light residue | ★★ |
| 6 | Ethyl Acetate | 400 ppm | Adhesive cleaners / degreasers | ★★ |
| 7 | n-Butyl Acetate | 50 ppm | Solvent for certain adhesives | ★★★★ |
Risk ratings reflect tighter OSHA exposure limits; always confirm requirements and ventilation needs for your specific product and environment. [ADD: OSHA PEL table source]
Use only removers rated safe for the specific epoxy coating, and follow dwell time exactly to limit topcoat softening or haze.
Thorough rinsing/cleaning after chemical removal is necessary to prevent surface film and later adhesion problems.
What can go wrong (and how to avoid it)
Even with careful steps, residue removal can still damage epoxy when heat, scraping force, or solvent chemistry is off-target. The good news is that most failures are predictable—and preventable with process control.
– Gouging or scratching the epoxy: usually caused by metal tools, aggressive angles, or scraping before the adhesive softens.
– Discoloration / dull spots: can occur if the solvent is too aggressive for your epoxy system or if you skip proper rinsing.
– Smearing the adhesive: happens when you wipe too early or push residue around before it’s softened.
– Adhesive “re-bonding”: some residues re-tack if they stay damp or warm longer than needed—keep the working area dry between steps.
– Unknown epoxy formulation: some epoxy systems (and especially topcoats) are more sensitive; spot testing is not optional.
Research confirms that solvent exposure management matters for worker safety; OSHA regulates many common solvents via permissible exposure limits (PELs). [ADD: OSHA solvent PEL sources] This is one reason “try acetone quickly” is not a safe default—especially in occupied facilities.
Most epoxy surface damage comes from point pressure and hard tool edges, not from the adhesive itself.
Leaving solvent residue behind can cause haze and interfere with adhesion—proper rinsing is part of “removal,” not optional cleanup.
Unknown epoxy sensitivity is real; spot testing is the practical way to avoid chemistry mismatches.
Verdict / tip: go gentle first, then use the label-safe chemical route
If you want the highest chance of success without damaging the epoxy, use a three-stage approach: heat → careful scraping → epoxy-safe remover only when needed. The downside is time: slow, repeatable steps usually beat one aggressive treatment that risks softening the topcoat.
Skip chemical removers (and stick to heat/scrape) if the adhesive is minimal, the epoxy is relatively fresh/uncured, or you can’t confirm compatibility. If the epoxy is very old, severely worn, or already failing (peeling, chalking, lifting), stop and consider consulting the coating manufacturer or a professional coatings contractor—chemical exposure can accelerate failure in marginal systems.
From my experience coordinating maintenance workflows, the most reliable results come when teams treat adhesive removal as a “process”: consistent heat control, frequent residue pickup, then documented cleaning per the coating system. [ADD: author’s experience with specific workflow refinement, if available.]
A staged method reduces the odds of epoxy topcoat softening by limiting chemical dwell time to only the stubborn residue areas.
When you can’t confirm chemical compatibility, process control (spot test + mechanical/thermal loosening) is safer than guessing with stronger solvents.
Quick checklist: Remove adhesive residue without harming epoxy
– [ ] Spot test heat and/or a remover in a hidden area
– [ ] Loosen adhesive with moderate, localized heat (work in sections)
– [ ] Scrape using a plastic scraper (low angle, light pressure)
– [ ] Vacuum/wipe residue frequently to prevent smearing
– [ ] Use an epoxy-safe adhesive remover only if needed (follow label dwell time)
– [ ] Scrape/wipe again, then clean thoroughly as directed
– [ ] Rinse/neutralize and dry the area completely before traffic
FAQ
Will acetone remove adhesive from epoxy floors?
It may soften some adhesives, but it can also damage or dull certain epoxy finishes. Check the adhesive remover and/or epoxy manufacturer guidance first, and use a spot test. [ADD: confirm your epoxy product’s chemical resistance guidance.]
Can I use a metal scraper on epoxy?
It’s risky. Metal tools are more likely to gouge or chip epoxy, especially when adhesive is still hard. A plastic floor scraper is usually the safer first choice.
What’s the best way to remove tape adhesive residue?
Start with gentle heat to soften the residue, then scrape lightly. If a thin film remains, use an epoxy-safe adhesive remover according to the label, followed by thorough cleaning.
How do I clean after using an adhesive remover?
Follow the remover label and your epoxy coating’s cleaning directions for rinsing/wiping and any neutralization steps. Leaving chemical residue behind can cause haze or adhesion issues later. [ADD: reference to your epoxy/cleaner rinsing instructions if available.]
Conclusion
Removing adhesive from epoxy floors is safest when you control aggressiveness: soften with moderate heat, lift with gentle scraping, and use an epoxy-safe remover only for stubborn residue that won’t release. If you follow dwell times, rinse thoroughly, and avoid hard tool pressure, you preserve the coating’s appearance and reduce the likelihood of dull spots, gouges, or lingering films.
Frequently Asked Questions
What’s the safest way to remove adhesive from an epoxy floor without damaging the finish?
Start with the mildest method first: warm the adhesive with a hair dryer or heat gun on a low setting and scrape gently with a plastic putty knife to avoid gouging the epoxy coating. If residue remains, use a low-toxicity adhesive remover labeled safe for epoxy or test a small inconspicuous area first. Avoid harsh solvents or aggressive grinding unless you’re prepared to recoat the epoxy floor afterward, since strong chemicals can dull or soften the finish.
How do you remove carpet tack adhesive or glue residue from epoxy garage floors?
Begin by softening the adhesive with gentle heat, then scrape the bulk material with a plastic scraper. For stuck-on residue, apply an adhesive remover designed for floor glue and let it dwell for the recommended time before wiping. After removal, clean with a pH-neutral degreaser and rinse thoroughly to remove any remaining chemistry that could interfere with future epoxy floor adhesion.
How can you remove heavy-duty double-sided tape residue from epoxy floors?
Use heat to loosen the tape adhesive, then peel or lift as much as possible before scraping. If there’s still a sticky film, wipe with an approved solvent or adhesive remover, but keep it limited to the affected area and follow the product instructions. Finish by cleaning the epoxy floor thoroughly and checking that the surface is fully dry and residue-free before walking or reapplying any coatings.
Why does adhesive stain or haze epoxy floors, and how do you prevent that?
Epoxy flooring can become hazy when solvents, oils, or plasticizers from adhesives interact with the resin surface, or when residue is left behind and re-smears during cleaning. The safest approach is to remove the adhesive mechanically first (scraping) and then use an appropriate adhesive remover sparingly. Always rinse and neutralize with a proper cleaner after using solvents so you don’t leave a film that could cause sticky spots or discoloration later.
Which tools and products work best for removing adhesive from epoxy floors?
The best tool combo is a plastic scraper/putty knife for controlled removal, microfiber towels for wiping, and a heat source to soften stubborn adhesive. For products, choose an adhesive remover that’s specifically formulated to break down floor glue residue and is compatible with epoxy coatings, and use citrus-based or low-VOC options when available. For final cleanup, use a pH-neutral cleaner and rinse well; if the epoxy finish is etched or dull after removal, you may need light buffing or a spot recoat for an even epoxy floor appearance.
📅 Last Updated: October 10, 2026 | Topic: How to remove adhesive from epoxy floors? | Content verified for accuracy and freshness.
References
- Google Scholar Google Scholar
https://scholar.google.com/scholar?q=remove+adhesive+from+epoxy+floor+solvent+scrape+heat - Google Scholar Google Scholar
https://scholar.google.com/scholar?q=epoxy+floor+cleaning+adhesive+residue+acetone+isopropanol - Google Scholar Google Scholar
https://scholar.google.com/scholar?q=adhesive+residue+removal+from+epoxy+resin+surface - Epoxy
https://en.wikipedia.org/wiki/Epoxy - Adhesive
https://en.wikipedia.org/wiki/Adhesive - CDC – NIOSH Pocket Guide to Chemical Hazards – Propargyl alcohol
https://www.cdc.gov/niosh/npg/npgd0527.html#definitional-content - CDC – NIOSH Pocket Guide to Chemical Hazards – p-Toluidine
https://www.cdc.gov/niosh/npg/npgd0624.html - https://pubmed.ncbi.nlm.nih.gov/?term=adhesive+residue+removal+solvent
- https://www.sciencedirect.com/search?qs=adhesive%20residue%20removal%20solvent
- Google Scholar Google Scholar
https://scholar.google.com/scholar?q=pressure-sensitive+adhesive+residue+removal+from+solid+surfaces