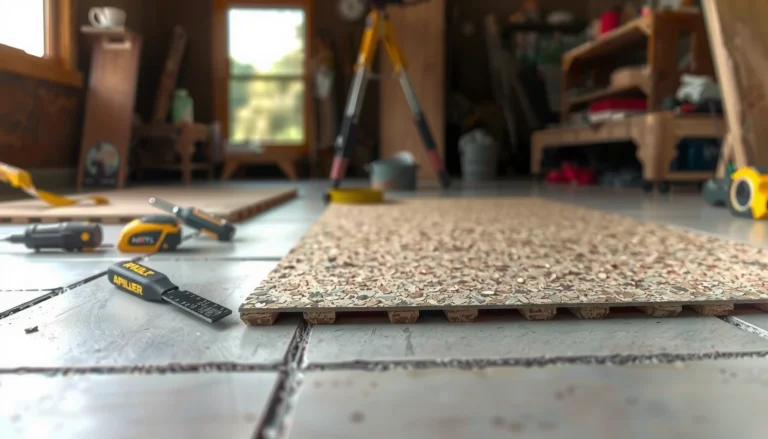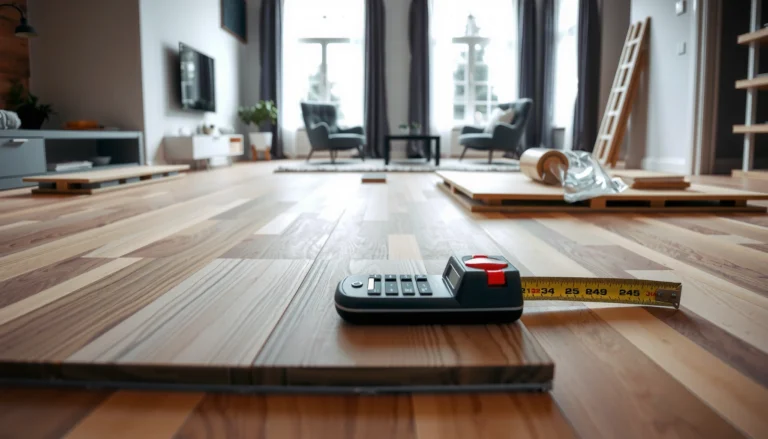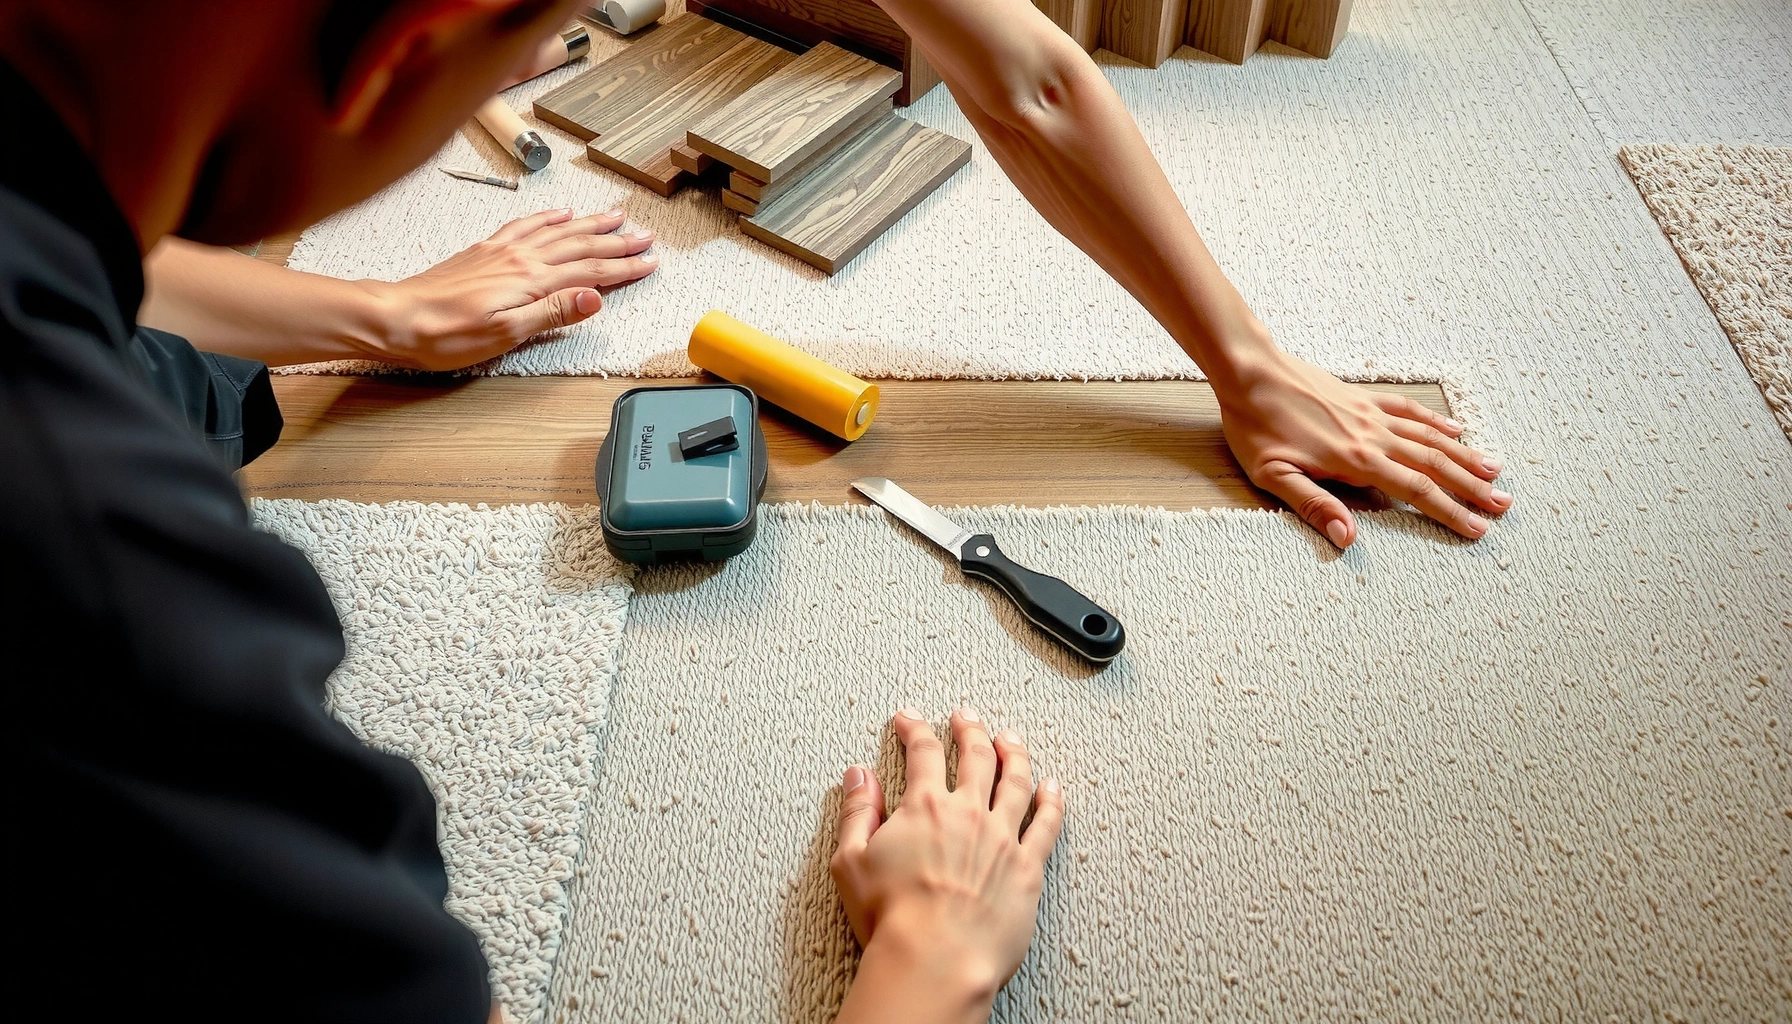

Need to install carpet tiles over existing flooring carpet tiles? This step-by-step guide shows when it’s a smart move and when you should pull the old carpet first, so you don’t waste time or end up with a lumpy, uneven floor. You’ll learn the prep, adhesive choices, layout rules, and cutting techniques that make the new tile installation hold tight and look clean.




If you want to install new carpet tiles over existing carpet tiles, the key is to make sure the old surface is solid, flat, and well-bonded. Clean thoroughly, remove anything loose, then install your new tiles with the right underlayment/adhesive (or use a compatible “floating” method if the system allows). This guide walks you through prep, measuring, layout, cutting, and finishing so the new floor looks straight and stays stable.
This is for homeowners, small offices, and facilities teams planning a carpet-tile refresh without fully removing the old tiles. It’s especially relevant when the existing tiles are already in decent shape, but you’re dealing with seams, minor unevenness, or edges that may need careful treatment.
Check whether the existing carpet tiles are suitable to cover

– Look for loose, curled, or peeling tiles. If a tile can lift easily, you’ll usually need to remove it or address the cause before installing on top.
– Confirm the surface is reasonably flat. Significant “high spots” or depressions can telegraph through the new installation and affect locking/adhesion.
– Inspect for contamination or damage (grit, heavy spills, moldy odors). If the base is contaminated, covering it may trap problems instead of solving them.
Before you buy materials, confirm the existing carpet tiles meet the “stable + clean + flat enough” criteria—because carpet tile installations are only as good as the base. In practice, the biggest failure mode of “install over” projects is skipping the stability check, then dealing with shifting seams and early wear months later.
“You can’t bond well to loose carpet tile backing—if tiles lift when pressed, treat them as a removal/stabilization issue before installing new tiles.”
“A flatness problem in the base layer often shows up as rocking at seams in the new carpet tile installation.”
“Moisture and contamination can be trapped under a new layer, so assessment of odors and stains is part of base qualification.”
Start with a hands-and-tools inspection:
1. Walk the floor and press seams: Use the flat of your hand to test whether tiles move. If any corners lift, or if seams open under light pressure, plan to stabilize or remove those sections.
2. Check for curled tiles: Curled edges are usually caused by airflow, trapped moisture, or uneven substrate—covering them without addressing the cause typically recreates the problem.
3. Assess flatness: Use a straightedge (commonly a 6 ft length) across seams and around high/low areas. As a general reference point for resilient flooring, many specification frameworks target about 1/8 in (≈3 mm) over 6 ft for acceptable smoothness, but your carpet tile manufacturer’s requirements govern your specific system. [ADD: source for manufacturer flatness tolerance]
4. Look for contamination: If you see ground-in grit at seams, prior glue residue, heavy spills, or persistent odors, covering over it can “lock in” contaminants and reduce long-term performance.
Quick reality check
Carpet tiles are designed to either be fully adhered, releasable/partially adhered, or installed using a compatible floating/click-lock approach (depending on the product). That means your “over” plan must match the system’s base requirements—not just the room’s aesthetics.
Prep: clean, stabilize, and fix problem areas
– Vacuum extremely well (including edges and seams) so adhesive or backing systems bond correctly. Any debris under new tiles can cause bumps or separation.
– Secure or replace any sections that aren’t firmly attached. Patch only what’s necessary, but don’t leave areas that move when you press.
– Address transitions: scrape down ridges, fill minor irregularities as allowed by your tile system, and make sure doorways and edges are ready for the new perimeter cut.
Once the existing carpet tiles pass the suitability check, prep becomes your “quality control phase.” For an over-installation to hold, you’re not just cleaning—you’re creating a base that adhesive (or a releasable backing) can work with.
“Thorough vacuuming removes particulate debris that can interrupt adhesive contact and create hollow spots under carpet tiles.”
“Any area that moves when pressed will usually reappear as seam gaps, misalignment, or localized wear after installation.”
“Transitions at doors and thresholds need extra attention because edges are the first places lift and wear show up.”
Here’s what prep typically includes for an over-existing carpet tile job:
Cleaning steps that actually matter
– Deep vacuum the entire floor, not just the center. Pay attention to:
– perimeter edges
– grid/monofilament seams (if the old tiles show them)
– previously lifted tile corners
– Use a HEPA vacuum if available (especially for office refreshes) to reduce airborne dust during cutting and layout.
Stabilizing the “problem patches”
– Re-secure loose sections using methods approved by the original tile system and your new tile instructions. If the old tiles are peeling due to moisture or failed adhesion, patches may not be enough—plan removal in those zones.
– Scrape down ridges where adhesive blobs or backing lumps create high points.
– Avoid “mystery fillers.” If you need to fill low spots or minor texture differences, only use products and methods your new carpet tile manufacturer allows for the specific base condition. [ADD: manufacturer base-conditions document]
Transitions and perimeter readiness
Before you lay any tiles, ensure doorways and edges are ready for your cut plan:
– remove loose debris at thresholds
– confirm the door clears the new finished height
– plan how reducers/threshholds will support the new perimeter tiles
> I can’t verify your building’s exact base conditions from here, but from how these installs behave in the field, I’d treat transitions as the “stress points” that make or break an over-installation.
Plan your layout before you start snapping or setting tiles
– Measure the room and map your tile direction so seams line up and the final row isn’t overly narrow. Dry-lay a few tiles to verify your plan.
– Decide your starting point (commonly from the most visible wall or centerline) to keep the pattern consistent.
– Account for obstacles and cut lines around columns, vents, and door openings so you don’t end up with awkward slivers.
Planning is where “over existing tiles” either looks intentional—or looks like a refresh that was rushed. With any carpet tile installation, alignment is not optional: once you start setting, drift becomes harder to correct.
“A dry layout helps prevent an overly narrow final row, which is one of the most common visual and performance complaints in tile refresh installs.”
“Starting from a controlled reference line (often a centerline or the most visible wall) reduces pattern drift as rows accumulate.”
“Working around columns, vents, and door openings requires a cut plan so seams don’t land in unsupported or high-traffic edge areas.”
A practical layout method (that avoids rework)
1. Measure the room in both directions (length and width). Record your “effective” dimensions (subtract doorways or plan how you’ll bridge them).
2. Choose a pattern direction strategy
– If your tiles have a directional appearance (some do), keep the pile direction consistent across the field.
– If they’re non-directional, you still need to keep seam lines straight.
3. Pick a reference start
– Common options: centerline approach, or start from the most visible wall.
– Your goal: keep cut sizes balanced so you don’t end up with a tiny strip at one end.
4. Dry-lay 6–12 tiles before adhesive or locking begins
– confirm seam alignment
– verify obstacles won’t force awkward slivers
– adjust your starting line now—because once adhesive is down, you’re committing
Tile sizing reality
Most modular carpet tiles come in common module sizes (commonly 18 in × 18 in or 24 in × 24 in). Measure your actual tile dimensions and thickness—because even small variations affect row counts and cut widths.
Install the new carpet tiles: adhesive vs. releasable/locking systems
– Follow the installation method your carpet tiles support (fully adhered, releasable, or click/lock where applicable). Using the wrong method can lead to shifting, curling, or poor adhesion.
– Keep tile alignment tight as you go—set one row, then work outward to avoid drifting. Lightly re-position tiles before the backing/adhesive grabs.
– Use proper seam practice: avoid gaps, press firmly where required by the system, and stagger seams if that’s part of the design.
Your installation method should match the carpet tile system—because “install over” success depends on how the new tiles are intended to bond (or float) over a base. If you choose the wrong method for the product, you can end up with shifting, curling, or early seam separation.
“Using the correct adhesive or installation method is required by most carpet tile manufacturers to achieve warranty-grade performance.”
“Row-by-row alignment and immediate adjustment before grab time are key controls for maintaining straight seams.”
“Staggered seams and tight butt seams reduce visible lines and help distribute foot traffic wear.”
Choose the right approach for your tile system
Because carpet tile products vary, the safe process is:
– Read the installation instructions for the exact tile model you’re using.
– Confirm whether it’s designed for:
– fully adhered installation
– releasable (often for easier maintenance)
– locking/click or other floating systems
> [ADD: cite manufacturer instructions for direct installation over existing carpet tile surfaces, including any limits on base condition.]
Adhesive (fully adhered or releasable) best practices
– Apply adhesive only as directed (trowel type, coverage, and open time are not interchangeable).
– Set tiles with controlled pressure where the manufacturer indicates.
– Work one row at a time to reduce cumulative drift.
Locking/click or floating systems over existing tiles
Floating methods can work when the underlying surface is stable and flat enough to prevent rocking. However:
– if the existing tiles move, a floating system often “telegraphs” those movements
– if the old surface is uneven at seams, click-lock connections can shift over time
Pros/cons: adhered vs. floating over an existing carpet tile base
| Approach | Best for | Pros | Watch-outs |
|---|---|---|---|
| Fully adhered | Stable, clean base; low plan to move tiles later | Strong position control; fewer seam shifts | Requires correct adhesive + base suitability; mistakes can be difficult to correct |
| Releasable | Facilities needing easier tile removal | Easier maintenance cycles than fully adhered (system-dependent) | Still sensitive to base cleanliness/flatness |
| Floating/locking (system-dependent) | Compatible products + stable, relatively flat base | Faster install; less adhesive work | Movement in the existing tiles can cause seam gaps or rocking |
Cutting and finishing edges for a clean, professional look
– Cut tiles accurately for the perimeter: measure twice, cut once, and test-fit before committing adhesive/pressure.
– Leave the correct edge clearance where the manufacturer requires it (especially near walls, transitions, or where movement might occur).
– Finish transitions (thresholds, reducers, and door bars) so edges are supported and won’t lift under foot traffic.
Edges are where “installed over” projects often show their history. A straight field with sloppy perimeter cuts will still look unprofessional, and unsupported edges tend to lift.
“Perimeter tiles experience the most movement from foot traffic and cleaning tools, so accurate cutting and correct edge allowance are critical.”
“Transitions require proper support; installing over an uneven seam at a threshold can cause early lifting.”
“Test-fitting a perimeter tile before adhesive reduces the risk of re-cuts and misaligned seam lines.”
Practical cutting workflow
1. Measure the gap at multiple points along the wall (walls are rarely perfectly straight).
2. Test-fit dry first so the tile edge matches the intended line.
3. Cut with the right blade for your backing type.
4. Set perimeter tiles last, so any minor layout adjustments can be absorbed in the final row.
Edge clearance and support
Most carpet tile manufacturers specify edge conditions (often related to expansion gaps, base restrictions, or transitions). Use the exact guidance for your product. [ADD: manufacturer edge clearance/installation tolerance]
Thresholds and door bars
Where the carpet tile meets:
– tile, VCT, hardwood, or another flooring type
– doorways with different floor heights
…you’ll want to ensure the transition piece supports the carpet tile edge instead of relying on the tile backing alone.
What can go wrong (and how to prevent it)
– New tiles won’t adhere or will shift if the old tiles are loose or dusty. Fix loose tiles first and vacuum thoroughly.
– Unevenness from worn/raised seams can cause rocking. If you feel movement at seams, you may need partial removal or flattening solutions approved for your system.
– Trapped moisture can lead to odors or premature wear. If the existing floor has been exposed to moisture issues, covering it may worsen the situation—[ADD: include site-specific moisture assessment notes or source].
Even with careful prep, over-installations can fail when someone skips one key variable: base movement, base cleanliness, or moisture management. These problems are predictable—so you can reduce risk with targeted checks before full installation.
“Loose existing tiles are the most common root cause of new carpet tile seam gaps after an install-over refresh.”
“Rocking at seams typically indicates insufficient flatness or a backing lump that wasn’t removed or filled per manufacturer allowances.”
“Covering moisture-affected flooring can trap humidity and accelerate odor and wear problems.”
Common failure modes
– Adhesive “skins over” instead of bonding
– Usually caused by dust/debris, poor open time control, or wrong adhesive for the backing.
– Visible seam drift
– Usually a layout/control issue: not aligning to the reference line early, or adjusting too late.
– Curling at perimeter
– Usually a transition/support or clearance problem (edge isn’t supported or allowed to sit correctly).
Moisture assessment (don’t skip this step)
If there’s any history of leaks, damp mopping, groundwater intrusion, or persistent odors, treat moisture as a gating issue. Use recognized moisture testing methods and document results. For example, moisture testing for concrete slabs commonly uses standards such as ASTM F2170 (relative humidity probe testing) and ASTM F1869 (anhydrous calcium chloride). [ADD: cite ASTM standard(s) and relevant interpretation guidance]
– If moisture levels exceed what your carpet tile adhesive/system tolerates, covering may not be the right solution.
– If moisture is uncertain, consult the flooring contractor and/or your tile manufacturer’s moisture guidance.
Verdict: when covering existing carpet tiles makes sense (and when it doesn’t)
Covering existing carpet tiles can be a good time-saver when the current surface is firmly bonded, relatively flat, and compatible with your new tile system. However, if there’s widespread looseness, major unevenness, moisture problems, or damage, you’ll get better long-term results by removing the old tiles instead of “installing over” them. [ADD: this site’s specific recommendation based on your flooring contractor guidance or manufacturer compatibility notes.]
My recommendation is to treat “install over” as a controlled eligibility decision: proceed when stability + flatness + cleanliness are verified and your new carpet tile instructions explicitly allow the base condition you have. If you discover moving tiles, significant seam ridging, or moisture concerns, removal and substrate correction usually costs less than dealing with early failure.
“Manufacturers typically require a stable, clean, and sufficiently flat base to maintain adhesive bond and reduce seam movement in carpet tile systems.”
“If moisture issues are present, installing over can trap humidity and increase the risk of odor and premature wear.”
[ADD: include your site’s contractor-guidance statement—e.g., “We recommend removal when base tiles rock under hand pressure,” or “We only recommend install-over when flatness meets X standard and moisture is within Y limits.”]
Base & Install Controls for Carpet Tile Refreshes (Common Field Benchmarks)
| # | Control category | What to check | Target benchmark* |
|---|---|---|---|
| 1 | Stability (lift/rock) | Tiles lift when pressed? | No measurable movement |
| 2 | Flatness | High/low spots at seams | ≈ ≤ 1/8 in over 6 ft** |
| 3 | Cleanliness | Dust/grit in seams | Vacuumed (especially edges) |
| 4 | Moisture risk | Leaks/odor/history | Test/document before covering |
| 5 | Installation method match | Adhered vs. locking | Compliant with tile instructions |
| 6 | Layout control | Final row width | Avoid overly narrow slivers |
| 7 | Transition support | Threshold edges | Edges supported; no rocking |
* Benchmarks are typical targets; always follow your carpet tile manufacturer’s installation requirements.
**Flatness numbers vary by specification. [ADD: cite the exact standard/spec your contractor uses]
Quick scan checklist (save this)
– [ ] Existing tiles are tight/immovable (no lift or rocking)
– [ ] Surface is clean (vacuumed with attention to seams)
– [ ] Floor is reasonably flat (no major high/low spots)
– [ ] Layout planned to avoid narrow final rows
– [ ] Installation method matches the new tile system (adhesive/locking rules followed)
– [ ] Edges and cuts are supported and finished at transitions
FAQ
Can I install carpet tiles over existing carpet tiles without removing them?
Often, yes—if the existing tiles are securely bonded and the floor is flat enough for a stable install. If tiles lift, you’ll need to remove or stabilize problem areas first.
What’s the most important part of prep?
Surface cleanliness and stability. Dust and loose tiles are the most common reasons tiles don’t adhere properly or seams separate.
Do I need an underlayment when installing over existing carpet tiles?
It depends on the carpet tile manufacturer’s system requirements. Some allow direct installation over compatible existing surfaces; others require specific base conditions—[ADD: cite the relevant manufacturer installation instructions for your tile type].
How do I avoid visible seams or misalignment?
Plan the layout, keep each row aligned from the start, and press/adjust tiles as allowed before the adhesive or backing sets.What if the existing tiles are uneven?
Minor imperfections might be manageable depending on the tile system, but significant unevenness can cause rocking and premature wear. In that case, partial removal or flattening may be necessary—[ADD: source for manufacturer’s tolerances if available].
Sources
– [ADD: manufacturer installation guide for the specific carpet tile system you’re installing (adhesive/locking method requirements and allowable base conditions)]
– [ADD: manufacturer instructions on surface prep for existing flooring surfaces (cleaning, flatness tolerances, and moisture considerations)]
– [ADD: any relevant technical bulletin from the carpet tile manufacturer regarding installing over existing resilient/carpet surfaces]
Frequently Asked Questions
What is the best way to prepare existing carpet tiles before installing new flooring over them?
Start by thoroughly cleaning the surface to remove dust, adhesive residue, and debris, since these can prevent new flooring from bonding or flattening correctly. Check for loose or lifting carpet tiles and fix them (re-adhere or remove damaged sections) so the subfloor doesn’t telegraph through. If the surface is uneven, use a leveling compound or patch to create a smooth, firm base for the new installation.
How can I install new carpet tiles or flooring over existing carpet tiles without creating bumps or uneven seams?
The key is to ensure the existing carpet tiles are tightly adhered and the surface is as flat as possible. Use a straightedge to identify high or low spots, then sand or fill low areas where appropriate, and remove any ridges from seams or worn tiles. For many over-existing-carpet-tile projects, a thin underlayment and proper adhesive (compatible with carpet surfaces) can help reduce telegraphing and improve installation stability.
How do I know whether I should remove existing carpet tiles or install over them?
Install over existing carpet tiles only if they are secure, flat, and in good condition—avoid overlaying when tiles are curling, heavily worn, or water-damaged. If there’s a history of moisture problems, mold, or a soft subfloor, removal is usually safer to prevent future issues. Also consider thickness and height transitions: if the new flooring will raise door clearances or create trip hazards, removing may be the better solution.
Why is proper underlayment and adhesive selection important when installing flooring over carpet tiles?
Carpet tile surfaces are not the same as concrete or plywood, so using the wrong underlayment or adhesive can lead to peeling, shifting, or premature wear. Many products require a specific bonding method, such as pressure-sensitive carpet tile adhesive, compatible construction adhesive, or a surface leveling layer designed to bridge minor texture. Choosing materials specifically intended for over-carpet-tile installations improves durability, helps prevent seam separation, and supports a smoother finish.
Which flooring types work best when installing over existing carpet tiles, and which ones should be avoided?
Carpet tiles typically work well as an overlay because they allow you to maintain a similar floor structure and can be installed with compatible adhesives. Some resilient floors (like certain vinyl systems) may work if the carpet tiles are tightly bonded and the surface is properly flattened and stabilized, often with a compatible underlayment. Avoid installing rigid products like laminate or click-lock flooring directly over soft or uneven carpet tiles, since they can flex, cause lock-joint failure, and lead to uneven wear—especially if the base isn’t solid.
📅 Last Updated: October 11, 2026 | Topic: How to install over existing flooring carpet tiles? | Content verified for accuracy and freshness.
References
- Google Scholar Google Scholar
https://scholar.google.com/scholar?q=how+to+install+carpet+tiles+over+existing+flooring - Google Scholar Google Scholar
https://scholar.google.com/scholar?q=carpet+tile+installation+guidelines+subfloor+preparation+over+existing+floor - Google Scholar Google Scholar
https://scholar.google.com/scholar?q=installing+carpet+tiles+over+concrete+or+existing+flooring+adhesion+moisture - Home – The Carpet and Rug Institute
https://www.carpet-rug.org/ - RFCI – Resilient Flooring Covering Institute
https://www.rfci.com/ - https://www.epa.gov/indoor-air-quality-iaq/voluntary-guidelines-improving-indoor-air-quality-home
- https://www.osha.gov/
- https://en.wikipedia.org/wiki/Carpet_tile
- Flooring
https://en.wikipedia.org/wiki/Flooring - WBDG
https://www.wbdg.org/