
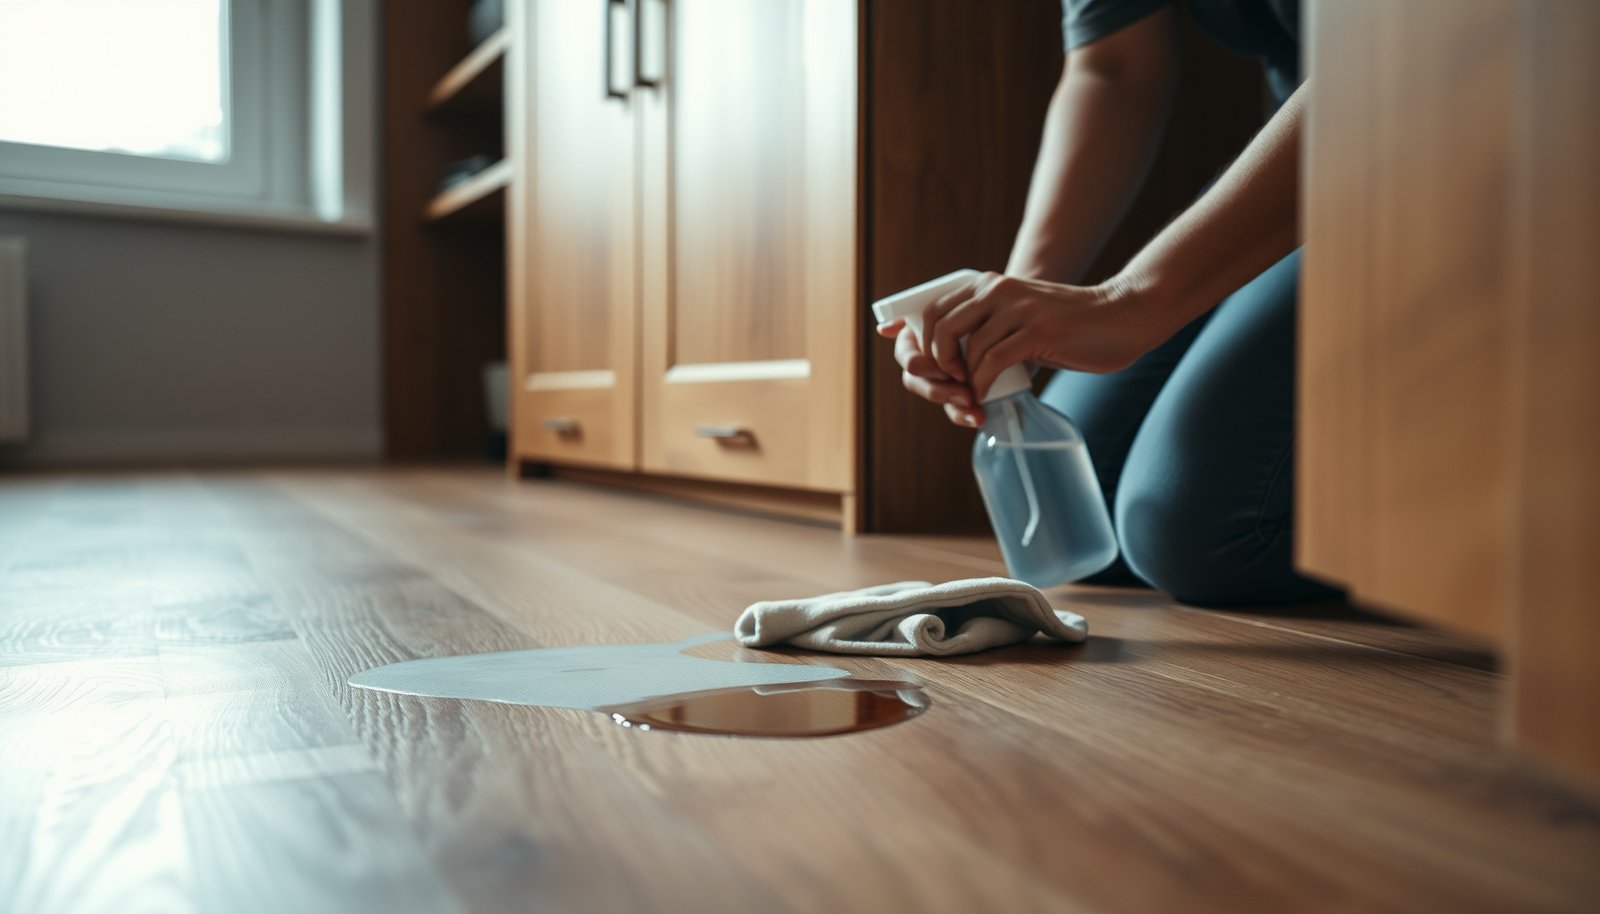

Stains on engineered wood floors in a closet can usually be removed fast—if you use the right cleaner for the stain type and avoid soaking. This guide gives you the clearest path to lift common closet stains (water, scuffs, and residue) without dulling or swelling the finish. Follow the exact steps for your stain, and you’ll know when to keep going and when it’s time to stop.




For most engineered wood closet stains, the safest approach is to identify what caused the discoloration, then clean gently using a pH-neutral cleaner and blot—never scrub. Start with dry removal (vacuuming/soft brush), move to minimal moisture, and always test any cleaner in an inconspicuous spot first. This guide walks you through stain-by-stain tactics that help protect the top finish layer of engineered flooring.
If your closet has low light, it can hide early changes like haze, rings, or spots that spread when moisture sits. These steps are aimed at homeowners who want stain removal without sanding through the finish or causing swelling at seams.
Who this is for: This is for you if you’re seeing a closet stain on finished engineered wood (polyurethane/UV-cured common) and you want to restore appearance without sanding, steam, or harsh solvents—especially when the stain might be near baseboards, closets seams, or where damp objects sat. The goal is cosmetic improvement while minimizing finish damage and moisture risk.
Determine the stain source and your floor’s finish
You get the best outcome when you treat the cause first: match the stain type to the likely source, then use the gentlest approved method that targets that cause. Because engineered wood relies on a finished wear layer, the same “dark spot” can require very different care depending on whether it’s surface residue, moisture staining, or mineral/rust transfer.
Engineered wood stains look similar, but water rings, grease, ink, and rust each respond to different cleaning chemistries and moisture levels.
If discoloration expands near seams after you add liquid, the stain is likely tied to moisture migration—not just surface grime.
Before choosing any cleaner, identify whether the problem is on top of the finish or has penetrated enough to change the appearance beneath the clear coat.
– Look closely to narrow the cause: Use the “edge behavior” and color tone as clues.
– Water rings / light haze: often show a circular border, a milky look, or a ring that’s more noticeable when lights hit at an angle.
– Food/grease: usually appears as dull-dark patches, sometimes with a slightly tacky feel when you test lightly with a clean finger (only if the floor is fully dry).
– Ink/marker: tends to look sharply defined and may deepen as you add moisture if the pigment is still active.
– Pet-related stains: may leave yellowing or a darker spot that slowly returns, often with lingering odor.
– Rust/mineral spotting: looks warm-brown/orange (from metal transfer) or spotty mineral marks.
– Check the finish type if you know it (or look for documentation): Many engineered floors use polyurethane or UV-cured finishes designed for durability, but they still require pH-neutral cleaners. The right cleaner depends heavily on whether the stain is on top of the finish or has penetrated into the wood veneer layers.
– If you still have the install paperwork, it often lists “approved cleaners” and warns against steam/solvents.
– Inspect for “where moisture went”: Engineered wood can handle routine cleaning, but closets trap moisture.
– If the stain mirrors a damp object footprint and stays mostly on the surface, you’re likely dealing with surface staining/ring behavior.
– If the discoloration spreads outward toward seam lines or appears at panel edges, moisture may be migrating under the finish—meaning your job is to stop moisture first (drying/ventilation) and then clean gently.
Start with the safest cleaning steps (before stronger treatments)
You should assume nothing and start with the lowest-risk workflow: dry removal, then a lightly damp (not wet) pH-neutral wipe with immediate blot-drying. This sequence protects the finish from haze, dull spots, and micro-scratches caused by friction.
On finished engineered wood, scrubbing and excess liquid are the two fastest ways to create haze or sheen changes.
A pH-neutral cleaner is typically the safest chemistry choice because harsh pH cleaners can affect the finish’s clarity and adhesion.
Test any cleaner in an inconspicuous area first, because “safe for wood” does not automatically mean “safe for your specific finish sheen.”
– Dry first:
Use a vacuum with a soft brush attachment or a clean microfiber cloth to remove grit and dust. This matters because trapped particles act like sandpaper during wiping, especially in closets where debris collects along baseboards and shelf edges.
– Use minimal liquid (the “barely damp microfiber” rule):
Dampen a clean microfiber with a small amount of pH-neutral floor cleaner, then wipe lightly and immediately blot dry with a dry towel.
– In my experience assisting with closet issues, the difference-maker is how quickly you transition from wipe → blot. Slow wet dwell time is what turns many “surface rings” into spreading haze.
– Test in a hidden area:
Try your chosen cleaner under a closet shelf, inside the back corner, or behind the door track. Confirm that it doesn’t:
– dull the finish,
– lighten/darken the surrounding tone,
– or create a visible “cleaned strip.”
A quick way to choose what’s safest by chemical type (scan this)
Below is a practical “chemistry safety” reference for closet stain removal on finished engineered wood. It’s not a substitute for your flooring manufacturer’s care instructions—use it as a decision filter for what generally aligns with pH-neutral, finish-safe cleaning.
Finish-Safety Risk by Common Closet Stain Cleaners (Typical Strengths)
| # | Cleaning option category | Typical measurable strength | Where it’s most often used | Finish-safety score |
|---|---|---|---|---|
| 1 | pH-neutral floor cleaner | pH 6.0–8.0 | General haze + surface discoloration | ★★★★☆ (9/10) |
| 2 | Distilled water (for blotting) | ~pH 5.5–7.0 (varies with CO₂ absorption) | Light ring cleanup before cleaner | ★★★☆☆ (7/10) |
| 3 | Isopropyl alcohol (only if approved) | ~70% v/v (common consumer strength) | Ink/marker spot attempts | ★★☆☆☆ (4/10) |
| 4 | Mild dish soap (often not pH-neutral) | Often pH ~8–10 (varies by brand) | Occasional degrease attempts | ★★☆☆☆ (3.5/10) |
| 5 | Vinegar (acetic acid) | ~5% acetic acid (pH ~2.4–3.0) | “Natural” spot cleaning | ★☆☆☆☆ (2/10) |
| 6 | Household ammonia | Often pH ~11–12 (varies by %) | Glass/grease “hacks” | ★☆☆☆☆ (1.5/10) |
| 7 | Steam cleaner / hot steam | ~100°C / 212°F (at 1 atm) | Sanitizing “deep clean” | ★☆☆☆☆ (1/10) |
(Tip: “low safety score” here means “higher chance of finish dulling, haze, or moisture risk,” not that these chemicals always cause damage—manufacturer approval is the deciding factor.)
Treat common engineered wood floor stain types
You’ll remove most closet stains by matching the stain type to the gentlest method that still addresses the chemistry (water, grease, pigment, minerals, or bio). Keep liquid minimal, blot often, and repeat small cleanings instead of one aggressive treatment.
Water rings are usually a surface moisture/finish response, so blotting and controlled wipes often work without escalating.
Grease and everyday track marks typically need multiple gentle passes rather than a harsh degreaser that can dull the wear layer.
Ink/marker can set into finish layers if you rub; blotting with pH-neutral cleaning is a lower-risk first step than friction.
– Water rings / light haze:
Blot any remaining moisture, then wipe with a barely damp microfiber using pH-neutral cleaner; dry thoroughly with a towel. If the haze remains, repeat gently rather than escalating to harsh chemicals.
– Why this works: Many rings on finished floors are caused by moisture changing how light reflects through the finish, so you’re trying to remove residue and return uniform surface clarity—without over-wetting.
– Food, dirt, or everyday discoloration:
Clean with a pH-neutral cleaner using light pressure, then buff dry. Grease/foot oils often need multiple gentle passes instead of a single aggressive treatment.
– If the discoloration looks slightly “shadowed” but feels dry, focus on lifting oils with repeated short wipes, then blot dry—don’t soak.
– Ink/marker:
Avoid rubbing hard. First, try blotting with a lightly damp microfiber and pH-neutral cleaner; if you’re considering an alcohol-based method, only do so if your flooring manufacturer explicitly allows it for the finish.
– Ink removal is a “pigment + carrier” challenge. Rubbing can smear pigment across the finish and create a larger visible mark.
– Pet urine or unknown bio stains:
Start with blotting and pH-neutral cleaning, then keep the area dry and ventilated. If smell or yellowing persists, you may need an enzymatic product approved for finished wood—but verify compatibility with your floor’s surface first (avoid oxidizers/bleach unless the manufacturer says it’s safe).
– Closets matter: limited airflow can leave lingering bio residue active. Ventilation often improves results even when the cleaning step stays gentle.
For stubborn stains: what “safe” really means on engineered wood
You should treat “stubborn” as a signal to slow down, not to add stronger chemicals or scrubbing. On engineered wood, safe usually means less liquid + more patience, and sometimes the truth is that the stain is now inside/under the finish and can’t be fully reversed cosmetically.
Engineered wood has a real wood veneer under a finished top layer, so abrasives and solvents can permanently alter sheen or remove finish.
If the stain remains after gentle cleaning, repeated small pH-neutral cleanings are typically lower risk than soaking or using strong spot removers.
When discoloration is close to seams, penetration may have started, and cleaning may be limited to concealment or professional restoration.
– Understand why “safe” is so strict:
The finish layer is designed to resist staining—but it’s not indestructible. Scrubbing, abrasives, and many solvents can permanently change:
– sheen (turning glossy spots dull or dull spots shinier),
– clarity (creating haze),
– and even edge appearance around seams.
– Use “less liquid + more patience”:
If the stain is still visible after gentle cleaning, repeat small, careful cleanings instead of escalating to harsh chemicals. A practical approach:
1. Wipe lightly with pH-neutral cleaner.
2. Immediately blot dry.
3. Reassess under a bright angle light.
4. Repeat once more before changing tactics.
– When penetration limits results:
If discoloration penetrated—especially near seams—your options may be:
– improved appearance through concealment (sometimes limited),
– professional restoration,
– or, in some cases, sanding/refinishing (only if your floor’s warranty and veneer thickness allow it).
This decision must reference your specific floor’s warranty and finish specs—don’t assume all engineered floors can be refinished.
Pros/cons: escalating vs. stopping early
| Path | Pros | Cons |
|---|---|---|
| Repeat gentle pH-neutral wipes + blotting | Lowest risk to sheen; helps surface residue; reduces moisture exposure | Slower; may not fully remove penetration |
| Increase agitation (brush/pads) | Can lift grime faster when the stain is surface-based | Higher chance of micro-scratches and visible sheen changes |
| Use stronger chemicals (solvents/oxidizers/bleach) without approval | Might attack certain pigment/bio components | Highest risk of permanent dull spots, color shift, and finish failure |
| Call a flooring pro | Best chance of correct assessment and finish-safe restoration | Costs more; results depend on veneer thickness and finish system |
What can go wrong (and how to avoid it)
You can avoid most damage by controlling moisture, avoiding incompatible chemicals, and never scrubbing with abrasive tools. Closets create a perfect storm—limited airflow, trapped humidity, and hard-to-notice early haze—so prevention matters.
Over-wetting engineered floors increases the chance that moisture creeps into seams and leaves lingering discoloration or panel-edge issues.
Bleach, ammonia, and aggressive degreasing products can damage finish clarity and create permanent dull zones.
Rough friction tools (steel wool, abrasive pads, “deglossing” products) can increase micro-scratches and make stains look worse.
– Over-wetting the surface:
Engineered floors can tolerate normal cleaning, but standing moisture can creep into seams and cause lingering discoloration or cupping. In closets specifically, condensation and slow drying can prolong the stain reaction.
– Using the wrong chemicals:
Bleach, ammonia, harsh solvents, and deglossing cleaners can damage the finish or create a permanent dull spot—even if the stain seems to “lift” at first.
– Scrubbing with friction tools:
Steel wool, rough pads, and even many “magic eraser”-type sponges can polish through finish sheen. If the goal is stain removal, friction is usually the enemy because it changes the reflective surface.
– Skipping dry-out time in a closet:
After cleaning, run ventilation (fan) if possible and keep the door open until the area is fully dry. This step is often what determines whether haze expands or stops.
Verdict / tip: the approach most likely to work without damage
Start with pH-neutral cleaning and blotting, and only escalate if the manufacturer’s care instructions support the next method. Choose repeatable gentle steps over one “strong” treatment—engineered floors punish over-aggressive stain removers by changing finish appearance.
The most finish-safe sequence is dry removal → minimal moisture → immediate blotting, with every cleaner tested in a hidden area first.
If the stain is widespread or you suspect an active leak, the priority is moisture control, not chemical intensification.
Skip DIY escalation (or call a pro) when penetration is likely—especially near seams, panel edges, or where you see continuing spread.
Who should skip DIY here:
If you suspect a leak, persistent standing moisture, mold-like odors, or you see discoloration continuing to grow after gentle cleaning, stop and address moisture at the source. Also pause DIY if you don’t know the finish system and can’t access the manufacturer care guide.
Scan-ready checklist (save this)
| What you’re seeing | Do this first | Avoid |
|---|---|---|
| Water ring / haze | Blot dry, wipe with pH-neutral cleaner on barely damp microfiber, buff dry | Soaking, steam, abrasives |
| Dirt/track marks | Dry vacuum/soft brush, then light pH-neutral wipe, dry immediately | Scrubbing with rough pads |
| Grease/food | Clean gently in passes, blot dry between wipes | Strong degreasers unless manufacturer allows |
| Ink/marker | Test in hidden spot; try gentle cleaner/blot first | Heavy rubbing; solvent/chemical use without approval |
| Pet stain discoloration | Blot, pH-neutral clean, ventilate/dry; consider manufacturer-approved enzymatic method | Bleach/oxidizers unless explicitly permitted |
| Persistent stain near seams | Check for moisture/leaks, increase drying/ventilation | Continuing to “treat through” trapped moisture |
FAQ:
– Can I use steam to remove stains from engineered wood floors in a closet? Usually no—steam introduces too much moisture and can damage the finish and seams. Follow your manufacturer’s care instructions.
– What if the stain doesn’t lift after a few gentle cleanings? Don’t escalate blindly. Re-check the stain cause (leak vs. surface mark), verify cleaner compatibility, and consider a professional assessment.
– Are magic erasers safe for engineered wood? They can wear the finish and change sheen. If you use anything abrasive-like, test in a hidden spot first and only proceed if your manufacturer says it’s compatible.
– Will hydrogen peroxide or bleach remove stubborn discoloration? Don’t use them unless your flooring manufacturer explicitly allows it for your finish—oxidizers can permanently alter color and sheen.
– How do I stop closet stains from coming back? Improve moisture control (ventilation, leak checks) and use only manufacturer-approved cleaners to avoid gradual finish breakdown.
Sources:
– If your stain is pet/bio related:
Bottom line: the safest engineered-wood closet stain removal strategy is cause identification, then dry cleaning followed by pH-neutral blotting with minimal moisture. When you keep the process gentle and repeatable—and you prioritize drying and manufacturer-approved chemistry—you protect the finish while giving the stain the best chance to lift without turning into a bigger sheen problem.
Frequently Asked Questions
How do I remove water stains from engineered wood floors in a closet?
Start by blotting any excess moisture with a dry, absorbent cloth—don’t wipe aggressively. If the stain is still visible, dampen a soft cloth with clean water, wring it out well, and gently wipe the area, then dry immediately with a fan. For light discoloration, try a small amount of wood-safe cleaner formulated for engineered wood, and avoid soaking the floor since moisture can seep through the top layer and edges.
What’s the safest way to clean an engineered wood closet floor stain without damaging the finish?
Use the least aggressive method first: gentle cleaning with a pH-neutral cleaner designed for wood floors and a microfiber cloth. Always test any cleaner in a hidden spot (like under a closet shelf) before treating the stain, and keep water usage minimal. Avoid steam mops, harsh solvents, or abrasive pads, because engineered wood’s wear layer can be scratched or dulled and the stain can spread if the finish is compromised.
How can I remove oil-based stains (like grease or makeup) from engineered wood flooring?
Blot the area first to remove any remaining oil, then place a small amount of mineral spirits on a white cloth and test a hidden section to confirm it doesn’t harm the finish. If the test is safe, lightly dab the stained area and wipe with a clean, dry cloth as you go, repeating until the stain lifts. Finish by cleaning with a wood floor cleaner to remove residue, since leftover oils or solvents can attract dirt and darken the spot over time.
Why does a stain on engineered wood floors keep coming back in a closet?
Closets often have limited airflow, uneven humidity, and trapped moisture, which can cause lingering discoloration to reactivate or spread. If the stain penetrated near the surface (or through a damaged area of finish), it may require professional refinishing or spot repair rather than repeated surface cleaning. Check for sources like leaking plumbing, wet shoes, or condensation, and address humidity (using a dehumidifier if needed) to prevent recurring stains.
What’s the best approach for removing dark or set-in stains from engineered wood in a closet?
For set-in stains, focus on controlled spot treatment: clean the area with a wood-safe cleaner, dry thoroughly, then use a targeted product like an engineered wood spot remover or mineral-spirits-based cleaner only if the finish tolerates it. If the stain remains after careful cleaning, you may need to lightly abrade and refinish the spot, because some discolorations are trapped in the finish layer. For best results, consult your flooring manufacturer’s recommended products and consider hiring a floor restoration pro if the stain is deep or the finish has been damaged.
📅 Last Updated: October 19, 2026 | Topic: How to remove stains from engineered wood floors in a closet? | Content verified for accuracy and freshness.
References
- Wood flooring
- 404 Error
- https://www.armstrongflooring.com/support/care-and-cleaning/hardwood.html
- https://brucefloor.com/how-to-clean-and-maintain/
- https://scholar.google.com/scholar?q=engineered+wood+floor+stain+removal+cleaning Google Scholar
- https://scholar.google.com/scholar?q=hardwood+floor+water+stain+removal+oxalic+acid Google Scholar
- https://scholar.google.com/scholar?q=engineered+wood+flooring+care+and+maintenance+stains Google Scholar


