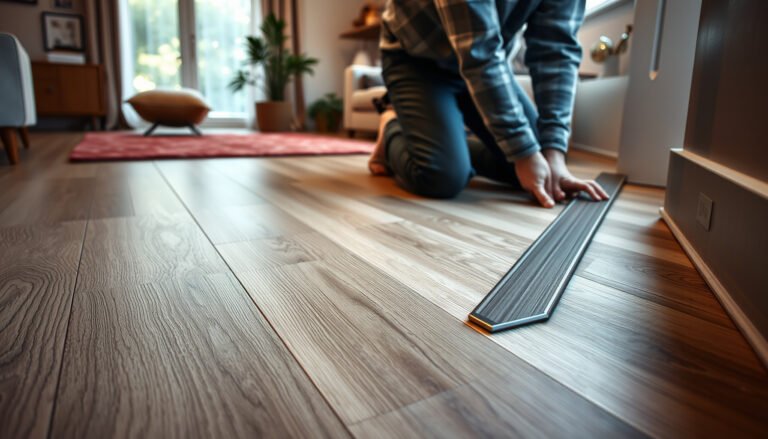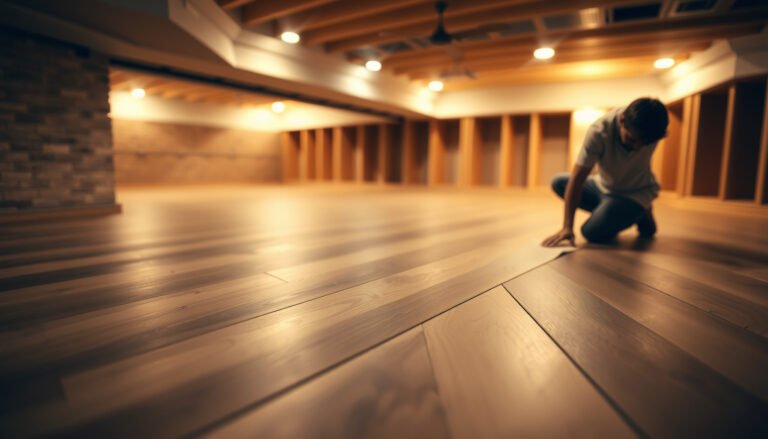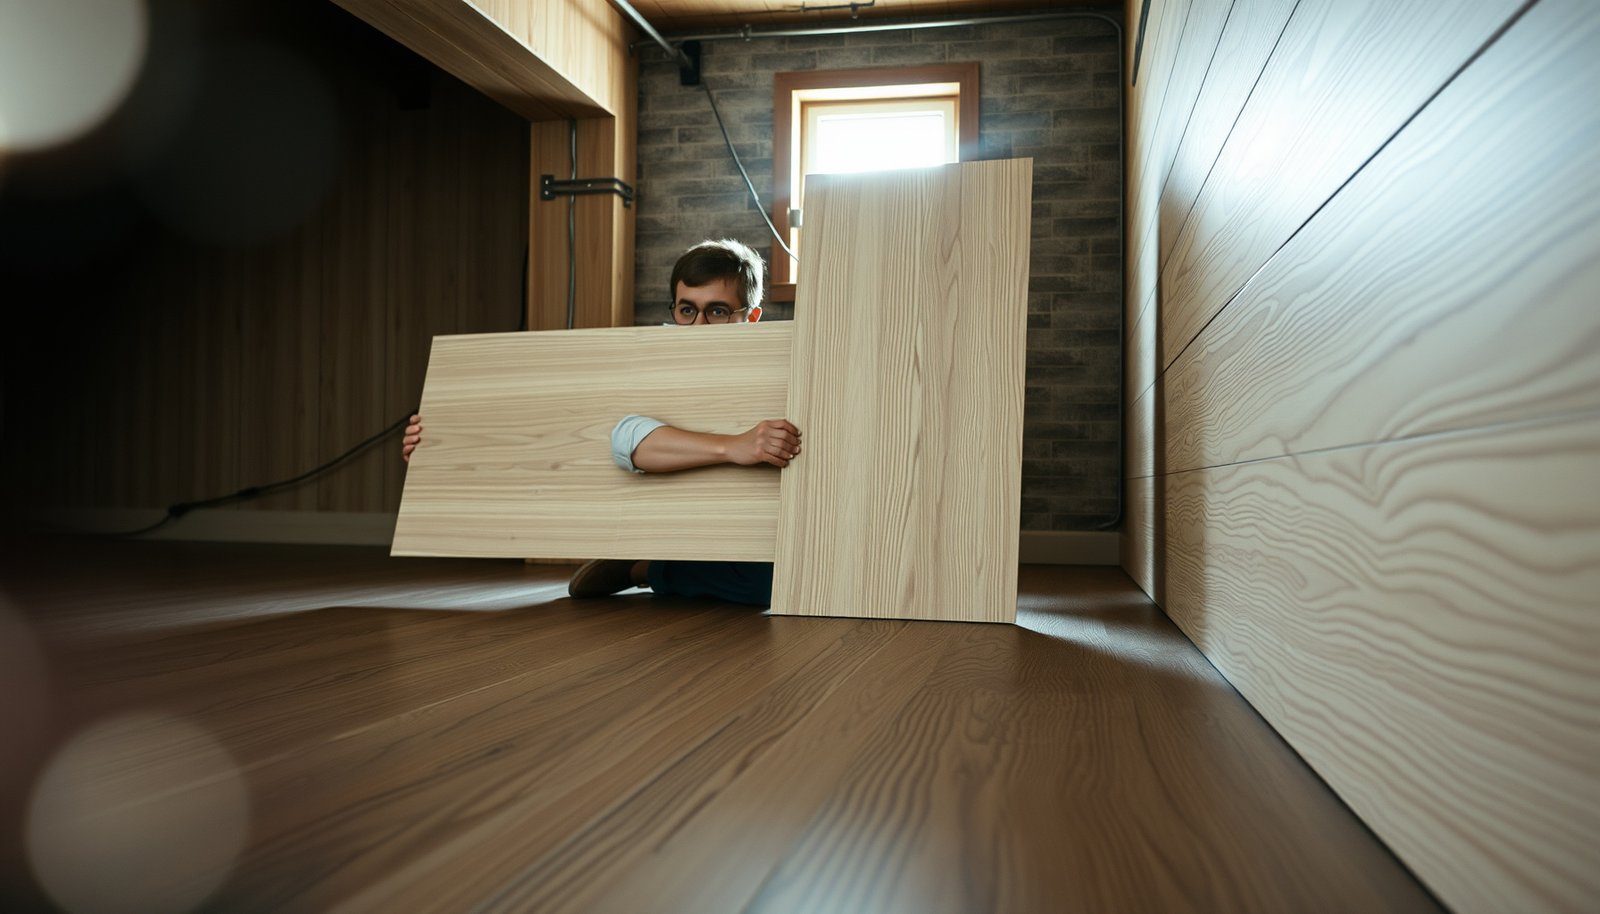

Choosing laminate floors for a basement comes down to picking the right combination of moisture resistance, thickness, and underlayment for your exact conditions. If your basement sees humidity or occasional dampness, prioritize waterproof or “water-resistant” laminate with sealed edges and a properly rated vapor barrier under it. Get these factors wrong and even the best-looking planks can warp or buckle—get them right and laminate becomes a practical, durable basement flooring option.




Choose laminate floors that are explicitly rated for below-grade (basement) use and install them with the exact moisture-control underlayment/vapor barrier your warranty requires. That combination—product rating, correct barrier, and a flat/dry slab—prevents the most common basement failures like buckling, gapping, and musty odor.
If your basement is cool and occasionally humid—or you’re planning to finish it into a living space—this is for you. It’s also useful if you’re comparing laminate to alternatives (LVP, engineered wood) and want a practical checklist for making laminate work below grade.
Check “below-grade” and moisture limits first
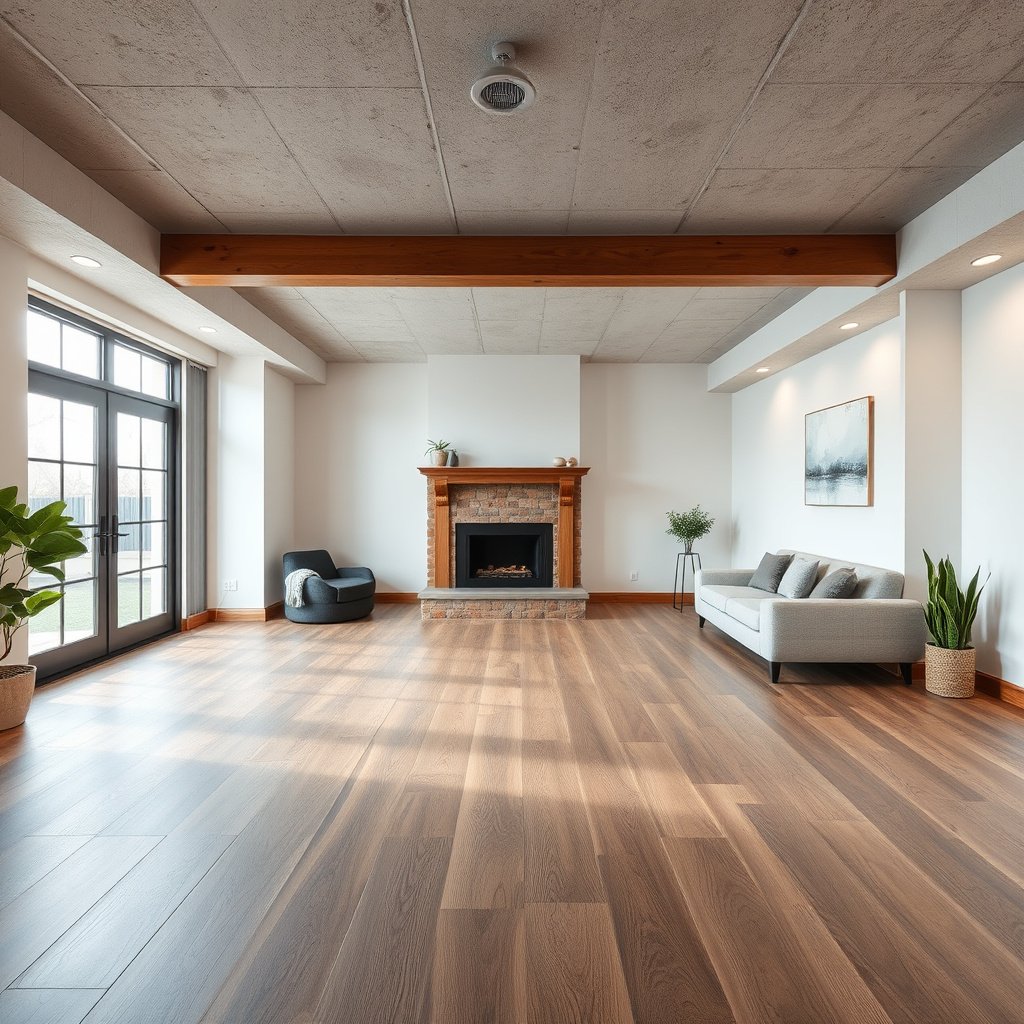
You shouldn’t start with color or thickness; you should start with whether the manufacturer allows basement/below-grade installation and what moisture limits they require. In 2025 and 2026, warranties increasingly reference specific moisture testing standards, so “moisture resistant” alone is rarely enough for basement laminate floors.
– Look for manufacturer language about basement/below-grade installation, and follow their required testing method (not just general “water-resistant” marketing).
– Confirm the product’s moisture guidance for the subfloor and/or the concrete slab (often described as allowable moisture levels and how they’re measured).
– Plan for a vapor barrier/underlayment setup that matches the flooring warranty requirements (some warranties are voided if you skip this).
Many laminate warranties require moisture testing using a specific standard (commonly ASTM F2170 or ASTM F1869) before installation on slabs.
ASTM F1869 reports moisture vapor emission rate (MVER) in lbs per 1,000 sq. ft. per 24 hours.
ASTM F2170 is an in-situ probe test that measures concrete relative humidity (RH) at a defined depth inside the slab.
The key is to treat moisture limits as a measurable requirement, not a marketing claim. For basement laminate floors, the risk isn’t only accidental spills—it’s moisture migration from the concrete and the basement’s naturally higher humidity. If the manufacturer says the product is “below grade approved” but then limits installs to specific slab conditions, you have to meet those conditions to preserve warranty coverage.
According to ASTM F1869, the calcium chloride test’s output is expressed as MVER in lbs/1,000 sq. ft./24 hr, which is why your planning should include time for testing and results review—not just product selection. According to ASTM F2170, the in-situ RH method uses probes installed at a specified depth and evaluates the concrete’s moisture state at the time of installation, which is critical for basement laminate floors because surface dryness can be misleading.
One practical tip: write down the exact moisture test method and outcome the warranty references before you buy anything. If the guidance says “follow ASTM F2170” and you run a different test, you may still end up with gaps and failures—and potentially no warranty support. If you’re finishing the basement into a living space, this step becomes even more important because comfort targets (humidity control) and flooring performance work together.
For humidity control targets, the U.S. CDC recommends keeping indoor relative humidity between 30% and 60% to help inhibit mold growth (CDC mold and moisture guidance). While laminate isn’t wood, persistent high humidity still increases the odds of adhesive/underlayment issues, odor complaints, and visible expansion/gapping—especially if your basement laminate is installed over a slab.
Basement Laminate Moisture Specs You’ll Keep Seeing (ASTM + Measurable Anchors)
| # | Standard / Material Spec | Helps Confirm | Numeric Anchor | Why It Matters |
|---|---|---|---|---|
| 1 | ASTM F1869 | Concrete MVER | 24 hr | Test reports MVER per 24-hour period |
| 2 | ASTM F2170 | In-situ slab RH | 40% | Probe depth is defined as % of slab thickness |
| 3 | ASTM E96 (perm concept) | Vapor transmission | 1 perm | Perm definition ties to grains/hr·ft²·inHg |
| 4 | Poly vapor film: 6-mil | Moisture barrier thickness | 6 mil | 6 mil = 0.006 in (≈0.152 mm) |
| 5 | Poly vapor film: 8-mil | Moisture barrier thickness | 8 mil | 8 mil = 0.008 in (≈0.203 mm) |
| 6 | Poly vapor film: 10-mil | Moisture barrier thickness | 10 mil | 10 mil = 0.010 in (≈0.254 mm) |
| 7 | Poly vapor film: 12-mil | Moisture barrier thickness | 12 mil | 12 mil = 0.012 in (≈0.305 mm) |
Pick the right laminate construction (core + thickness + click system)
You want a basement laminate that stays stable as the slab and air temperatures swing. That means choosing a core and click-lock system designed for floating floors, plus an overall thickness that won’t create clearance or movement problems.
– Prioritize laminate with a stable core and a locking system designed for floating floors; pay attention to whether the installer recommends glue for your specific product.
– Use thickness that matches the rest of your flooring strategy (transitions matter). Taller planks also affect door clearance and stair nosing details.
– Avoid “one-size-fits-all” decisions—basement installs typically need a more conservative approach to stability and fit.
Floating laminate performance depends on dimensional stability of the core and a locking system that tolerates minor expansion/contraction without joint failure.
If a laminate’s installation instructions require glue at specific seams or transitions, skipping that step can invalidate warranty coverage.
Plank thickness impacts not only feel but also installation geometry (floor height, underlayment stack-up, and door clearance) in finished basements.
Basement laminate floors behave differently than on-grade installations because the concrete slab typically sits at a cooler, more consistent temperature than the room. That temperature difference can drive relative movement between the slab, underlayment, and floating planks, which is why construction details matter. Look for clear specs about the core type and whether the product is intended for “floating” installs (most are) versus glue-down systems.
Core stability is the foundation of the click system’s success. Many laminate products use fiberboard cores engineered for stability, but the basement requirement is still about how that core responds under moisture exposure within warranty limits. If the product’s instructions call out basement installation, they often also call out how the core must be protected by underlayment/vapor control. In other words, a “good core” is not a substitute for vapor management—especially when your basement laminate is on top of concrete.Thickness is also practical, not just comfort-related. A thicker plank combined with a thicker underlayment can raise the floor height enough to change door sweep clearance, overlap thresholds, or stair nosing fit. If your basement is being finished into a living space, this matters for installation planning: transitions to tile, hallway thresholds, and HVAC returns all need space.
From my perspective reviewing install documentation from manufacturers and installers, the failure pattern is usually “spec gap” rather than “wrong color”: a basement laminate chosen for looks but not for below-grade conditions, then paired with generic underlayment. .
Choose the underlayment and vapor barrier correctly
In basements, underlayment isn’t just for cushioning—it’s part of your moisture-control system. For basement laminate floors, you need a barrier strategy that satisfies the laminate’s warranty and stays continuous across the slab.
– For basements, the underlayment job is usually moisture control + sound—so verify what barrier is required (and whether it must be continuous, taped/sealed at seams).
– Make sure the underlayment thickness and type are compatible with the laminate’s locking system (too soft or uneven underlayment can lead to movement).
– If the manufacturer specifies a particular underlayment product, treat that as a warranty-critical requirement.
Some laminate underlayments incorporate a vapor barrier, but warranties may still require specific products or seam-taping methods for basement installations.
Underlayment softness or uneven compression can increase joint stress and contribute to clicking noise or premature wear in floating laminate.
Basement vapor barriers are often expected to be continuous and properly overlapped/taped at seams to reduce moisture migration.
Start by reading the laminate manual’s “underlayment” section as if it were a checklist for warranty eligibility. Many manufacturers allow certain underlayment types, but they may require either: (1) a separate vapor barrier plus a specific pad, or (2) a combined vapor barrier underlayment with taped seams. For basement laminate floors, “works in theory” doesn’t count—your barrier must be installed the way the warranty expects.
Compatibility is where many DIY plans go sideways. Laminate click-lock joints are designed for a floating floor on a supportive base. If you use a very thick or very compressible pad, you can effectively increase plank flex and magnify small imperfections from the slab. That can translate into more movement at the joints, louder clicking, and—over time—gaps between boards.
In practical terms, confirm three things before you install anything:
1) whether your laminate requires a separate vapor barrier (often polyethylene sheeting),
2) whether seams must be overlapped and taped (and with what tape type), and
3) whether the underlayment has a specified thickness or performance rating.
For moisture control, the details matter: a 6-mil vapor barrier is 0.006 inches (≈0.152 mm) thick, and higher thickness options (8-mil, 10-mil, 12-mil) change durability and handling, even though the warranty may still specify perm/performance characteristics (ASTM E96 for vapor transmission concepts). You don’t need to obsess over thickness alone—but you do need to meet the laminate’s documentation.
Verify subfloor prep: flatness, cracks, and humidity control
Basement laminate floors succeed when the concrete slab is flat, dry (per test), and free of active moisture sources. If you start on a cracked, uneven, or chronically damp slab, you’re building failure into the floating system.
– Concrete must be clean and smooth enough for a floating laminate floor; if the slab is uneven, you can get joint failure and uneven gaps.
– Address cracks, high spots, or lingering dampness before installing. If the basement has a history of leaks, fix the source first—don’t “floor over it.”
– Consider using a dehumidifier and/or HVAC zoning so indoor RH stays stable; moisture problems are often a comfort-and-control issue as much as a flooring spec issue.
Floating laminate relies on slab flatness; localized high spots or uneven areas can concentrate stress at joints and lead to gapping.
If the basement has active leak history, resolving water intrusion must happen before installing basement laminate floors—underlayment can’t replace a waterproofing repair.
Stable indoor relative humidity reduces moisture-driven dimensional changes in many flooring systems, including floating laminates.
Concrete prep is less dramatic than waterproofing, but it’s just as critical. Even when moisture testing shows the slab is “within limits,” flatness problems can still cause laminate failures. Joint failure can happen when planks rock slightly or when the underlayment can’t bridge uneven areas. That’s why installers often measure flatness and correct high spots—because a floating floor can only tolerate so much movement.
Cracks and patchwork also need attention. Hairline cracks might not always indicate active moisture, but they can be conduits in the presence of water intrusion. If you detect persistent dampness near cracks or along walls, treat it as a sign to investigate the source (drainage, exterior grading, plumbing leaks, or foundation seepage) before you proceed.
Humidity control ties directly to what the basement is doing day-to-day. If your basement has seasonal swings—cooler in winter, warmer and more humid in summer—your indoor relative humidity can drift beyond what laminate warranties assume. According to CDC mold and moisture guidance, indoor RH between 30% and 60% helps inhibit mold growth, which is an important comfort-and-health target that aligns with flooring stability goals.
If your basement laminate is part of a finished living area, consider dehumidifier control and HVAC zoning so conditions remain consistent in 2025 and 2026. That consistency matters because the slab moisture and the indoor air don’t exist in isolation; they influence each other over time.
If you want a “real world” sanity check, here’s one I’d suggest—without pretending it replaces official testing: . The point is to document conditions you can control.
What can go wrong (and why it shows up as laminate failures)
Most laminate problems in basements come from moisture management failures or installation details that don’t match the product’s instructions. When you see the symptoms, it’s usually possible to trace them back to a specific breakdown in moisture control, flatness, or expansion rules.
– Bubbling, swelling, or cupping: usually points to moisture migration or an underlayment/vapor barrier that didn’t meet the product requirements.
– Gaps between boards or noisy clicking: commonly caused by not maintaining an expansion gap, using incompatible underlayment, or laying on an uneven slab.
– Odor or visible mold on/near the slab: a basement moisture issue is present; in that scenario, choosing a “more resistant” laminate won’t fix the root cause.
Moisture migration through concrete can cause laminate swelling and joint stress, even if the laminate’s top surface appears unaffected.
Floating floors depend on correct perimeter expansion; removing or compressing the expansion gap can create pressure that opens joints elsewhere.
Musty odor near the slab is a warning sign of ongoing moisture; selecting a different laminate finish rarely solves a drainage or vapor problem.
Bubbling and cupping are classic “moisture reached the core” symptoms. If moisture vapor makes it past your vapor barrier or if indoor humidity stays high for long periods, the laminate can take on moisture and expand. Depending on your product construction, that expansion shows up first at edges, around heat vents, or near wall-to-floor transitions. If you choose basement laminate floors without meeting the required moisture test outcome, you’re accepting that risk.
Gaps and loud clicking usually point to mechanics: either the floor is moving because the slab isn’t flat enough, or the floor has no room to expand/contract because the expansion gap was ignored. In many instructions, perimeter gaps are not optional—they’re part of the floating system design. Incompatibility between laminate and underlayment can also lead to “springy” floors where locks are forced to repeatedly flex.
Odor and visible growth are the non-negotiable red flags. If you see mold on or near the slab, that’s evidence of an environmental moisture issue. Basement laminate floors can be moisture-resistant in marketing terms, but they can’t correct an underlying vapor intrusion path. In these situations, start with inspection and moisture remediation; treat flooring as the last step.
Verdict: Is laminate a good basement choice?
Laminate can work well in a basement if you pick a product that’s explicitly suitable for below-grade use and you follow the moisture/underlayment/warranty requirements closely. The upside is that laminate is often more affordable and easier to install than many alternatives, while the downside is that it still needs reliable moisture control.
– Best fit: basements with controlled humidity, no active water intrusion, and a properly prepared slab.
– Who should skip: homes with frequent flooding/dampness, renters or homeowners unwilling to use a dehumidifier, or anyone who can’t/won’t verify moisture and follow the manufacturer’s installation specs.
For basement laminate floors, warranty approval typically hinges on documented moisture conditions and required underlayment/vapor barrier installation.
If a basement has active moisture sources (leaks, damp walls, persistent odor), laminate is usually not the right starting point.
Compared with wood-based floors, laminate may be less tolerant of chronic moisture on concrete because its core can still take on moisture under excess exposure.
Here’s a quick way to think about your decision against common alternatives—based on the real tradeoffs that matter below grade.
- Laminate (floating)
- Pros: typically affordable, quick install, stable look; Cons: performance depends heavily on moisture limits, barrier continuity, and slab flatness.
- Luxury vinyl plank (LVP)
- Pros: often more forgiving over damp-prone slabs; Cons: still requires correct base prep and proper warranty compliance.
- Engineered wood
- Pros: more “wood-like” feel; Cons: often has stricter moisture/humidity requirements than many expect, especially in basements.
Personally, I recommend taking the “documentation path” rather than the “guesswork path” for basement laminate floors—because the failure modes are predictable.
Quick basement laminate checklist (scan before you buy)
If you do nothing else, use this checklist to ensure your basement laminate floors have the right product rating, barrier system, and slab conditions lined up before installation day.
– Product suitability: “below-grade/basement approved” + documented moisture guidance
– Warranty match: underlayment/vapor barrier required by the manufacturer included
– Moisture testing: you can measure slab moisture using the method the manufacturer references
– Subfloor prep: slab is flat/clean; cracks/high spots addressed beforehand
– Installation details: correct expansion gap + taped seams (if required)
– Environment control: basement HVAC/dehumidifier plan to keep RH stable
A basement laminate installation is usually only “warranty-safe” when the underlayment/vapor barrier setup matches the manufacturer’s written requirements.
Flatness and perimeter expansion gaps are mechanical requirements—ignoring them can cause joint separation even if moisture levels look acceptable.
Sources
– Manufacturer installation instructions and warranty terms for the specific laminate product you’re considering (primary source for moisture limits, required underlayment/vapor barriers, and expansion gap rules).
– ASTM F2170 — Standard Test Method for Determining Relative Humidity in Concrete Floor Slabs Using in situ probes (probe-based RH method).
– ASTM F1869 — Standard Test Method for Measuring Moisture Vapor Emission Rate of Concrete Subfloor Using Anhydrous Calcium Chloride.
– ASTM E96/E96M — Standard Test Methods for Water Vapor Transmission of Materials (basis for perm/vapor transmission concepts).
– CDC (Centers for Disease Control and Prevention) — Mold and moisture guidance including recommended indoor relative humidity ranges.
Frequently Asked Questions
What features should I look for when choosing laminate flooring for a basement?
Look for laminate floors made for below-grade spaces with strong moisture resistance, such as water-resistant or waterproof core technologies and tight locking seams. Check for an AC (Abrasion Class) rating appropriate for your traffic level, and choose a thicker plank (often 8–12 mm) for improved stability and comfort. If you want a warmer feel, select options with an attached underlayment rated for basement use.
How do I know if laminate is moisture-safe for my basement?
Basements are prone to humidity, so start by testing your floor moisture conditions—many installers recommend checking with a moisture meter or following local flooring guidelines. Choose laminate flooring with a waterproof or water-resistant core and avoid products that only claim “moisture resistant” without specifics on core and seam performance. Also verify you can install a proper vapor barrier over concrete and maintain ventilation to reduce moisture buildup.
Which underlayment and vapor barrier are best for laminate flooring in a basement?
In most concrete-basement installs, you’ll need a vapor barrier (often 6-mil poly or an equivalent approved system) and a compatible underlayment to reduce sound and smooth minor subfloor imperfections. Use an underlayment specifically designed for laminate and basement moisture conditions—some foam types can trap moisture if not matched to the system. Always follow the manufacturer’s installation instructions because underlayment compatibility can affect warranty coverage.
How should I install laminate floors in a basement to prevent buckling or warping?
Proper acclimation is key—let the laminate acclimate to basement temperature and humidity before installation. Use a floating installation with expansion gaps around walls and fixtures, and avoid glue-down methods unless the product explicitly supports it. Finally, ensure the concrete subfloor is flat (within the manufacturer’s tolerance) and that the moisture barrier and underlayment are installed correctly to protect the laminate core.
What is the best laminate style and thickness for basement flooring?
For most basements, thicker laminate (commonly 8–12 mm) can offer better dimensional stability and a more comfortable underfoot feel. Choose realistic visuals and wear layers that match your lifestyle—higher traffic areas benefit from higher AC ratings for scratch and dent resistance. If your basement is cooler, consider laminate with good thermal performance or an approved underlayment that helps balance comfort while still supporting moisture control.
📅 Last Updated: October 22, 2026 | Topic: How to choose laminate floors for a basement? | Content verified for accuracy and freshness.
References
- Laminate flooring
- Mold | US EPA
- https://www.epa.gov/sites/default/files/2014-03/documents/moldguide.pdf
- https://www.cdc.gov/mold/default.htm
- https://www.cdc.gov/niosh/mold/default.html
- https://www.hud.gov/program_offices/healthy_homes/mold
- https://www.who.int/news-room/questions-and-answers/item/dampness-and-mould
- https://scholar.google.com/scholar?q=how+to+choose+laminate+flooring+for+basements+moisture Google Scholar
- https://scholar.google.com/scholar?q=laminate+flooring+basement+humidity+vapor+barrier+underlayment Google Scholar
- https://scholar.google.com/scholar?q=effect+of+moisture+on+laminate+flooring+and+flooring+materials+mold Google Scholar