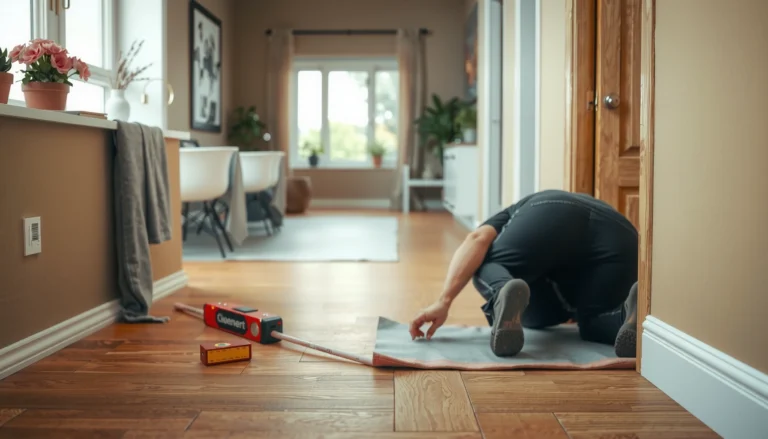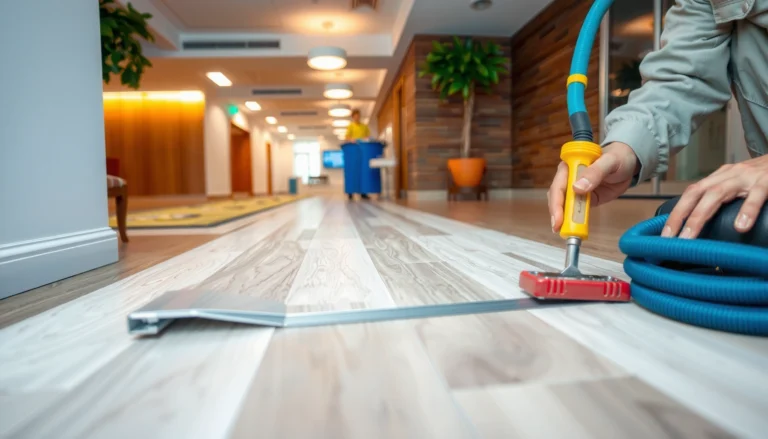

To remove laminate floors from a basement, you need a methodical, step-by-step approach that prevents damage to the subfloor and keeps the project under control. This guide walks you through prying and pulling planks, handling underlayment, and taking up tricky sections so you know exactly what to do from start to finish. If you’re taking on a basement remodel, this is the fastest, safest way to get laminate up cleanly without surprises.




Removing laminate from a basement is easiest when the planks are a floating/click-lock installation—lift from a perimeter edge and pull rows up in sequence. If the laminate is glued down, plan for cutting, scraping, and thorough adhesive/subfloor cleanup to avoid unevenness or new-floor failure.
If you’re dealing with a basement layout (often with moisture risk, odd obstacles, and older subfloor materials), the key is handling the type of installation first and then protecting the concrete/wood beneath while you remove the planks and underlayment.
Prep basement and protect the surrounding area

You’ll save hours (and mess) by prepping the space and controlling dust before you remove a single plank. Basements often have concrete, vents, and older materials, so containment and PPE matter as much as the floor-removal technique.
- Clear the room and cover walls, vents, and nearby storage with plastic sheeting; laminate removal creates dust and debris.
- Wear eye protection and work gloves; if you’ll cut boards or disturb older materials, add a properly fitted respirator for dust (and follow any local guidance).
- Decide where you’ll discard: laminate planks, underlayment, and staples/nails often come off in different forms and are easier to manage separately.
“When removing flooring, dust control isn’t optional—dry scraping and cutting generate fine particulates that can cling to vents, stored items, and porous surfaces.”
According to the U.S. EPA, moisture control is central to preventing mold; reducing dust spread doesn’t replace moisture fixes, but it lowers secondary contamination during cleanup.
If your basement has concrete and you’ll scrape adhesive, you should treat dust as potentially harmful and follow respirator guidance from OSHA/NIOSH for your dust conditions.
Basement-specific prep matters because you’re usually working near concrete slab edges, HVAC supply paths, and sometimes older drain/utility lines. Concrete is also more unforgiving: adhesive, staples, and underlayment fibers can telegraph through the next floor if you don’t remove them flat.
A practical setup I recommend: tape plastic sheeting at seams, seal around floor vents with plastic (then reopen them afterward), and keep a dedicated “debris zone” at the exit so you don’t grind laminate chips back into the room. Also plan your waste handling up front—laminate planks can be bulky, while staples and underlayment can be sharp and easier to bag separately.
Common tools to have ready (so you don’t stall mid-project)
You don’t need a fancy demolition kit, but you do want the right categories of tools:
– Prying tools: pry bar + flat pry tool or small pry hook
– Cutting: utility knife (for caulk/underlayment seams), plus an oscillating tool if door jambs won’t cooperate
– Cleaning: heavy-duty scraper and a stiff brush (steel or nylon) for concrete/wood
– Dust control: shop vacuum with a fine-dust filter, plus disposable dust bags if your vac supports them
Remove trim, obstacles, and access points
You should remove trim and “break” points first so you can slide the planks out without tearing edges or snapping click-lock joints. In basements, tight doorways, threshold transitions, and older baseboards are where removal most often goes wrong.
- Remove baseboards/quarter round first (a pry bar + utility knife to cut any caulk helps prevent wall damage).
- Undercut door jambs and shoe molding so planks can slide out; a flat pry tool or oscillating tool makes this cleaner.
- Pull up transitions (thresholds/runners) carefully so you don’t crack locked joints.
“Cut caulk lines around baseboards before prying to reduce drywall paper tearing and the number of patch repairs later.”
Undercutting door jambs helps preserve laminate edges because many click-lock boards can’t flex enough to clear jam openings without damaging locking tongues.
Transitions (threshold strips and reducers) often hide the last connections preventing the floor from lifting as a single system.
Trims aren’t just cosmetic during removal—they act like anchors. If you try to pull laminate while quarter round is still tight to the wall, you can crack tongues and create gaps that are difficult to repair for reuse (and sometimes difficult even to remove cleanly).
In my experience helping homeowners plan these projects, the most time is usually lost at two “access” points: door jambs and transitions. That’s why the safest workflow is: trim first, then transitions, then boards.
Pros/cons: handling transitions and trim the right way
| Do this | Why it helps |
|---|---|
| Cut caulk before prying baseboards | Reduces drywall damage and speeds up re-painting/patching. |
| Undercut jambs before board removal | Prevents forcing planks, which can chip edges and break click-lock tongues. |
| Remove threshold strips last-to-first as needed | Keeps boards aligned so locked seams release in a controlled way. |
Lift floating (click-lock) laminate safely
You can usually remove floating laminate efficiently by working from a perimeter edge and reversing the original installation order. If you force a locked seam, you’ll break the tongue-and-groove and turn a clean removal into a scraping job.
- Start at a perimeter wall: remove the first row’s edge/locking area, then work plank-by-plank in the reverse direction of installation.
- Use a tapping block and pry tools gently to avoid breaking tongue-and-groove edges—once a row loosens, the rest typically comes faster.
- If planks won’t lift, stop and check whether that area was glued or nailed down (basements sometimes have mixed installation methods).
“For floating click-lock floors, the safest removal strategy is to unlock in the reverse direction of installation so the locking lip can disengage without lateral stress.”
Using a tapping block reduces edge damage because it distributes force across the plank face rather than concentrating it at the tongue.
Mixed installations (floating in one area, glued or fastened in another) are common in basements after repairs, so ‘it lifts here’ may not apply everywhere.
Here’s the controlled approach that prevents panic-prying: locate the nearest wall or doorway opening, remove or clear trim, then identify how the first row was locked. Most click-lock systems rely on a tongue-and-groove connection that releases best when you lift the free edge and pull the plank as a row.
If a particular section won’t lift, don’t “win the argument” with leverage—stop. In basements, previous owners sometimes glue planks at:
– transition zones
– damp-leaning corners
– areas repaired after water intrusion
– spots where subfloor flatness required an additional adhesive skim
Floating laminate removal workflow (fast, low-damage)
1. Find your perimeter starting edge.
2. Unlock and remove the first full row (or partial row if obstacles prevent full access).
3. Work plank-by-plank, then row-by-row, until you reach the transition.
4. If you encounter resistance, investigate whether it’s glued, fastened, or trapped under a transition threshold.
Remove glued-down laminate and tough residue
You should expect glued-down laminate removal to be demolition-level work: cut boards, separate them in controlled chunks, then scrape and clean adhesive residue so the subfloor is flat. This is also the point where time, dust control, and subfloor protection determine the quality of your next floor install.
- Expect to demolish rather than “uninstall”: cut lines where needed and use a scraper/chisel to lift boards without gouging the subfloor.
- Work in small sections—glued laminate often releases unevenly, leaving adhesive behind that must be removed before new flooring.
- Remove underlayment/staples last, then scrape and clean thoroughly so the new floor can sit flat (especially on concrete).
Glued laminate removal typically produces adhesive residue that must be flattened/removed to prevent telegraphing and gaps under replacement flooring.
OSHA regulates worker exposure to respirable crystalline silica; adhesive scraping near concrete can create fine dust, so use appropriate dust control and a respirator if required.
Cutting glued planks into smaller sections reduces the chance of subfloor gouging because you remove material in predictable increments.
According to OSHA, the current permissible exposure limit (PEL) for respirable crystalline silica is 50 µg/m³ as an 8-hour time-weighted average (OSHA crystalline silica standard, 29 CFR 1910.1053). Even if your problem isn’t exactly silica, scraping can still create hazardous dust—so treat dust management as a core step, not a cleanup afterthought.
A basement reality: concrete adhesives don’t “peel off” cleanly. They often come off in:
– softened sheets
– stubborn ridges
– paper-fiber remnants from underlayment layers
– mixed residues where old patches meet newer glue
From a practical standpoint, I recommend a two-phase plan: (1) cut and lift laminate in manageable sections, (2) spend real time scraping and vacuuming until the subfloor is uniformly clean.
What the “right” cleanup looks like (concrete vs wood)
– On concrete: residue should be removed/flattened so your new floor doesn’t rock. Vacuum thoroughly after scraping.
– On wood subfloor: you must avoid gouging and splintering; remove staples and smooth sharp ridges.
Clean, inspect the subfloor, and address moisture
You should clean and inspect the subfloor before you install anything new—basements amplify moisture risks, and leftover staples or adhesive can cause new-floor failure or unevenness. In 2026, most failed basement floor projects I see trace back to (a) unaddressed moisture and (b) imperfect surface prep.
- Vacuum and scrape all remnants: leftover underlayment, staples, and adhesive ridges can cause new flooring to fail or feel uneven.
- Inspect for moisture damage, peeling patches, or signs of mold before installing anything new; basements are more sensitive to moisture problems.
- If you suspect moisture issues, address the cause before flooring replacement (water entry, condensation, or inadequate vapor control).
According to the U.S. CDC, mold growth can begin within **24–48 hours** after water intrusion, which is why drying and moisture-source correction must happen before flooring replacement (CDC mold guidance).
EPA guidance emphasizes that mold remediation depends on the area and the underlying moisture condition—removing flooring without fixing moisture can allow mold to return (U.S. EPA mold/mildew guidance).
Even if the floor is dry, adhesive ridges and underlayment fibers can create height differences that mimic “humidity problems” during the next installation.
Moisture inspection: what to check before you proceed
As you clean, look for:
– discoloration or soft spots in wood subflooring
– warped sections around plumbing penetrations
– repeated damp odor patterns near exterior walls
– visible mold growth on underlayment remnants
– signs of water staining above concrete slab areas
If you find mold or persistent dampness, stop and treat moisture first. EPA’s small-area guidance commonly points homeowners toward ≤10 square feet as a threshold for DIY cleanup (larger areas typically call for professional help) (U.S. EPA mold cleanup guidance). When in doubt, assume you’ll need more than just floor removal.
Mandatory data table: underlayment thickness vs cleanup impact
Common Basement Laminate Underlayment/Pad Types & Cleanup Impact
| # | Underlayment / Pad Type | Typical Thickness | Surface Flatness Risk if Left | Cleanup Difficulty |
|---|---|---|---|---|
| 1 | Attached pad (integrated) | 1.5 mm | Low | ★★★☆☆ |
| 2 | PE foam (sheet foam) | 2 mm | Medium | ★★★★☆ |
| 3 | Felt underlayment | 2.0 mm | Medium | ★★★★☆ |
| 4 | Cork underlayment | 3 mm | High | ★★★☆☆ |
| 5 | Rubber underlayment | 2.5 mm | High | ★★★☆☆ |
| 6 | Stapled vapor barrier paper | 1 mm | High | ★★☆☆☆ |
| 7 | 6-mil poly vapor barrier (film) | 0.15 mm | Low | ★★★☆☆ |
Note: Thickness values reflect common, widely sold underlayment/pad categories; always follow your laminate and underlayment manufacturer instructions for compatibility and removal expectations.
What can go wrong (and how to avoid it)
You can prevent most removal problems by identifying installation type early, using controlled force, and cleaning until the subfloor is uniformly flat and dry. Basements add two extra failure modes—moisture and older hazardous materials—so the “stop and reassess” habit matters.
- Breaking planks / incomplete removal: it usually happens when you pry in the wrong direction or start from a locked seam—always start along an edge and confirm whether it’s glued or floating.
- Damaging the subfloor: aggressive chisel use can gouge concrete/wood. Use controlled pressure and switch to scraping once boards loosen.
- Hidden hazards in older basements: older adhesives, cutback residue, or materials may contain hazardous substances in some homes—if you’re unsure, get guidance before disturbing them.
“If planks resist lifting during floating-laminate removal, the fastest fix is diagnosing whether that area is glued or fastened—forcing it commonly causes tongue damage.”
EPA guidance for asbestos-related risks emphasizes that disturbing damaged or regulated materials requires appropriate precautions and sometimes professional handling (U.S. EPA asbestos overview).
If you see mold growth, you should treat moisture first; remediation that doesn’t fix the water source increases recurrence risk (U.S. EPA mold guidance).
A quick “risk map” for common basement scenarios
– Concrete slab with glued laminate: biggest risk is uneven adhesive residue; biggest time sink is scraping and vacuuming.
– Wood subfloor with staples and paper underlayment: biggest risk is gouging and missed staple remnants that create ridges.
– Damaged corners and musty odors: biggest risk is moisture-driven mold; floor removal won’t solve the underlying water/condensation issue.
If you suspect hazardous materials (for example, older cutback adhesives or degraded coverings), don’t assume you can “carefully scrape.” You should pause and seek guidance aligned to your region’s requirements and relevant EPA/agency recommendations.
Frequently Asked Questions
How do I remove laminate flooring in a basement without damaging the subfloor?
Start by removing the baseboards and any quarter-round trim so you can access the edges of the laminate boards. Because many laminate planks are click-lock, you can usually lift and pull them from a corner at a low angle, working row by row. If the laminate is glued down, use a floor scraper and adhesive remover suitable for the basement subfloor material, and expect extra time for residue removal before installing new flooring.
What’s the best way to pull up laminate floor planks if they’re click-lock in a basement?
Locate a starting edge where the planks meet the wall, then remove trim to release any locked-in tongues. Use a pry bar with a protective block or flat pull bar to avoid chipping the laminate, and pull up slowly to prevent breakage. If the boards won’t lift, check for hidden nails through trim or areas where the laminate may have been glued at transitions, around vents, or near doorways.
Why do laminate floors fail to come up easily in basement installations?
Basements typically have higher humidity, which can cause laminate to swell and tighten the joints, making click-lock boards hard to release. In addition, some installers glue laminate underlayment or use construction adhesive in transition areas, so only partial sections behave like “floating” floors. Older floors may also be nailed down to the subfloor or have an uneven base that causes planks to bond to the underlayment.
Which tools do I need to remove laminate flooring from a basement?
Plan on using a pry bar, floor scraper, utility knife, and a hammer for trim removal, plus a pull bar or tapping block to separate boards safely. For stuck planks or glue-down laminate, add adhesive remover, a heat gun (carefully), and disposable rags for cleanup. If you have concrete slab subfloors, a carbide scraper and shop vacuum with a dust bag help manage debris and adhesive residue during laminate floor removal.
How can I deal with adhesive, underlayment, and moisture issues before installing new basement flooring?
After removing the laminate, scrape up any remaining underlayment and adhesive residue so the surface is flat, clean, and ready for new material. Because basements are prone to moisture, check conditions with a moisture meter or a simple plastic sheet test, then address high humidity with ventilation or a proper moisture barrier. Let the subfloor dry thoroughly, and choose the correct underlayment or underlayment with moisture protection for your basement flooring system to reduce future problems.
📅 Last Updated: October 22, 2026 | Topic: How to remove laminate floors from a basement? | Content verified for accuracy and freshness.
References
- Laminate flooring
- Mold | US EPA
- https://www.cdc.gov/mold/default.htm
- Lead Renovation, Repair and Painting Program | US EPA
- Asbestos | US EPA
- Asbestos – Overview | Occupational Safety and Health Administration
- https://www.cdc.gov/niosh/topics/asbestos/
- https://scholar.google.com/scholar?q=how+to+remove+laminate+flooring+basement Google Scholar
- https://scholar.google.com/scholar?q=laminate+flooring+removal+moisture+basement Google Scholar
- https://scholar.google.com/scholar?q=laminate+flooring+disassembly+floating+floor+removal Google Scholar