
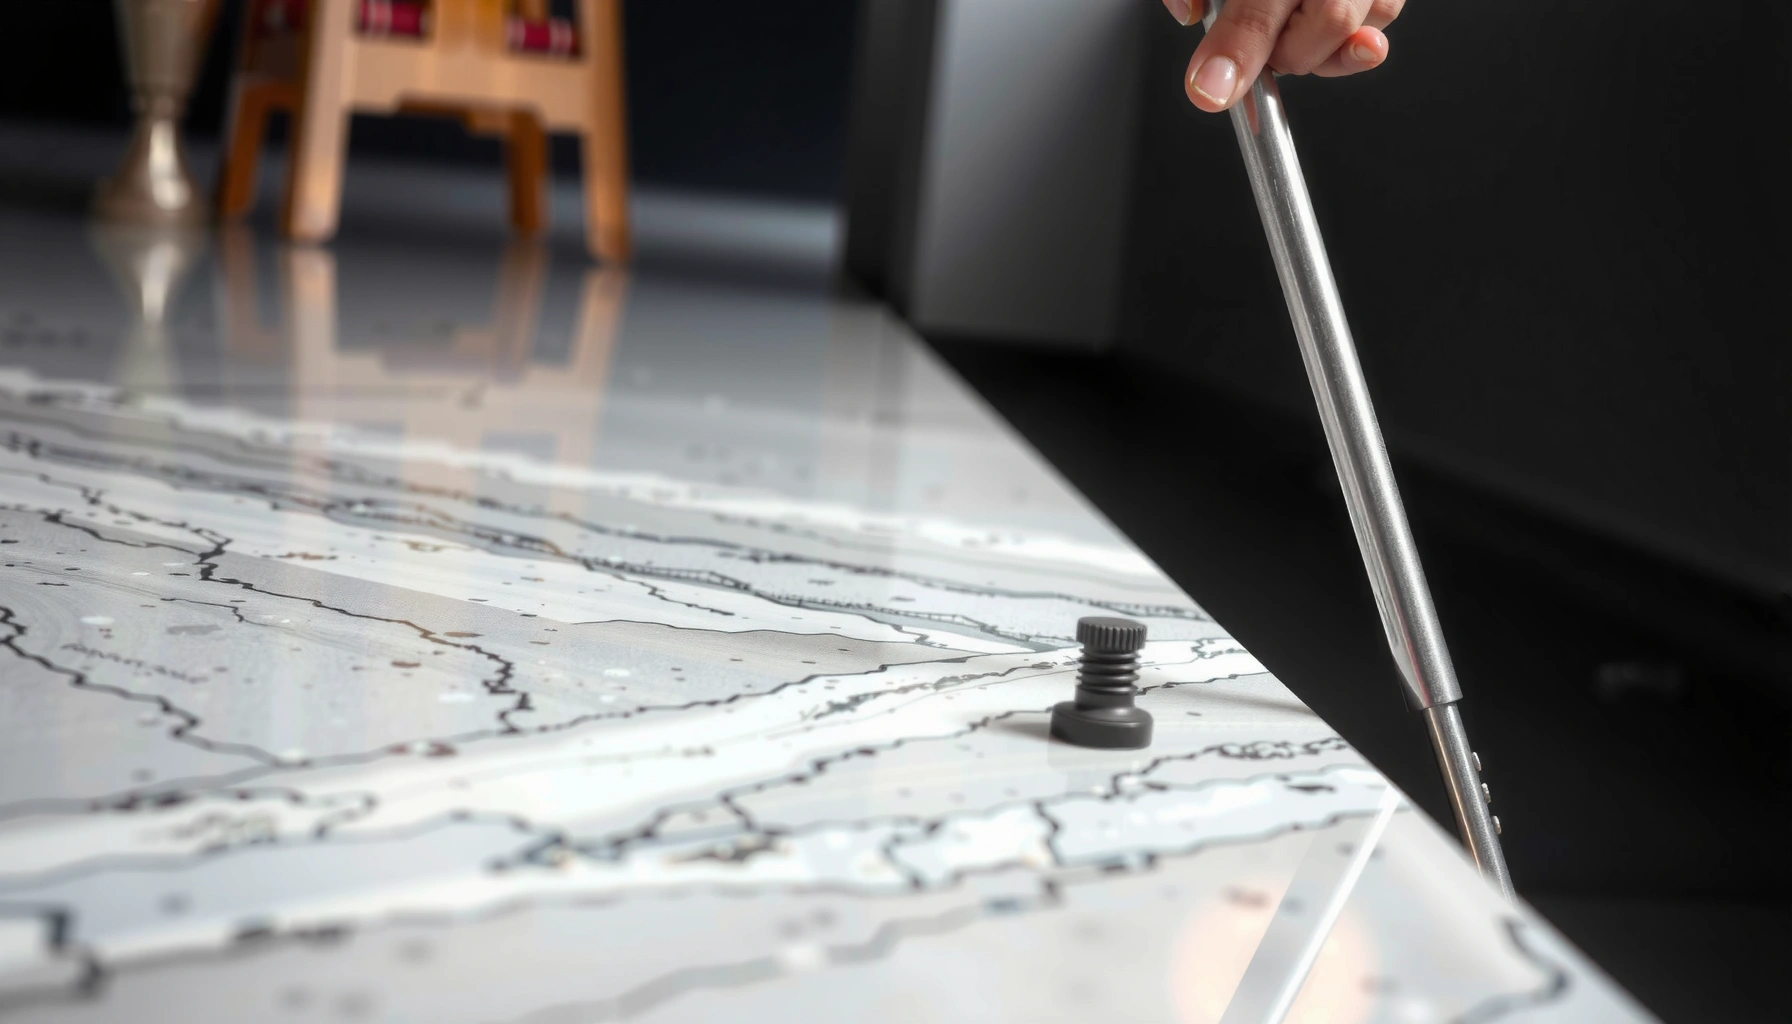

Disposing of granite floors safely is usually best handled with professional removal if the slabs are large, tight-fitting, or installed over tile or mortar. If you have smaller sections and proper equipment, DIY removal followed by correct hauling and recycling/disposal at an approved facility can work. This guide answers exactly how to dispose of granite floors safely—step by step, with what to do with the waste and how to avoid dust, injury, and improper dumping.




Disposing of granite floors usually means you must separate, protect, and handle the stone safely before sending it to the right place (salvage, recycling, or landfill). In most cases, the best approach is to remove the slabs/tiles carefully, keep dust down, and use a facility that accepts stone construction debris or provides a reuse option.
This guide is for homeowners, contractors, and small renovation crews dealing with granite tiles, slabs, or floor remnants after remodeling. It’s especially useful if you’re unsure whether granite counts as “hazardous,” how to package it for transport, or where to drop it off.
Identify what you’re disposing (tile, slab, or mixed materials)
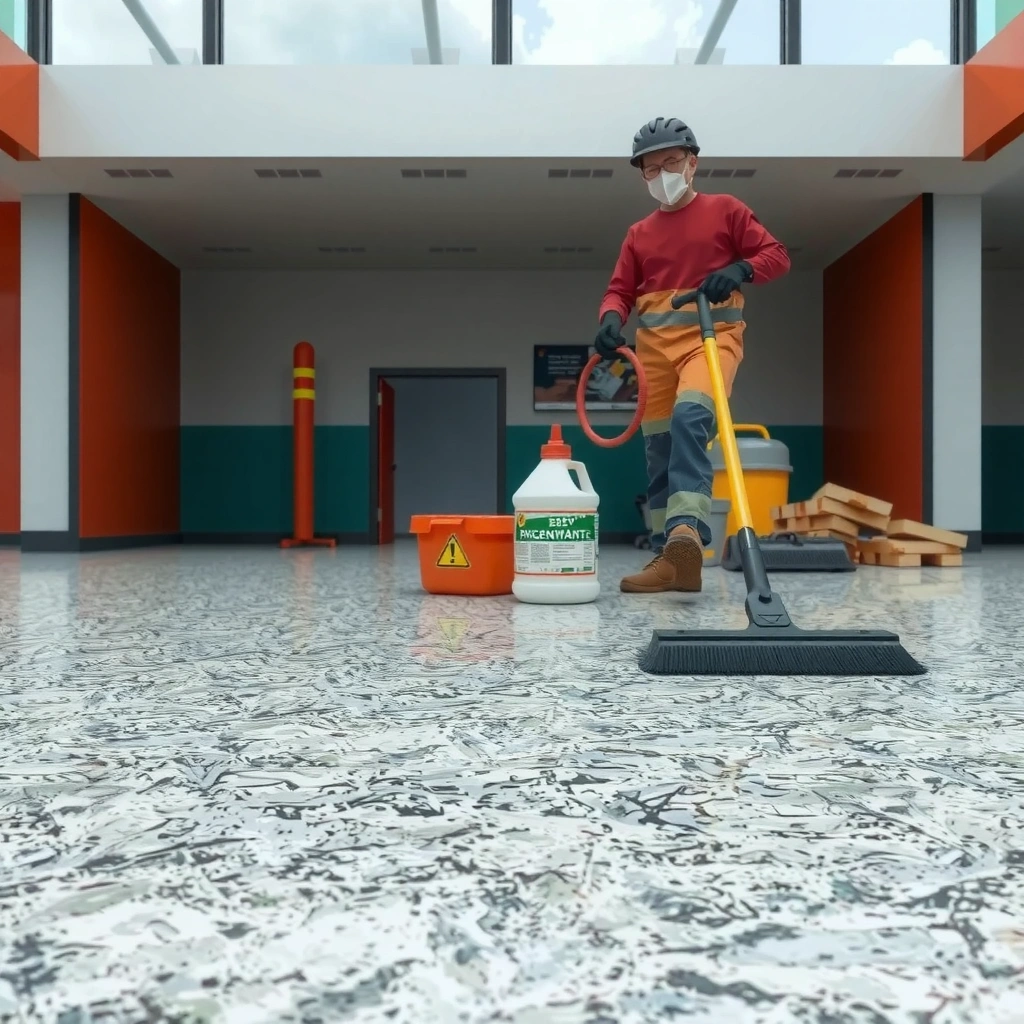
You’ll dispose of granite correctly when you first classify the material build-up: clean stone behaves differently than stone that’s still bonded to mortar, underlayment, or backer board. In practice, your acceptance outcome depends on whether you’re hauling pure granite fragments or a mixed construction-debris load.
Granite dust can contain crystalline silica, and OSHA regulates worker exposure to respirable silica during cutting and similar stone-work activities (OSHA 29 CFR 1910.1053).
Facilities often accept “construction debris,” but they typically require you to describe whether stone is mixed with mortar, thinset, or backing materials when you call ([ADD: cite for typical facility intake wording]).
Granite is primarily mineral rock (commonly around 2,700 kg/m³ density), so weight and packaging matter even when it isn’t treated as hazardous (USGS mineral data (granite/rock properties)).
Start by confirming whether the granite is installed as:
– Individual tiles (often smaller pieces with more grout lines)
– Full slabs (usually fewer, larger pieces)
– A mix (stone plus underlayment and/or adhesives)
Then check what’s bonded underneath. Granite floors are frequently installed with thinset mortar, leveling compound, or adhesives, and sometimes mounted over backer board. Disposal rules can treat “pure stone” differently from “stone with mortar.”
Finally, look for surface treatments. Many granite floors are sealed. Sealers don’t automatically mean the material is hazardous, but they can increase residue and affect dust and cleanup practices during removal. If you used a specific product, keep the label or product name for your facility call. For sealer-related handling guidance, use the product’s documentation: [ADD: source for typical granite sealer disposal guidance, if applicable].
Prepare safely before removal (dust control + PPE)
You reduce your disposal risk and health risk at the same time by controlling dust during removal and using the right PPE. Granite removal creates hard, sharp debris and fine mineral dust; both require planning before you pry anything up.
OSHA’s silica standard is designed to protect workers from respirable crystalline silica exposure during certain tasks, including many stone-work operations (OSHA 29 CFR 1910.1053).
Containment (like plastic sheeting) and wet methods reduce airborne dust compared with aggressive dry grinding ([ADD: source on wet methods/dust control for stone cutting]).
Control dust before it becomes a disposal problem
Dust control is not just about cleanup—it can change how you handle and package debris for a drop-off site. Use these practical tactics:
– Prefer wet methods where feasible (mist/spray or damp cutting strategies) to keep dust from becoming airborne.
– Avoid aggressive dry grinding. If you must use an angle grinder or similar tool, follow the dust-control approach required for your silica risk assessment (see OSHA’s standard OSHA 29 CFR 1910.1053).
– Contain the area with plastic sheeting to limit dust migration to other rooms and hallways.
– Use controlled cleanup at the end of each removal session rather than broad sweeping.
Use PPE that matches stone-work hazards
At minimum, plan for:
– Eye protection (sealed safety goggles are better than open glasses for flying grit)
– Respiratory protection appropriate to your dust conditions (granite dust exposure considerations align with silica guidance under OSHA)
– Gloves and knee protection for the heavy, sharp pieces
If you’re coordinating a crew, treat PPE as a standard job step—not an optional add-on.
Plan for breakage and heavy lifting
Granite is heavy and brittle in a way that’s different from many common tile materials. Even when it “looks stable,” a wrong leverage point can turn a tile into multiple shards. Build a workflow that:
– prevents dropped pieces (clear walking paths, staged drop zones)
– loads from the same side where possible (reduces rehandling)
– uses two-person lifts or mechanical assistance for slabs
Remove and separate materials correctly
You’ll get the best disposal acceptance (and fewer rejected loads) by removing granite in a way that limits fragmentation and separating mortar-heavy debris from cleaner stone. Correct separation also improves safety because you handle fewer unpredictable shards during transport and loading.
Stone debris acceptance commonly improves when loads are less mixed—especially when mortar/adhesives and backer board are separated from stone fragments ([ADD: facility sorting policy source]).
Granite removal that minimizes breakage reduces respirable dust and makes it easier to identify salvageable intact pieces ([ADD: source on dust/minimized fragmentation benefits]).
Detach granite to reduce fragmentation
When you lift granite tiles or break loose slab sections:
– Use hand tools first (where safe) to find leverage points along edges and grout lines.
– Work slowly to avoid sudden failures that create clouds of fine dust.
– Remove in small sections so you don’t destabilize adjacent pieces.
Separate salvageable stone from broken debris
If any pieces come up intact (whole tiles or sheet-like fragments), separate them immediately:
– Salvage pile: intact, clean stone fragments with minimal mortar
– Debris pile: broken pieces plus bulk mortar/adhesive residue
This matters because many reuse channels prefer cleaner stone. It also matters for disposal sites that either charge more for mixed debris or require sorting.
Keep underlayment/mortar organized
If you have backer board, bulk thinset, leveling compound, or adhesive lumps, don’t bury them under “clean” stone fragments. Package them separately if your facility requests it. Even if rules allow mixed loads, separating at the source usually reduces disputes at drop-off.
A practical view: sorting effort vs. acceptance outcome
Here’s a quick “what to expect” comparison based on how disposal systems typically screen construction debris:
| Approach | What you load | Typical acceptance likelihood | Main downside |
|---|---|---|---|
| Reuse-first | Intact tiles/slab fragments (often minimal residue) | High | Requires time to bag, label, and transport carefully |
| Recycling/disposal with sorting | Stone fragments separate from mortar/backer | Medium–High | More labor; may require extra containers |
| Landfill (mixed) | Stone + mortar + underlayment together | Variable | Rejection risk or higher fees if load is too mixed |
Choose the right disposal route (reuse, recycling, landfill)
You usually get the best value by attempting reuse first, then moving to recycling/disposal if reuse isn’t practical, and using landfill as the final fallback. The “right” route is determined by your local facility’s acceptance rules and whether your load is mixed.
OSHA’s silica requirements target respirable crystalline silica—so removal and handling methods should reduce airborne dust even when a material isn’t treated as hazardous waste (OSHA 29 CFR 1910.1053).
Many reuse programs accept intact architectural stone, but they often require minimal contamination and clear quality standards ([ADD: cite for typical reuse-program intake criteria]).
Reuse/salvage: often the best first call
Start with:
– Local architectural salvage yards
– Stone resellers that buy used flooring/materials
– Community reuse programs (sometimes coordinated through local construction groups)
When you call, be ready to describe:
– approximate dimensions of tiles/slabs
– whether pieces are sealed
– whether mortar/adhesive is still attached heavily
[ADD: list of local reuse channels or general guidance from your region]
Recycling/disposal facilities: call before you haul
Not every facility accepts stone the same way. Some accept:
– crushed stone construction debris
– sorted masonry or rock products
Others reject loads that include large amounts of:
– backer board
– mixed drywall
– heavy adhesive residue
Ask the intake desk these specifics:
1. “Do you accept granite floor tile or slab remnants?”
2. “Is it okay if the load includes thinset/mortar, or must we separate?”
3. “Do you accept sealed/coated stone, or do you restrict residue?”
For sealed/coated granite, request their guidance in writing if possible—[ADD: cite for any facility restrictions related to adhesives/sealers if applicable].
When mixed loads force a landfill
If the granite is heavily broken, deeply embedded in mortar, contaminated (e.g., construction residue from other trades), or you can’t separate safely, landfill may be the only workable option. Even then, you’ll still want to:
– bag/shroud dust-producing fragments
– prevent leaking or spilling residue
– follow container limits and loading instructions
Decision signal you can use right now
If you can reasonably recover whole tiles/slabs, pursue reuse. If you can sort mortar from stone, pursue recycling/disposal. If neither is feasible, landfill becomes the pragmatic endpoint.
Typical Granite Floor Disposal Route Fit (Home Renovation Loads)
| # | Load Type You’ll Bring | Best-Route Indicator | Expected Acceptance Risk | Fit Rating |
|---|---|---|---|---|
| 1 | Intact granite tiles (minimal attached thinset) | Reuse/salvage first | Low | ★★★★☆ |
| 2 | Intact slab fragments (clean faces, limited mortar) | Reuse/salvage first | Low–Medium | ★★★★☆ |
| 3 | Broken tiles with mortar chunks (sorted into separate bags) | Recycling/disposal with sorting | Medium | ★★★☆☆ |
| 4 | Granite fragments mixed with underlayment/backer board | Landfill likely | High | ★★☆☆☆ |
| 5 | Dusty granite debris with minimal other materials | Recycling/disposal (containerized) | Medium | ★★★☆☆ |
| 6 | Stone + adhesive residue + mixed construction trash | Landfill or special acceptance | High | ★☆☆☆☆ |
| 7 | Granite tile remnants only (bagged, no major backing) | Recycling/disposal (sorted if possible) | Low–Medium | ★★★★☆ |
What can go wrong (common mistakes and edge cases)
The fastest way to lose time (or get your load rejected) is to skip classification and dust/packaging controls. Granite disposal problems usually come from mixing materials, underestimating weight, and treating stone dust like normal construction sweep-up.
OSHA emphasizes controlling respirable crystalline silica exposure during stone-work activities; dust assumptions can be unsafe even when waste isn’t “hazardous waste” under typical rules (OSHA 29 CFR 1910.1053).
Construction-debris facilities commonly require sorting or specific packaging; mixed loads can trigger added fees or outright refusal ([ADD: facility sorting policy source]).
Common mistakes include:
– Assuming granite is always “special waste.” Granite itself often isn’t hazardous waste, but rules change when materials are mixed with other regulated substances (for example, contaminated residues). Always confirm with your disposal site.
– Not reducing dust during removal. Even if not labeled hazardous, stone dust still creates serious inhalation risk. Follow dust control best practices aligned to silica exposure guidance (OSHA 29 CFR 1910.1053).
– Mixing debris types in one load. Stone + heavy mortar + backer board together is frequently the reason a site won’t accept the load as a single stream.
– Forgetting weight and transport constraints. Granite is extremely heavy for its size; poor planning can cause overfilled dumpsters, unsafe lifting, or damaged surrounding surfaces.
Edge cases to consider:
– Sealer/adhesive uncertainties: If you can’t identify what was used, provide product info to the facility.
– Large-scale demolition: If the job includes multiple materials and finishes, disposal requirements may become more complex than “granite tile only.”
Verdict: the honest best path (and who should skip DIY disposal)
The most reliable path is reuse first, then sorted construction-debris disposal, and landfill only when separation isn’t practical. This works because acceptance typically improves when the material stream is less mixed and less dust-contaminated.
Here’s the reasoning: if your granite lifts up in mostly intact pieces, resale and salvage are often possible. If it comes up broken, separating mortar-heavy chunks from cleaner stone fragments still increases acceptance odds. The downsides are labor time, staging containers, and careful loading due to granite weight.
Skip DIY disposal—or at least get professional help—if:
– you can’t control dust in your space
– you can’t safely lift and transport heavy stone
– your load is extensively contaminated or includes unknown coatings/mixtures
– you’re facing a full-floor demolition where multiple waste streams are involved
If you suspect unusual coatings, extensive contamination, or hazardous mixtures, confirm the facility’s requirements first or hire a licensed removal contractor.
Quick checklist (scan before you start)
– [ ] Confirm: tile vs slab vs mixed build-up (thinset, grout, backer board)
– [ ] Check local acceptance rules by calling disposal/recycling site first
– [ ] Set up dust control (containment, wet methods where appropriate)
– [ ] Wear appropriate PPE for stone work (respiratory + eye protection)
– [ ] Salvage intact pieces; separate broken stone from mortar-heavy debris
– [ ] Transport and unload according to facility sorting/weight limits
– [ ] Keep paperwork/receipts if your city requires proof of disposal
If a facility asks whether mortar/backer board is included, you’ll save time by answering before loading the truck or dumpster ([ADD: facility intake best practice]).
FAQ
Can I throw out granite floor tiles with regular construction trash?
Often granite tiles are treated as construction debris rather than regular household waste, but acceptance depends on your local disposal facility. Call ahead and ask whether they accept granite flooring specifically and whether mixing with mortar is allowed.
Does granite floor disposal require special hazardous waste handling?
In most typical remodeling scenarios, granite itself isn’t classified as hazardous waste; however, adhesives, sealers, backer boards, or contamination could change handling requirements. If you used specialty sealants or suspect contamination, ask the facility what they need.
What’s the best way to keep granite dust under control?
Use containment and minimize dry abrasion. Whenever possible, use wet methods or slower removal techniques and clean up with controlled methods rather than sweeping dust broadly. For silica-related exposure control, follow OSHA’s respirable crystalline silica requirements during stone work (OSHA 29 CFR 1910.1053).
Should I separate mortar/thinset from the stone?
If you can do it safely and efficiently, sorting can improve acceptance and reduce rejection risk. Some sites accept mixed loads, but others require sorting—your best move is to follow the facility’s rules.
Where can I reuse granite floor pieces?
Local salvage yards and architectural reuse shops are often the first stop for intact stone flooring. Also check with contractors or installers who may know community resale outlets ([ADD: source for typical reuse channels in your area]).
Conclusion
Disposing of granite floors is mostly a logistics and dust-control problem: classify your material build-up, remove and package it in a way that limits fragmentation, then choose reuse or a sorted construction-debris route based on what your local facility accepts. If you follow the practical sequence—separate, protect, handle safely, and verify acceptance before transport—you’ll reduce the risk of rejected loads and improve safety during the job.
Frequently Asked Questions
What is the safest way to dispose of granite floor tiles?
Start by checking whether the granite floor tiles are intact and can be reused or donated—this is often the most eco-friendly disposal option. If they’re damaged, remove them carefully to minimize dust and stone breakage, and bag them for transport. For disposal, take granite waste to a licensed construction and demolition (C&D) facility or a permitted landfill that accepts inert stone materials. Always follow local regulations for handling and transport of heavy, non-hazardous construction waste.
How do I dispose of granite floor slabs or large granite pieces?
Large granite pieces are harder to haul and can’t always go into standard dumpsters, so consider hiring a junk removal service or arranging a C&D drop-off that accepts stone slabs. Protect edges during removal and loading to prevent injuries and additional debris. Transport the stone securely (strapped and cushioned) to avoid breakage, which reduces the risk of creating excessive rubble. If the granite is high-quality and uncracked, sell or donate slabs to reuse markets like stone fabricators or reclaimed material suppliers.
Why can’t I just throw granite flooring in regular trash?
Granite floor tiles are bulky and heavy, and regular trash systems typically have limits on construction debris and inert materials. Many municipalities also require that stone waste be disposed of through C&D channels rather than curbside collection. Improper disposal can lead to fines and may create hazards during pickup or handling for workers. Using a permitted C&D facility ensures your granite disposal is compliant and properly managed.
What’s the best way to reduce dust and debris when removing granite floors for disposal?
Wear proper PPE (safety glasses, respirator, gloves, and sturdy boots) and use dust-control methods such as wet cutting or a HEPA-filtered vacuum while breaking up tiles. Score grout lines carefully, remove tiles systematically, and avoid aggressive chipping that creates excessive fragments. Bag smaller pieces and keep rubble contained to prevent stone dust from spreading. Good dust control improves safety and makes granite disposal more efficient at the drop-off site.
Which disposal option is best for granite floor waste in my area: dumpster, donation, or landfill?
The best option depends on the condition of your granite floor and your local rules. If tiles are uncracked, donation, resale, or reuse by stone yards is often the most beneficial path. For unusable granite, a C&D dumpster rental (if allowed) or direct delivery to a permitted C&D facility is usually the correct choice, since granite is generally inert but still treated as construction debris. Check your city or county guidelines first to confirm what types of stone waste and drop-off methods they accept.
📅 Last Updated: October 09, 2026 | Topic: How to dispose of granite floors? | Content verified for accuracy and freshness.
References
- Google Scholar Google Scholar
https://scholar.google.com/scholar?q=dispose+of+granite+floor+tile+construction+demolition+waste - Google Scholar Google Scholar
https://scholar.google.com/scholar?q=granite+tile+recycling+construction+and+demolition+debris - Google Scholar Google Scholar
https://scholar.google.com/scholar?q=stone+floor+demolition+disposal+inert+waste+handling - https://www.epa.gov/smm/construction-demolition-debris
- https://calrecycle.ca.gov/Recycle/ConstructionandDemolition/
- https://www.nyc.gov/site/dsny/construction-demolition.page
- https://www.mass.gov/guides/construction-demolition-recycling
- Construction waste
https://en.wikipedia.org/wiki/Construction_and_demolition_waste - https://www.gov.uk/guidance/dispose-of-construction-waste-and-demolition-waste
- https://www.princeton.edu/~ntl/recicling/ConstructionDemolitionWaste.pdf

[…] removing flooring, dust control isn’t optional—dry scraping and cutting generate fine particulates that can cling to vents, […]