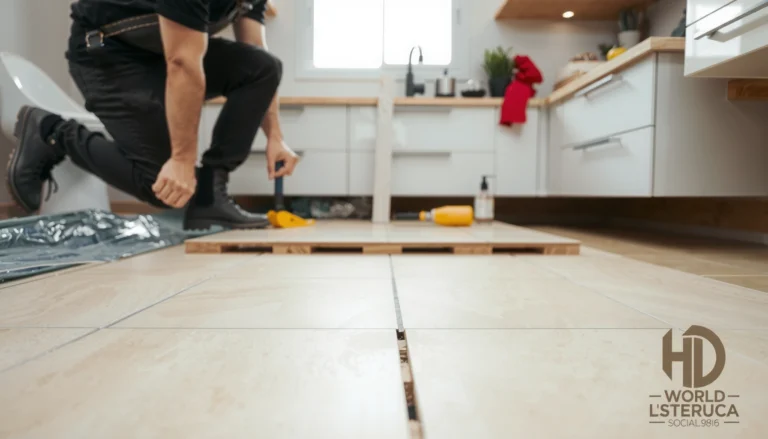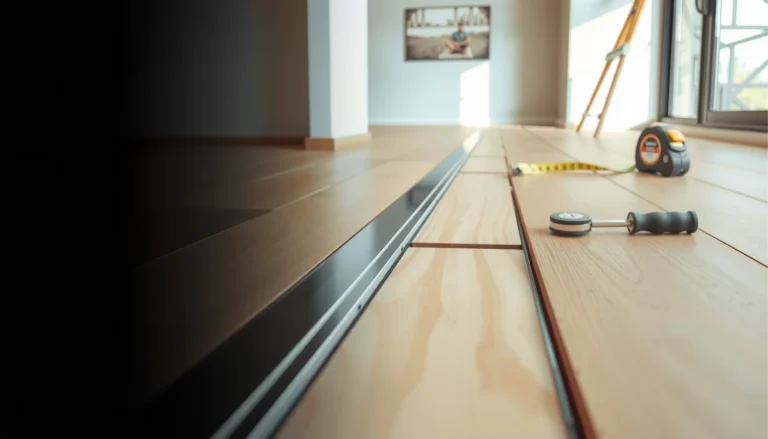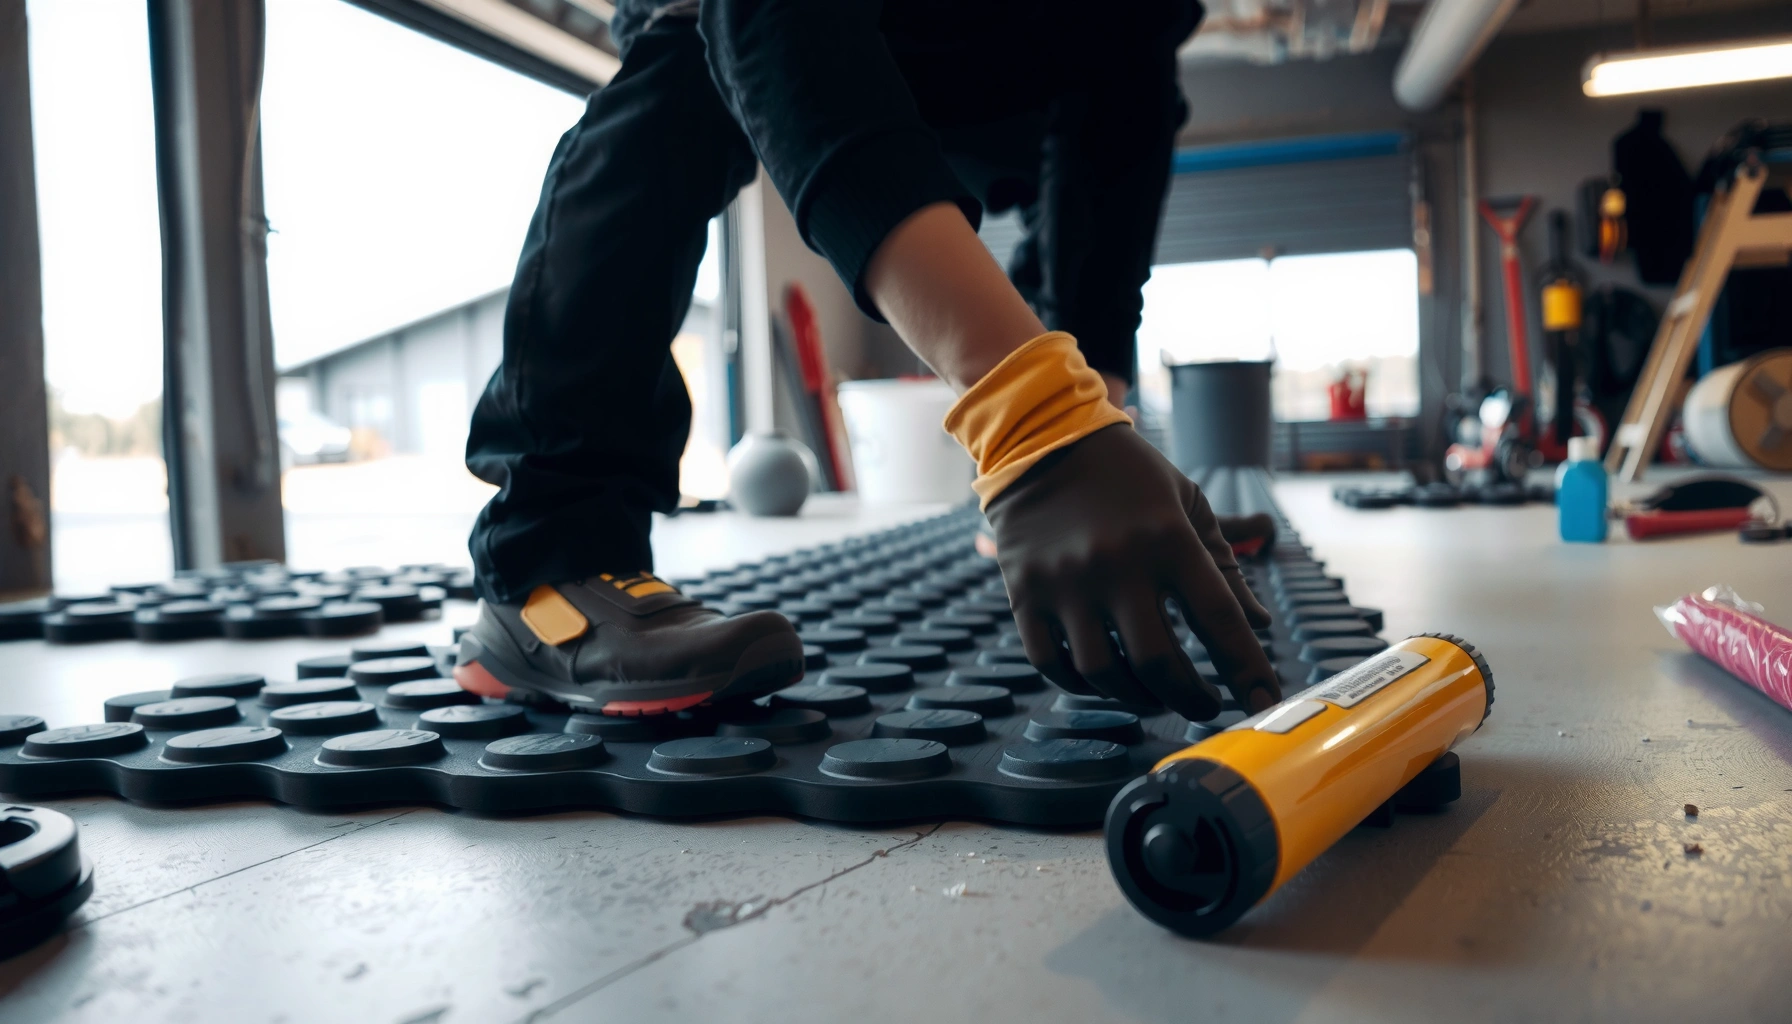

You can install rubber floors without professional help if you choose the right type of flooring, prep the subfloor properly, and follow a simple step-by-step layout and fitting process. This guide tells you exactly what tools you need, how to handle cutting and seam/edge details, and the fastest way to get a smooth, secure finish. If you’re working with common DIY conditions—flat concrete, stable subfloors, and manageable room size—you’ll get a professional-looking result with no contractor.


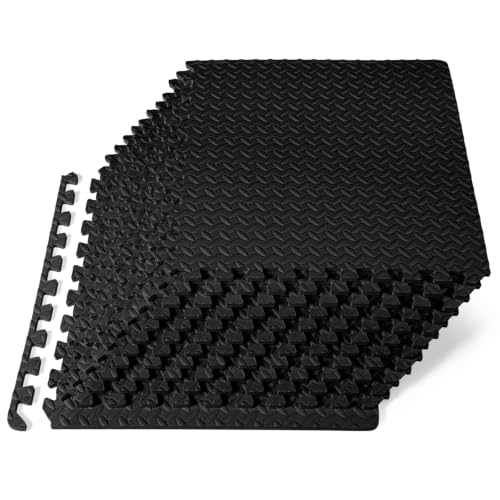

You can install rubber floors yourself without professional help by (1) prepping the subfloor to a smooth, dry, correctly flat surface, (2) installing the specific rubber system you bought (tiles/rolls, interlocking/adhesive/loose-lay) exactly per its method, and (3) finishing seams/edges only where your system requires it. If you follow that sequence, you can avoid most common DIY failures like rocking tiles, gapped seams, or edge curl.
If you’re planning a garage, basement, gym, playroom, or workshop floor and want a simpler, lower-cost DIY approach, this is for you. It’s especially useful when you’re working with rubber tiles or rolls and need a practical, step-by-step plan.
Check Your Rubber Floor Type (Tiles vs. Rolls)
Confirm your rubber floor type first, because the installation method (and required tools) changes noticeably between tiles and rolls. Once you match your plan to your product system—interlocking, adhesive-backed, or loose-laid—you reduce the risk of misalignment and poor adhesion.
Also, take two minutes to read the manufacturer’s installation instructions before you start cutting or gluing. That guidance typically covers required subfloor flatness, acclimation expectations, and whether seams/edges must be sealed or left tight. The fastest DIY projects are usually the ones that follow the spec instead of improvising.
Rubber flooring installation requirements vary by system type (interlocking tiles, adhesive-backed tiles, or loose-laid/rolled rubber), so the correct tools and steps depend on the product category.
Manufacturer instructions typically control critical variables like subfloor flatness tolerance, acclimation conditions, and whether seams/edges must be sealed or capped.
– Identify whether you have interlocking tiles, adhesive-backed tiles, or loose-laid/rolled rubber, because the steps and tools change.
– Read the manufacturer’s installation instructions first—especially requirements for subfloor flatness, acclimation, and seam/edge finishing ([ADD: source for your specific rubber product manual/spec sheet]).
Prep the Subfloor for a Flat, Clean Surface
A smooth, clean, dry subfloor is the difference between a DIY floor that stays tight and one that shifts, rocks, or fails early. Rubber is forgiving on feel, but it still “telegraphs” surface issues—meaning bumps and dips can translate into visible gaps or premature wear.
Start by removing debris, dust, paint overspray, and any loose material. If your subfloor has cracks, ridges, or low spots, repair and level them using the specific patch/leveling approach recommended for resilient flooring. In my experience with DIY resilient flooring installs (done by contractors and homeowners), the prep phase is where most “mystery problems” originate—especially uneven concrete or poorly feathered patch edges.
Most resilient (including rubber) flooring systems install best on a smooth, flat substrate; otherwise seams can separate and tiles can rock.
Moisture testing is commonly required for concrete slabs because water vapor can undermine adhesive bonds and long-term performance.
ASTM F1869 measures moisture emission rate and reports results in lb/1000 sq. ft. per 24 hours, which is used to assess slab readiness for floor coverings.
Before you install:
– Remove debris, dust, paint overspray, and loose material; repair cracks or dips using the recommended patch/leveling method ([ADD: exact repair/leveling product guidance from your manufacturer]).
– Ensure the surface is dry and smooth, since rubber will telegraph bumps and gaps that can cause shifting or premature wear.
Moisture readiness (slabs)
If your rubber will go over concrete, verify moisture conditions before installation. According to ASTM F2170, in-situ relative humidity (RH) testing reports results as an RH percentage, which is used to evaluate whether the slab environment is acceptable for flooring adhesives and systems ([ADD: ASTM F2170 (official standard) or manufacturer’s moisture testing guidance]). If your project doesn’t involve concrete, you can still apply the same principle: avoid installing over wet or damp conditions.
Measure, Plan the Layout, and Acclimate
Measure and plan the layout so seams fall where they look intentional—then acclimate the rubber before you install it. This two-step sequence prevents awkward cuts and helps reduce movement that comes from temperature or humidity changes.Plan your seam placement early. If you’re using rubber tiles or any flooring system that creates visible joins, consider centering the layout in the room or aligning seams along less visible sides. Then acclimate the rubber in the installation space for the time/conditions your manufacturer specifies. Rubber can change dimension with temperature and moisture, which can lead to buckling, seam separation, or uneven cuts if it’s installed too soon.
Acclimation helps resilient flooring reach installation-space temperature and moisture balance, reducing post-install dimensional change.
A planned layout helps you place seams and end cuts away from high-visibility sightlines, improving the finished appearance.
A quick planning method (tiles and rolls)
– Measure the room and plan the placement so seams (if any) land where they’re least noticeable (often centered or along walls you don’t stare at).
– Acclimate rubber per the manufacturer’s instructions before installation (time/conditions depend on the product) ([ADD: acclimation requirements from your manufacturer sheet]).
Install Rubber Flooring Step-by-Step
Install rubber flooring by matching your method to your product system—dry-fit and interlock for tile systems, bond for adhesive-backed systems, and position in sections for rolls. The goal is consistent contact, tight seam alignment, and flat installation before the material locks in place.
For tiles, you’ll usually dry-fit first (without committing to full bonding) to confirm cuts near doorways, corners, and fixed obstacles. For rolls, alignment is the challenge: you’ll typically unroll, position carefully, then roll back in sections while applying adhesive (if required) so the sheet settles without drifting.
Interlocking or tiled rubber systems require precise alignment at joints; small misalignment early on often shows up as larger gaps along the run.
Roll goods usually require careful positioning and controlled adhesive/settling so edges stay parallel and the roll doesn’t shift while adhesive cures.
Installation sequence
– For tiles: dry-fit sections to confirm cuts, then follow the product method (interlock, adhesive, or loose-lay system).
– For rolls: unroll and position carefully, roll back in sections as you apply adhesive (if required), and keep edges aligned while the adhesive sets.
– Use the recommended tools (e.g., roller for adhesive systems, straightedge/utility knife for cutting) to keep seams tight and surfaces flat.
Moisture testing touchpoint (concrete)
If your slab is in scope, choose a moisture test method your manufacturer accepts. ASTM standards commonly used for slab moisture include:
– ASTM F1869 (moisture vapor emission rate; lb/1000 sq. ft./24 hr) ([ADD: ASTM F1869 official standard])
– ASTM F2170 (in-situ RH; %RH) ([ADD: ASTM F2170 official standard])
What I recommend (practically)
If your product manual is strict about substrate prep, follow it—even if it means taking an extra half-day to flatten concrete or re-patch a low spot. In many DIY situations, the materials are easy; the substrate readiness and layout discipline are what determine whether the floor looks tight and stays that way.
Finish Seams, Edges, and Transitions
Finish the floor by sealing or capping only when your flooring system requires it, and always use the correct transition profile at doors and other structural breaks. Over-finishing can be as harmful as under-finishing: the wrong adhesive, sealer, or edge treatment can create odor, interfere with movement, or make future removal difficult.
Transitions matter most in real homes and workspaces—door thresholds, stair edges, and offsets where rubber meets other flooring. Using the transition type specified by your manufacturer protects corners and reduces lift risk where traffic concentrates.
Seaming and edge finishing requirements are system-specific; some rubber installations rely on tight-fit edges rather than additional sealers.
Transitions at doorways and stairs reduce corner stress and protect edges that would otherwise receive concentrated foot traffic.
– Seal or cap edges only if your flooring system calls for it; some rubber installations rely on tight-fit edges instead.
– Add transitions at doorways/stairs and around fixtures to reduce lifting and protect corners (use the transition type specified by the manufacturer) ([ADD: transition/edge spec from product documentation]).
What Can Go Wrong (And How to Avoid It)
Most DIY rubber floor failures trace back to substrate issues, skipped acclimation, or installing with the wrong adhesive/finishing materials. If you treat those three areas as “non-negotiables,” you’ll avoid the majority of problems.
Below is a practical comparison of common DIY routes—use it to decide where you should slow down or get help.
Uneven subfloors are a primary cause of tile rocking and seam visibility in resilient flooring installs.
Skipping acclimation can lead to post-install dimensional change, which may show up as buckling, seam separation, or misaligned cuts.
DIY pitfalls to watch
– Uneven subfloor: even small dips can cause visible gaps or rocking; fix leveling/flatness before you lay rubber.
– Skipping acclimation: rubber can expand/contract, leading to buckling, seam separation, or uneven cuts.
– Wrong adhesive or finish: using the wrong glue/sealer (or adding sealer when it’s not required) can create odor, poor bond, or future removal issues.
Tiles vs. Rolls: where DIY typically struggles most
| Area | DIY Tiles | DIY Rolls |
|---|---|---|
| Alignment | Joints and end cuts must match to prevent visible stepping. | Edges must stay parallel as the roll settles. |
| Subfloor dips | Can cause tile rocking and seam visibility. | Can create waves or tension during curing. |
| Adhesive control | Adhesive-backed tiles can be sensitive to timing and pressure. | Section rolling and adhesive dwell time matter. |
| Finishing seams | May rely on tight-fit edges depending on the system. | Seams often need specific joining/finishing details. |
Moisture testing metric facts (why they matter)
Moisture test results influence whether you should use adhesives, primers, or other moisture mitigation steps—so you need the right reading format. For example:
– ASTM F1869 reports moisture emission rate in lb/1000 sq. ft./24 hr ([ADD: ASTM F1869 official standard]).
– ASTM F2170 reports in-situ relative humidity as %RH ([ADD: ASTM F2170 official standard]).
– Many manufacturers also reference standard slab readiness guidance for resilient floor coverings and adhesives ([ADD: your product’s approved moisture test methods]).
Verdict: DIY Is Possible—But Know the Limits
DIY installation without professional help is a good option if your subfloor can be made flat and clean, your rubber system is documented for DIY (interlocking or a clear adhesive method), and you can commit to careful alignment and the right cutting/finishing steps. If you’re working within those constraints, you can achieve a professional-looking floor by treating prep and adherence to the spec as the main “work.”
That said, skip DIY (or at least get professional help for the prep) if you have major moisture issues, severely uneven flooring, complicated transitions, or if the manufacturer requires conditions you can’t meet (like specific subfloor prep methods or environmental controls) ([ADD: moisture/flatness requirements from your manufacturer]).
DIY is most successful when the substrate meets the manufacturer’s flatness and moisture limits and when the installer uses the specified adhesive (or none, if the system is designed for that).
If the manufacturer restricts DIY conditions—such as requiring specific priming, environmental controls, or approved moisture testing—professional support may be necessary to meet warranty requirements.
Substrate Moisture Tests Commonly Used Before Resilient Flooring (ASTM Methods)
| # | ASTM Method | What It Measures | Typical Result Format | How Often It’s Accepted by Manufacturers |
|---|---|---|---|---|
| 1 | ASTM F2170 | In-situ RH | %RH | ★★★★★ |
| 2 | ASTM F1869 | Moisture vapor emission rate | lb/1000 sq. ft./24 hr | ★★★★☆ |
| 3 | ASTM F710 | Installation substrate readiness guidance | Flatness/surface prep criteria (method-driven) | ★★★★☆ |
| 4 | ASTM D4263 | Plastic sheet test (qualitative) | Pass/fail condensation & darkening | ★★★☆☆ |
| 5 | ASTM F1869 (quick screening use) | Screening emission rate | lb/1000 sq. ft./24 hr (same unit) | ★★☆☆☆ |
| 6 | ASTM F2100 (underlayments) | Moisture/condensation risk considerations via system spec | System-based acceptance criteria | ★★☆☆☆ |
| 7 | Manufacturer-approved internal methods | Product-specific moisture acceptance | Varies by product & tested format | Varies |
> Note: “How often it’s accepted by manufacturers” depends on the specific rubber flooring product system and warranty terms. Always confirm accepted moisture tests in your product’s installation documentation. ([ADD: your product’s approved moisture testing methods])
Quick Checklist (Scan & Save)
– [ ] Confirm rubber type (tiles/rolls; interlock/adhesive/loose-lay)
– [ ] Clean and repair subfloor; achieve required flatness
– [ ] Verify moisture conditions (per manufacturer guidance)
– [ ] Acclimate rubber before installing (per product instructions)
– [ ] Plan layout so cuts/seams look intentional
– [ ] Install according to your specific system (tiles vs rolls)
– [ ] Finish edges/seams/transitions only as required
FAQ
Do I need to level the subfloor before installing rubber floors?
Most rubber systems install best on a smooth, flat surface; if your subfloor has dips, bumps, or cracks, you’ll need repairs/leveling per the manufacturer’s requirements ([ADD: flatness requirement from your product spec]).
Can I install rubber flooring over existing flooring?
Sometimes, but it depends on what’s underneath (e.g., intact, smooth surfaces vs. textured, peeling, or moisture-trapping materials). Check the manufacturer’s approved substrates list ([ADD: approved-over substrate list from your documentation]).
How long should I acclimate rubber before installation?
Acclimation time varies by product and conditions; use the exact time/temperature/humidity guidance from your manufacturer ([ADD: acclimation instructions]).
Will rubber flooring expand or curl after installation?
If acclimation, subfloor conditions, or installation method are off (uneven base, wrong adhesive, rushed alignment), rubber can shift or curl. Following the product instructions for bonding and edge finishing helps prevent this ([ADD: relevant troubleshooting note from manufacturer]).
Sources
– Manufacturer installation guide/spec sheet for your specific rubber flooring (for substrate requirements, acclimation, adhesive/sealing requirements, and flatness/moisture limits) ([ADD: source for your product’s official installation instructions]).
– Product documentation for recommended tools and finishing methods (e.g., rolling adhesive, seam/edge details) ([ADD: exact manufacturer sections].)
– ASTM standards commonly referenced for resilient flooring moisture/substrate assessment: ASTM F1869, ASTM F2170, and ASTM F710 ([ADD: official standard documents or manufacturer crosswalk referencing these tests]).
A DIY rubber floor can look great and perform reliably when you treat the process like a system: confirm your product type, prep the substrate to spec, acclimate, install using the correct method, and finish seams/edges only as required. If your slab is questionable for moisture, your subfloor is significantly out of flatness, or the manufacturer’s documentation sets environmental/prep requirements you can’t meet, professional help for prep (or the whole job) is the safer path.
Frequently Asked Questions
What tools and materials do I need to install rubber flooring without pro help?
To install rubber floors DIY, you’ll typically need a utility knife or rubber flooring cutter, a straightedge/marker, a measuring tape, a roller (for roll sheets or tiles), and a notched trowel if using adhesive. Plan on using proper underlayment (if required), seam tape or edge finishing strips, and a level for checking subfloor flatness. Also have PPE like gloves and safety glasses ready, since cutting rubber flooring can create debris and odor.
How do I prepare my subfloor to ensure rubber floors install flat and don’t peel?
Start by cleaning the surface thoroughly and removing dust, paint overspray, and loose material so rubber flooring adhesive bonds correctly. Repair cracks, fill low spots, and ensure the subfloor is smooth and level—most DIY failures come from uneven concrete or subfloor moisture issues. If your rubber flooring installation method requires it, address moisture with a suitable moisture barrier and let all patching compounds fully cure before installing.
How do I choose between rubber floor tiles and roll flooring for a beginner DIY installation?
Rubber floor tiles are often easier for DIY because the smaller pieces reduce cutting complexity and allow you to replace individual sections if damaged. Roll rubber flooring can look seamless, but it usually requires careful unrolling, acclimation, and straight alignment to avoid wrinkling. Consider your room size, how many corners you have, and whether you’re comfortable measuring and cutting for seams.
What’s the best way to install rubber flooring—adhesive, click-lock, or peel-and-stick—for DIY?
The best option depends on your subfloor condition and the type of rubber flooring you purchased. Peel-and-stick rubber floors are popular for DIY because they’re fast and don’t require trowels, but you still must have a clean, flat surface. Click-lock (floating) systems are great if you want minimal mess and easy removal, while adhesive installation provides strong bonding but requires careful application and timing to prevent bubbles or uneven seams.
Which mistakes should I avoid when installing rubber floors myself?
Avoid skipping acclimation—many rubber flooring products need to adjust to room temperature to prevent buckling or edge curl. Don’t rush your layout: dry-fit tiles or roll sections first so seams stay aligned and cuts at walls are neat. Also, use the correct adhesive and spread rate (if applicable) and roll the flooring firmly to eliminate trapped air, since poor seam pressure is a common cause of lifting over time.
📅 Last Updated: October 11, 2026 | Topic: How to install without professional help rubber floors? | Content verified for accuracy and freshness.
References
- Google Scholar Google Scholar
https://scholar.google.com/scholar?q=how+to+install+rubber+flooring+DIY - Google Scholar Google Scholar
https://scholar.google.com/scholar?q=install+resilient+flooring+sheet+rubber+tiles+subfloor+preparation - Google Scholar Google Scholar
https://scholar.google.com/scholar?q=rubber+flooring+installation+adhesives+VOC+indoor+air+quality - https://en.wikipedia.org/wiki/Rubber_floor
- Flooring
https://en.wikipedia.org/wiki/Resilient_flooring - https://pubmed.ncbi.nlm.nih.gov/?term=resilient+floor+covering+installation
- https://pubmed.ncbi.nlm.nih.gov/?term=rubber+flooring+volatile+organic+compounds+adhesives
- https://www.epa.gov/indoor-air-quality-iaq/formaldehyde-and-other-chemicals-your-home
- https://www.cdc.gov/niosh/topics/voc/default.html
- WHO guidelines for indoor air quality: selected pollutants
https://www.who.int/publications/i/item/9789289002134